Child’s Rocking Chair Revamp
This post may contain affiliate links for your convenience. Read my full disclosure policy here.
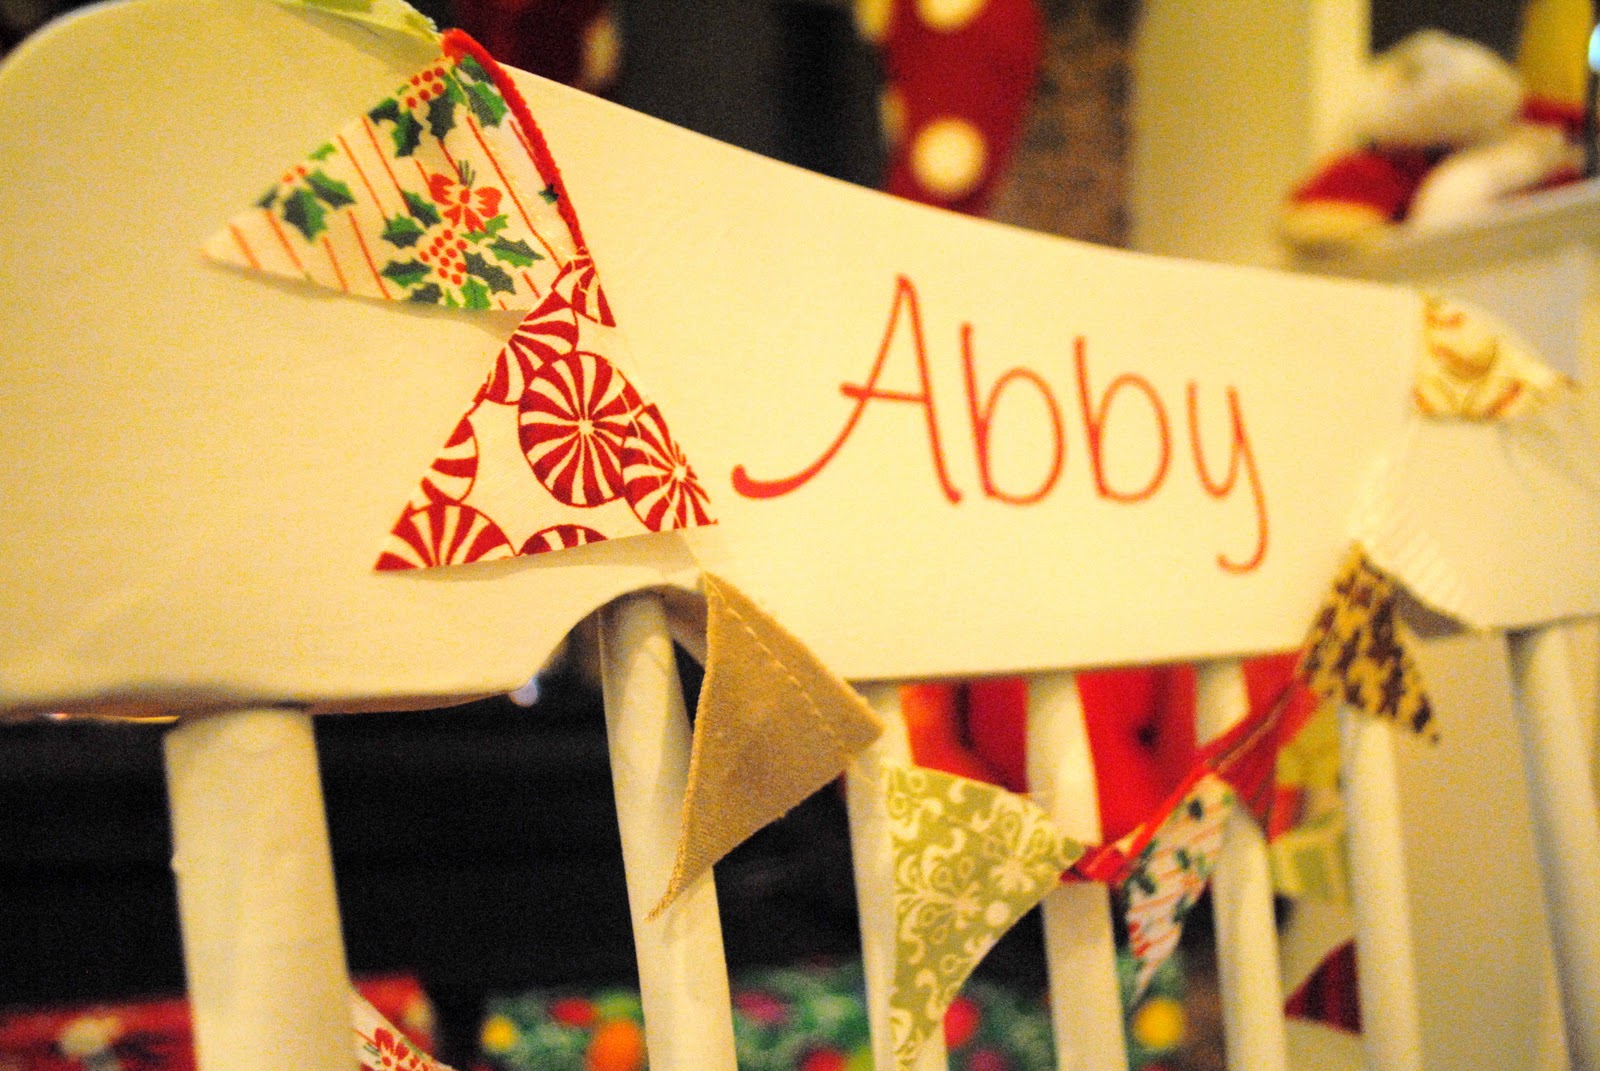
Here’s a quick revamp to share on this snowy morning. I actually finished it before Santa came so it was sitting by the fireplace for Noodle on Christmas morning.

Of course I had to drape it with some leftover mini-bunting I sewed earlier that week.
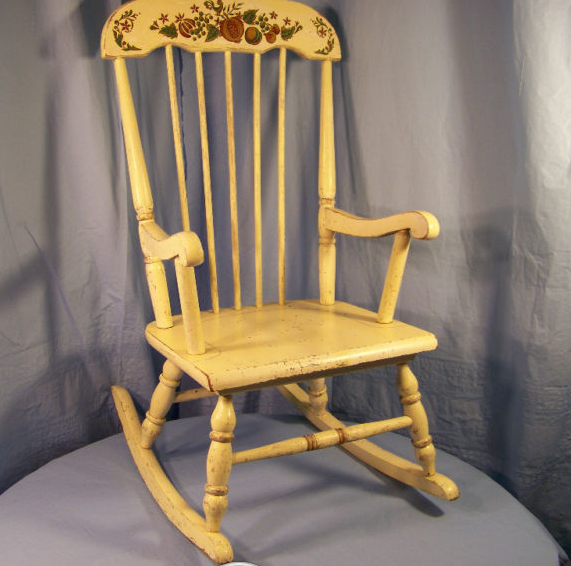
My mom gave us the rocker years ago. She had purchased it at an auction. I wish I had a great “before” to show you, but I had already given it a good coat of spraypaint before I remembered to snap a shot. I snagged this photo from eBay, and it looked similar but the paint was more mustard and there was a deer painted on it:
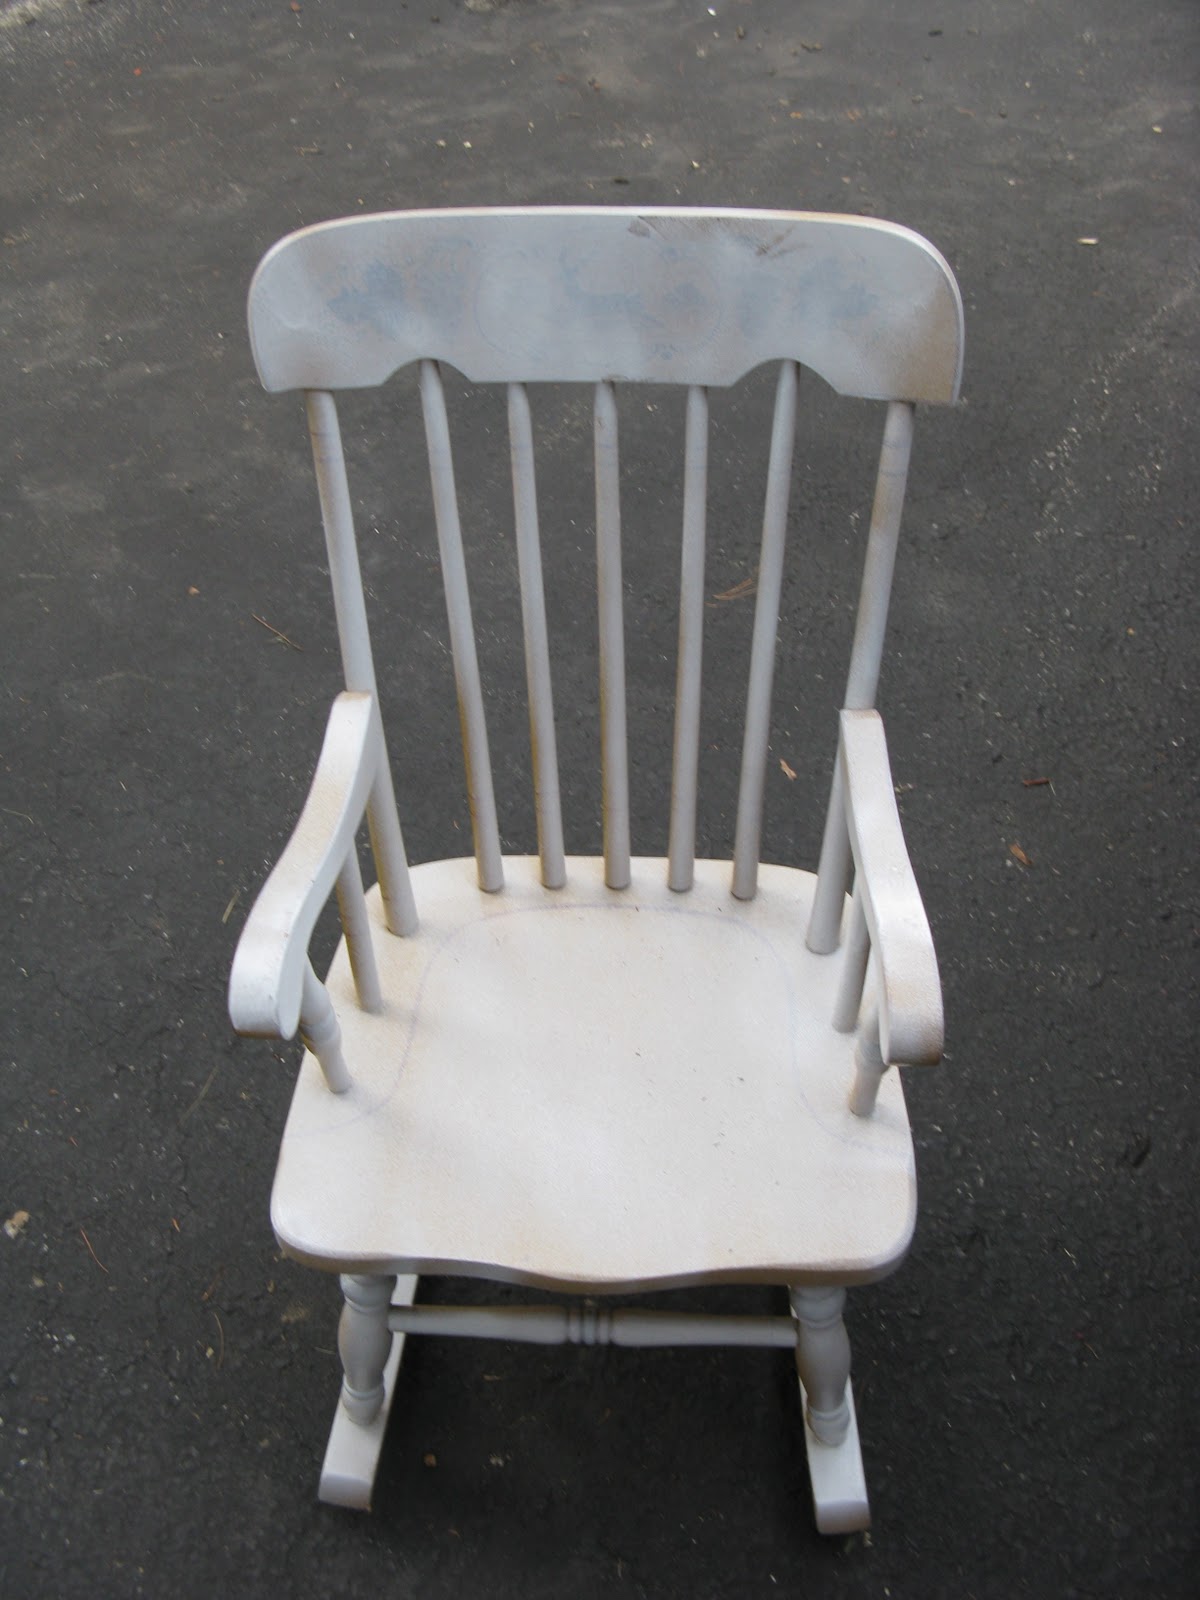
Before you antique enthusiasts yell at me for defacing a folksy painted chair, please know it wasn’t that old and I don’t think it was a treasure. Perhaps I’ll see it’s twin on Antiques Roadshow one day, valued at $5600 or something, but I doubt it. Here it is with that first light coat of spray paint:
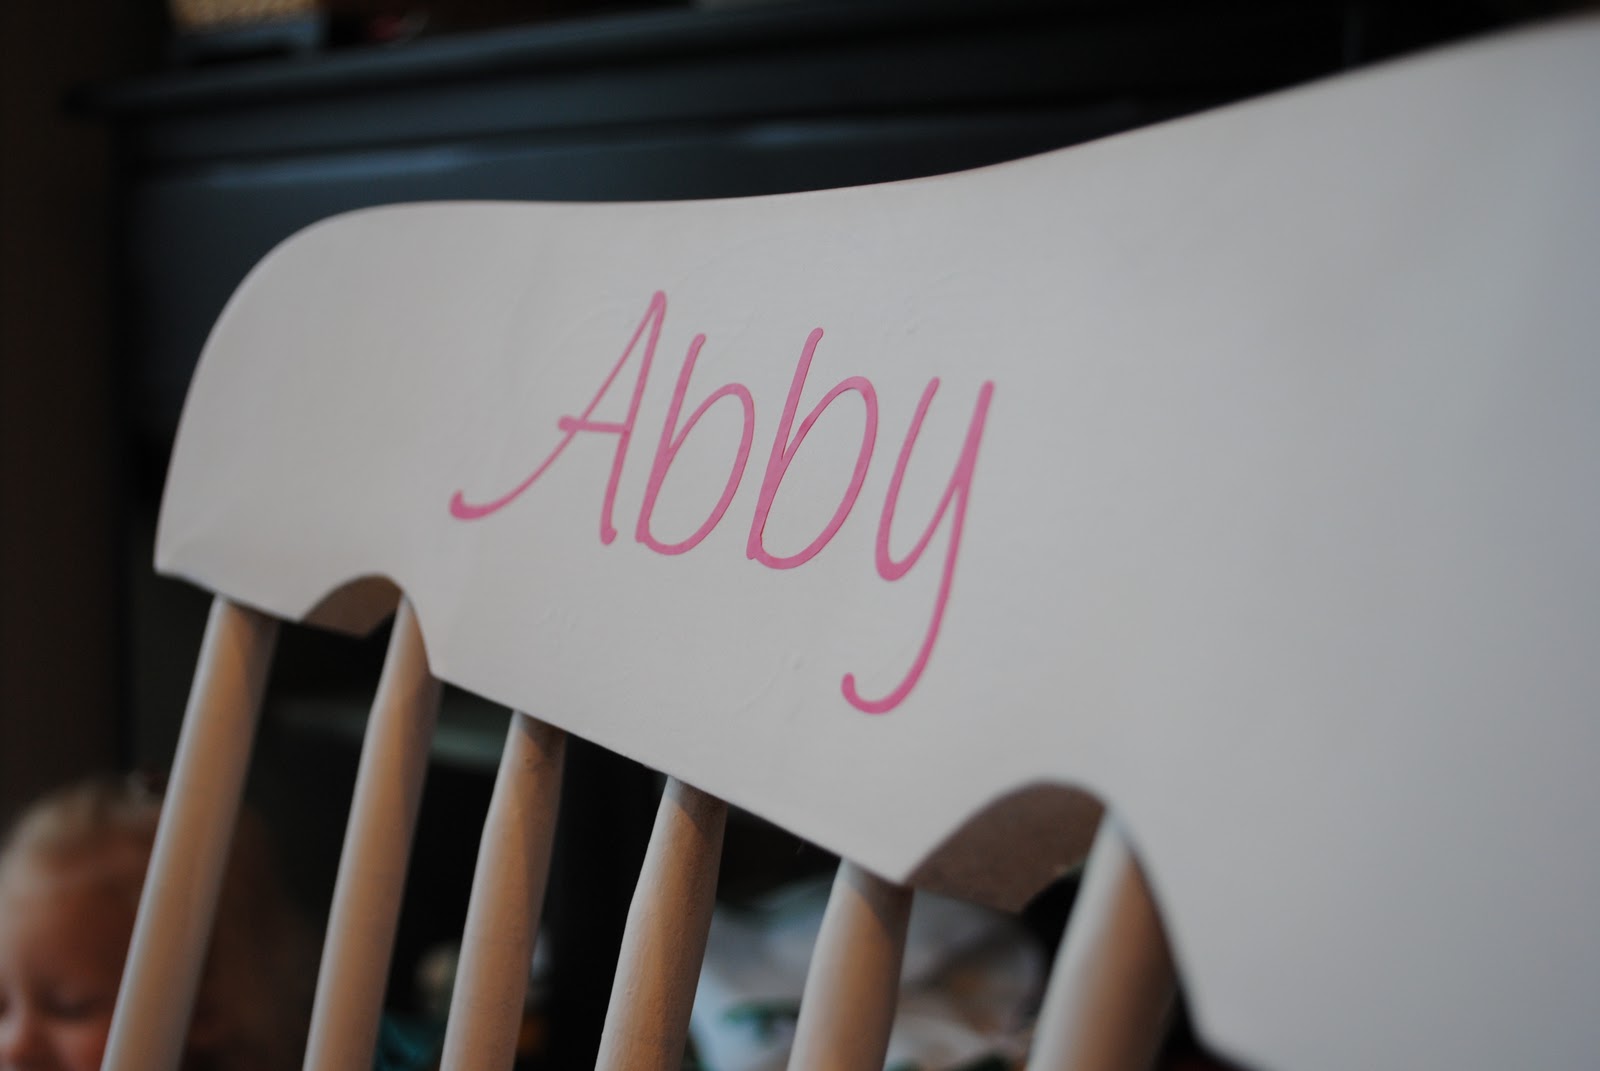
I gave it a few more coats, and once dry I applied vinyl on the back from Back40Life:
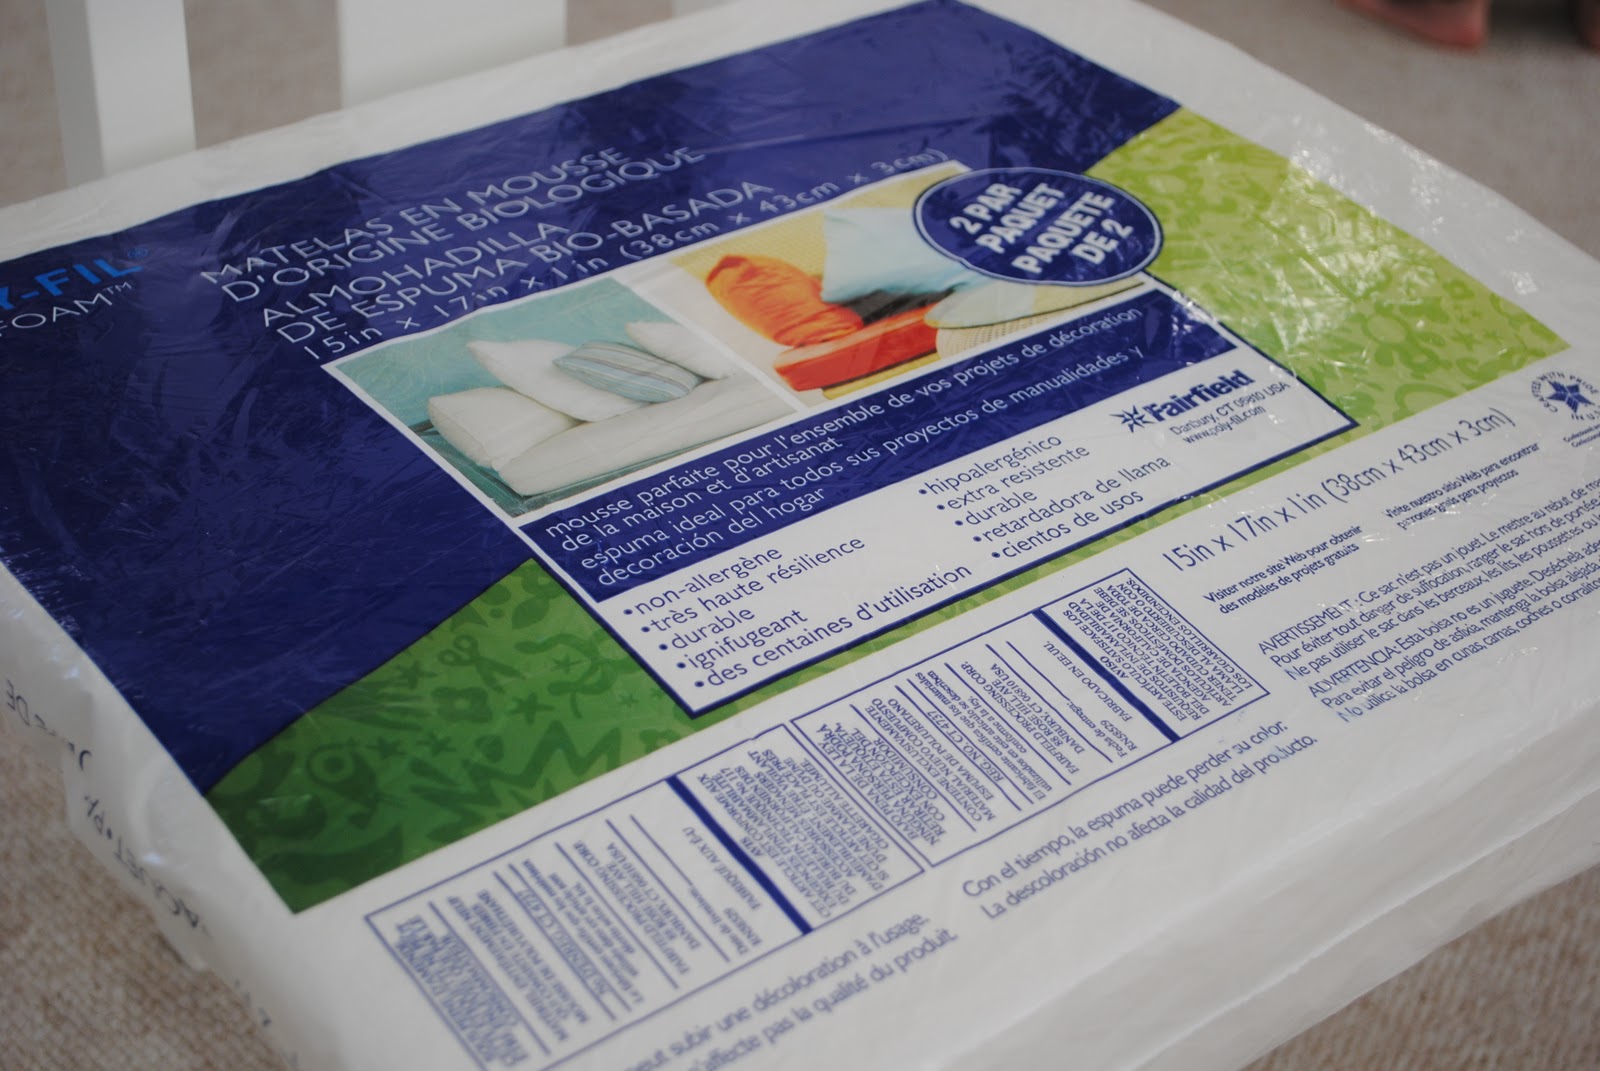
As for the cushion, it was super easy. I found cheap-o foam at Walmart. It cost about $6 for two pieces, so I’ll have plenty left over for the next project. The bag looks like this, just in case you are in need of cheap foam in this size:

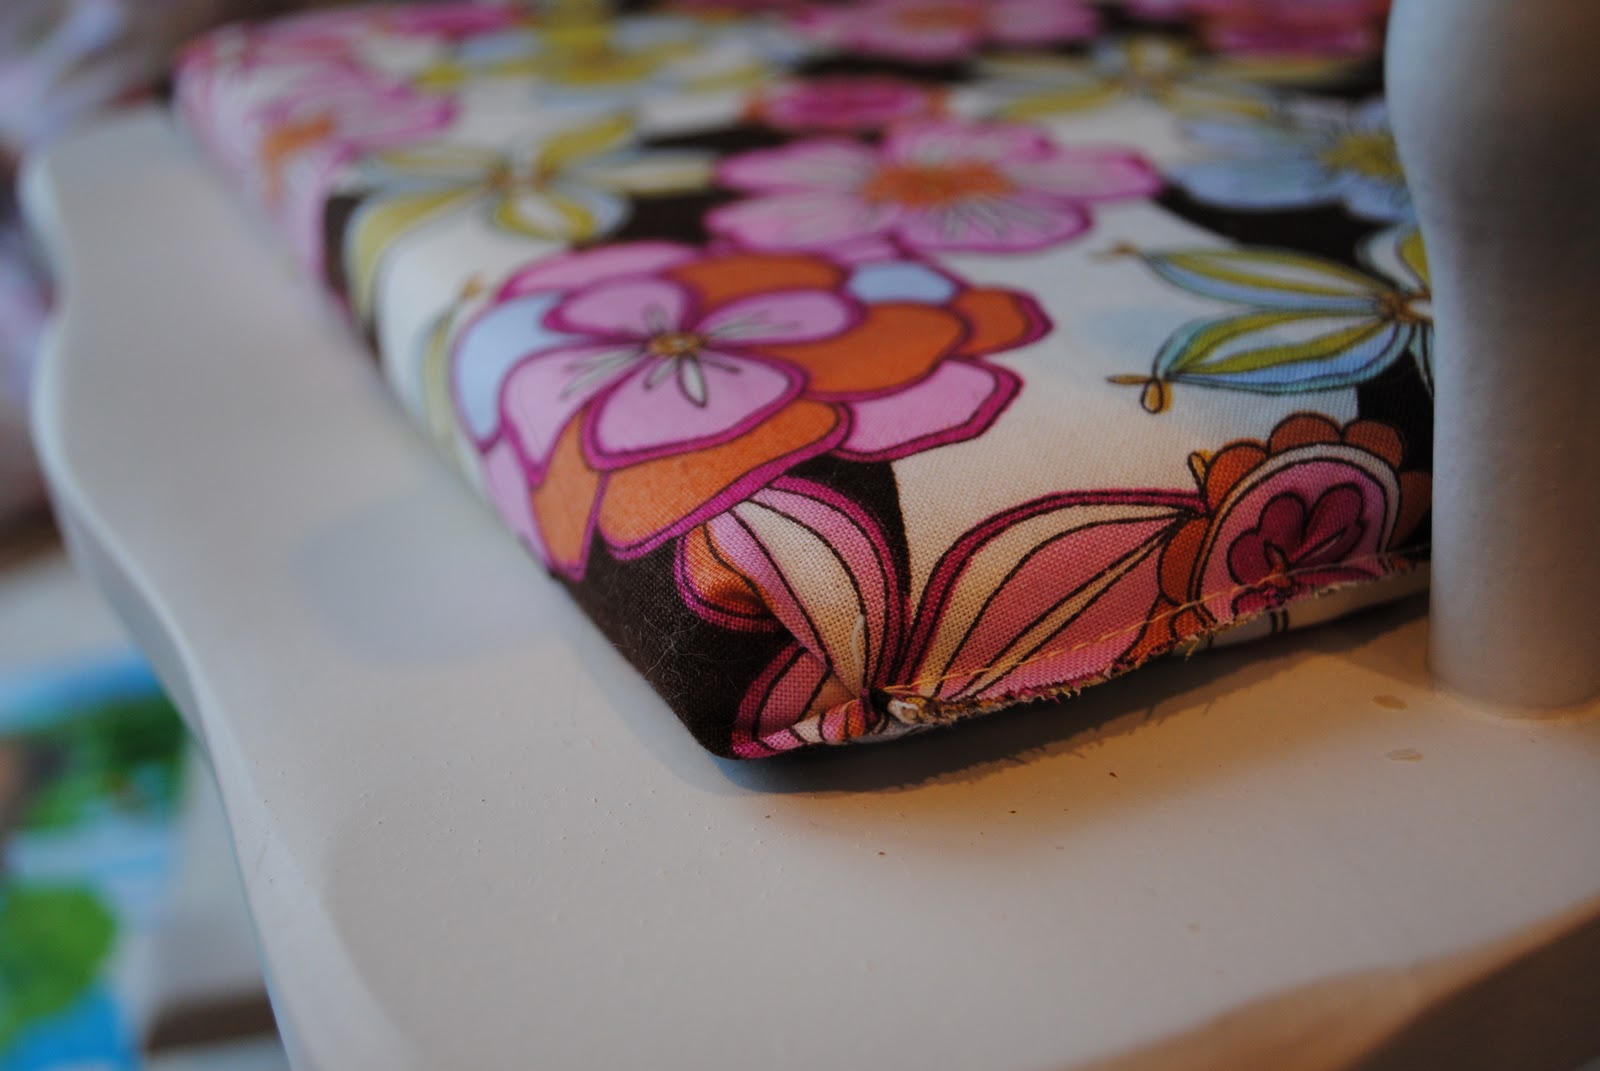
As for the fabric, Noodle herself picked it out. I showed her a few options while strolling through JoAnn’s Fabric, and she insisted on this one. Pretty good taste, for a 2 year old!
Bad, bad blogger: I didn’t take step-by-step photos. It’s a very basic chair pad, I’m sure there are tons of tutorials out there. Here are my best-as-I-can-describe steps. If you have questions, feel free to comment and I’ll do my best to answer them.

First, I cut out a piece of foam to fit the seat. Then I cut the fabric to match the dimensions of the chair pad, with a little allowance for the seams. I ended up with one large piece. Helpful hint: have the uncut side fall in the front of the chair pad, so it looks neater.

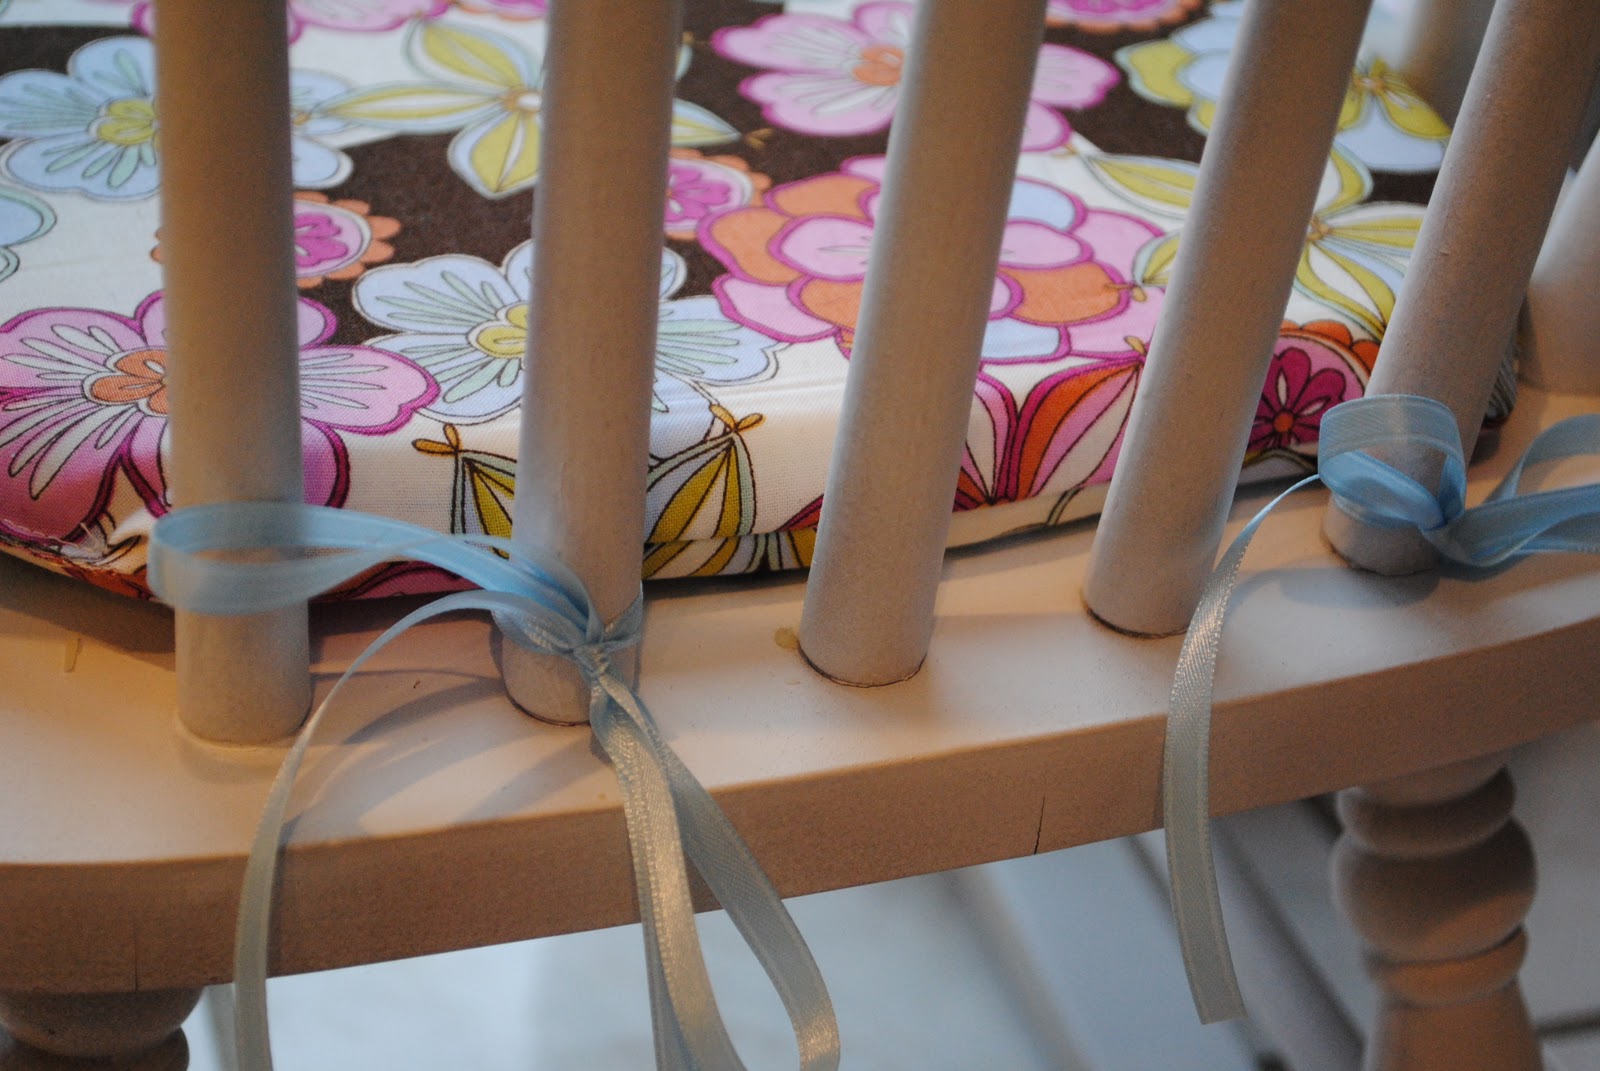
Then turned the wrong side out, pinned it, and pinned the ribbons where I wanted them to fall once sewn. I sewed two out of three cut sides. I flipped it back so the correct sides were showing, stuffed the padding in, and then sewed the open seam. I’m not a perfectionist, so I actually did it all on my machine. I would have looked much better if I’d hand sewn the last seam but this was a quickie project, no time for perfection! See, I’m keeping it real:
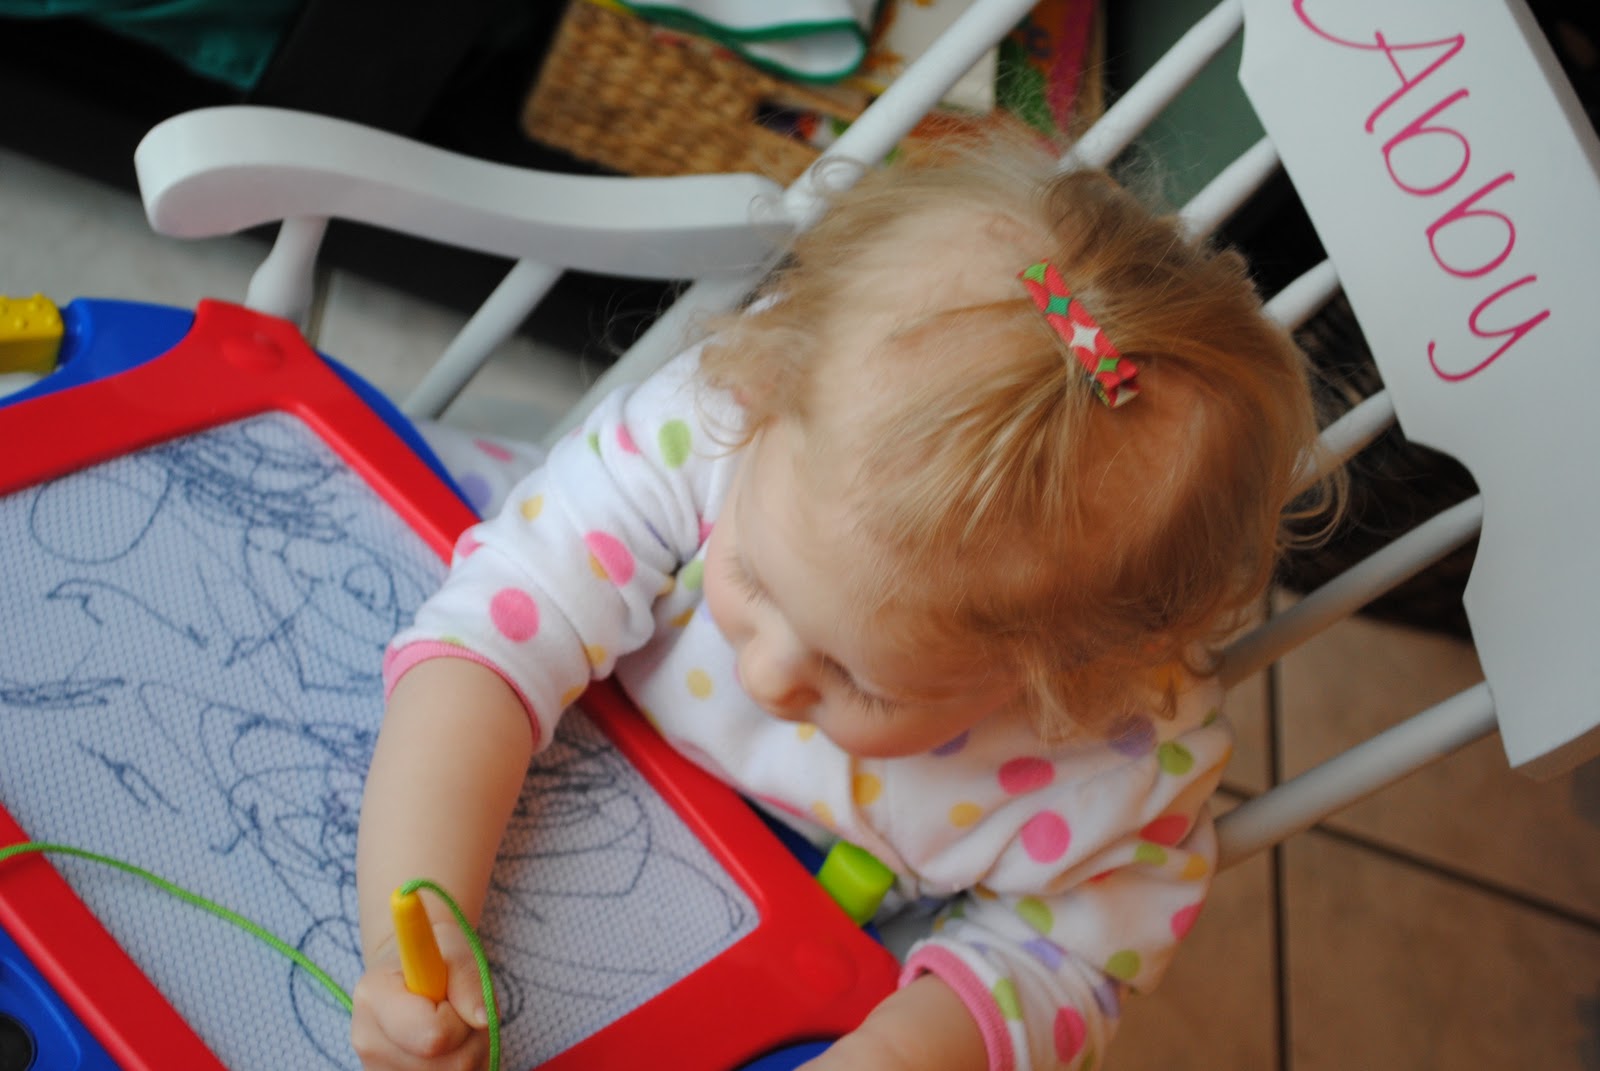
Tie the chair pad on the rocker, place in front of the fireplace (or sliding glass doors in a snowstorm), and instant lounging… or, doodling the day away.
Stay warm, friends! We had a surprise 6 inches of snow this morning that threw the region into a panic, with the big storm yet to come tonight. Perfect timing for Baby Bee to get a fever, too. I’ll be watching the snow and snuggling babies, dreaming of spring!