DIY Tea Towel Tutorial (Stamped Kitchen Towels)
This post may contain affiliate links for your convenience. Read my full disclosure policy here.
What do you do with a pack of flour sack towels you uncovered in your craft stash?

After coveting fancy but expensive tea towels, I decided to do-it-yourself (myself?). Add some paint, a few stamps and a stencil and you’ve got fresh custom kitchen towels in about 10 minutes!

Your imagination is the limit for these. You get to choose your colors, your phrase, your design– a DIYers dream come true. Such an easy way to spice up your kitchen for about one dollar each. And let me tell you, I could have kept stamping and stenciling all day!


These were not only easy, but inexpensive. A 5-pack of flour sack towels (great for kitchen use) are only $4.99 at Walmart.

The ideas are endless. I used lowercase letter stamps, but you could use any stamp including those with patterns and designs.
apple of my eye?
easy as pie?
bring home the bacon?
The quotes write themselves, y’all.
File this under the ‘DIY gifts’ category, too. My friends and family better be prepared– once I started stamping I couldn’t stop, and for about $1 each there’s no reason I should! These would make great gifts, or for wrapping up treats, or just making tons to have on hand at all times. Plus, who couldn’t use a bunch of extra dish towels hanging around?

Simple, fun, and easy– these usable kitchen towels were a cinch to make and give you so much bang for your buck!

1. Start by washing and of course ironing the towels. You wouldn’t want to simply open the package and start stamping just because you were impatient, would you? {okay, I did. please do as I say and not as I do.}
2. Prepare your paint. If you have fabric paint, then you can skip this step. If you have craft paint, mix it with a two parts paint, one part Fabric Painting Medium. It’s great stuff to have on hand, by the way– even though it’s white, it won’t change the color of the craft paint you are using. It turns any craft paint into fabric paint!

3. Lay out the towel and decide where you want the design to be. Unless you are doing an allover design, it might help to first fold the towel as though you are hanging it. See which part is showing, and that’s the part you’ll want to paint. Feel free to mark with seamstress chalk or masking tape if you wish.

4. Place a piece of cardboard underneath the fabric so paint doesn’t bleed through.

5a. To stamp the towel: I laid out the stencils to make sure they fit before applying the paint.

Load up your stamp with paint. It’s important to get the right amount of paint on the surface; not too much or it will bleed, not too little or it will be spotty. I used a spouncer to apply the paint.

Once loaded up with paint, I put the letter on the towel:

THEN I added the magnetic back and applied pressure. If you add the magnetic back first, it’s hard to see the correct placement of the stamp.

I often get asked about the stamps. These magnetic lowercase letter rubber stamps are one of the best crafting investments I’ve made, and I’ve only been able to find them on Amazon. {update: this set seems to be only $7 today, but there’s only 3 left… I paid almost $40! Get them while they’re hot!!}
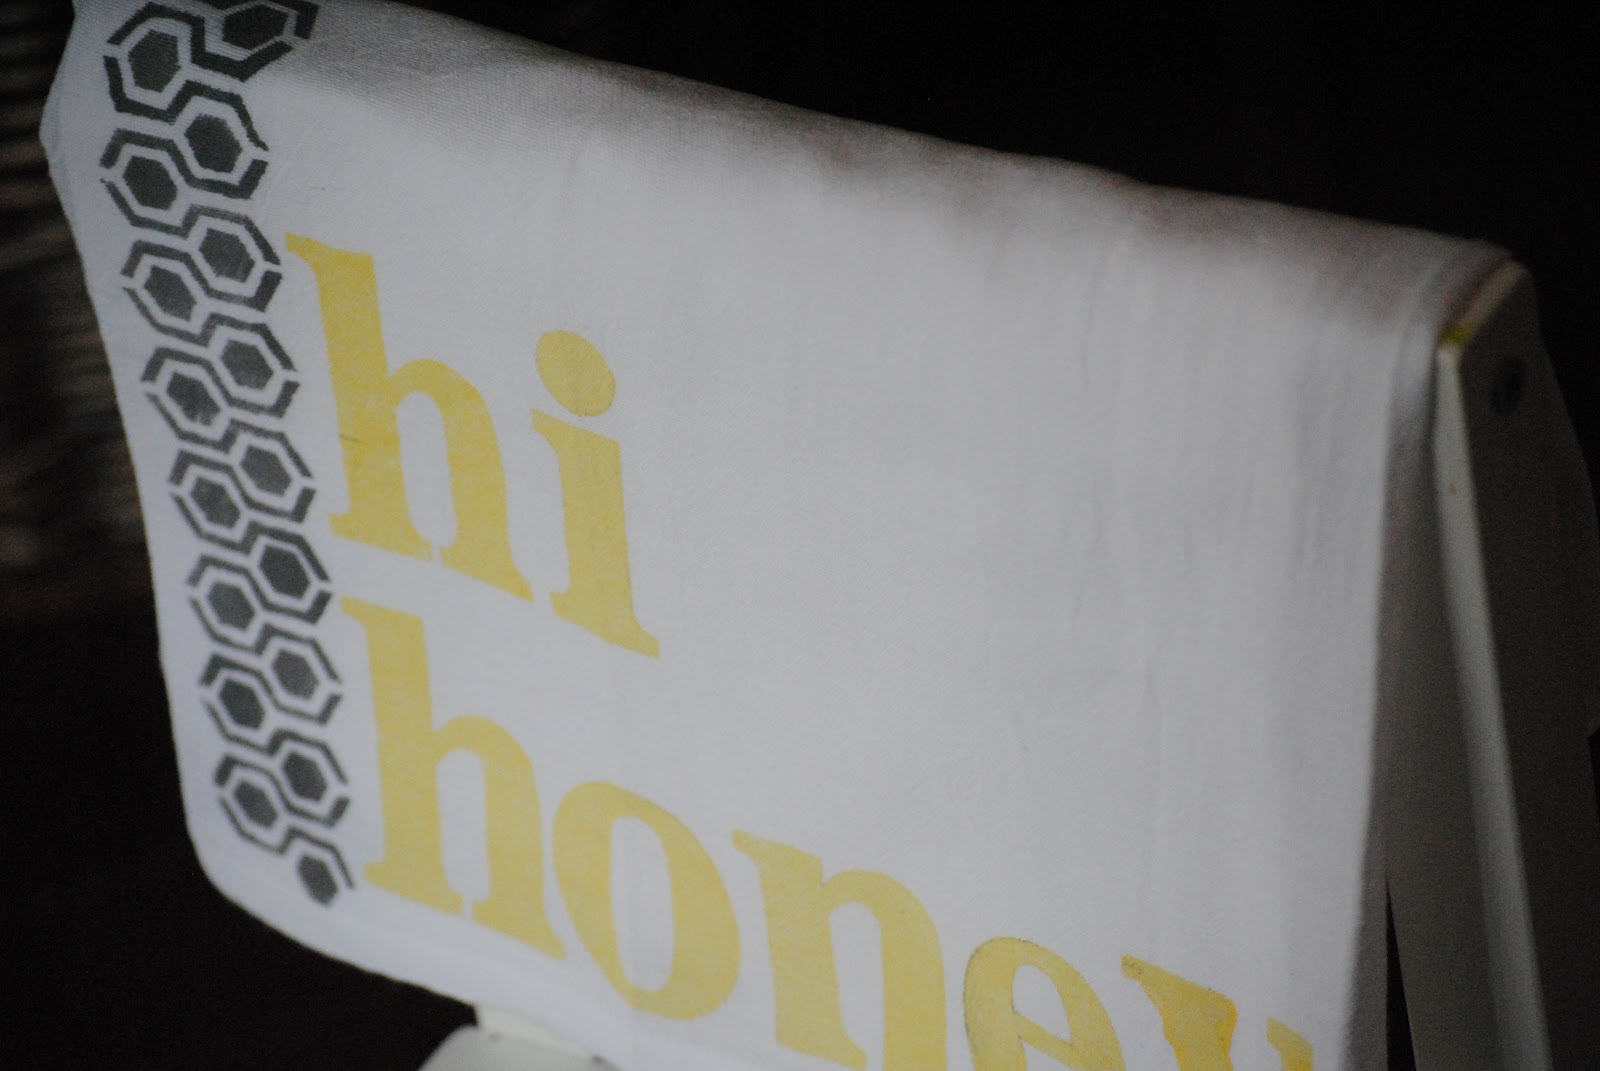
5b. To stencil the towel: Tape your stencil in place using an easy release tape like painters or masking tape. Use a spouncer to lightly tap paint all over the stencil. I found this great Martha Stewart stencil pack at Michaels, and used soft gray paint with the honeycomb design. Since it reminded me of bees, I stamped the words “Hi Honey” next to it in a buttery yellow. There are so many ideas in that one pack, check out the design possibilities:

6. Let dry for 24-48 hours, and heat set with an iron.
7. Hang them up and enjoy! To be honest, at first I didn’t even want to use them in case they got ruined. But for $1 each, if one gets dirty I’m not going to get upset– I’ll just get stamping.

Oh yes. I let them go wild with the spouncers. 😉
linked up to Home Stories A to Z Tutorials and Tips Party