Make a DIY No-Sew Kids’ Play Canopy Tent… in an hour!
This post may contain affiliate links for your convenience. Read my full disclosure policy here.
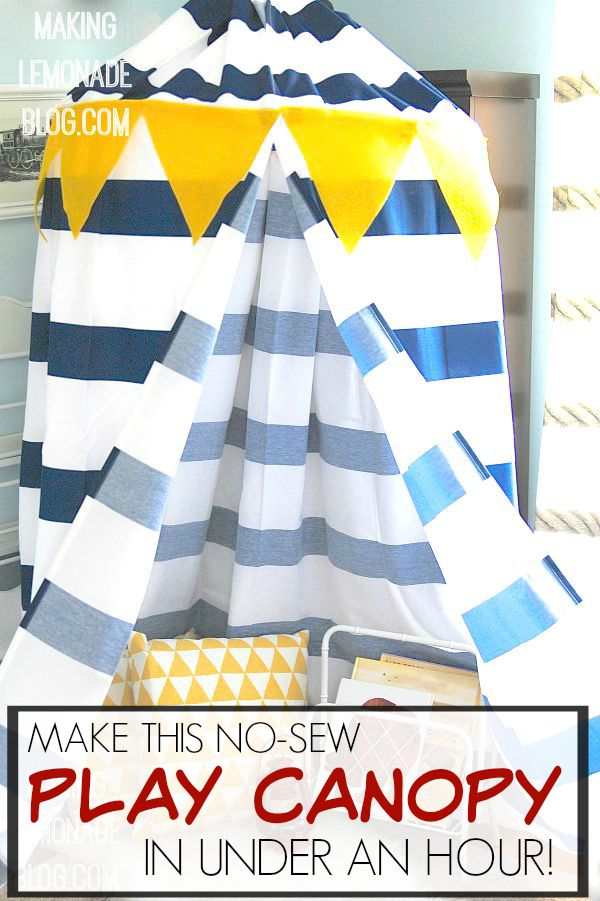
“Give me two shower curtains, a hula hoop, and a drill!” I yelled, channeling my inner MacGyver. But under an hour later, we had a DIY Kids’ Canopy Play Tent and my kids went bananas! This isn’t some crazy feat of mad DIY skillz, the truth is I’ll do anything to avoid sewing or spending a lot of time (and money) on a DIY project. While making the play canopy is easy, your kids will love the outcome and you’ll feel like a superhero for pulling it off so quickly– and on budget for wayyyyy less than retail. Like, $130 less than retail.
I’d been working out in my head how to make a play tent for years but never actually bit the bullet to try it, especially because I sew like a drunken sailor (you know, if drunken sailors sewed). But then last week my son was looking through the Land of Nod catalog and asked for one of their gorgeous canopy style play tents and I thought I’d give the DIY version a whirl. It was one of those ‘this is either going to be kinda cool or an epic failure’ situations. For once, I’m happy to report it worked the first time I tried. Plus, you will not believe which household items I used to make it!
After the book Simplicity Parenting rocked my world, I’m moving towards simpler toys. Unbranded, imaginative toys like this play tent are giving kids the freedom to make up their own stories and create their own worlds. This DIY version can be a reading nook, dreaming space, camping area, ice cream truck, carnival tent, rocket ship, or whatever kids want it to be at that time. The store-bought version is usually one thing, and one thing only– whatever the decoration on the side SAYS it is. I’ll take ‘creative playthings for 100, Alex’ and go for the undecorated version!
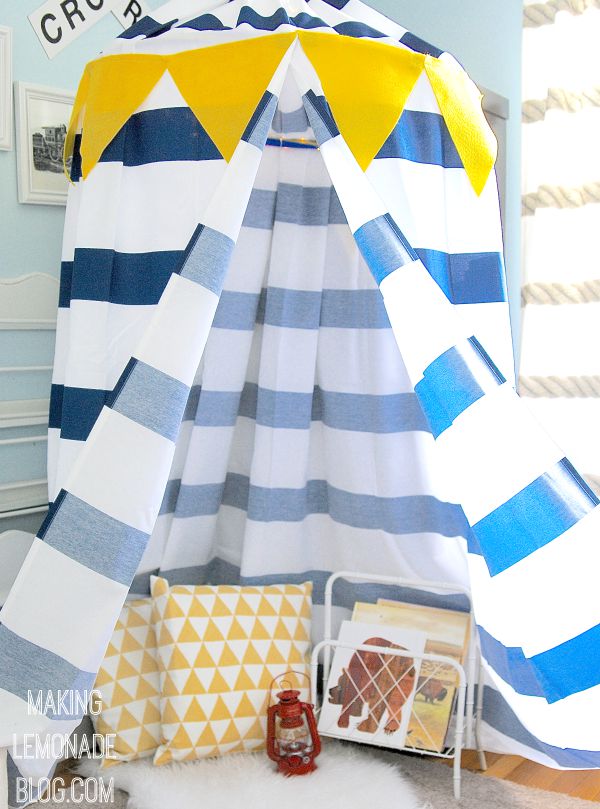
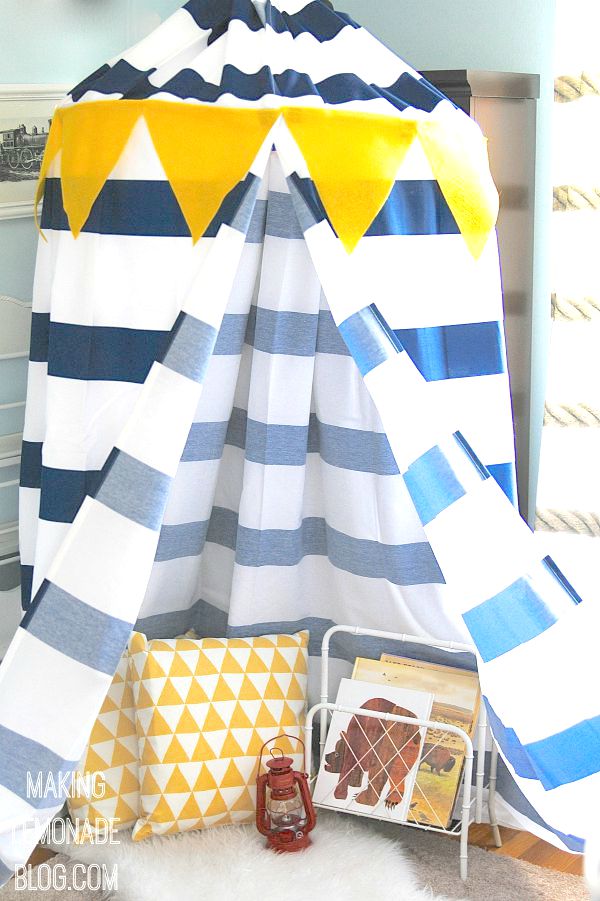
Back to the tent. This was so easy to make, I truly can’t believe it worked! The best part is you can totally customize it however you’d like. I fell hard for this rugby striped shower curtain from Target (and I have to say, they had tons of cool designs) but you could use ANY shower curtains you wish, at any price point, from any store. The sky’s the limit, have fun choosing your own style! Here’s what you’ll need before starting:
Materials:
2 shower curtains (I used this Rugby Stripe shower curtain)
extra large binder ring (OR use Target ring shower hooks as I did below)
hula hoop (I used a smaller size for this project)
braided nylon rope (I used SecureLine Diamond Braid Nylon rope, 40 ft. X 1/8 in.)
felt & velcro (if making the bunting)
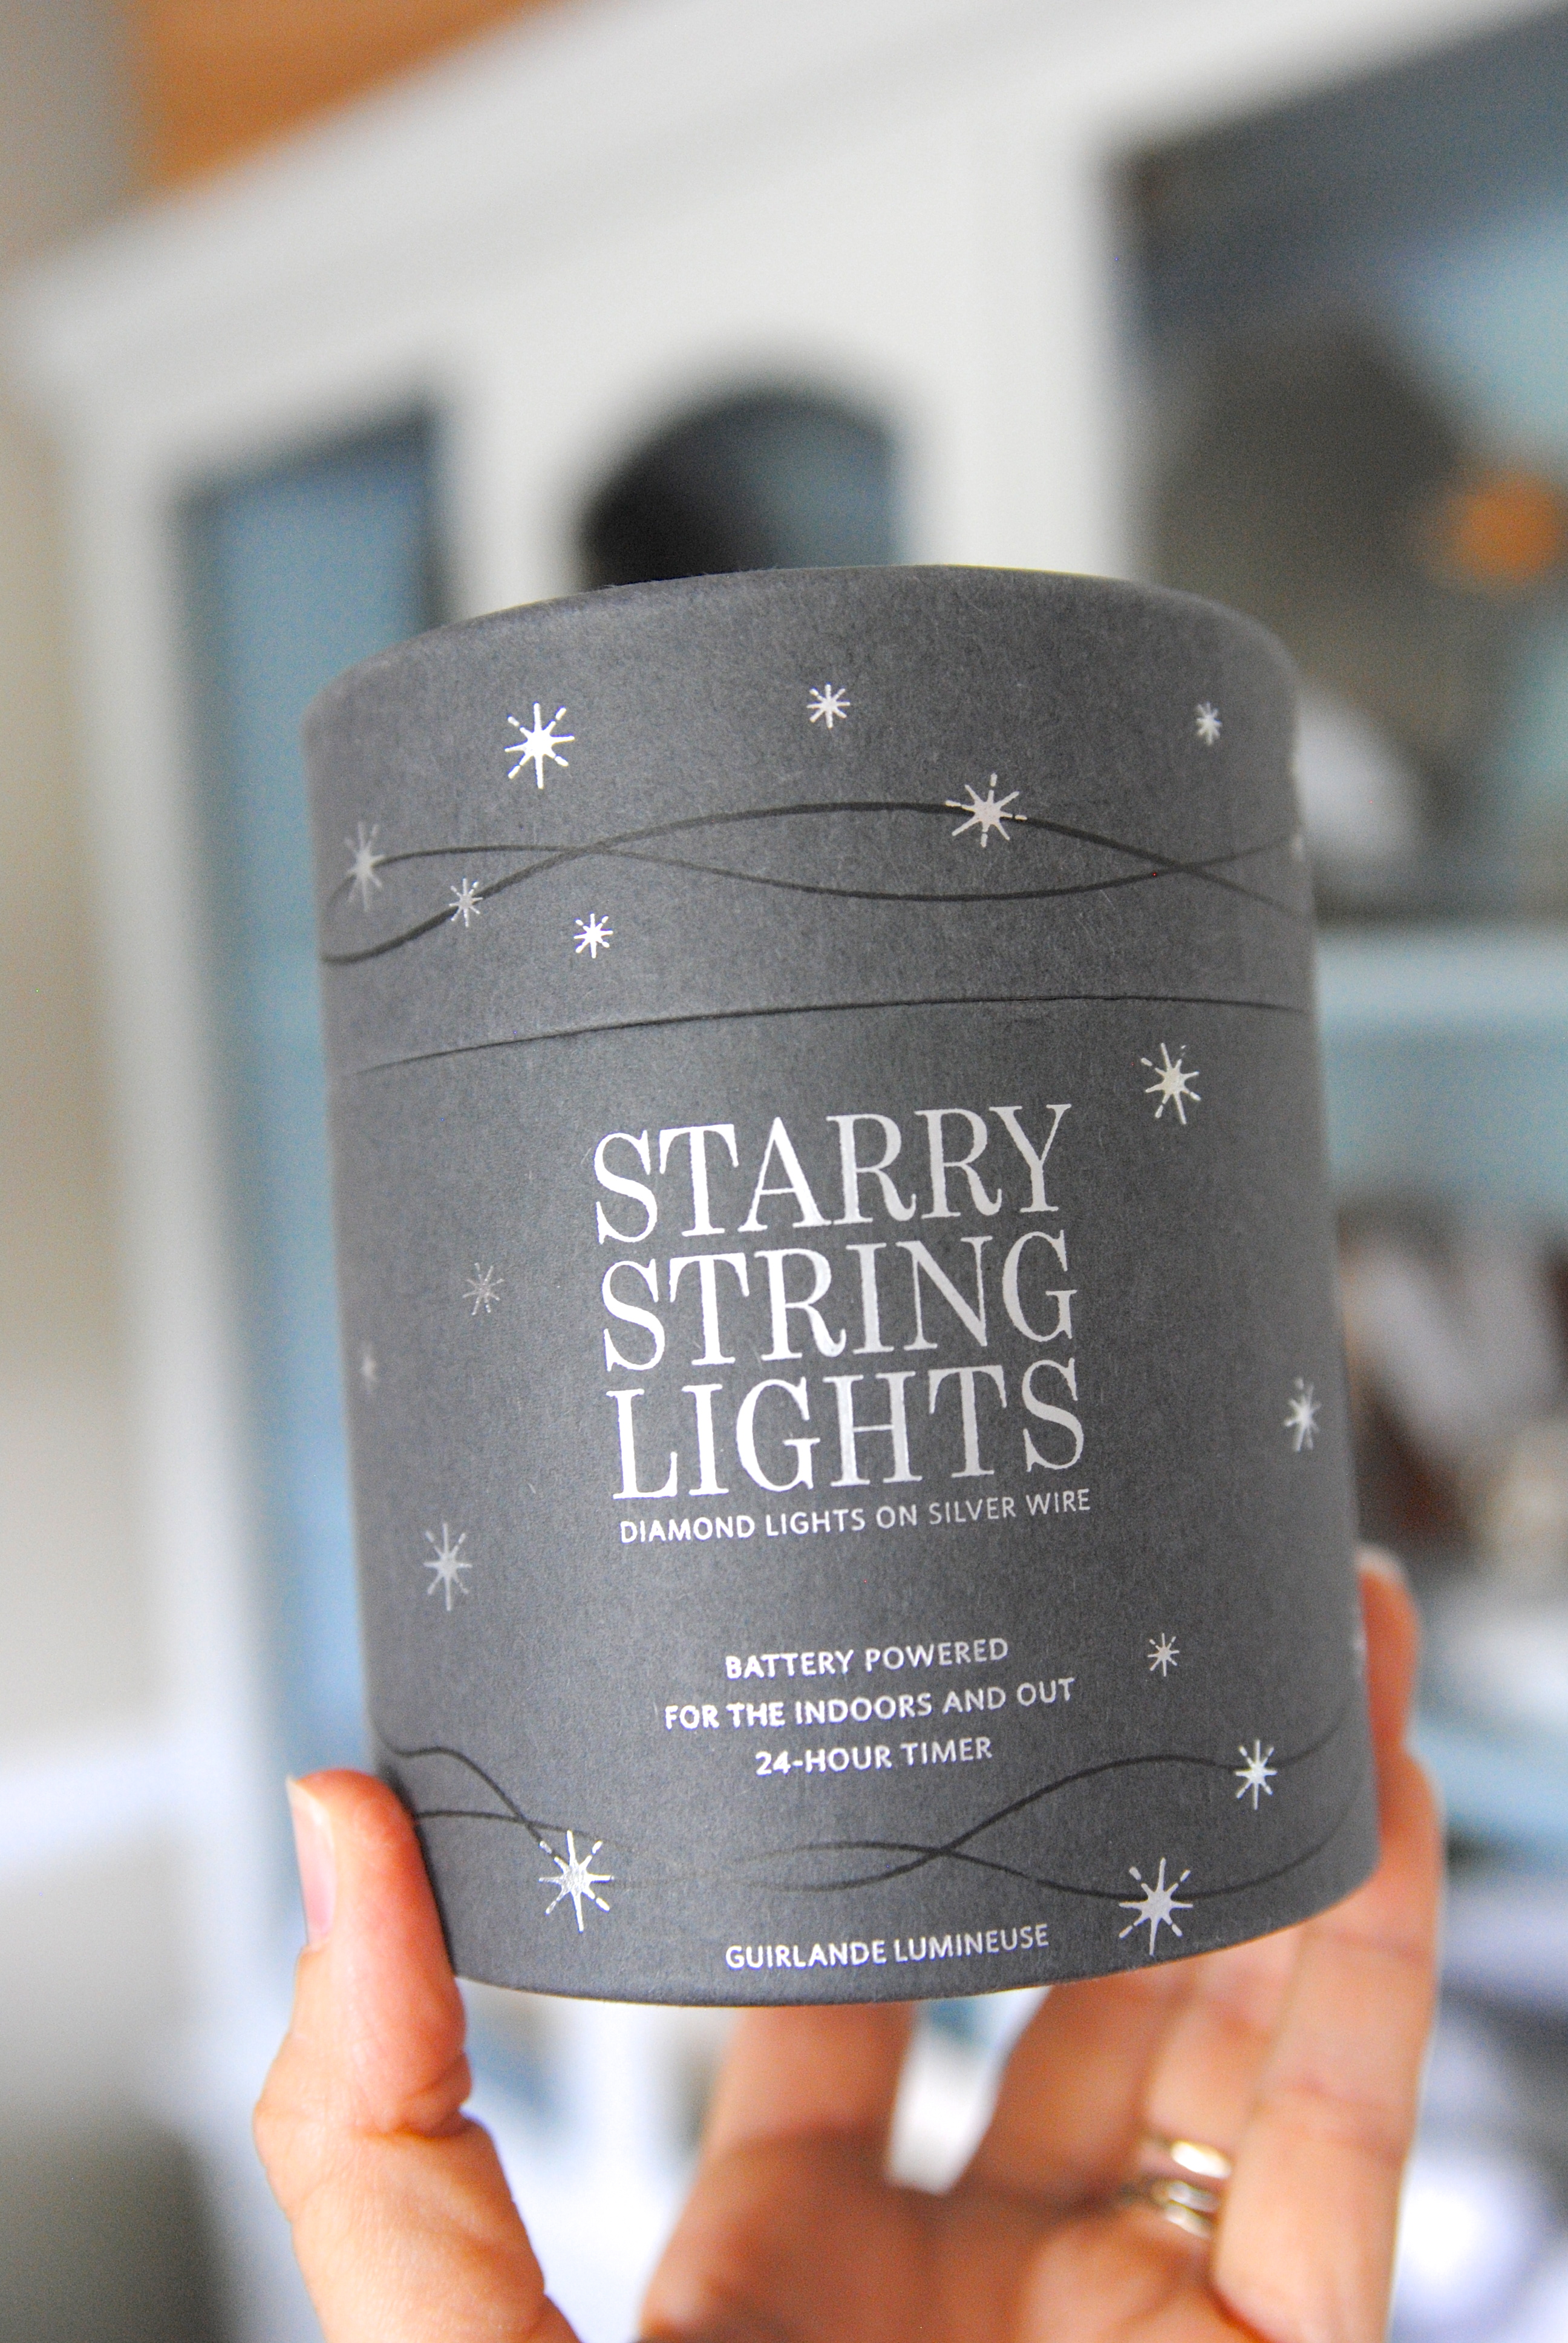
fairy lights (optional)
heavy duty hooks with anchors for the ceiling (check the weight limit on the ceiling hooks)
drill
scissors
Directions:
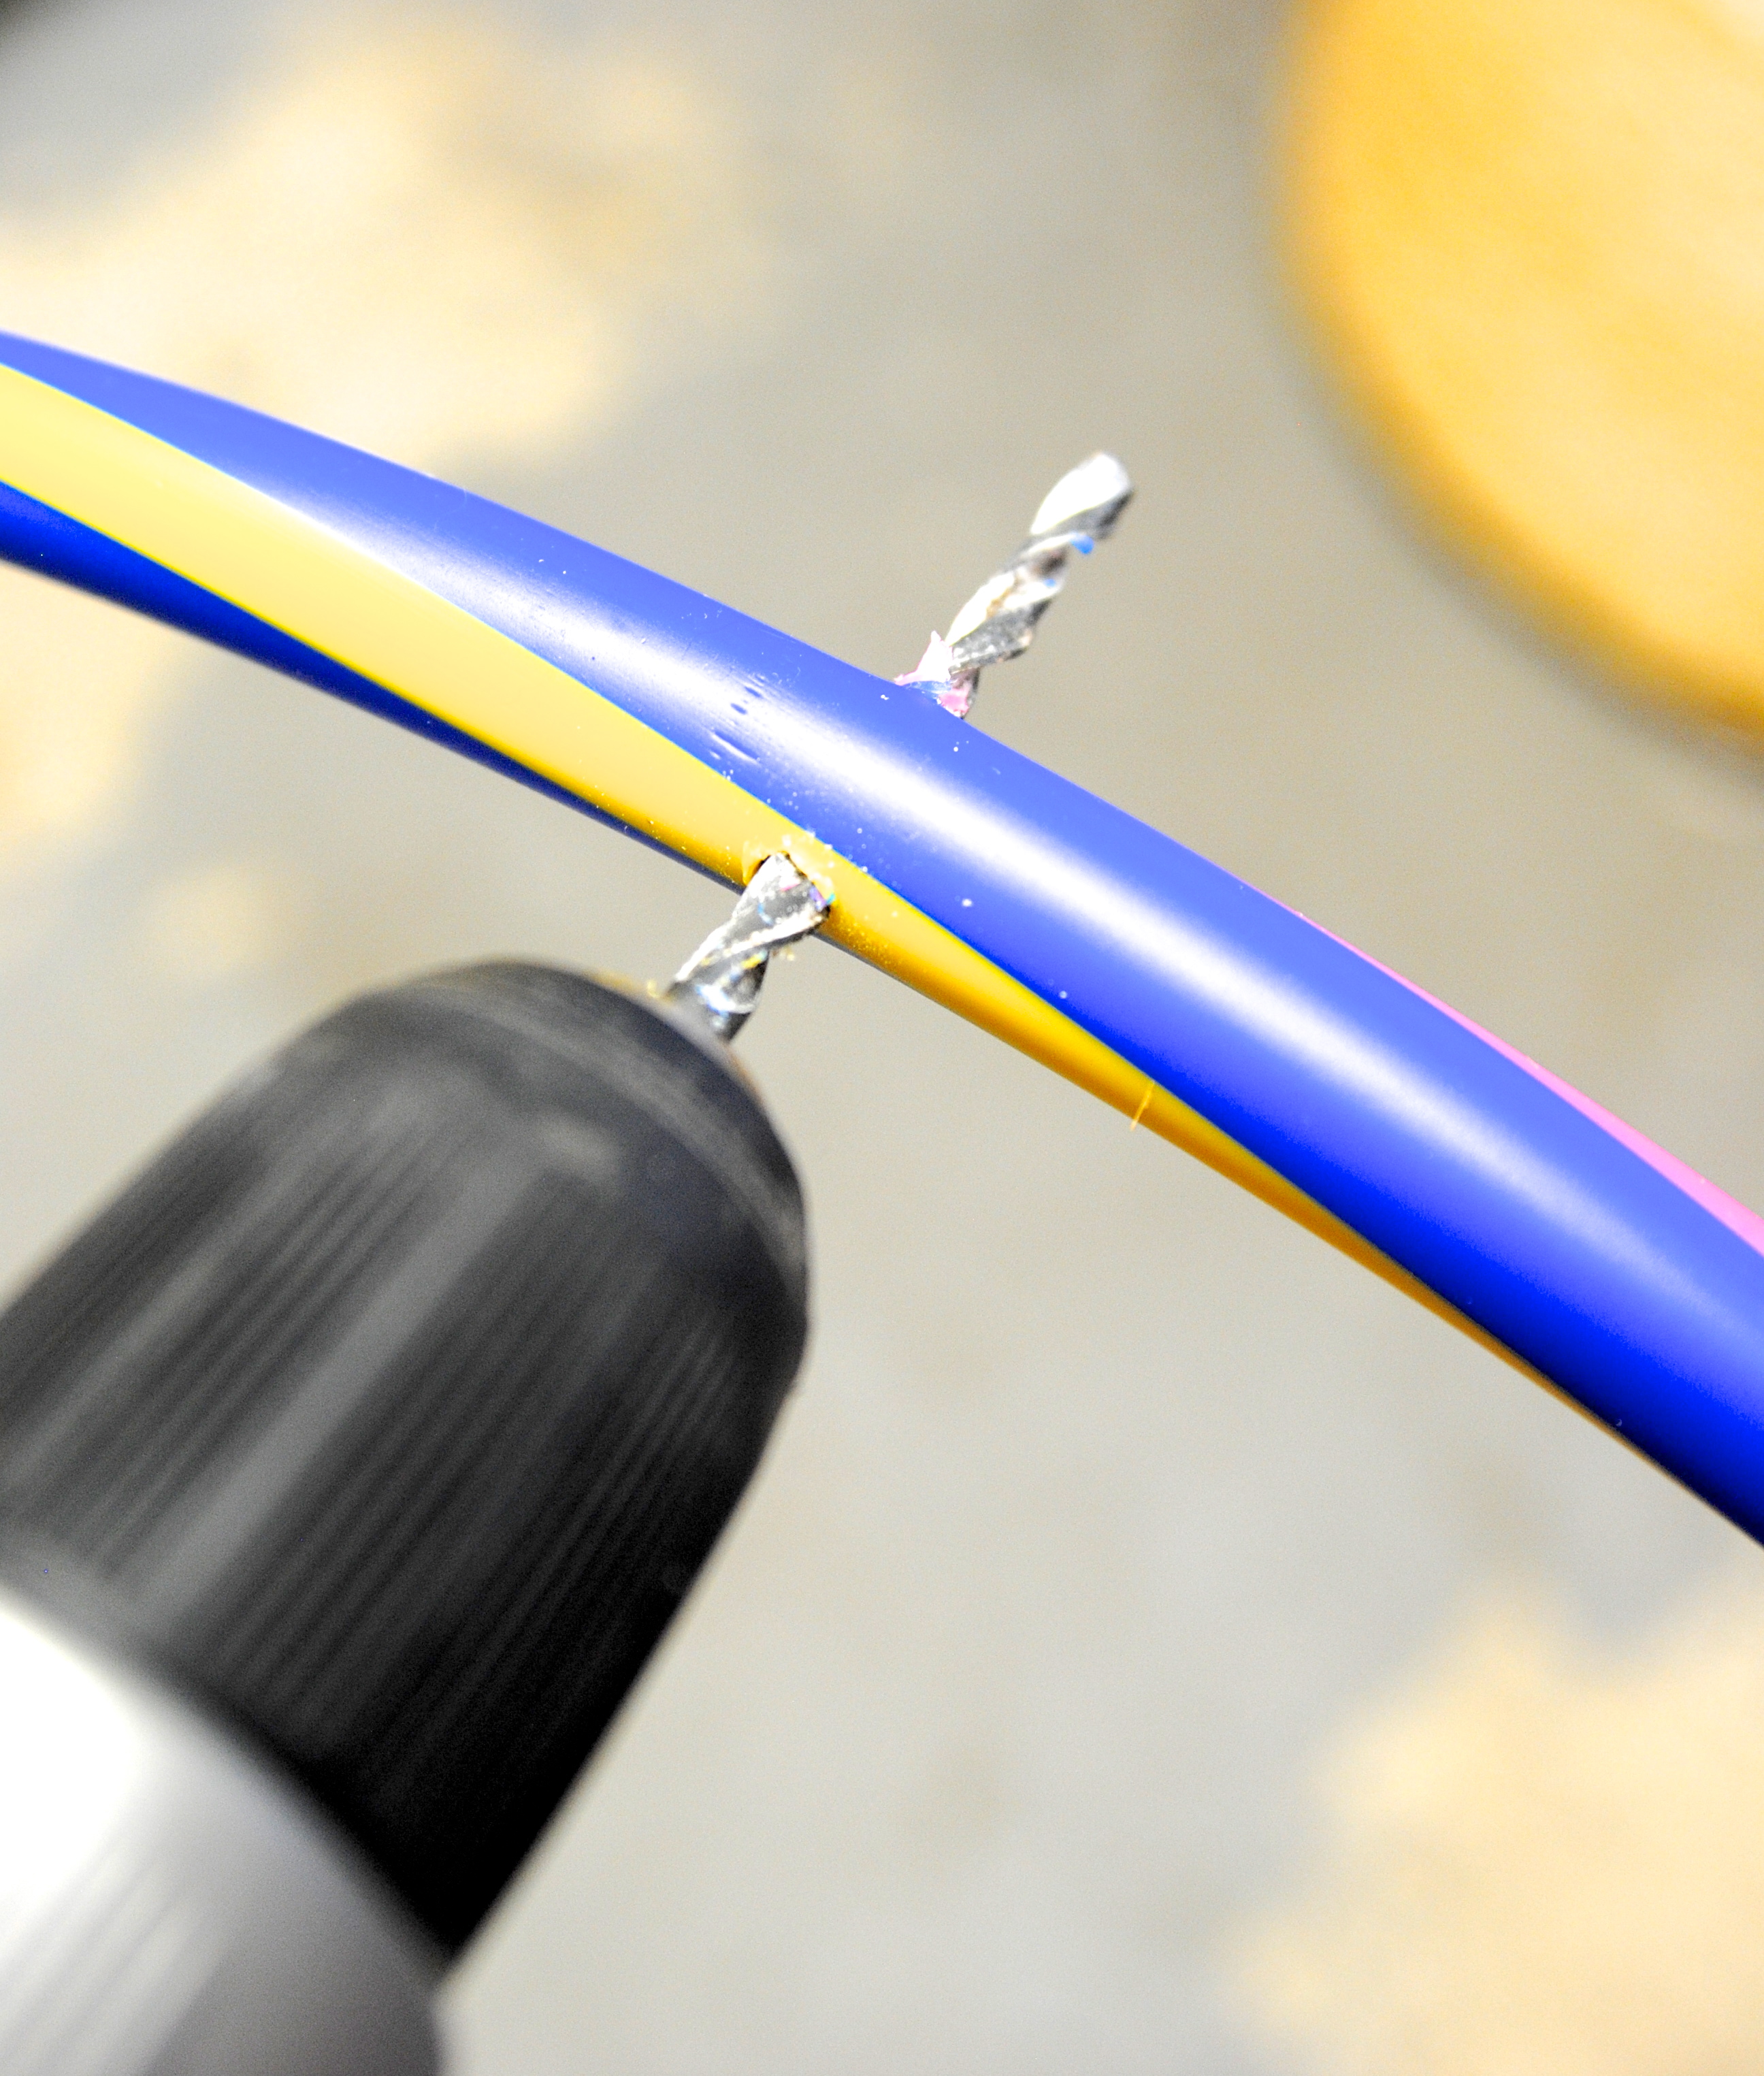
STEP ONE: First, drill four holes in the hula hoop. The holes should be opposite of each other and spaced evenly, one in each quadrant.
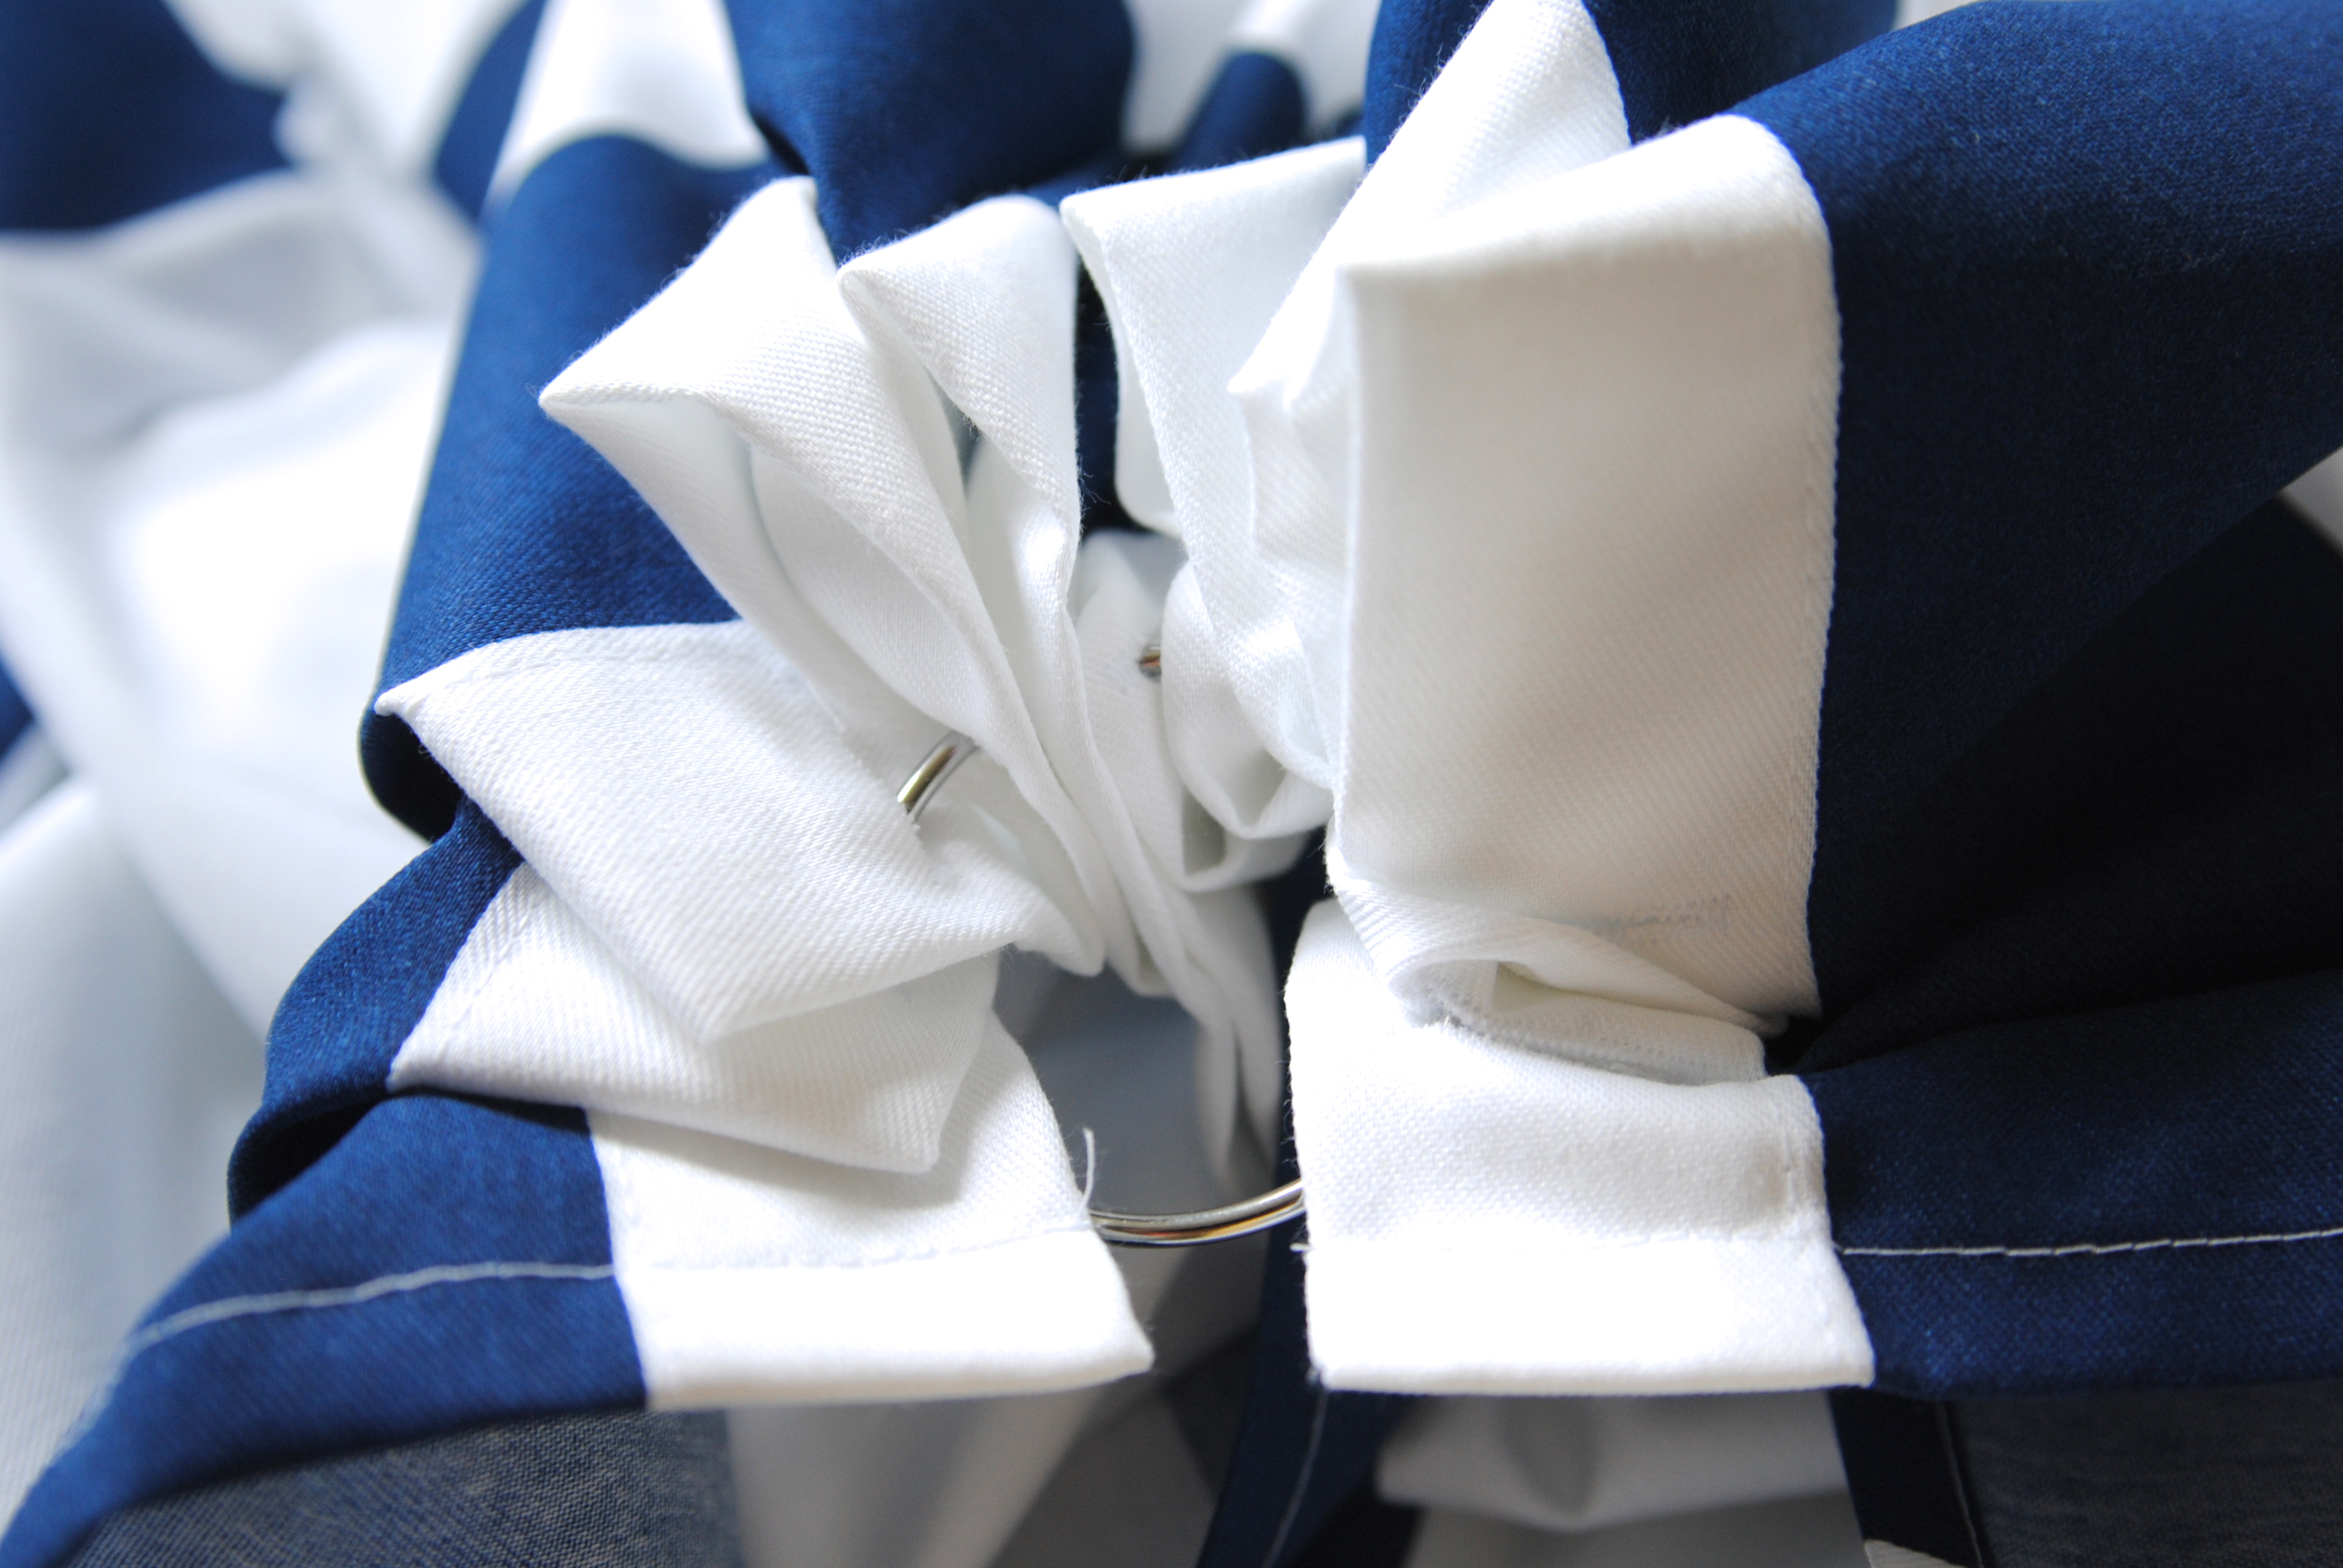
STEP TWO: Using one shower ring (or binder ring), gather the shower curtains. First add one, then the other, and close the ring. It’s a tight fit, but it works!
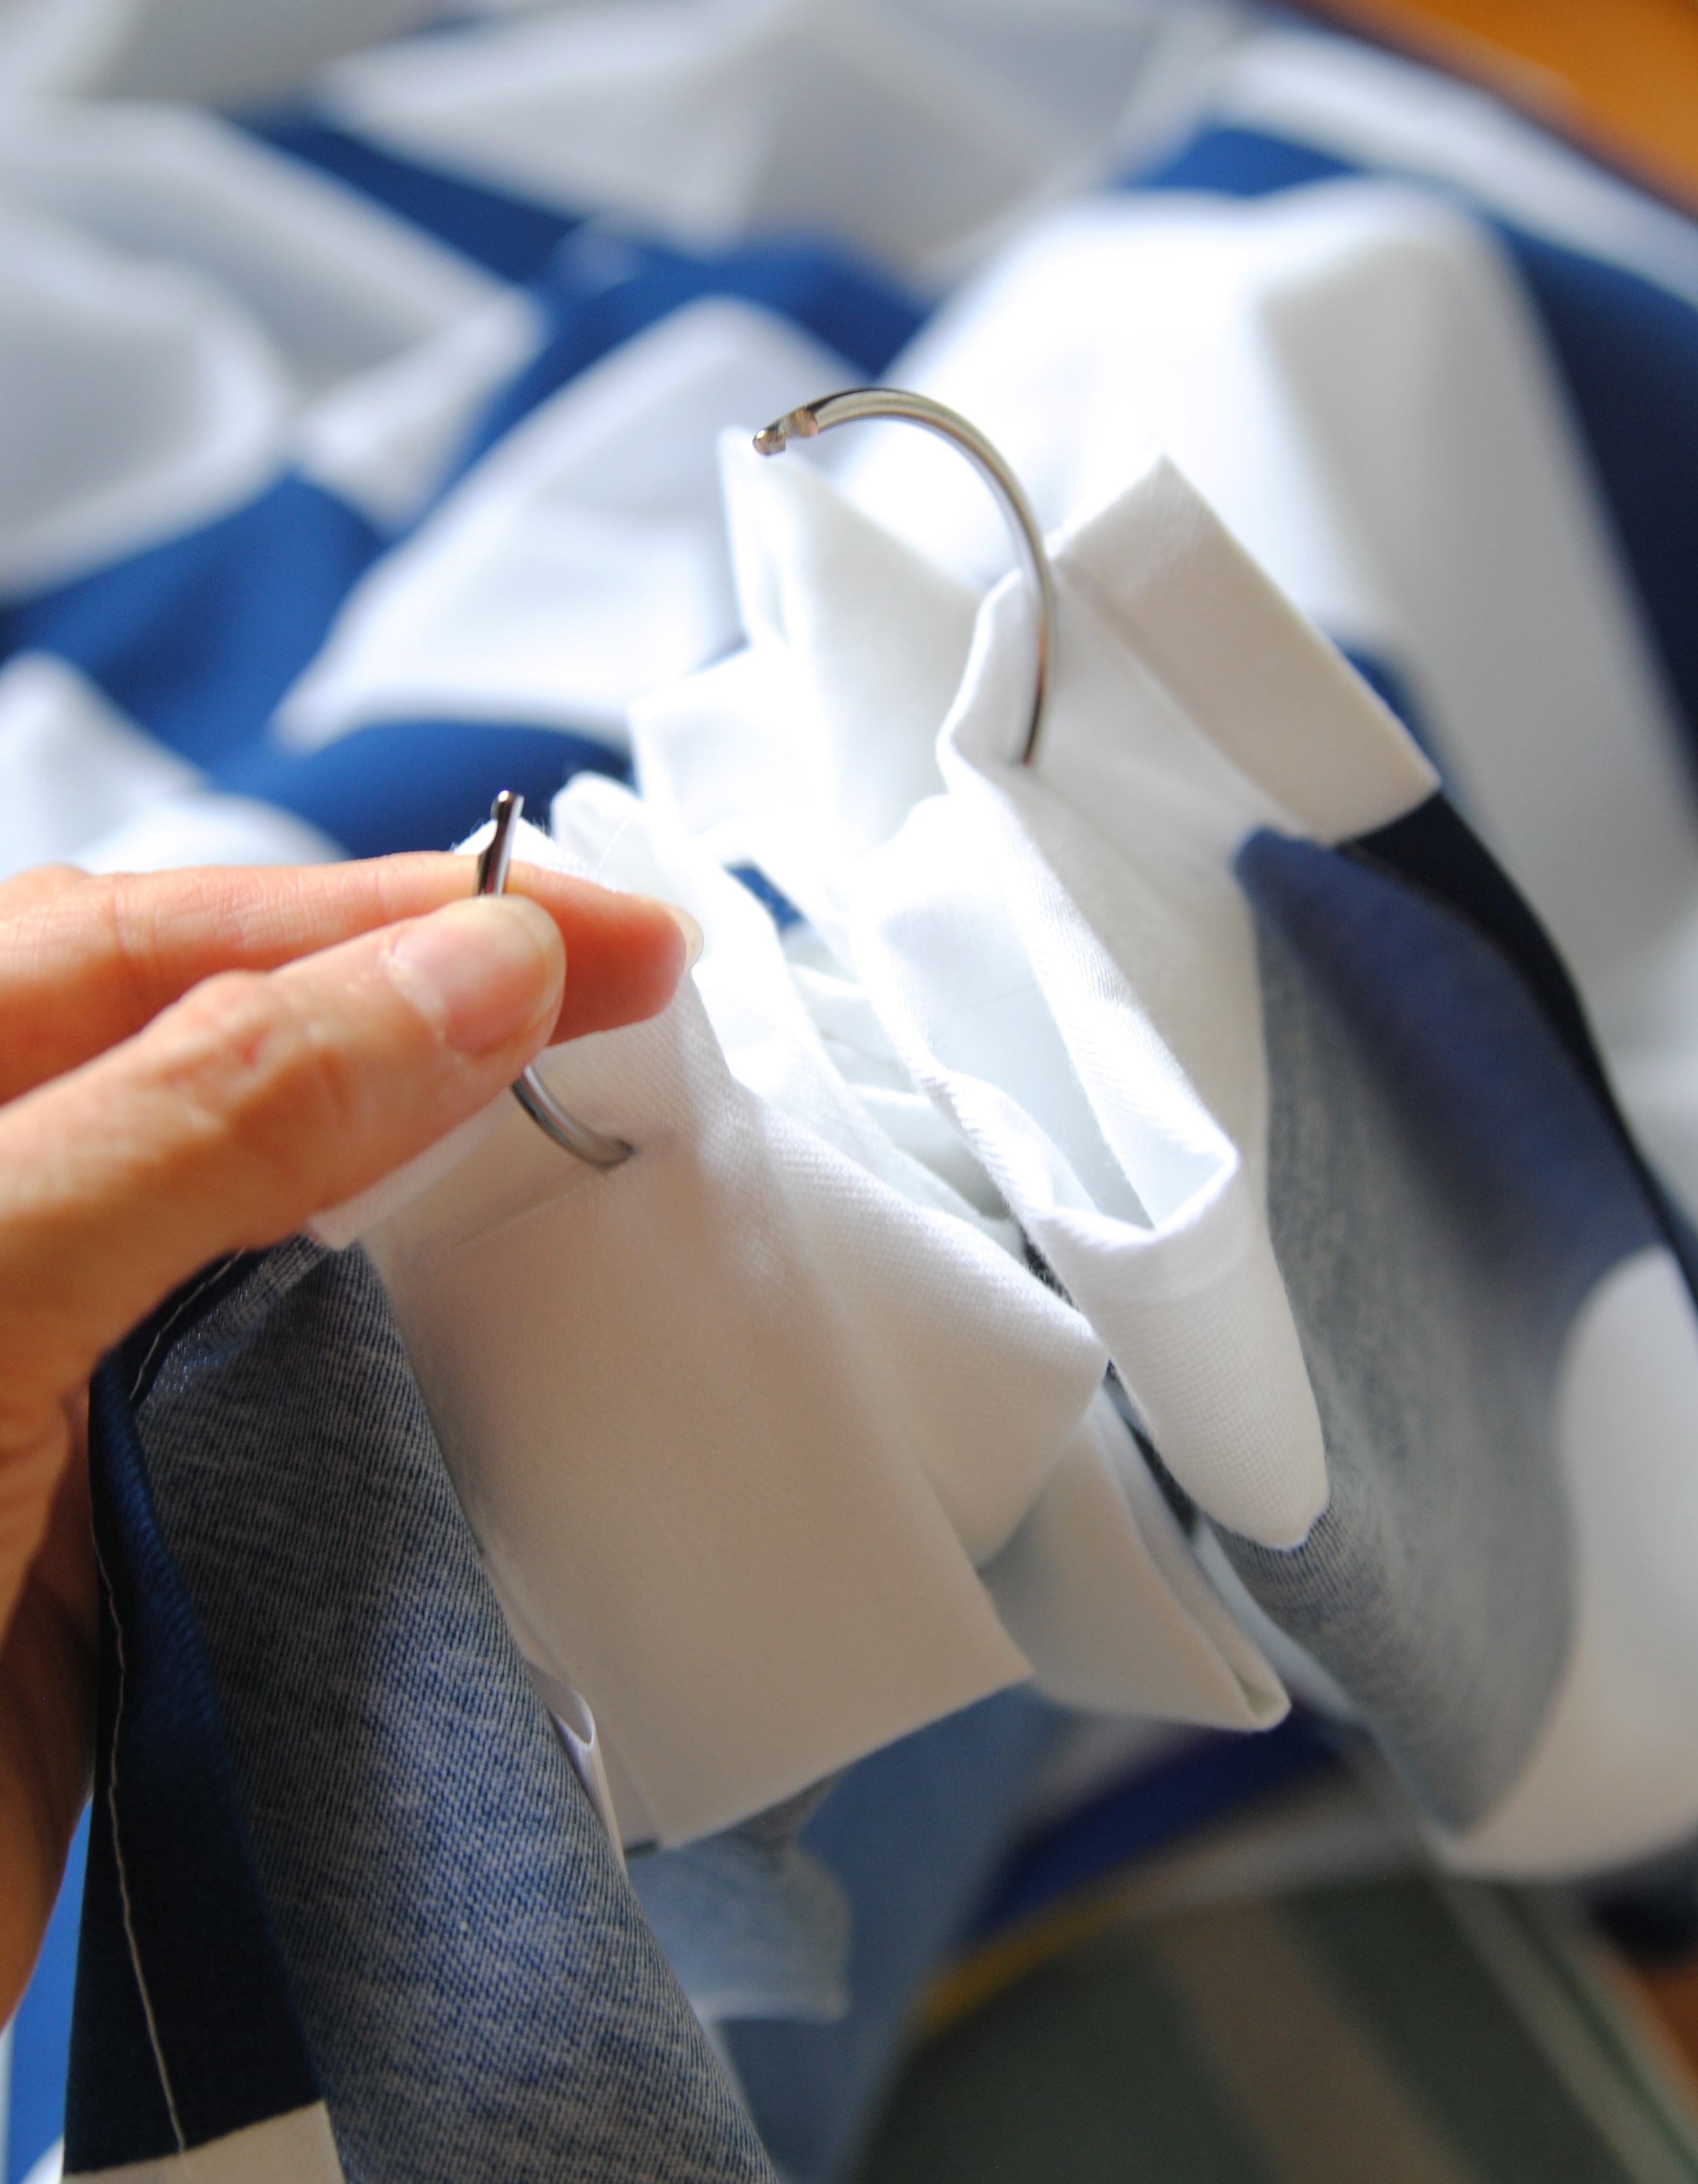
Here it is with one curtain attached, to illustrate how it looks when it’s closed.
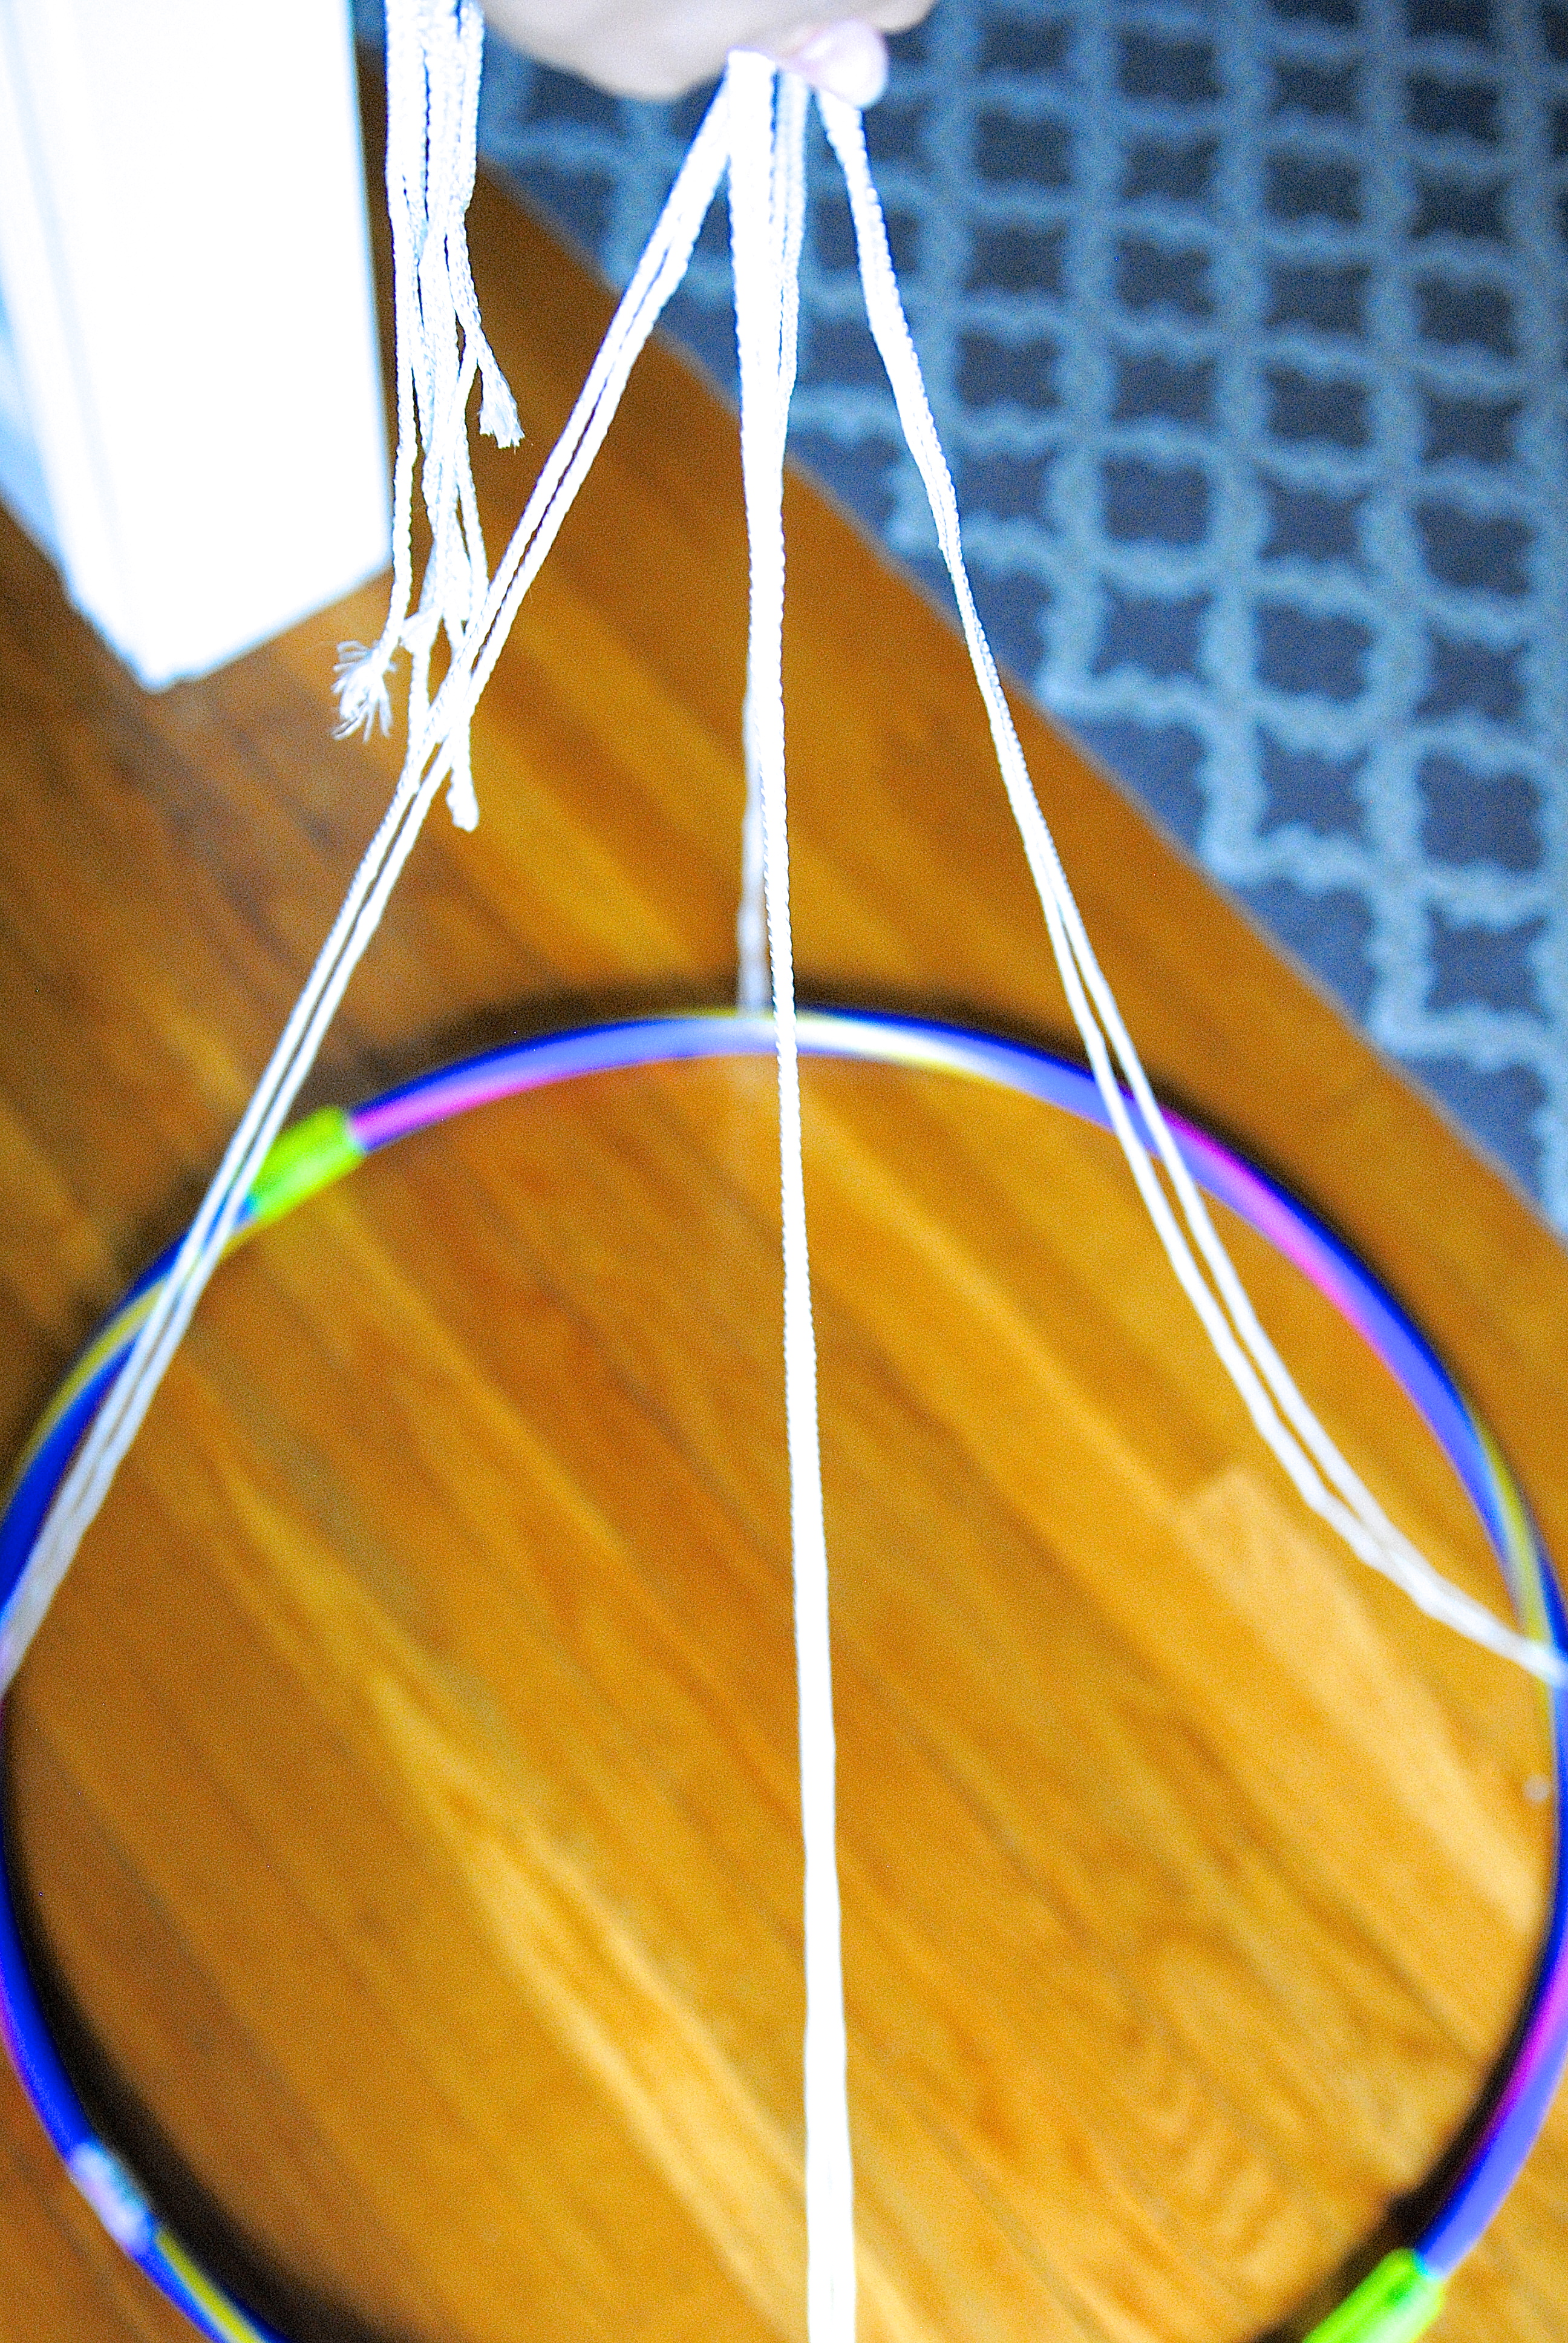
STEP THREE: Cut four pieces of nylon rope and pull through the holes in the hula hoop. The length should be enough to loop through the holes in the hula hoop and back up. Since ceiling heights and curtain lengths vary, I don’t want to give exact lengths but you should be able to hold the hoop up by the ropes and the hem of the shower curtains should align with the floor with enough room in the rope to reach the ceiling and tie off.

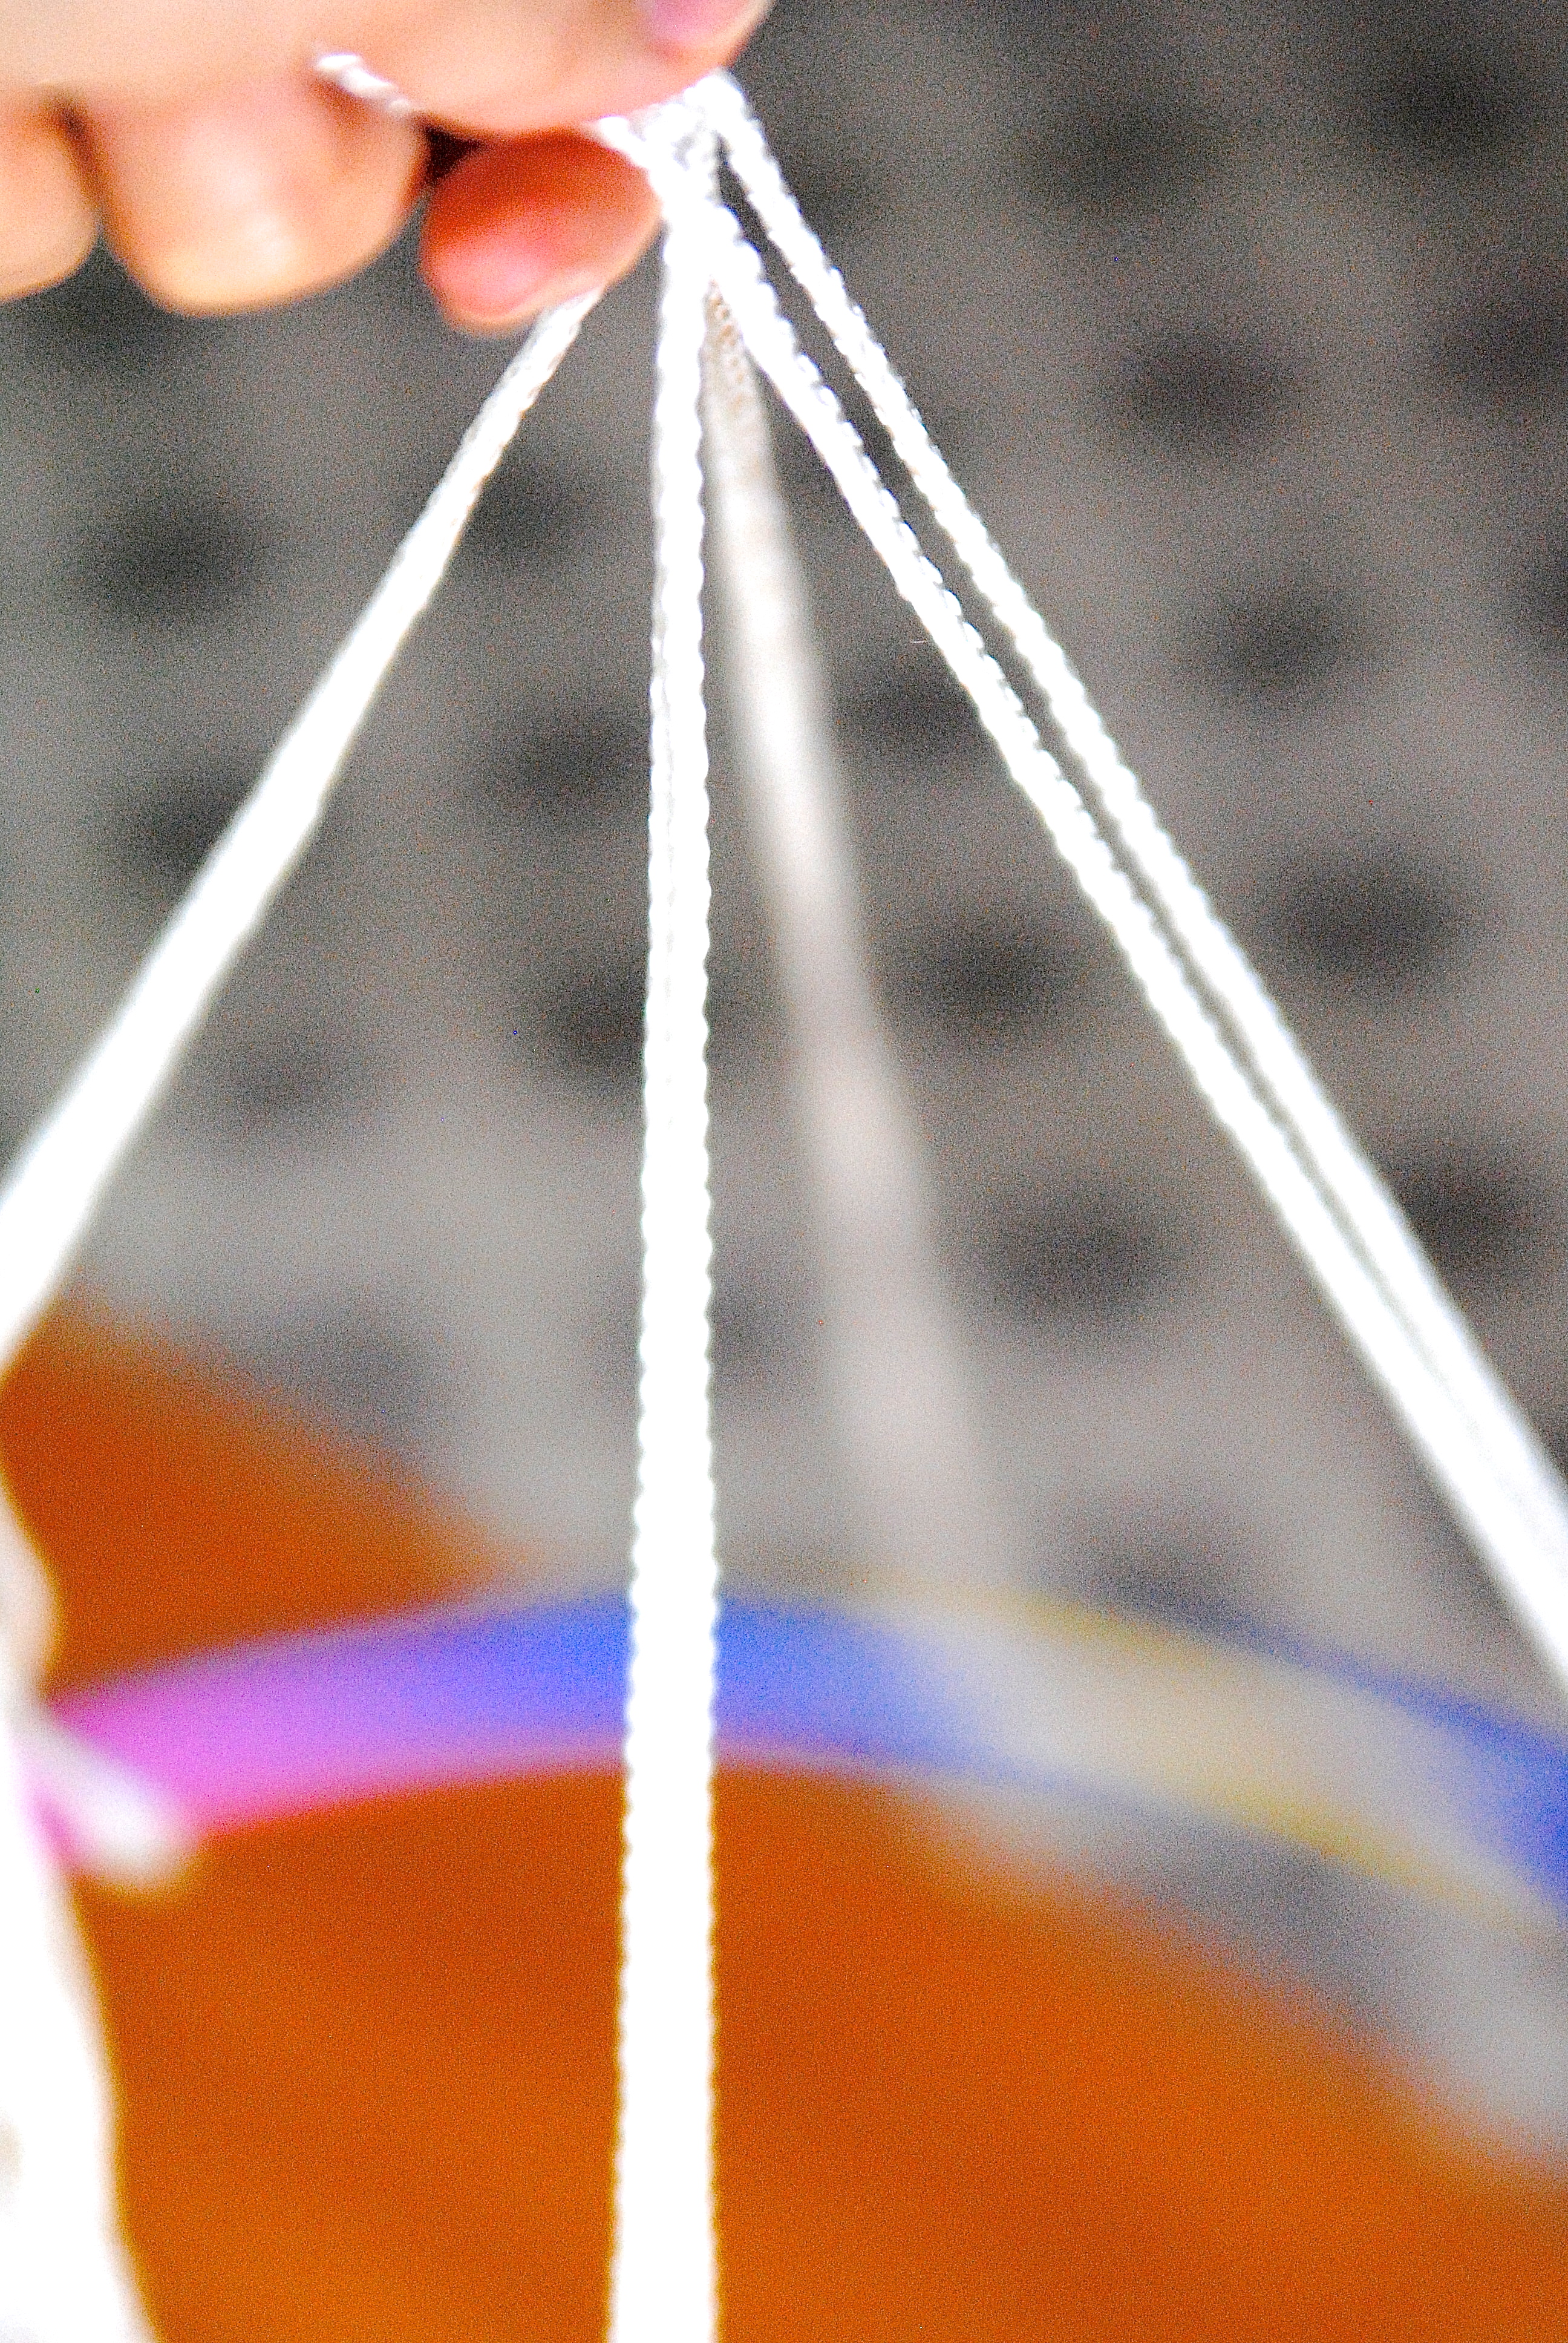
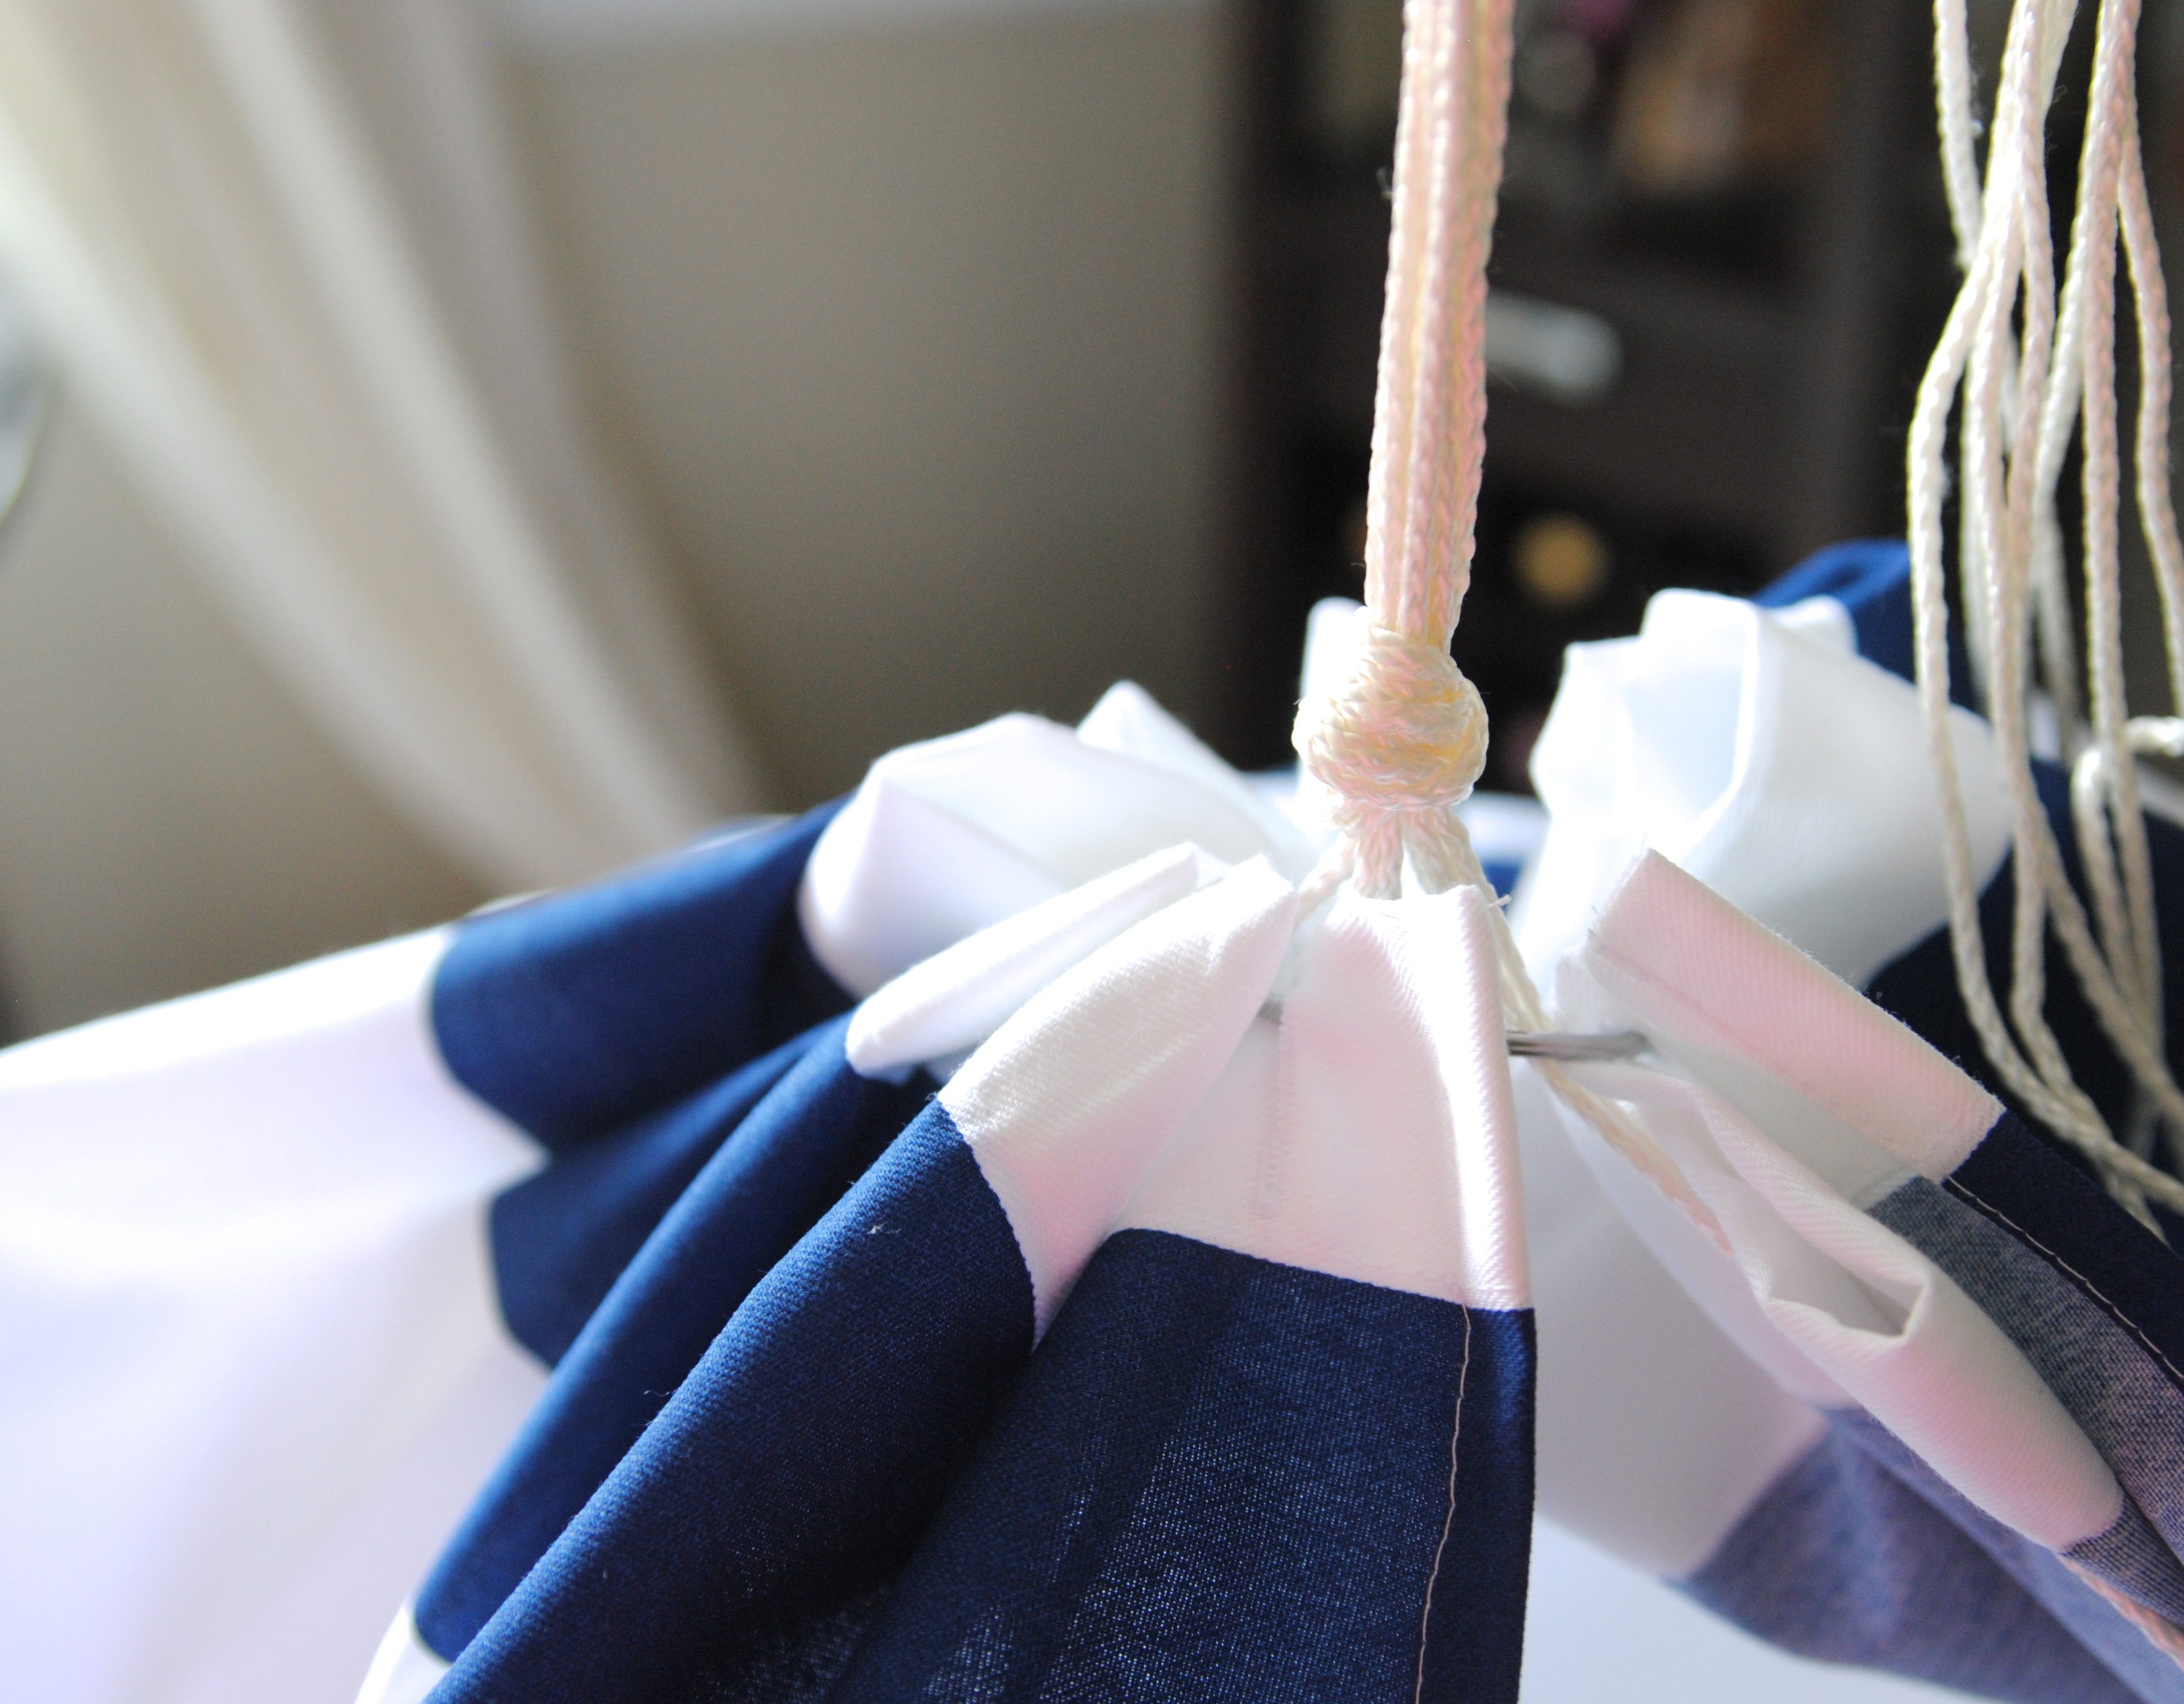
STEP FOUR: Gather all 8 ends of the rope and pull through the top ring in the center of the gathered shower curtains. Tie off to create the tent part of the canopy and leave a long tail in which to attach to the ceiling.
STEP FIVE: Install the ceiling hook. Follow the directions on the specific hook you bought. In a ‘I can’t believe I’m putting this photo on the internet’ moment, here is the picture my 7-year old took with my DSLR camera while I was installing the hook. It took me years to figure out how to use that dang camera and here she goes and nails it her first time. I call this one ‘Messy Hair Don’t Care’. And also ‘yoga pants are not my friend’.

STEP SIX: This gets tricky to explain, so use your intuition and what works for you. I tied another knot at the top of the ropes and then used a shower curtain ring to hang that to the hook. NOW. The shower curtain ring doesn’t hold much weight, so this may not be the best method. You will find a better method. Go with that one. For now, this works for us until I can find a stronger ring.
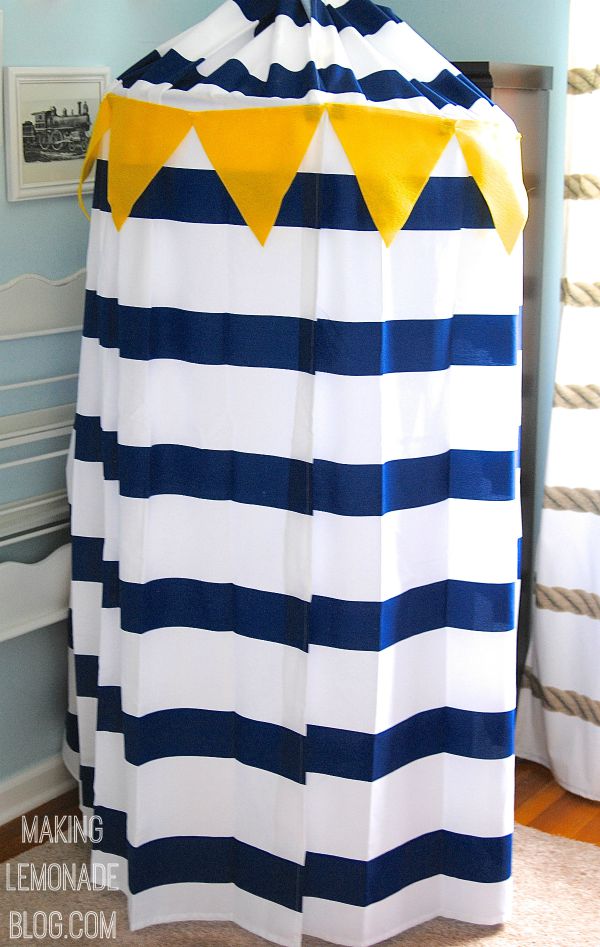
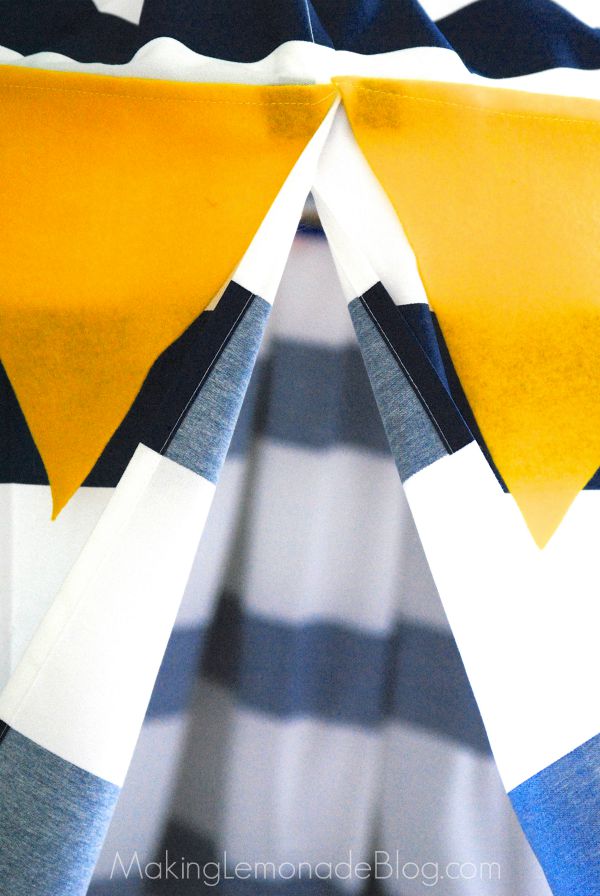
STEP SEVEN: Finishing touches! First, use velcro to secure the shower curtains together at the top of the hula hoop.
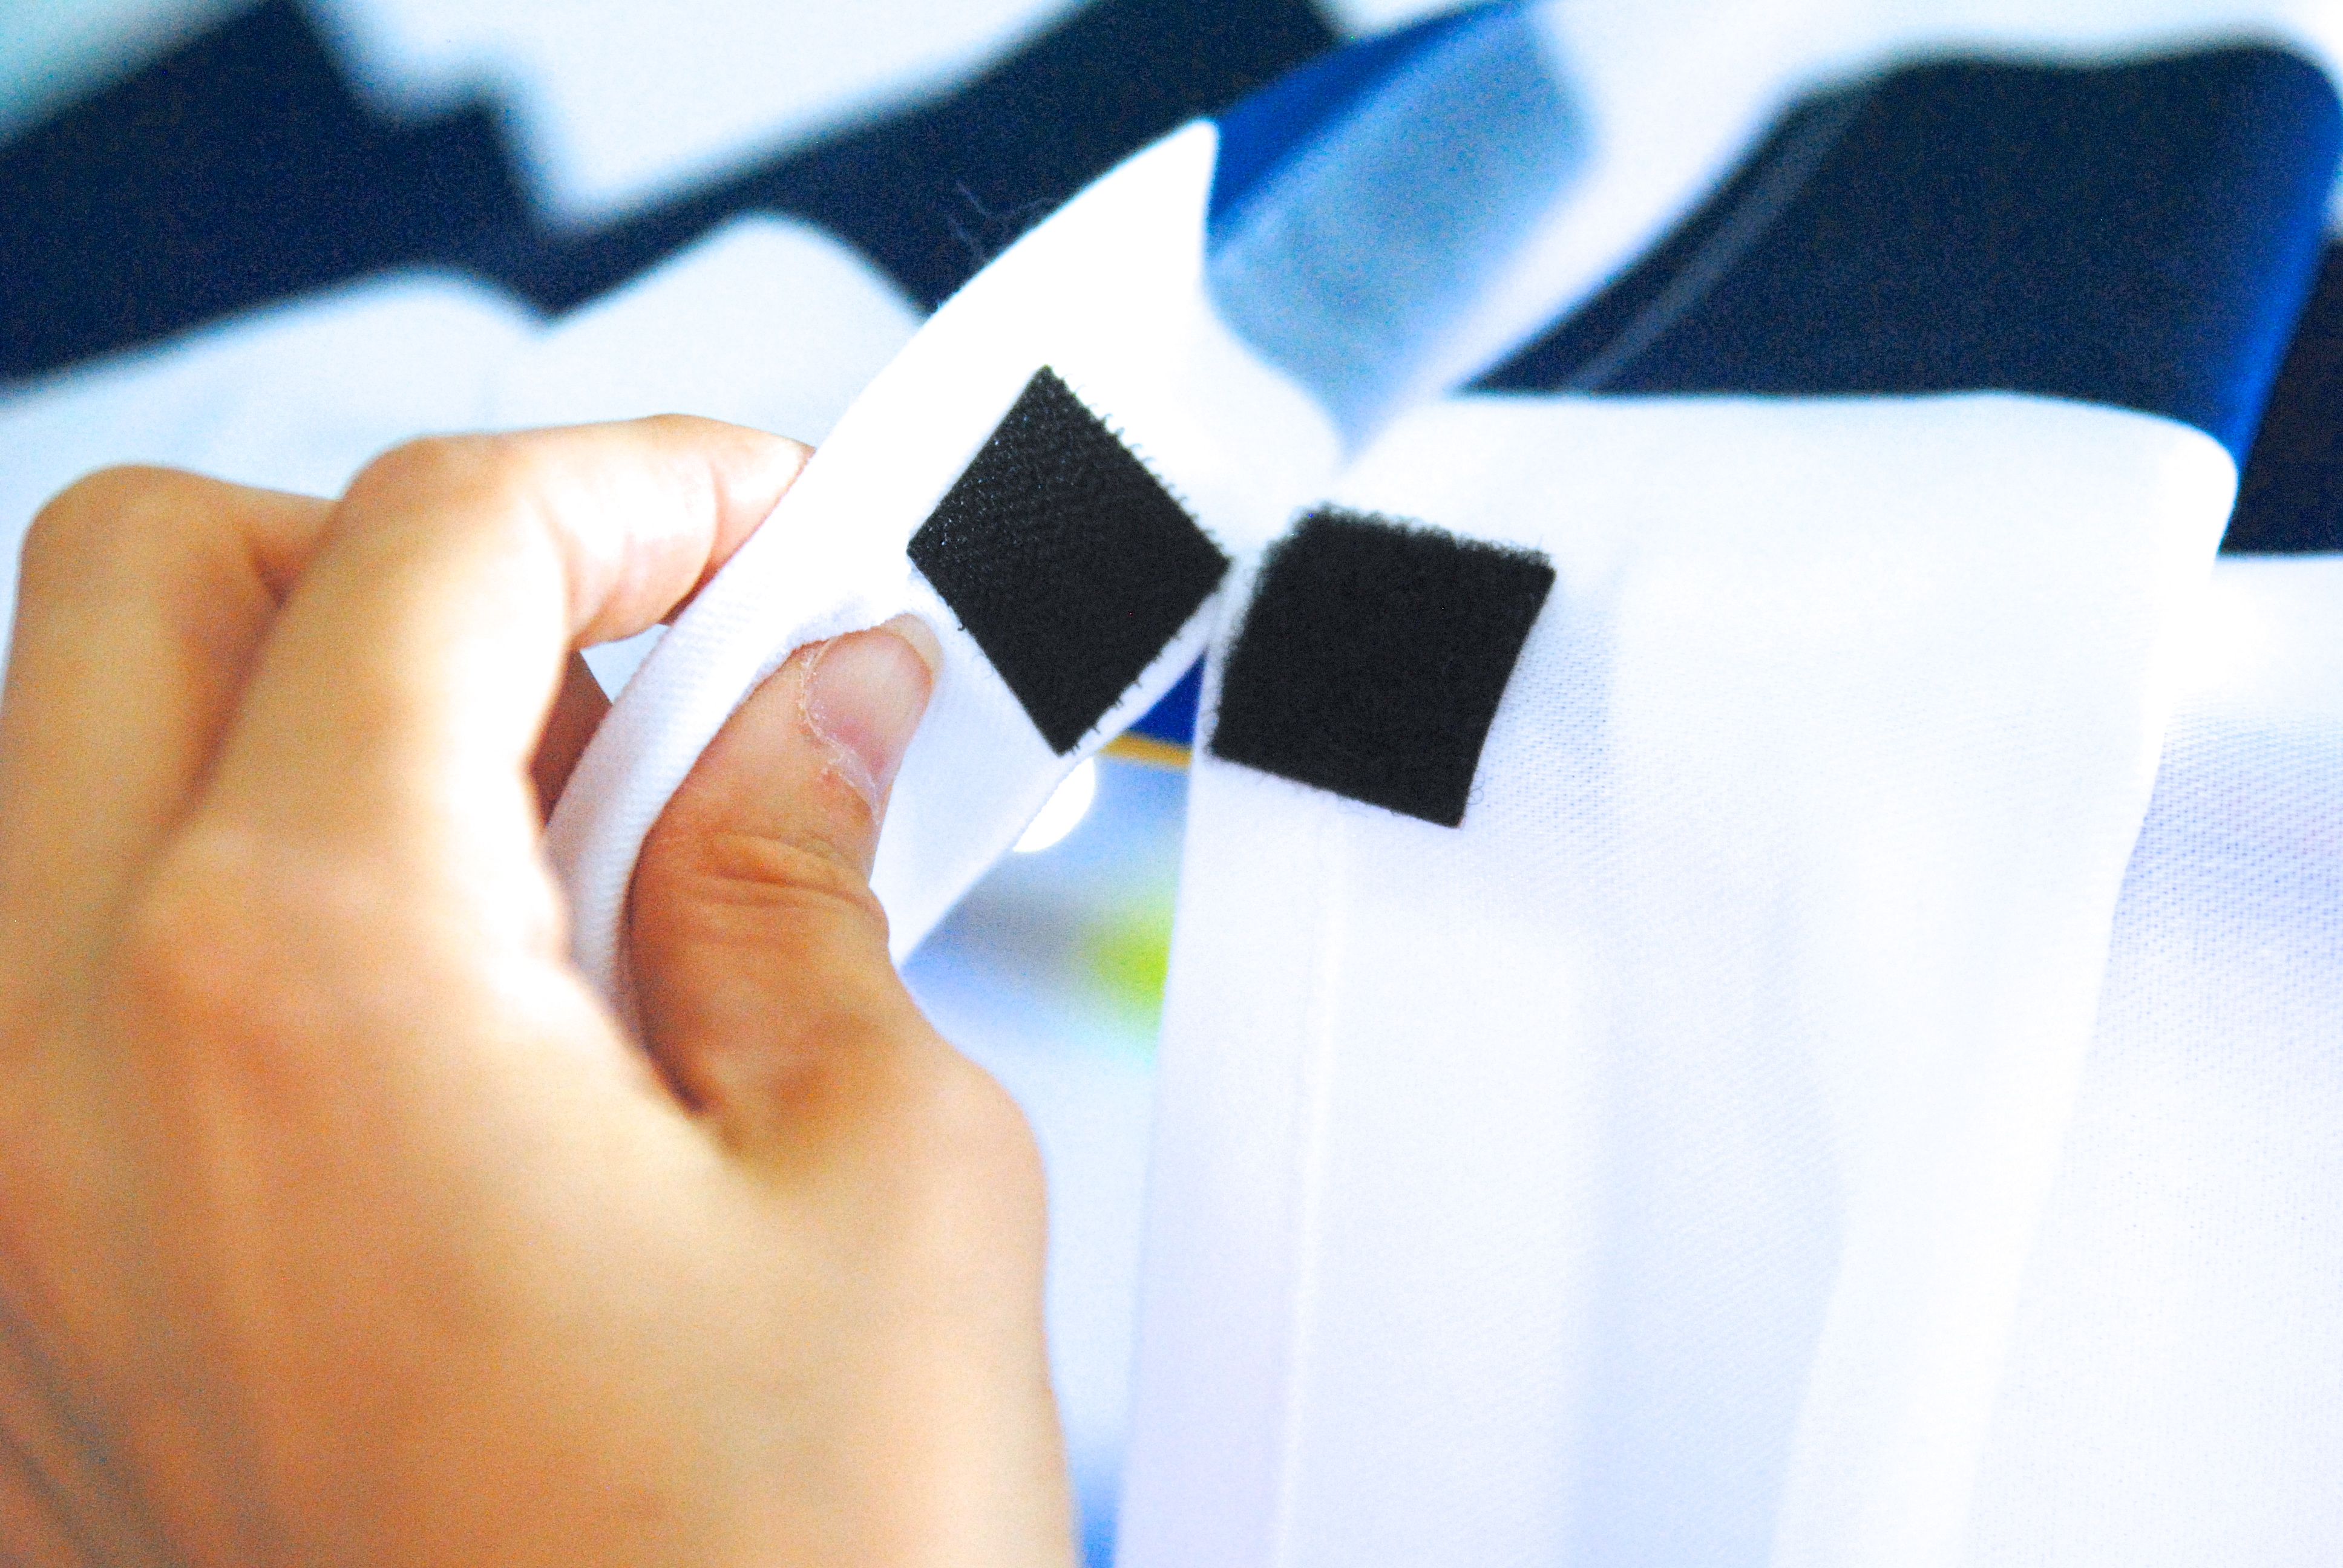
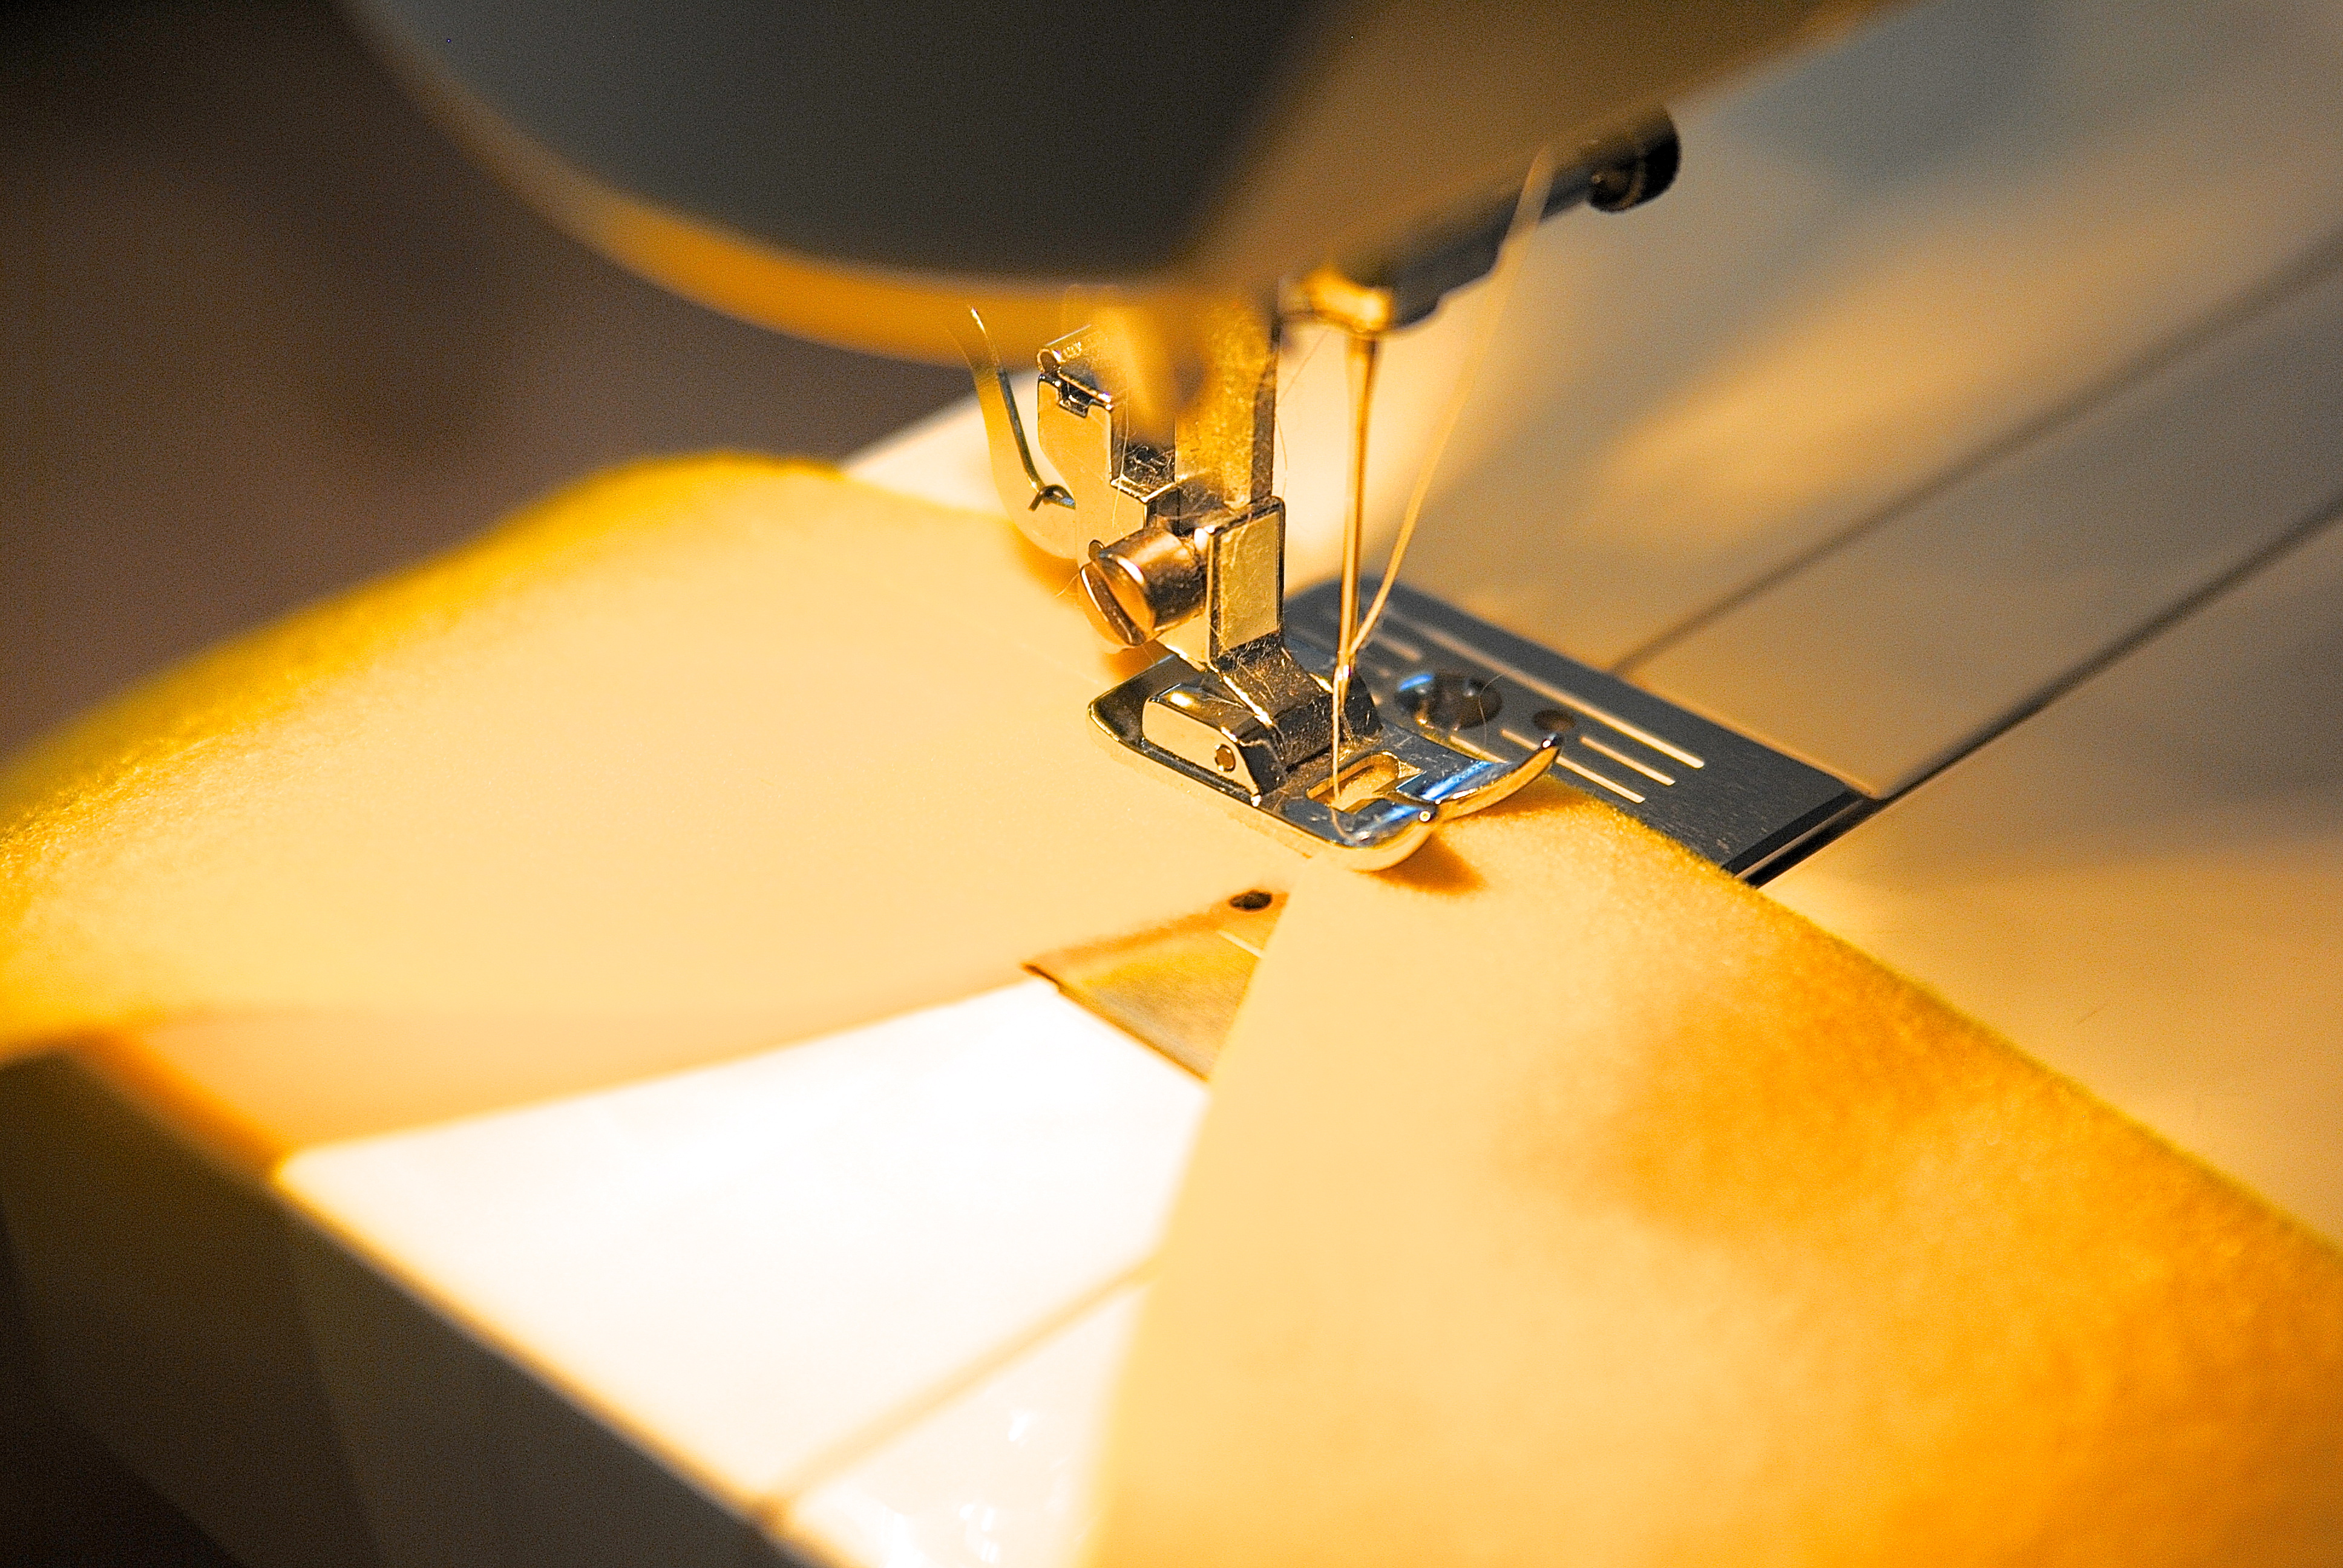
Then, make the flag bunting. I did call this a no-sew tent, but the truth is I sewed the bunting because that requires the sewing skills of a 5th grader, which is more my level, no offense to fifth graders. 🙂 You can definitely do this no-sew, just use velcro to attach the flags to the tent instead of sewing them together. To create the bunting flags, I cut out triangles of equal size and ran them through the sewing machine at the top. Then, velcro dots attached them to the tent. I would have loved to use white velcro so it shouldn’t show through the felt but was on a time crunch and black was all they had.

STEP EIGHT: My kids love that there’s two ‘doorways’ (since there’s two shower curtains), but if you only want one entry point then use velcro to secure the back seams. Another finishing touch is to either sew (or velcro, of course) ribbon closures on the front. We didn’t get fancy, which means this project took just an hour to finish!
It’s hard to see in the photos, but we also added battery operated fairy lights around the hula hoop to make it glow. It looks gorgeous inside the tent and also at night.
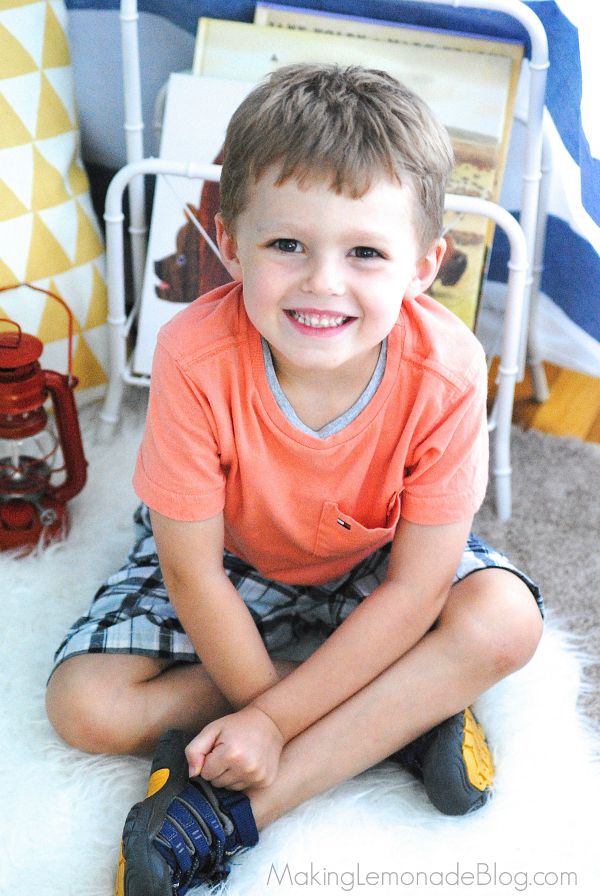
I think he likes it.
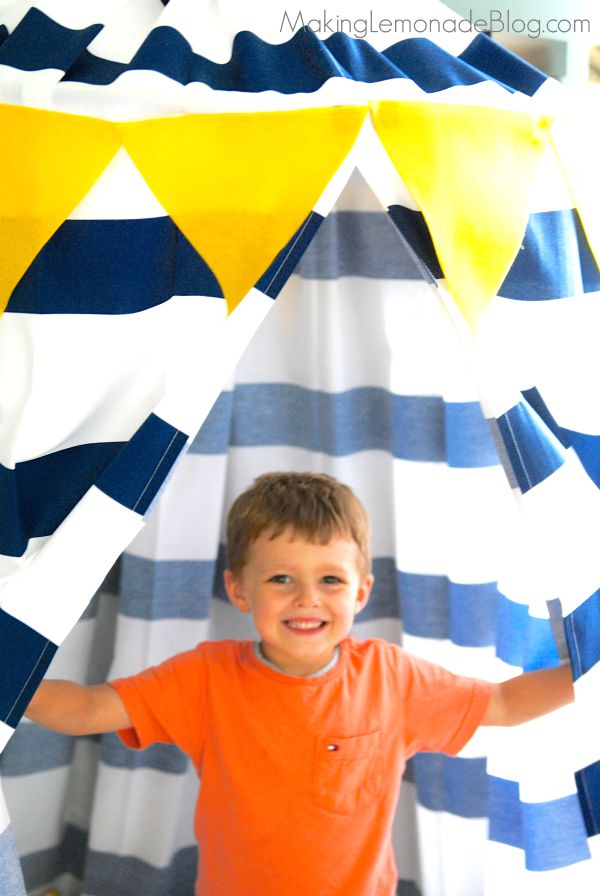
I think she does too.
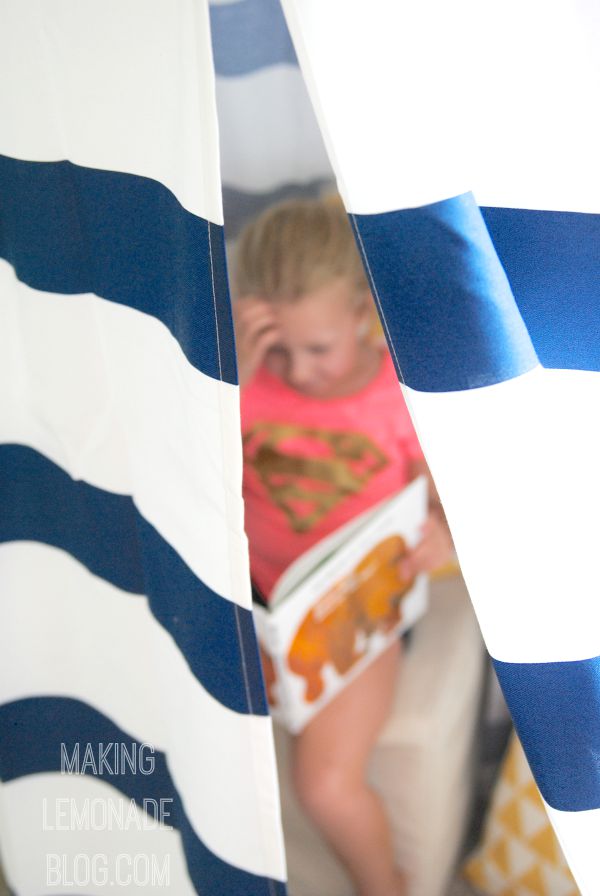
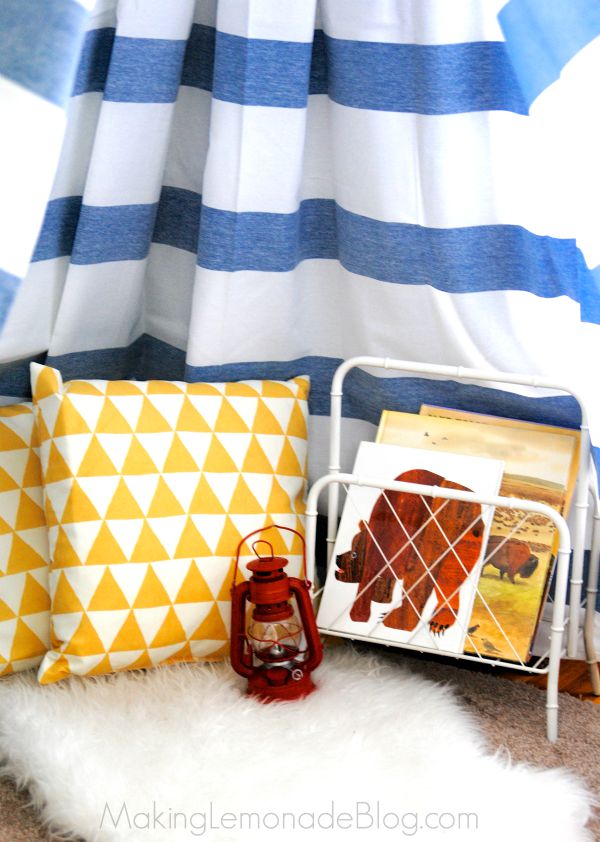
In fact, I heard them giggling at 6:30 this morning as they played ‘camp’, filling the tent with books and lanterns and ‘camping’ gear. Certainly an unintended side effect.
Costing $130 LESS THAN the catalog version, my kids think this DIY no-sew kids’ canopy play tent is a winner. So does my wallet.
If only I’d channeled my inner MacGyver made it years ago when I first started thinking about it. SO MUCH WASTED TIME.
Now where’s my duct tape, tennis racquet, and rubber bands? I have a swingset to DIY! 😉