How to Make a No Sew Metallic Table Runner
This post may contain affiliate links for your convenience. Read my full disclosure policy here.
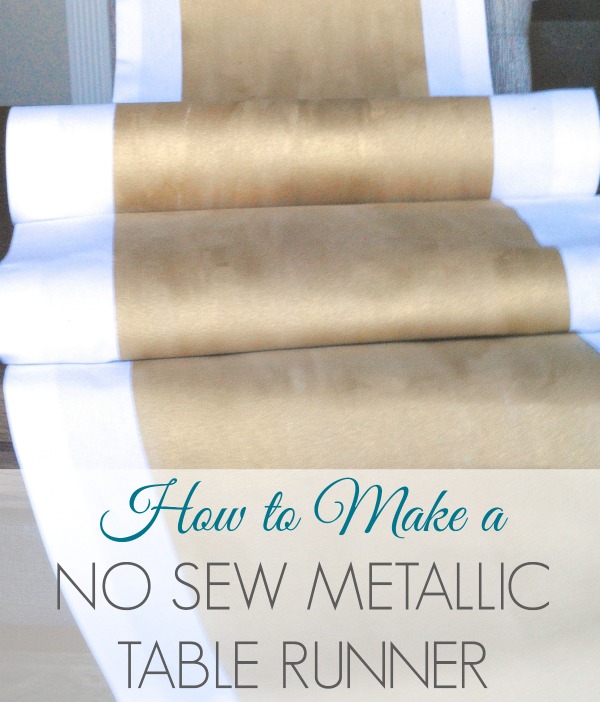
While I dream about buying the entire inventory of West Elm (no, literally, I DREAM about it) it simply wouldn’t be a wise budgetary decision. So I know when to hold them, when to fold them, and when to DIY my own no-sew metallic table runner in both silver AND gold. BOOYAH.
I’ll give you a moment to get the Kenny Rogers song out of your head.
Most of my DIY projects are easy– and this one IS, don’t get me wrong!– but it does take a little longer than most of my tutorials. Even though these table runners are no-sew, they took about 2 hours each to make. They would have taken less, had I decided to make them at the same time. BUT LIKE A CRAZY PERSON I MADE ONE IN GOLD, THEN DECIDED I NEEDED ANOTHER IN SILVER. They’re my new favorites though, and well worth the effort and crafting time I rarely allow myself to have.
I started off with a nice, heavy white fabric from JoAnns. I wanted it to have the texture and feel of fine linen napkins, and I think that’s the key to getting a high end look. The fabric was only about $5 a yard on sale, so despite the luxurious feel they were very low cost!
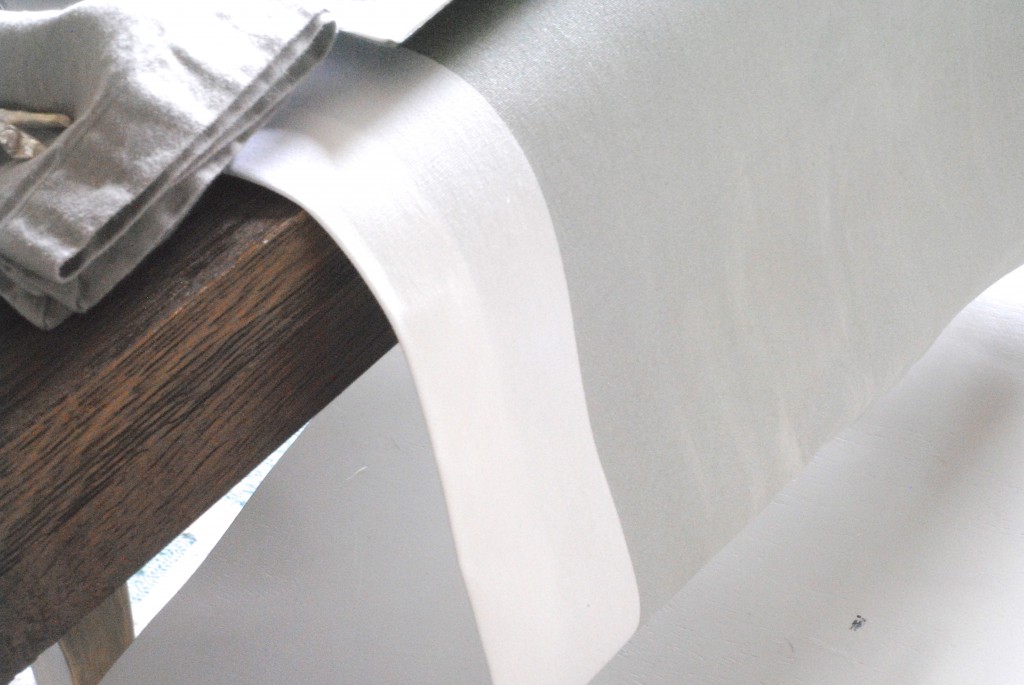
1. Wash and dry your fabric. I’m not going to lie, I didn’t do this. But I should mention it because technically you’re supposed to wash the sizing off your fabric if you’ll be painting it. I’ll let you make your own choice on this one. 😉
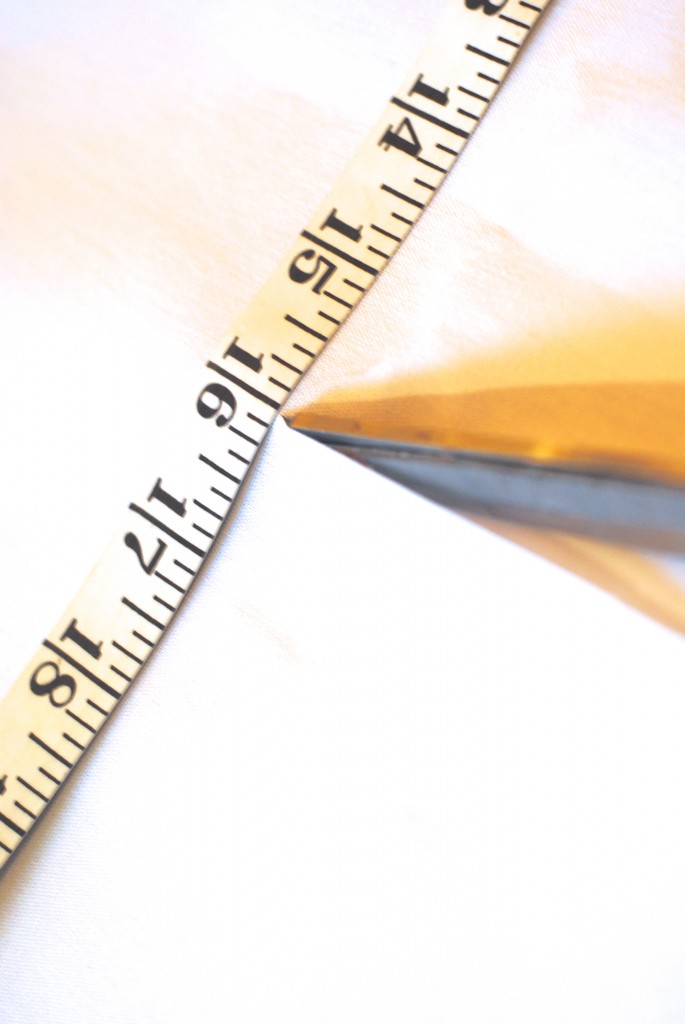
2. Iron the fabric which will make your measurements more precise. Measure and cut. I made the width at 16″ (final runner will be 14″ wide). Your length will be determined by where you want to place it– cut it long enough to give it a little drape over the edge of your table on both sides (plus 2″ which will become the hems).
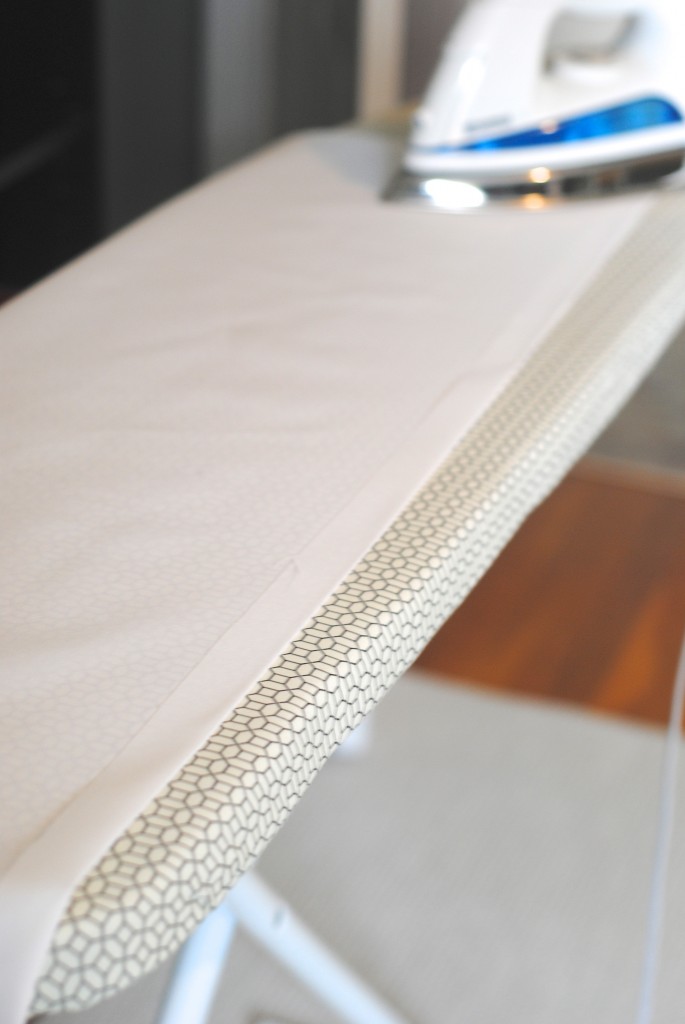
3. Starting on one end, iron a 1″ hem. Move around the fabric, doing this on each side. Pre-ironing will make adding the no-sew tape a snap.
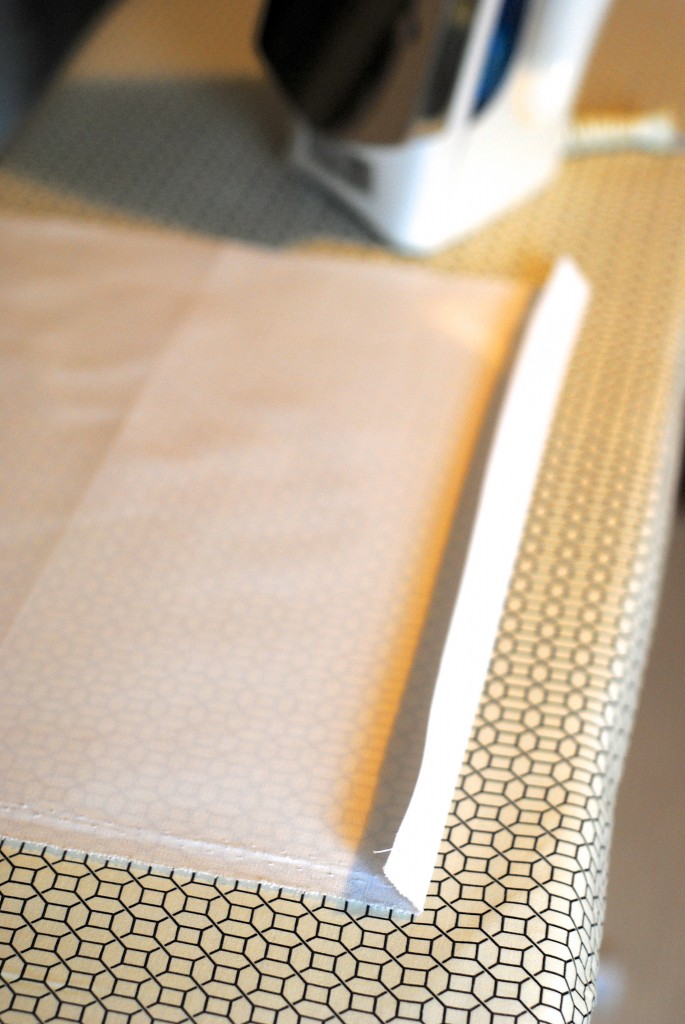
4. Now that you have an ironed hem, place your fusible webbing tape (or no-sew iron-on hem tape, whatever you are using) in the crease. Iron as directed.
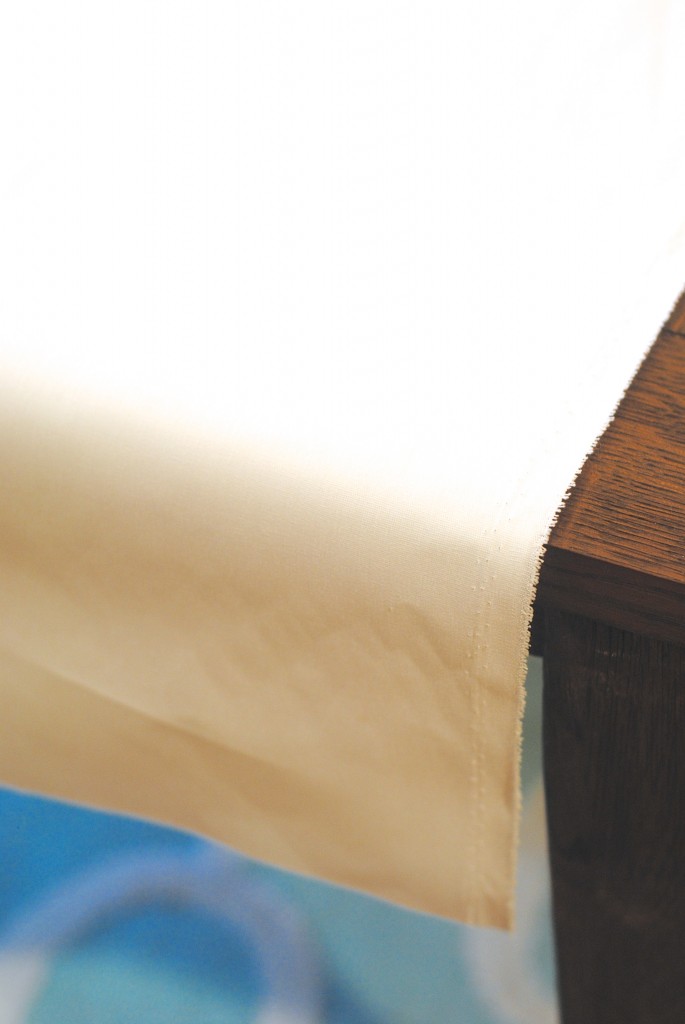
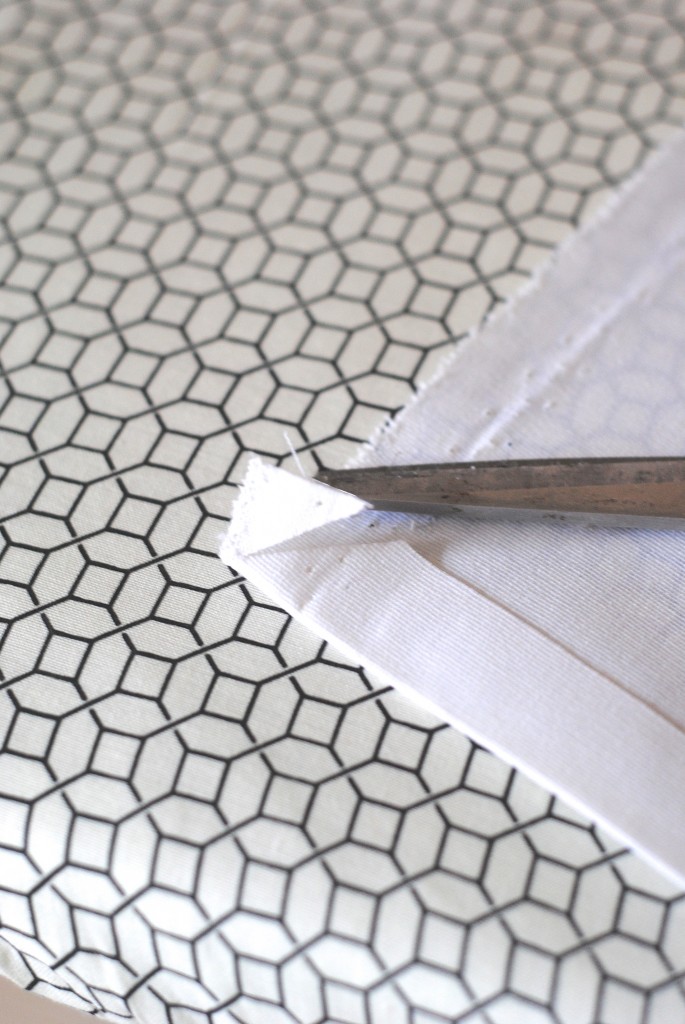
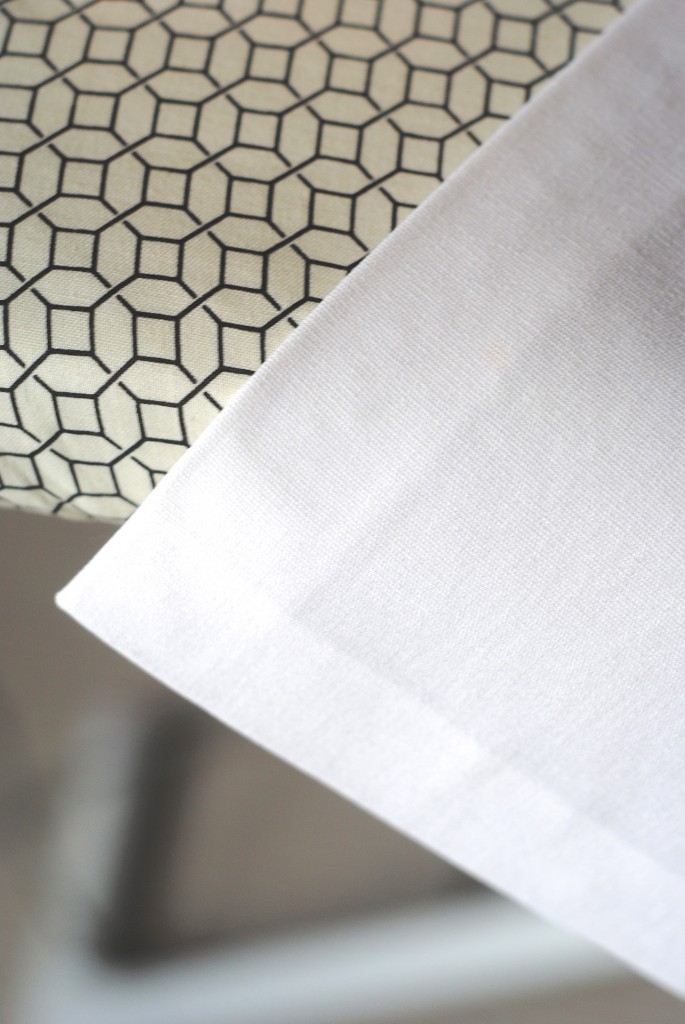
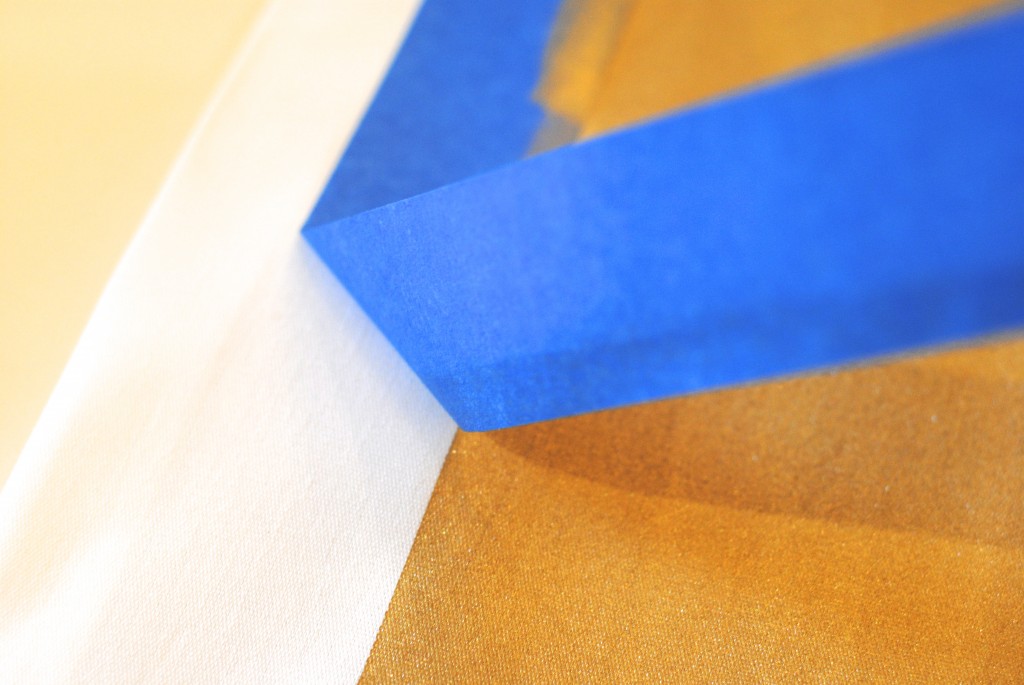
5. When you reach a corner, snip a little triangle out as shown which will make your hem lay flat. This makes PERFECT corners, it’s so worth the extra minute!
Isn’t it so perfect so far! Eeeep!
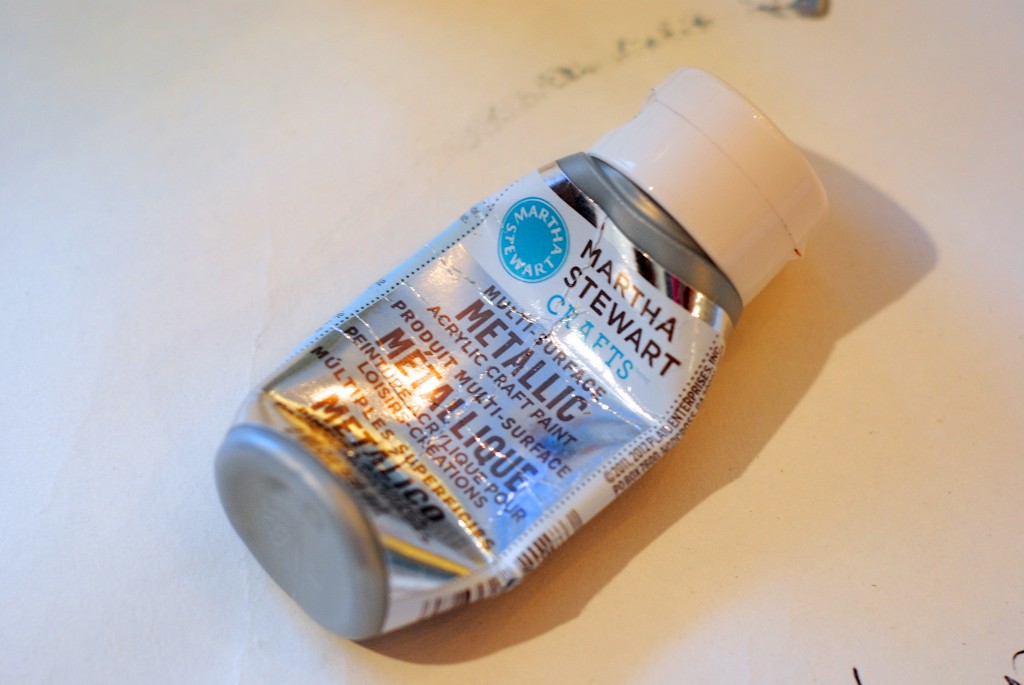
6. Next comes the paint. Make sure your surface is well protected as the paint might seep through the fabric. Combine your paint with a paint fabric medium (the bottle of the fabric medium will have directions). I used the Martha Stewart metallic paint because I knew the quality and color would be great, and it took an entire small bottle for each runner.
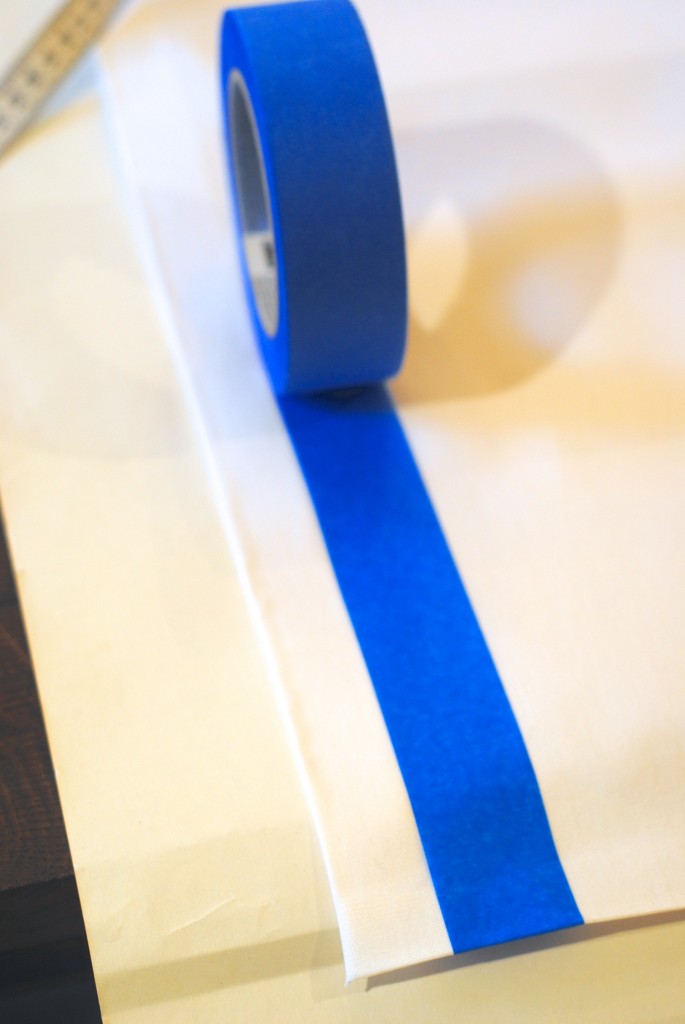
7. Using painter’s tape, mark your edges for the paint. Run the tape up either side of the entire length of the runner. I simply used the hemline as a guide to keep my tape lines straight. I also made sure to measure all along the way to make sure the tape was evenly spaced.
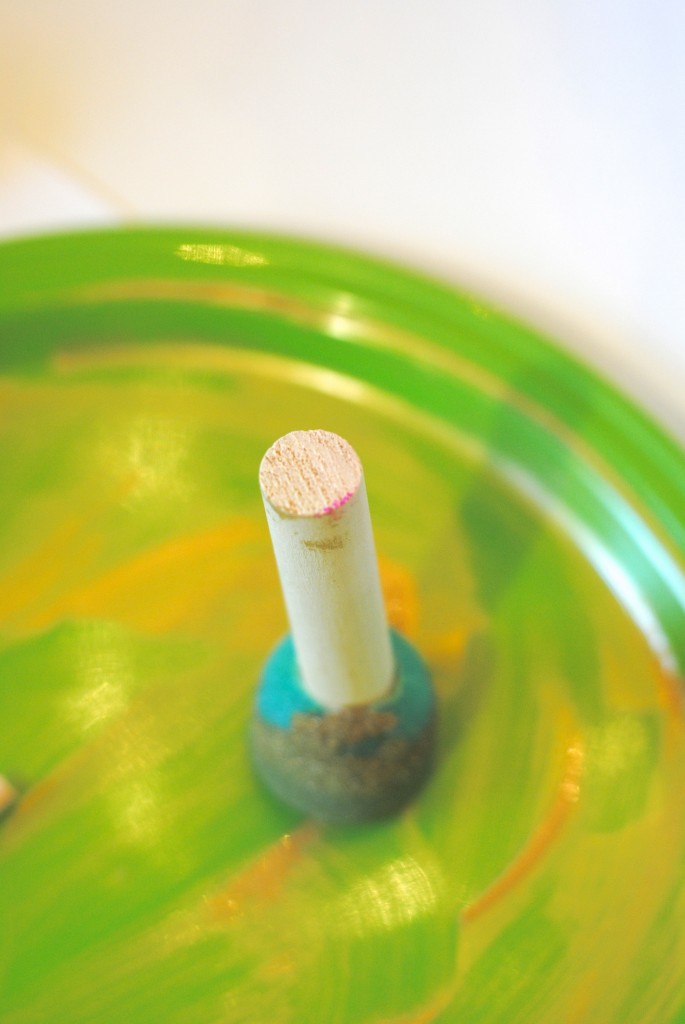
8. Moving in one direction, add paint to the runner. I first tried using a (cheap) paint roller and it didn’t work, though a higher quality one might have. I found using a spouncer worked best, but I dragged it up and down the fabric like a brush (unlike the typical ‘dotting’ method of using a spouncer).
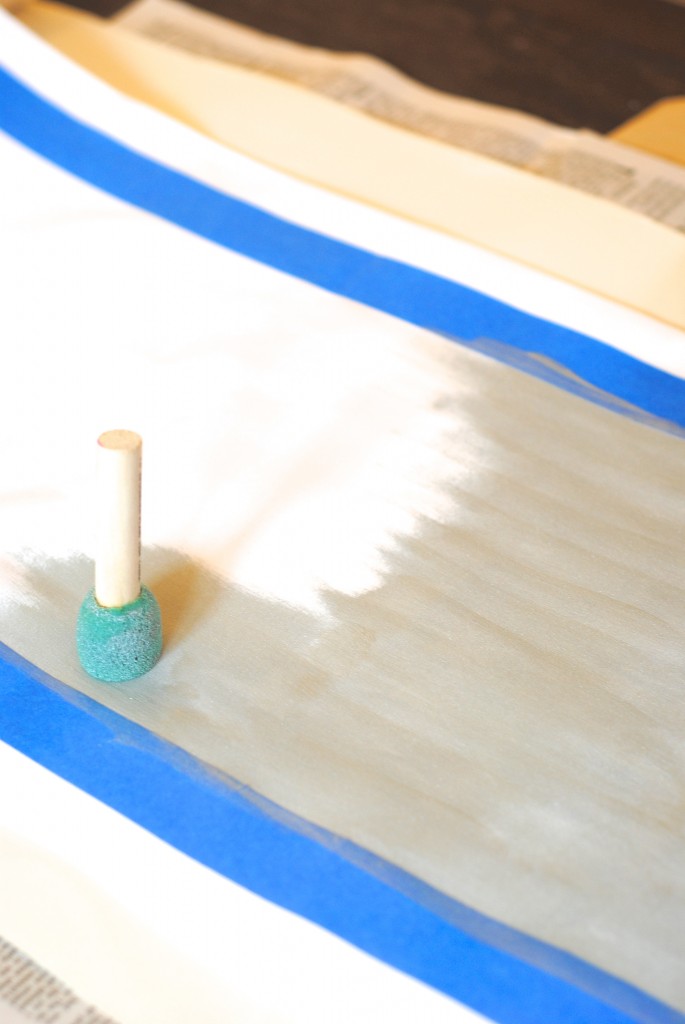
Make sure to reach all the way to the edges of the tape. Try to get the surface painted thoroughly the FIRST time through, because if you go back to add paint it may not blend as well and look spotty. Also? Don’t panic if it DOES look spotty and/or wavy while it’s drying. It will look great when done!
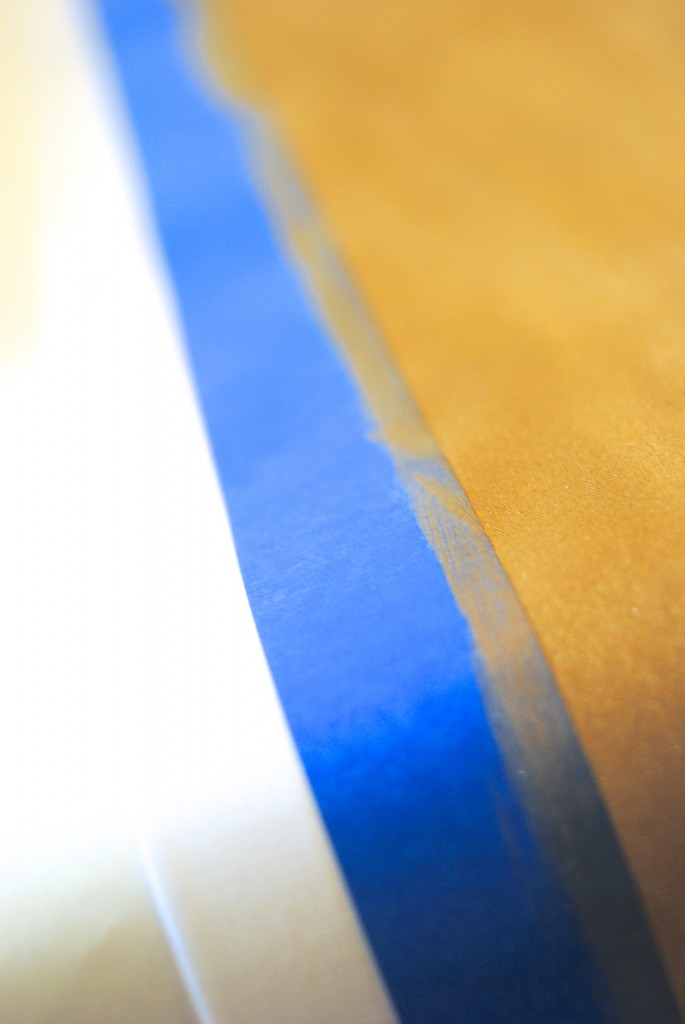

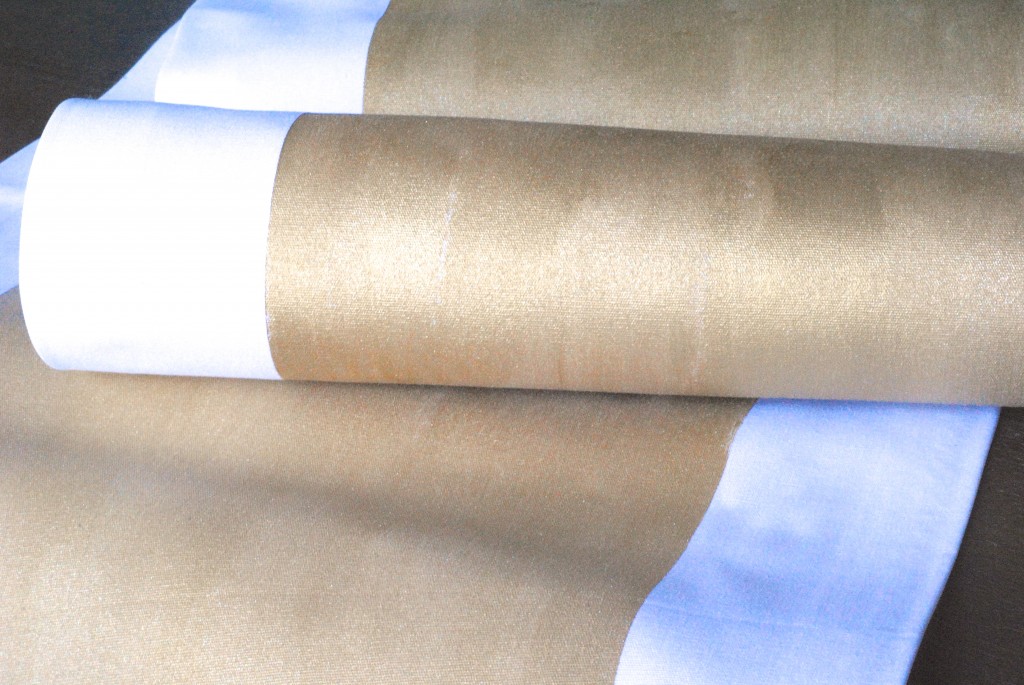
9. Once dry, remove tape (you can do this step immediately as well, it’s just messier). Check out that gorgeous line!
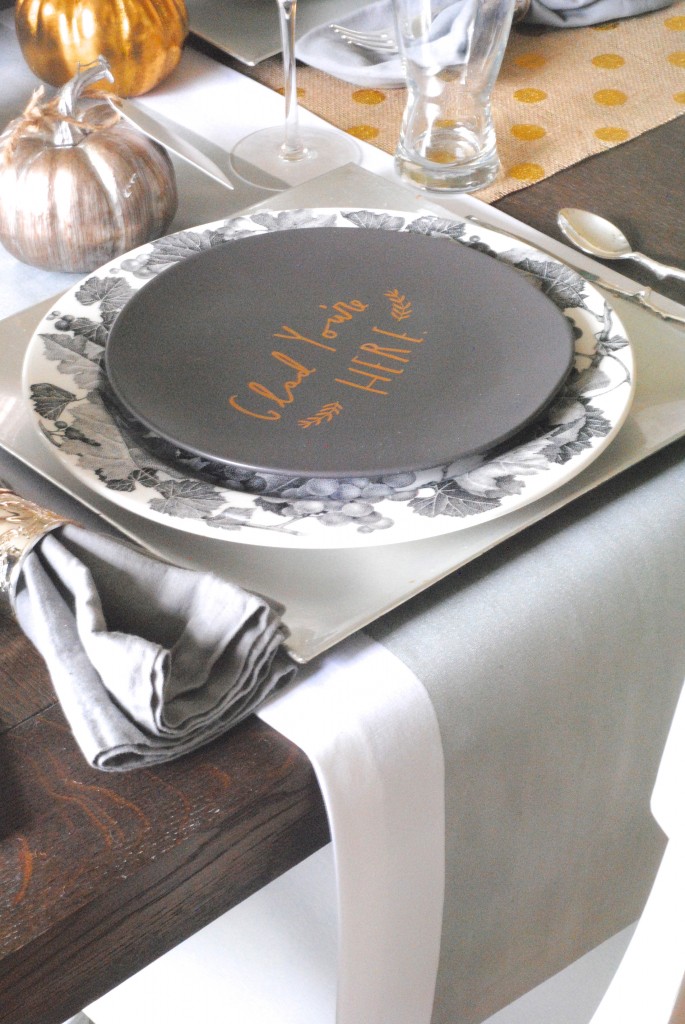
10. Place runner under everything in your house. Love it. Enjoy it. Marvel at those perfect lines. Take lots of photos.

Not only will these DIY no-sew table runners look amazing all over your home, but they make fantastic gifts as well. Handmade, stylish, on trend, and made with love– go forth and make table runners, friends.
If you liked this idea, please pin it for later!
No Sew Metallic Table Runner is linking up with:
{ Remodelaholic | Liz Marie Blog |Serenity Now | Made in a Day | The Party Bunch |Work it Wednesday | Catch as Catch Can | Songbird | Fabulously Frugal Thursday}