DIY Carryall Using Elmer’s for #Looks4Less
This post may contain affiliate links for your convenience. Read my full disclosure policy here.
Since I wanted to make something special for Bee, I decided to try my hand at crafting a version of this Pottery Barn Wooden Carry-All, retail price $39.99. Ambitious? Yes. Hard? Amazingly, no!
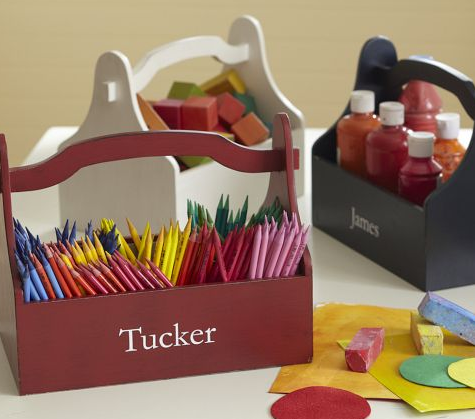
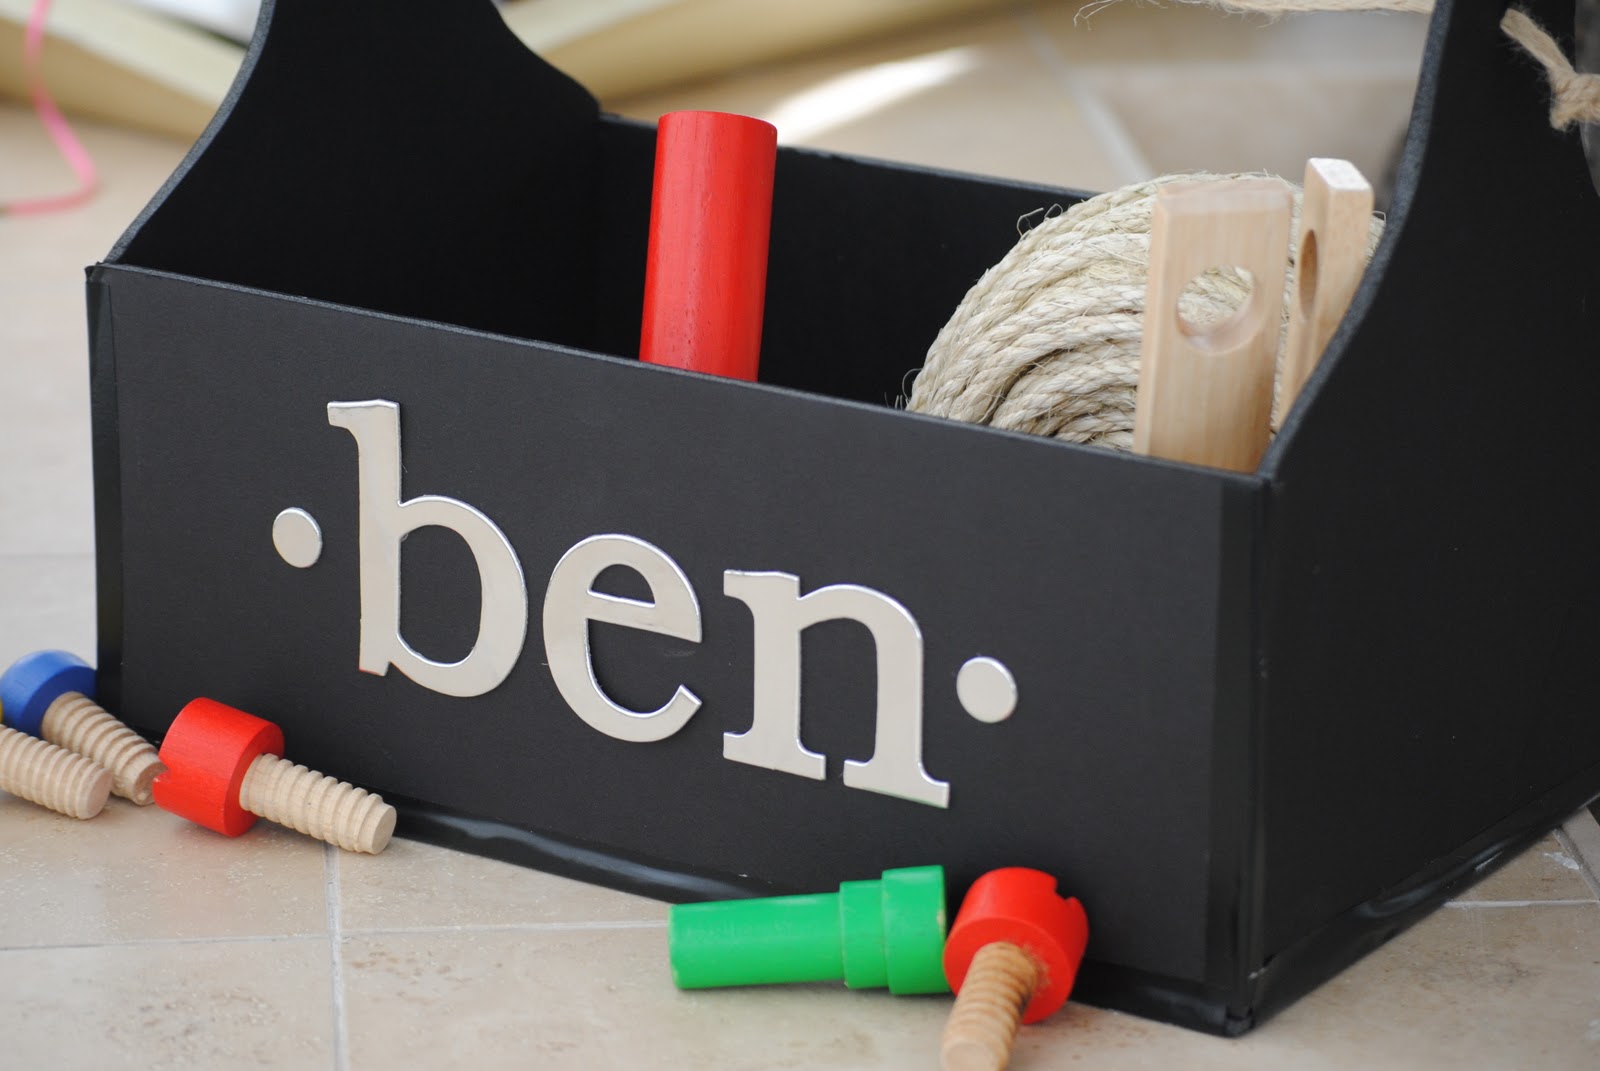
Here’s my humble little version, for which I only spent $1.50. Yes, you read that correctly. It cost $37.50 less than the original! The only thing I had to buy were the chipboard letters because I had everything else on hand. The best part, other than being almost free? It’s totally customizable. Use different color foam board, different letters, a different material for the handles or seams and you can make it exactly as you’d like. Ready to see it?


Now he has a place for toys,

… and books…

and trucks.


It was all made possible by the products Elmer’s sent to help me along, plus a little dreaming on my part. And WAIT, hold the phone, two of you will receive a similar kit with many of the items shown below! Details at the end of the tutorial. Because I’m sneaky like that. 😉
In addition to the Elmer’s products linked in the tutorial, the only additional materials you’ll need are:
- electrical tape (.59 at Walmart for black, but it comes in other colors too)
- rope/ribbon/jute trim (about $1 from the fabric or hardware store)
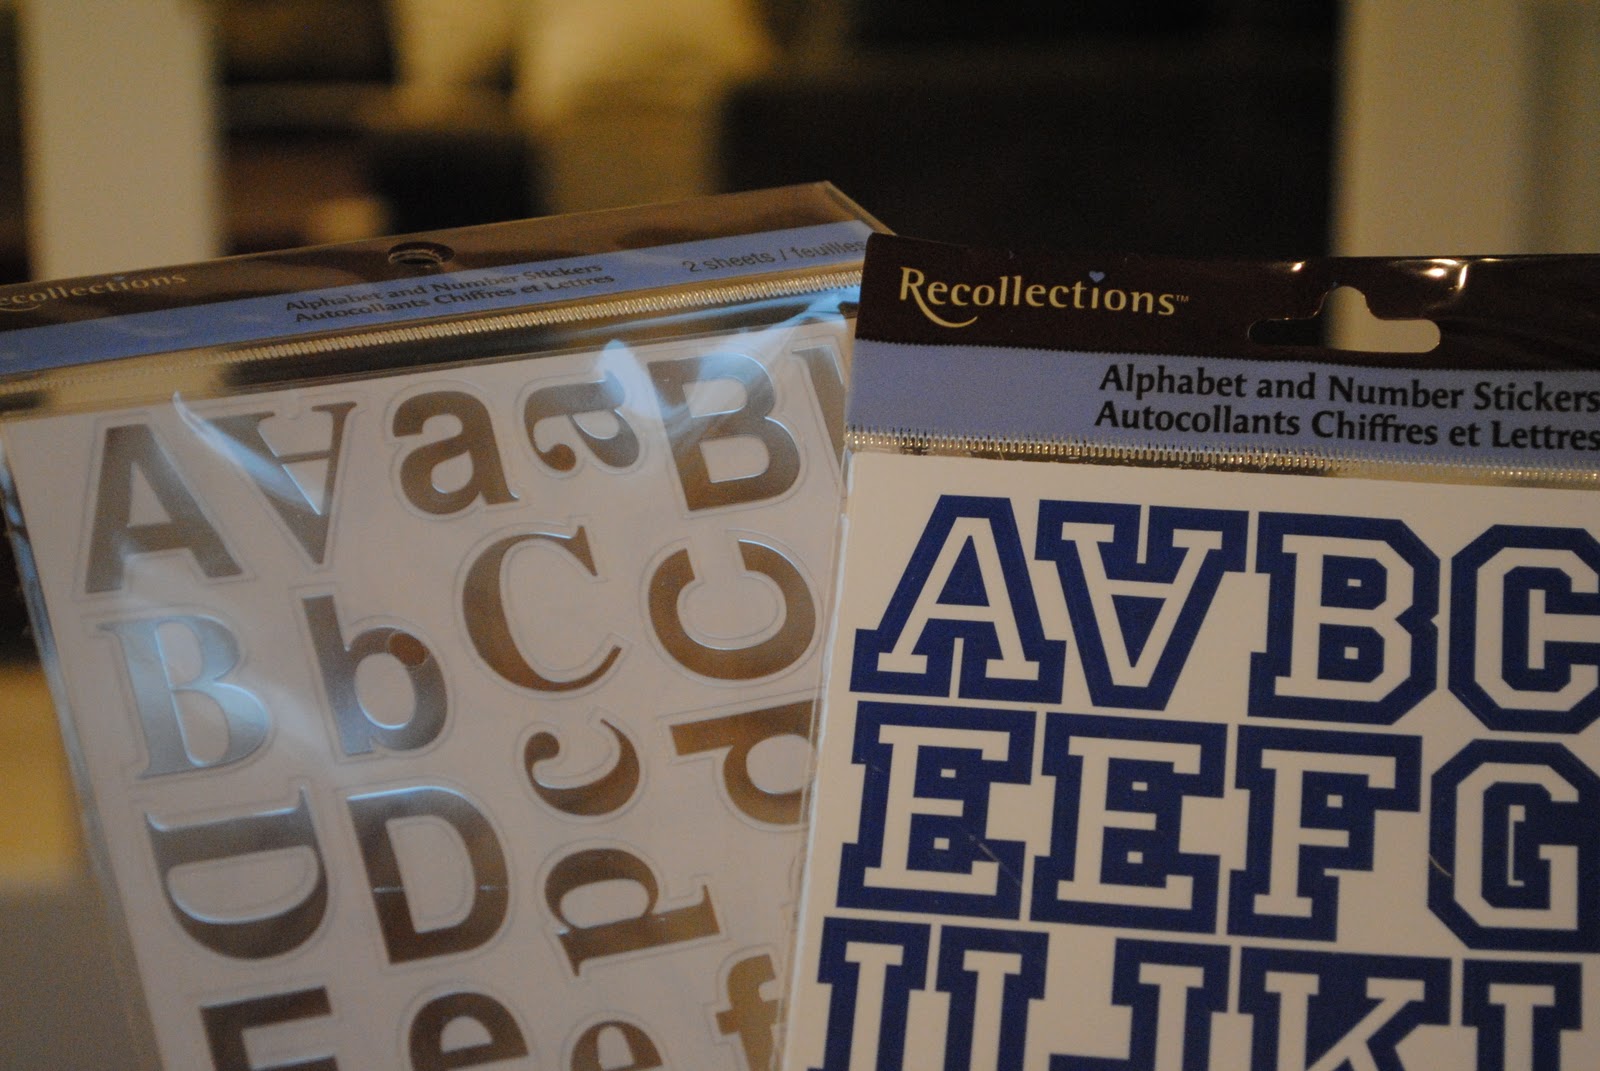
- letters for personalizing ($1.50 on sale at Michaels, but the Dollar Store has ABC stickers or you can use stencils, vinyl, the sky is the limit!)
- freezer paper or other large paper for the template; construction paper would work, too.
1. First create the template. Freezer paper worked really well for me to create the template, but you can use whatever large paper you have on hand.
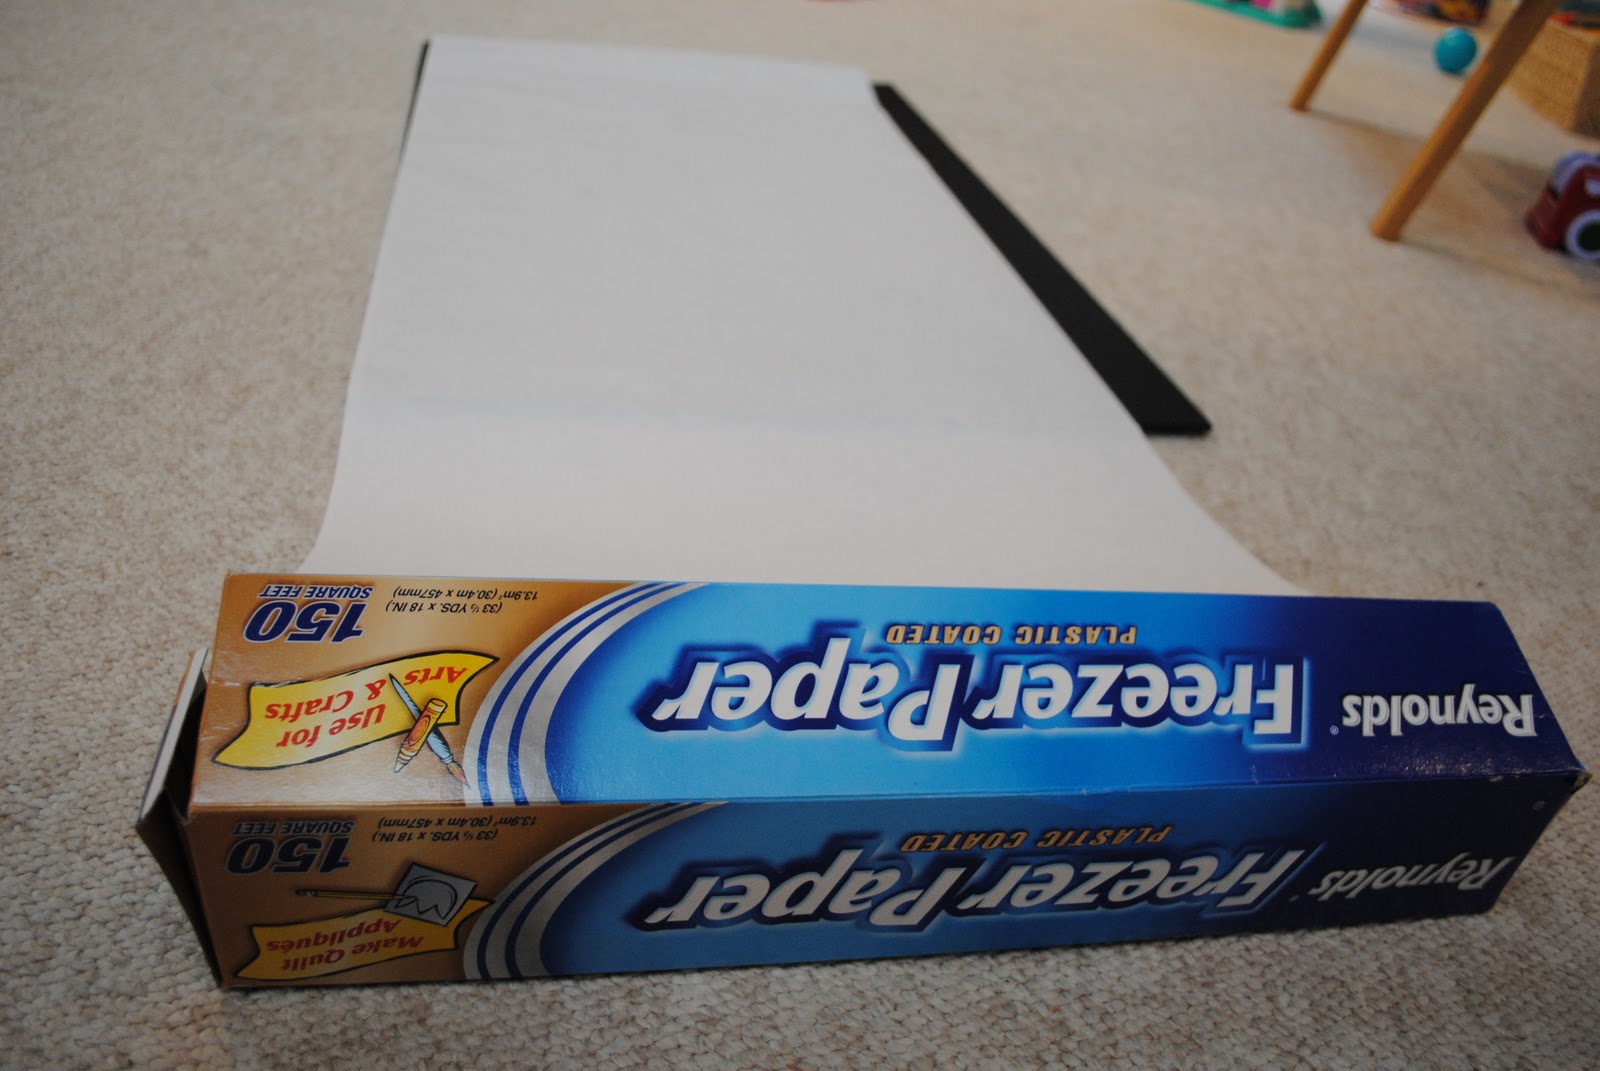
You’ll need to make one template for the long side, and one template for the short-but-tall side {heh, I’m super technical today}. Using the freezer paper, I measured a 13X5 inch rectangle and cut it out to create the first template.
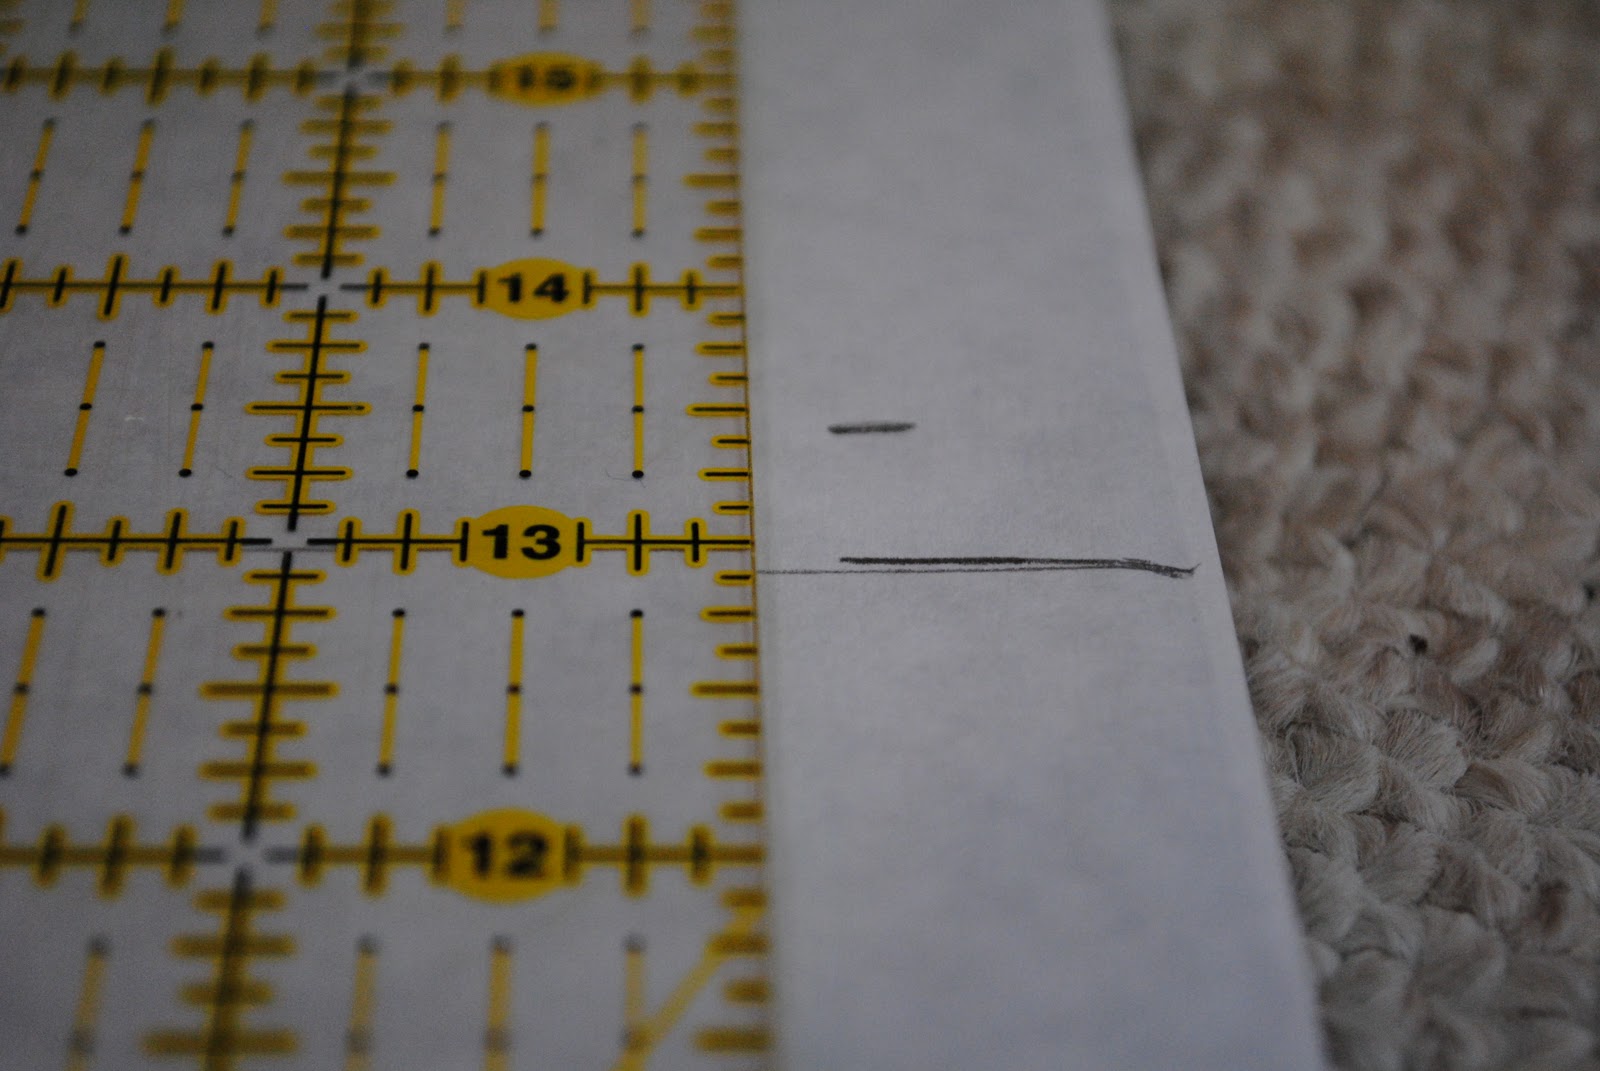
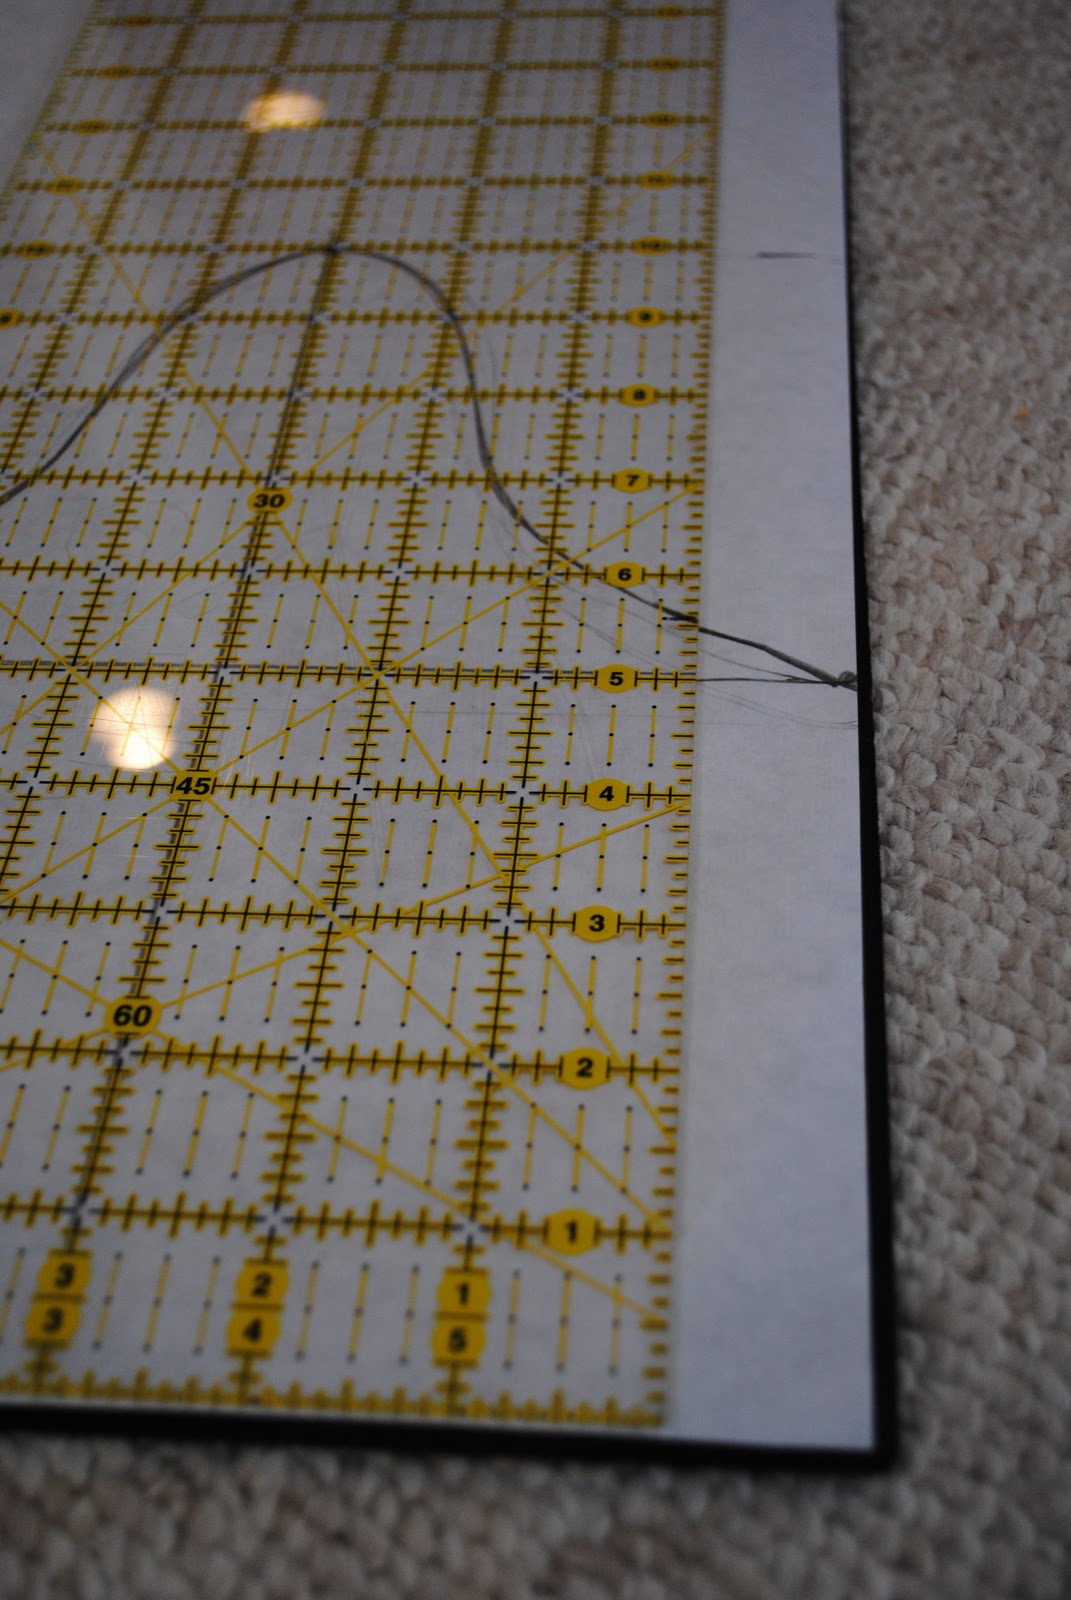
Next came the more-complicated-but-don’t-panic part. The idea is to make the tall side. You’ll need to measure the piece to be 8″ wide and 10″ tall (that’s the dimensions of the faint outer rectangle seen below). Since the long side of the carry-all needed to match the side of this piece, I knew I needed to start the curved part of the handle at 5″ tall. You can see where I marked that horizontally below. Then I measured the midline of the width and drew a vertical line marking it. That helped with the next part.
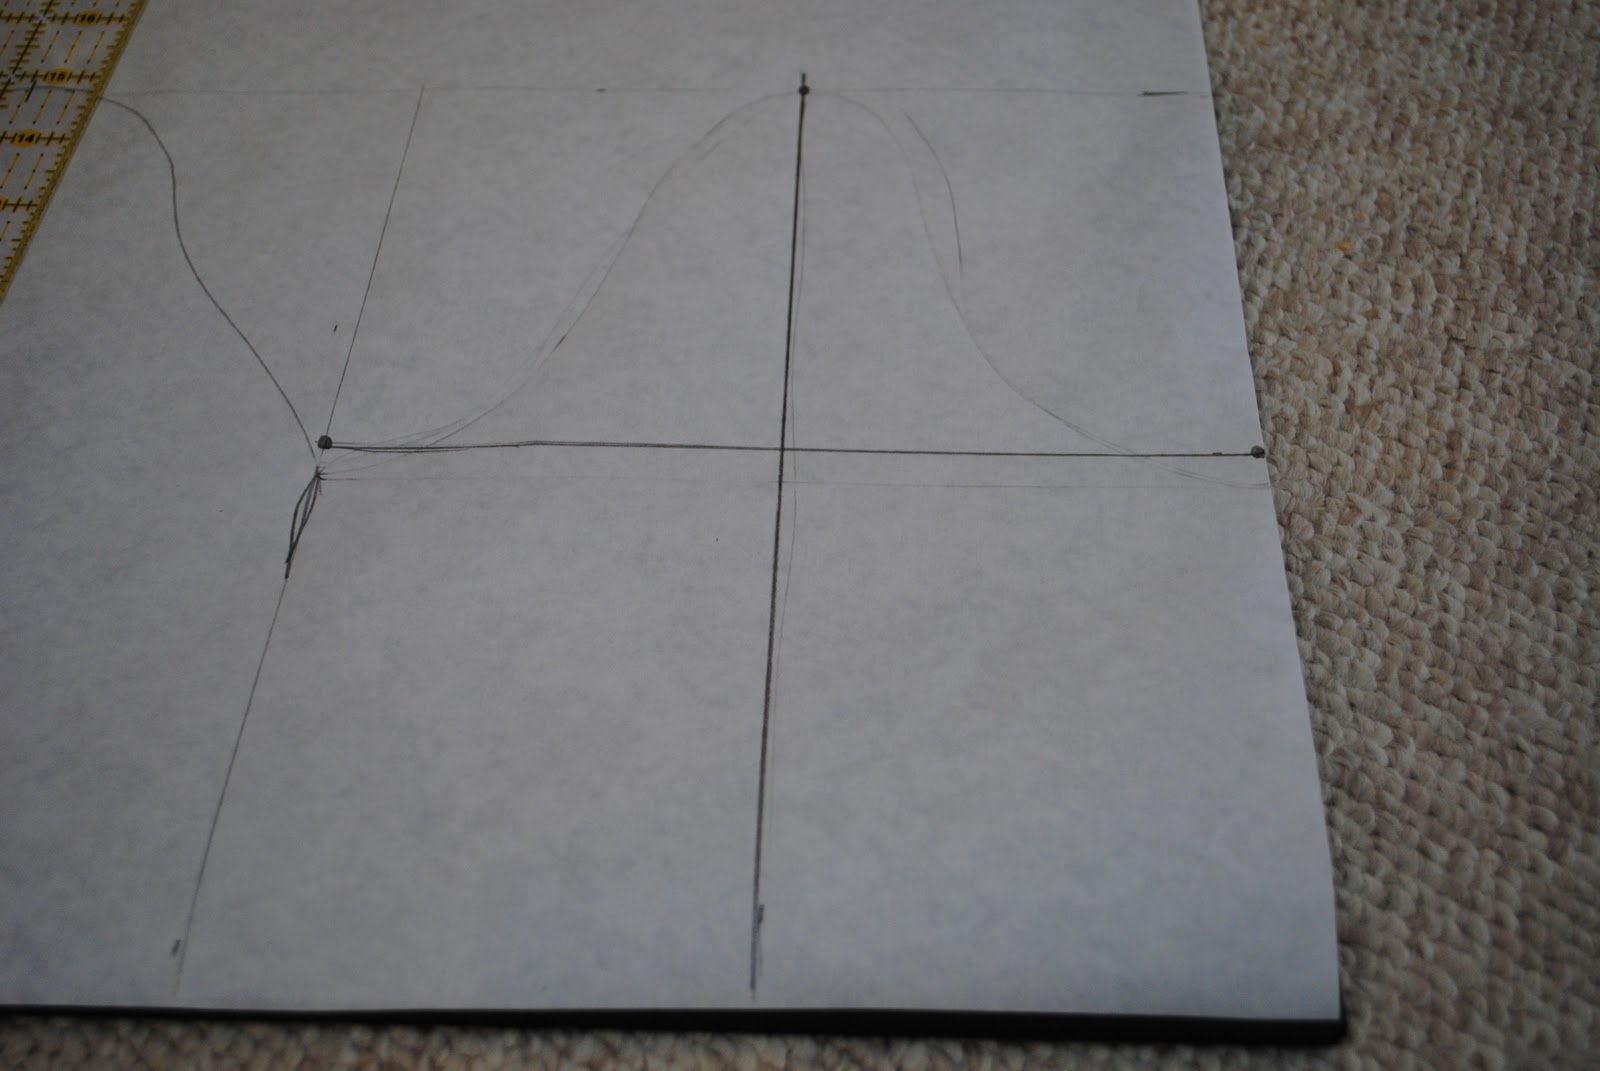
Ignore the handle part I’ve already drawn in, but here’s the measurements so you can understand what I’m trying to convey about the dimensions:
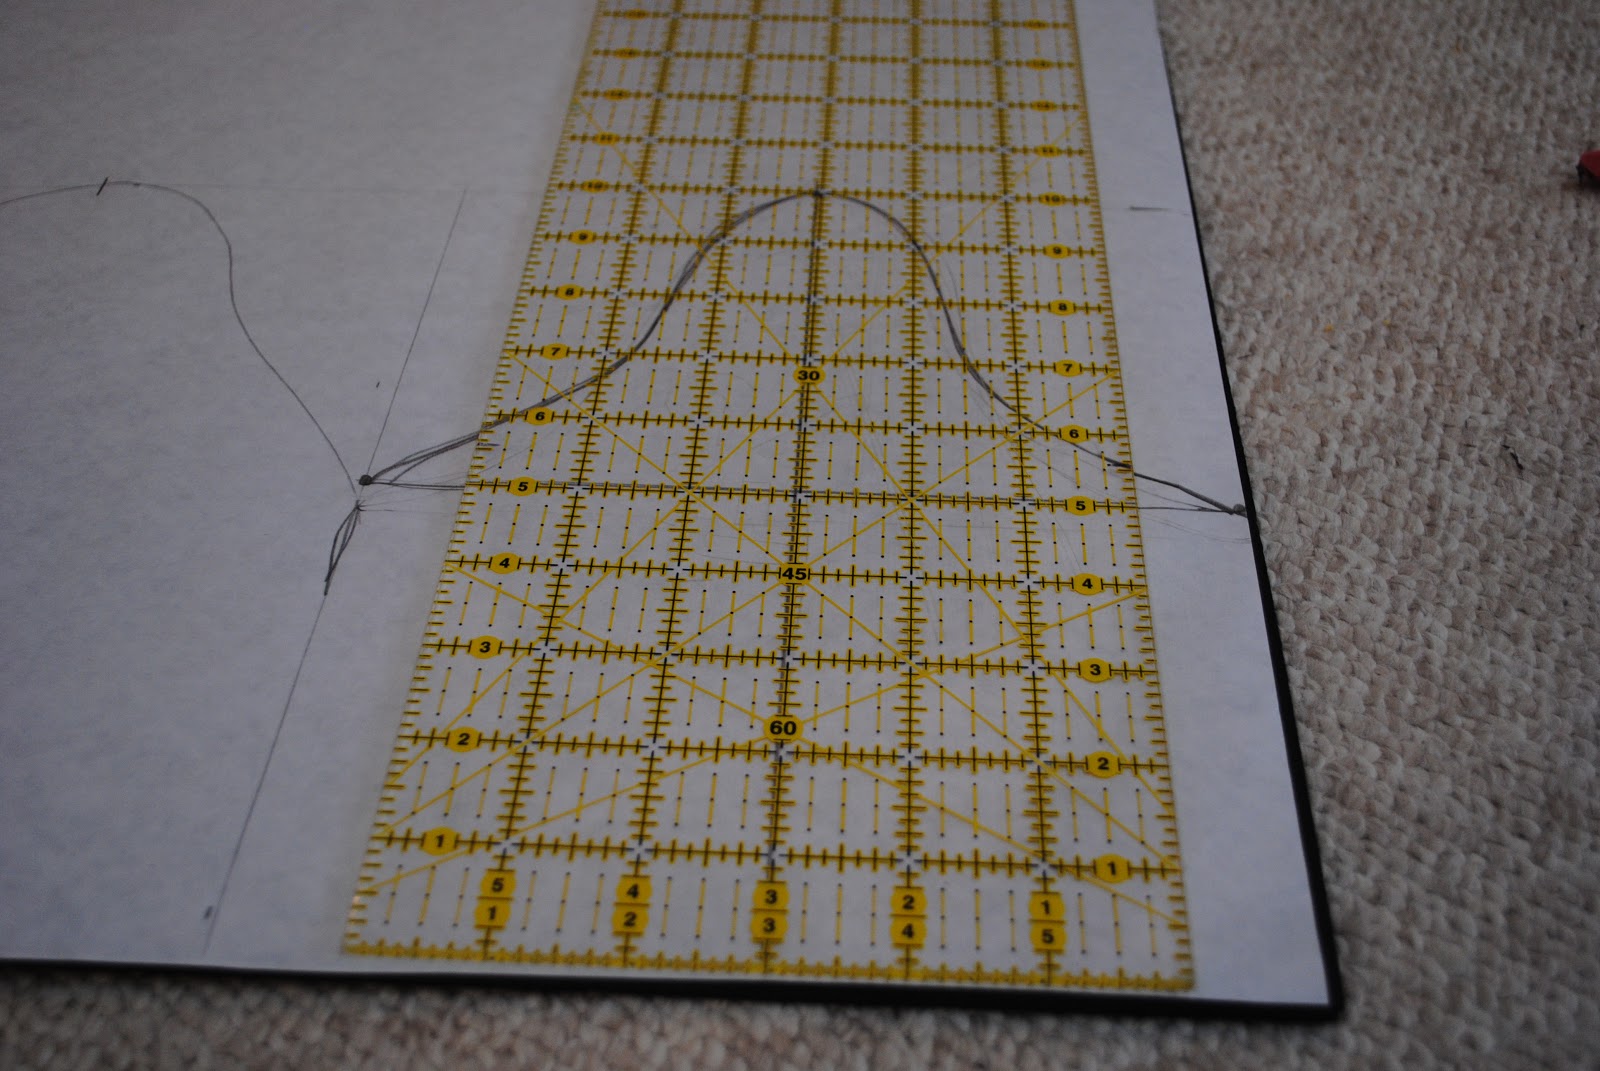

Now that you have an idea of the measurements, you’ll need to draw the section that holds the handle. Keep in mind you only need to draw one good side, because I have a trick below! Go ahead and draw that curve until you find one side you like. I drew both sides for symmetry purposes, but decided I liked the right side best. I simply cut out the entire square and the one curve I liked…

… then folded it in half and cut along the curve to be sure both sides were exactly the same.
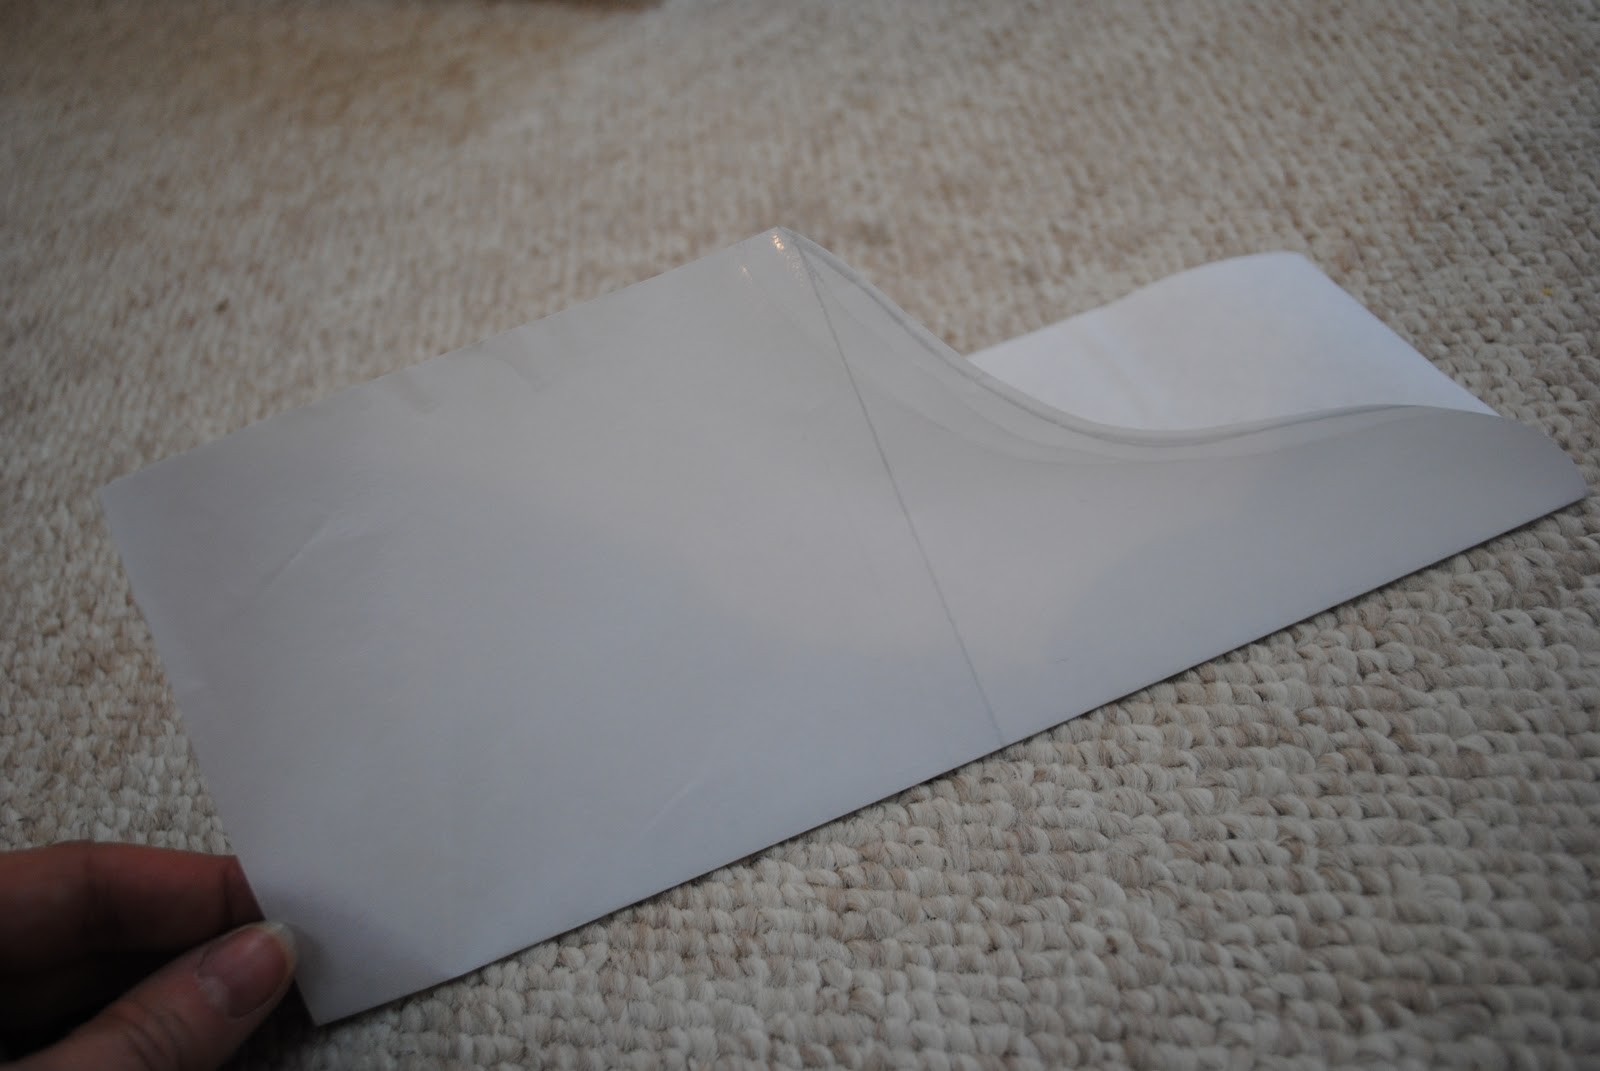
Now you have two templates for the four pieces you’ll cut in Step 2.

You’ll make the bottom piece in step 5. Don’t worry, I didn’t forget about it!
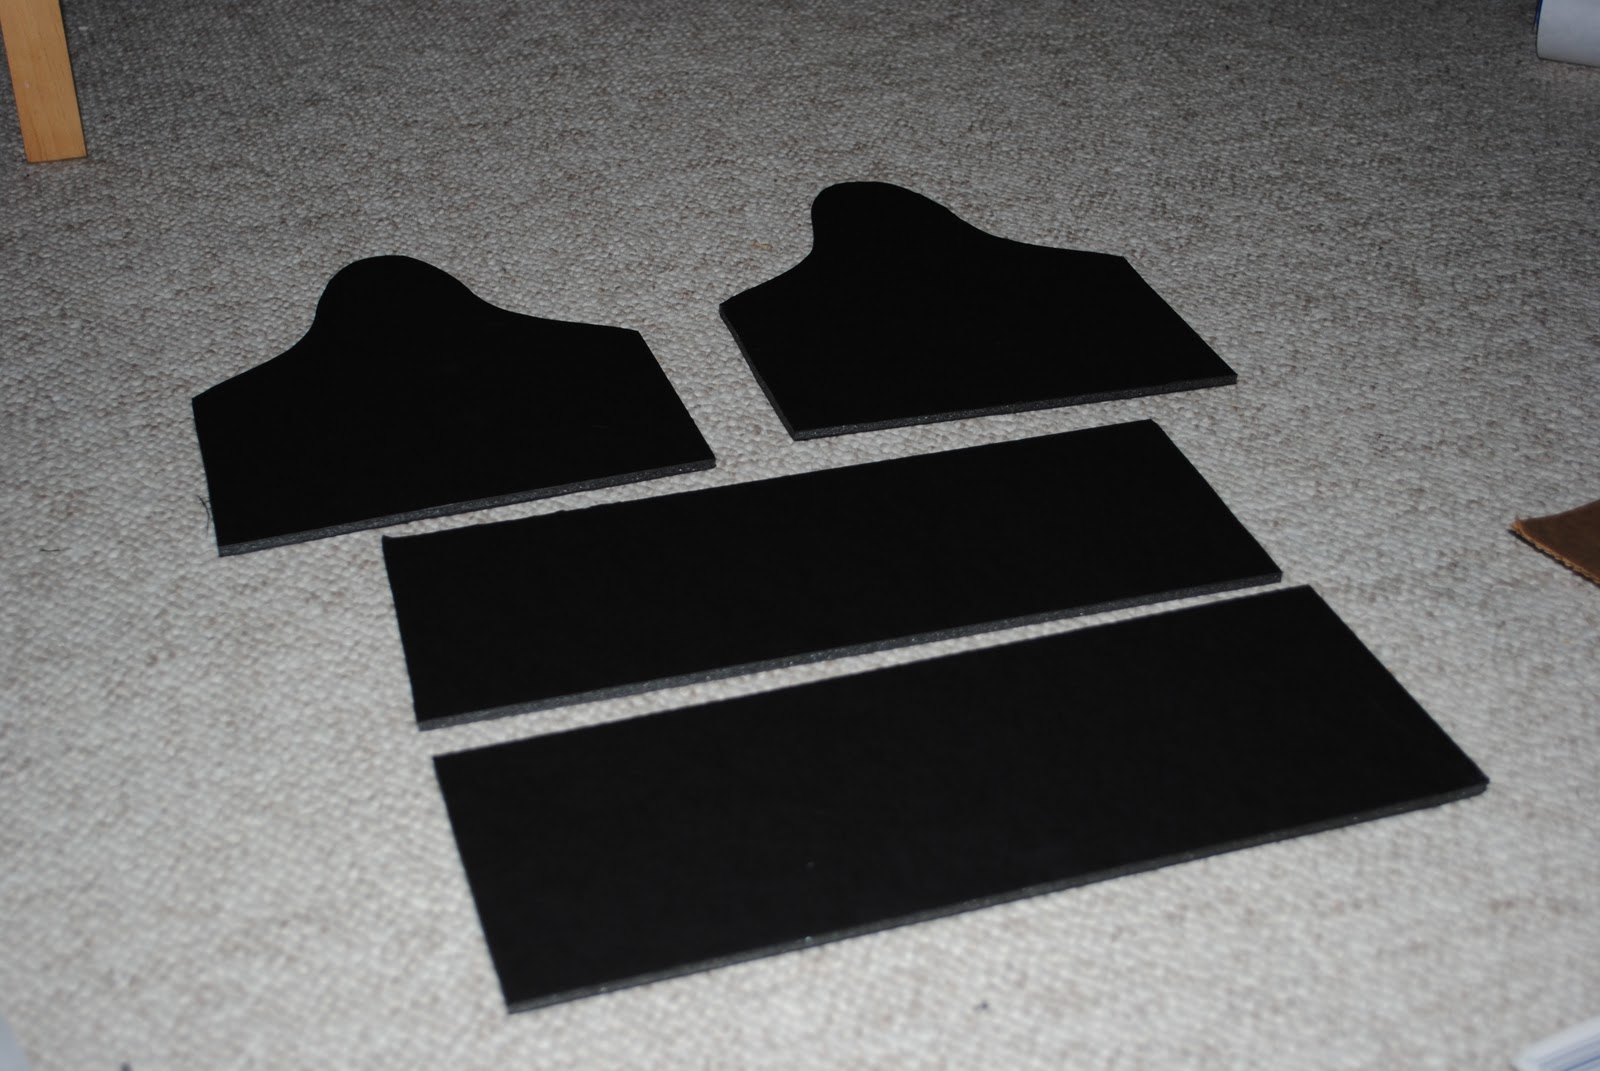
3. Cut out the pieces of foam board. First of all, the Elmer’s Black 20X30 Foam Board was a great material to work with because the color was solid all the way through, making edges look great.

Applying the Elmer’s Craft Bond Repositionable Glue Stick to the back of the template made it easy to keep it in place when I cut the foam.

Using the X-ACTO Designer Series Craft Knife, I carefully cut around each piece. The blade was the perfect size to cut through the board. A piece of cardboard protected my floor and made cutting super easy.


4. Glue and tape the sides. I began by applying a line of Elmer’s Glue-All down the side of the first piece:
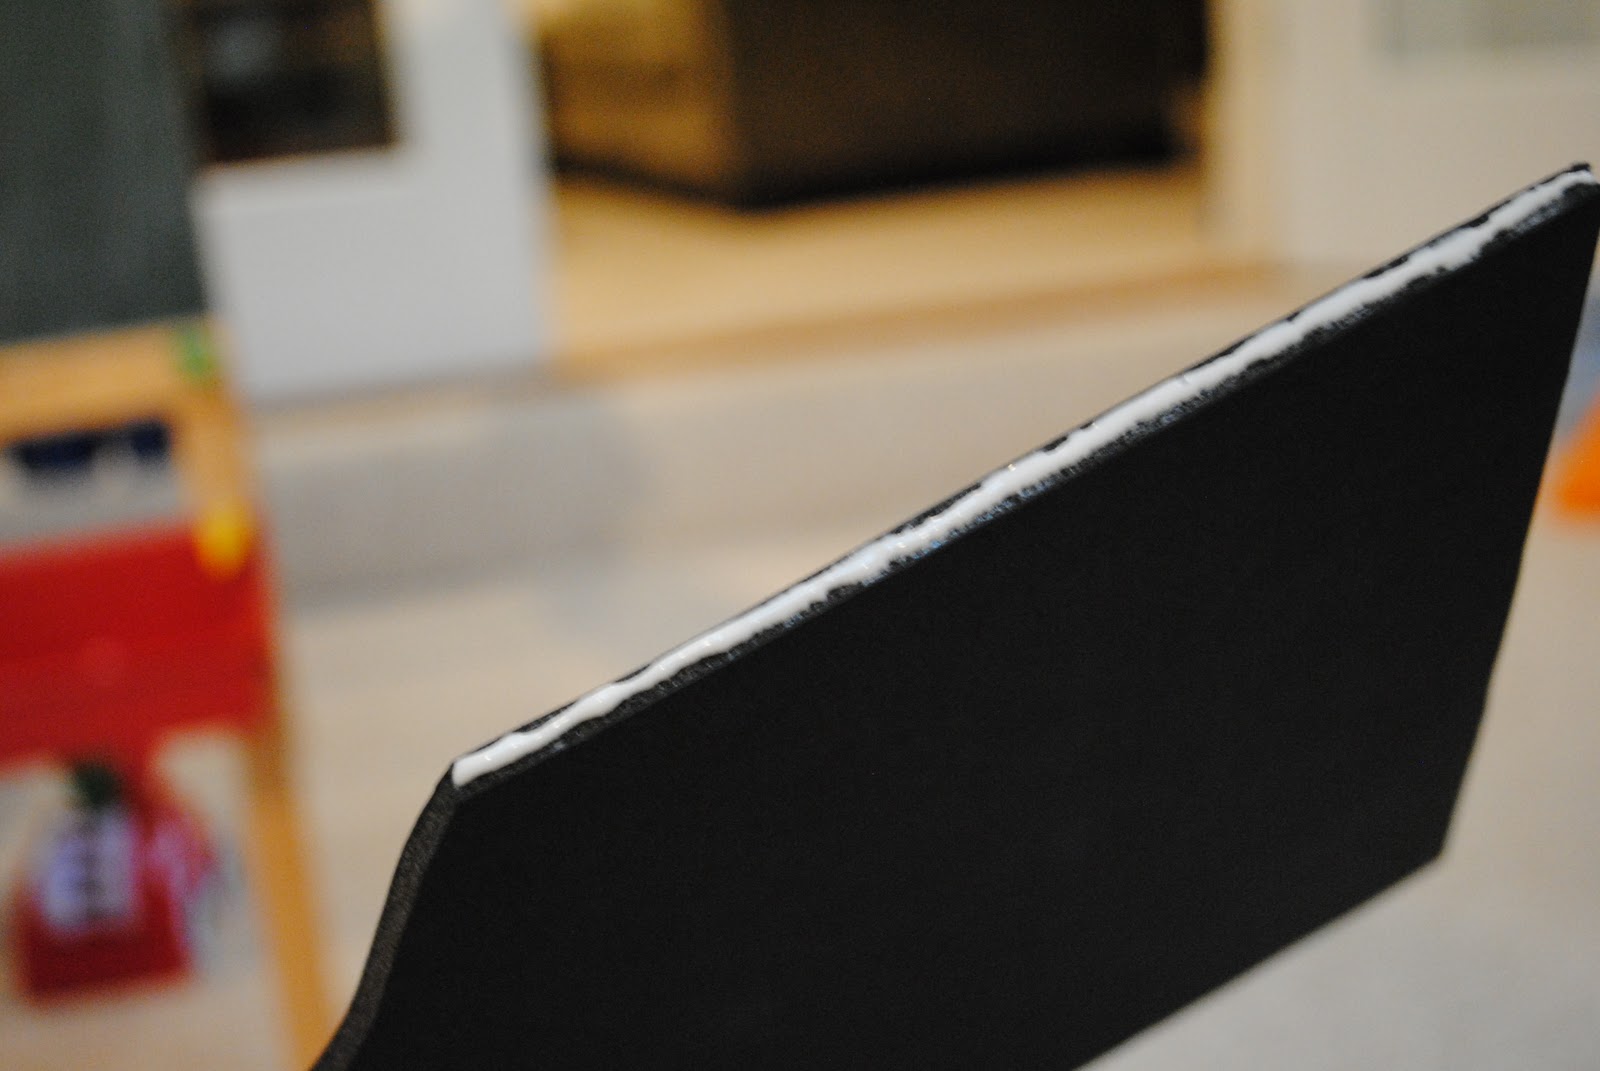
Then using a precut piece of black electrical tape, I attached it to the same side, same piece.

When HGTV filmed our sunroom renovation, one tip I picked up from the carpenter installing our moulding is that the wood glue is what actually holds it together, and the nails stabilize it until the glue dries. The same principal works here, with tape instead of nails. In this case, the electrical tape also tidies up the seams to make it all look purdy.
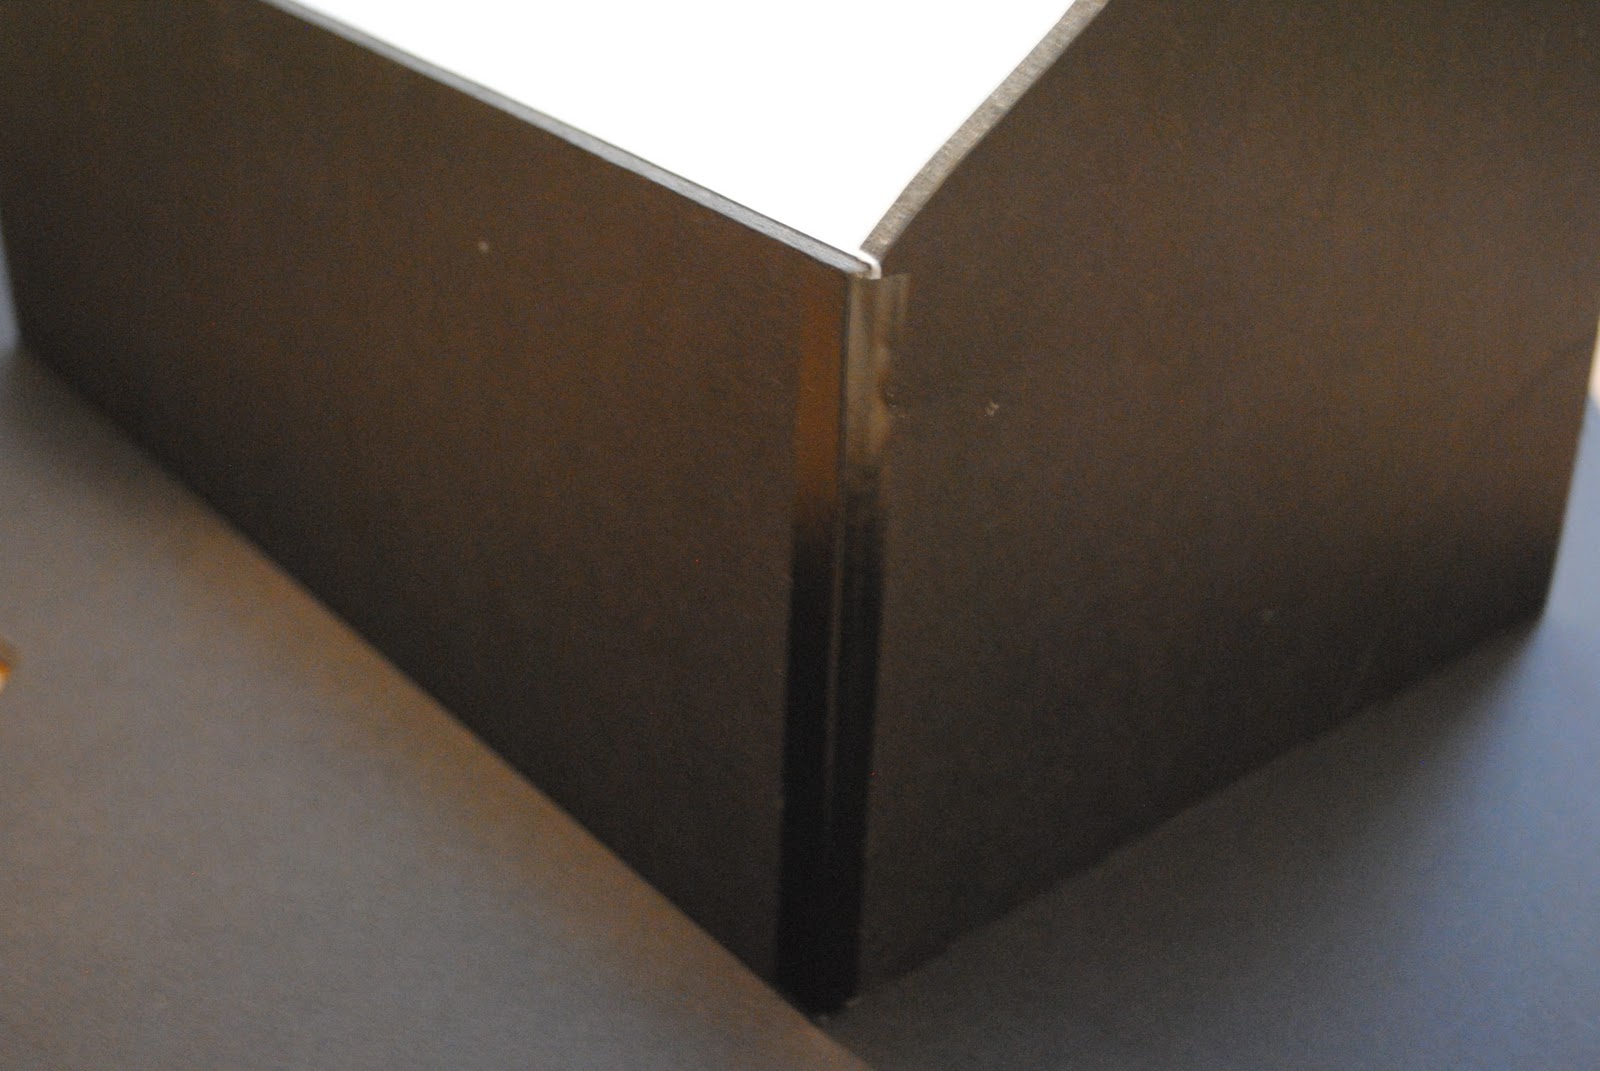
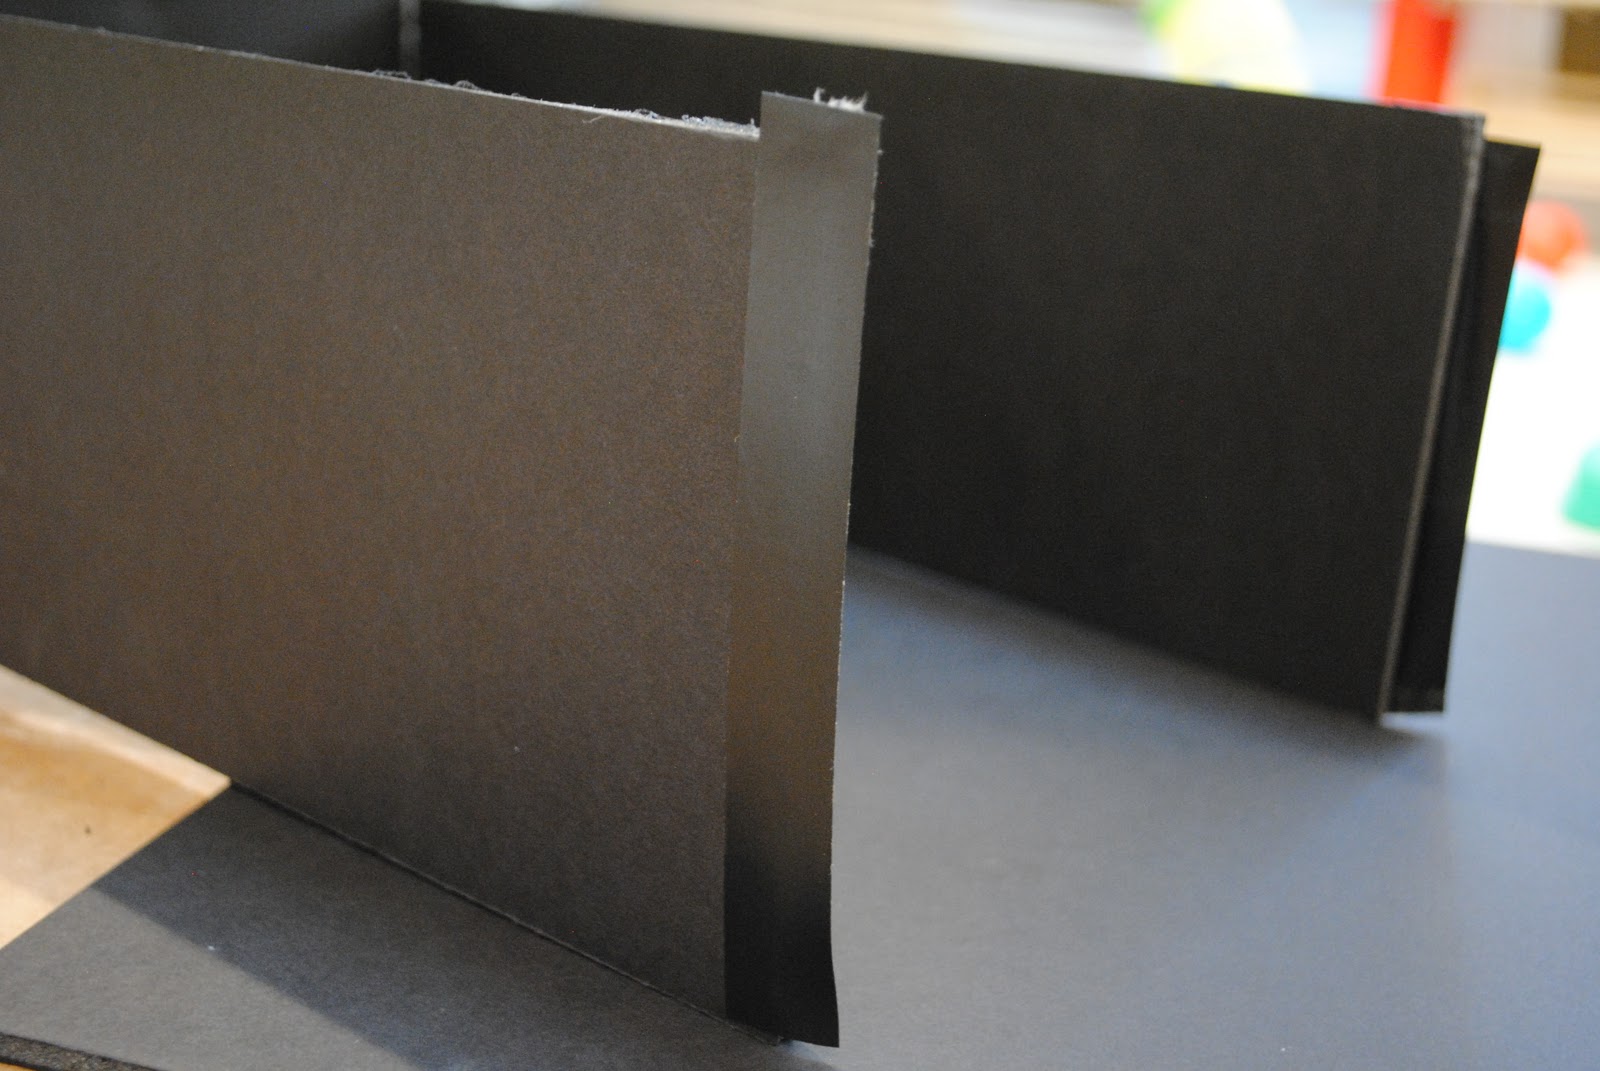
Keep moving around the box until all pieces are glued and taped.
5. Create the bottom. Once all four sides were attached, I placed it on top of the remaining black foam board. That allowed me to use a pencil to trace the outline and then cut it out with my trusty X-ACTO knife. Then, you attach the bottom the same way you attach the sides… with glue and electrical tape. Magical combo, I’m telling you.

6. Attach a handle. There are many materials you can use to create a handle. Here’s a few from my stash, but you can also use rope.
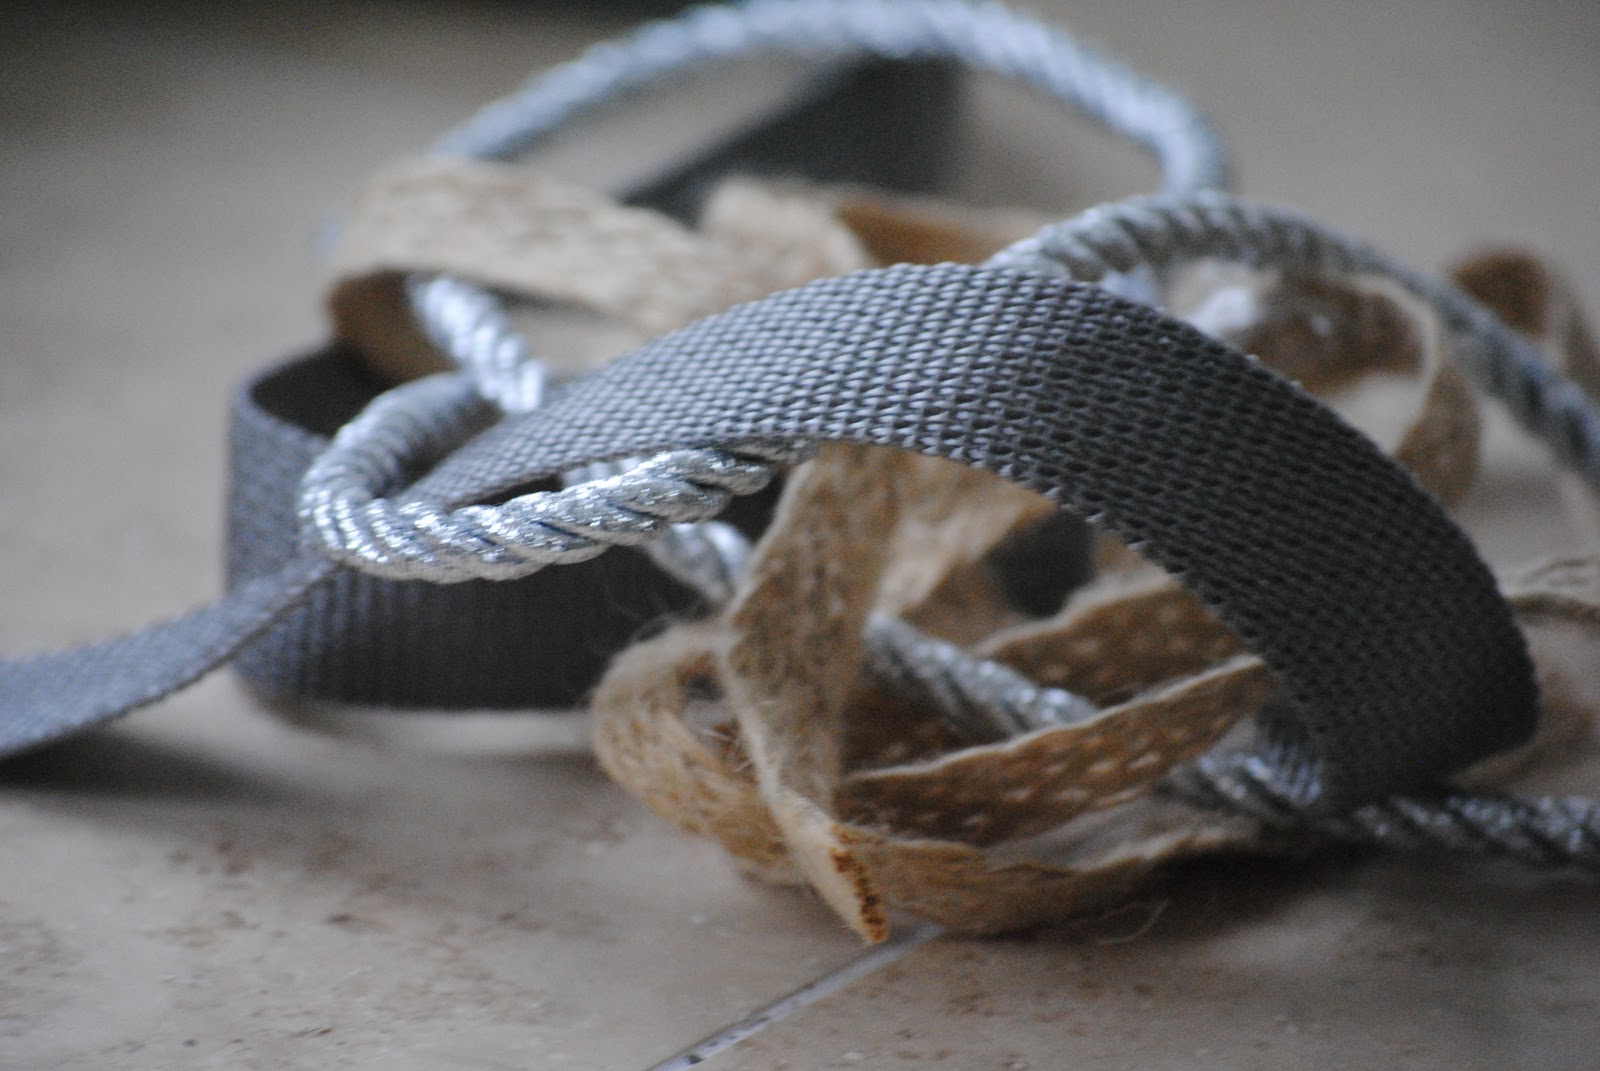
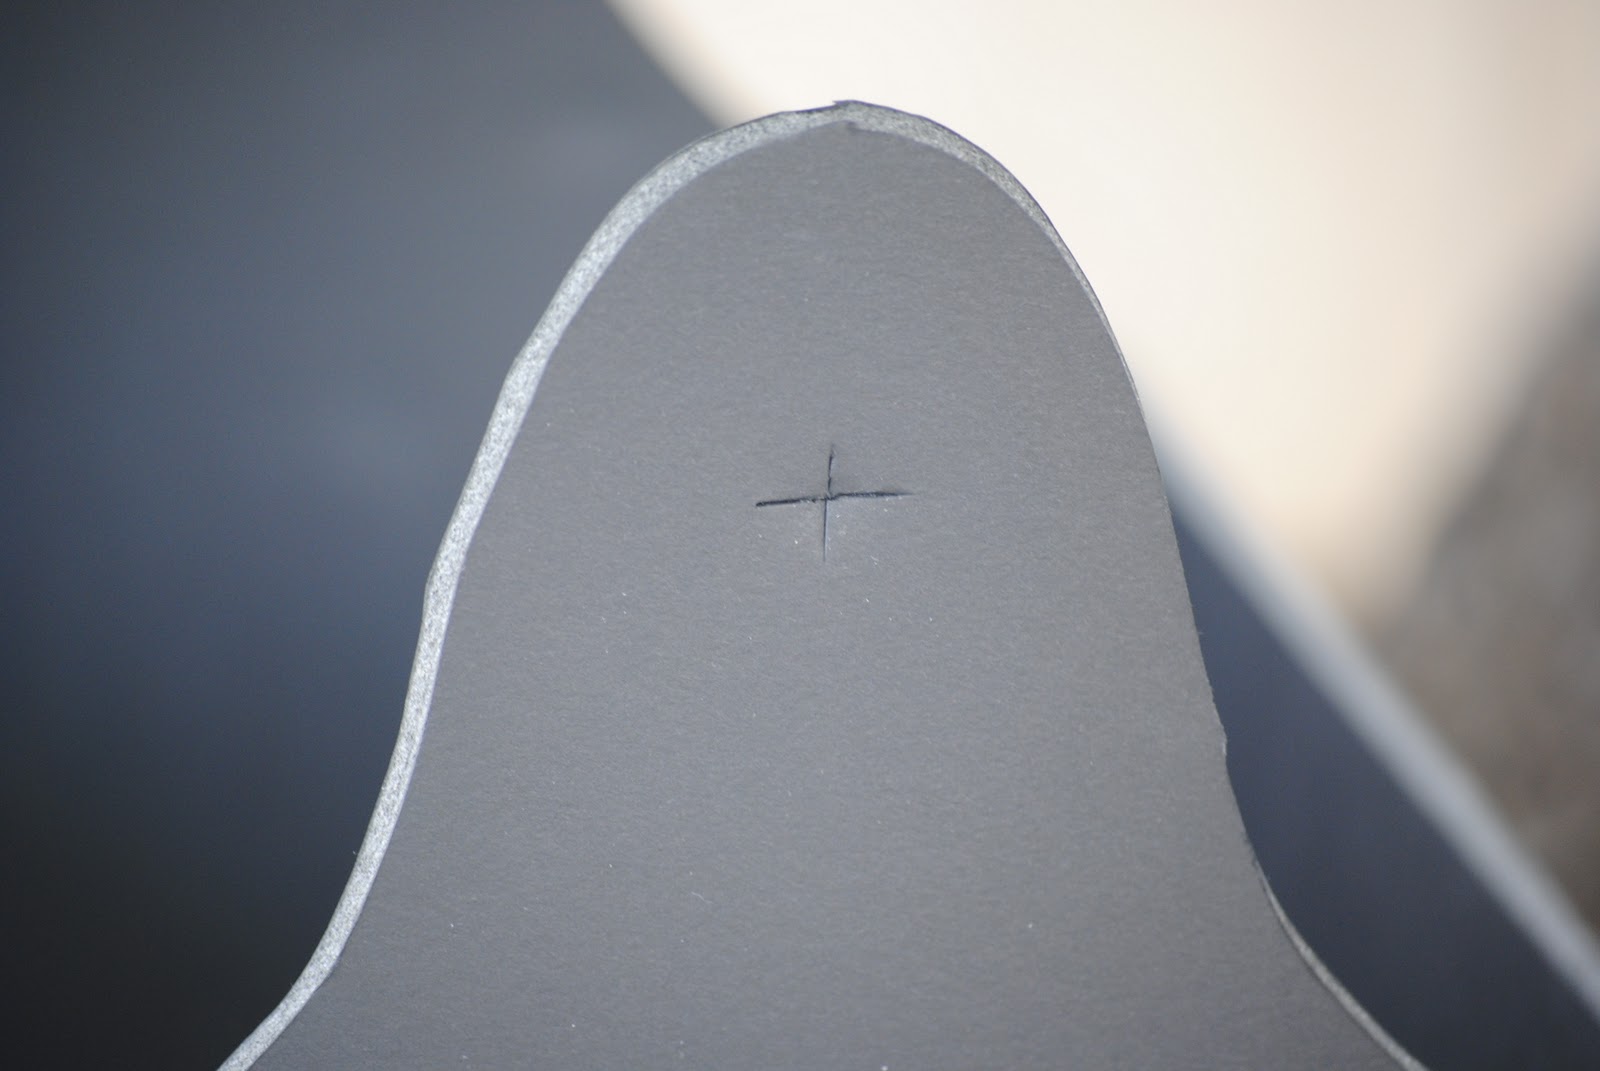
The Pottery Barn version uses a wooden handle. For my version, I decided to use a more forgiving material (jute trim) since my son can be a little heavy handed with his toys. You simply create an X with your X-ACTO knife,
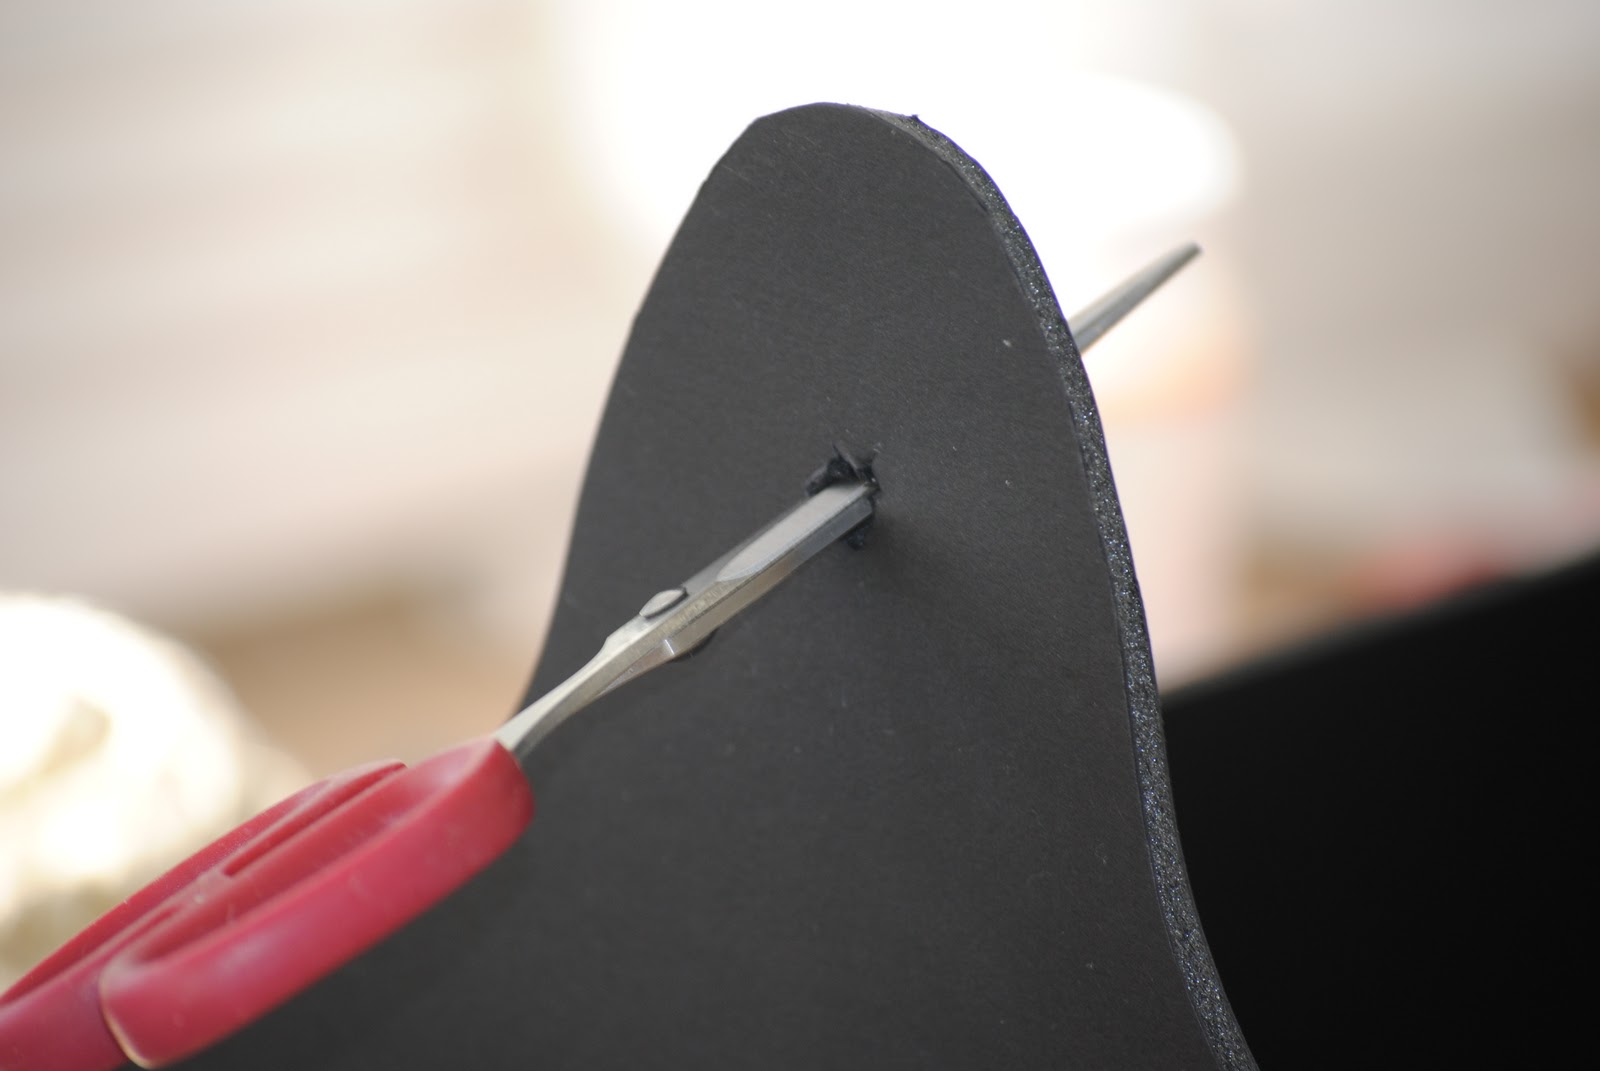
poke out a space on each side (I used scissors),
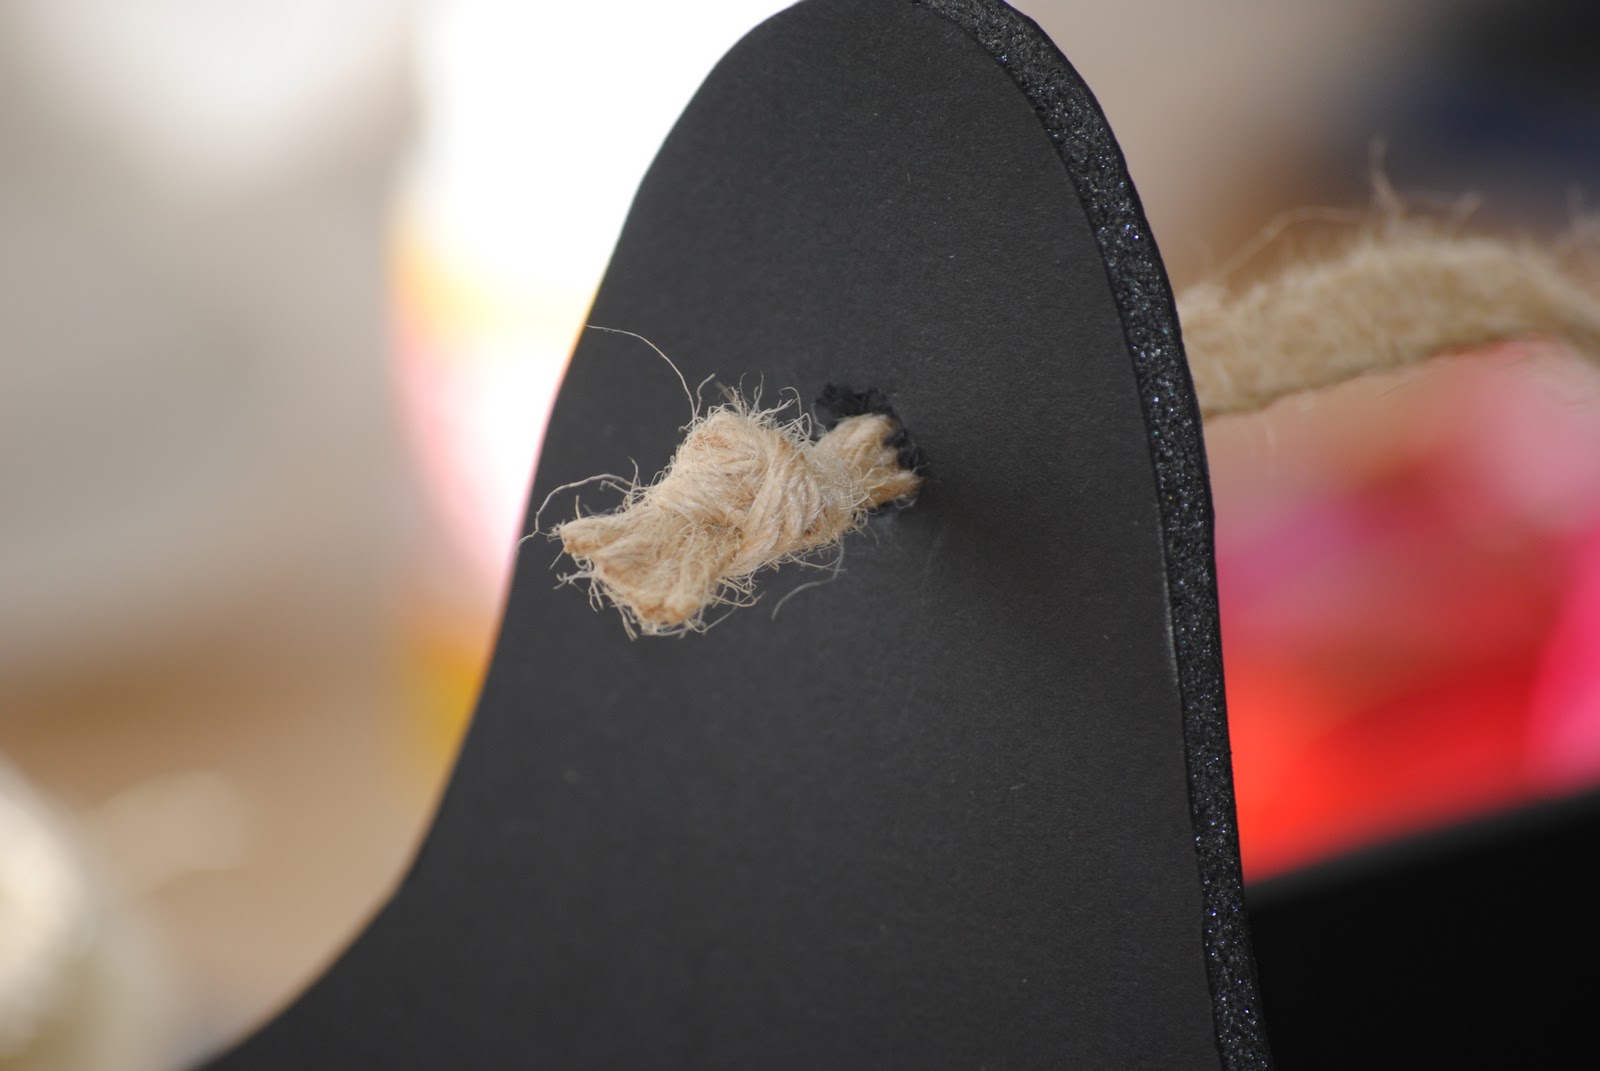
pull the rope/ribbon/jute through,
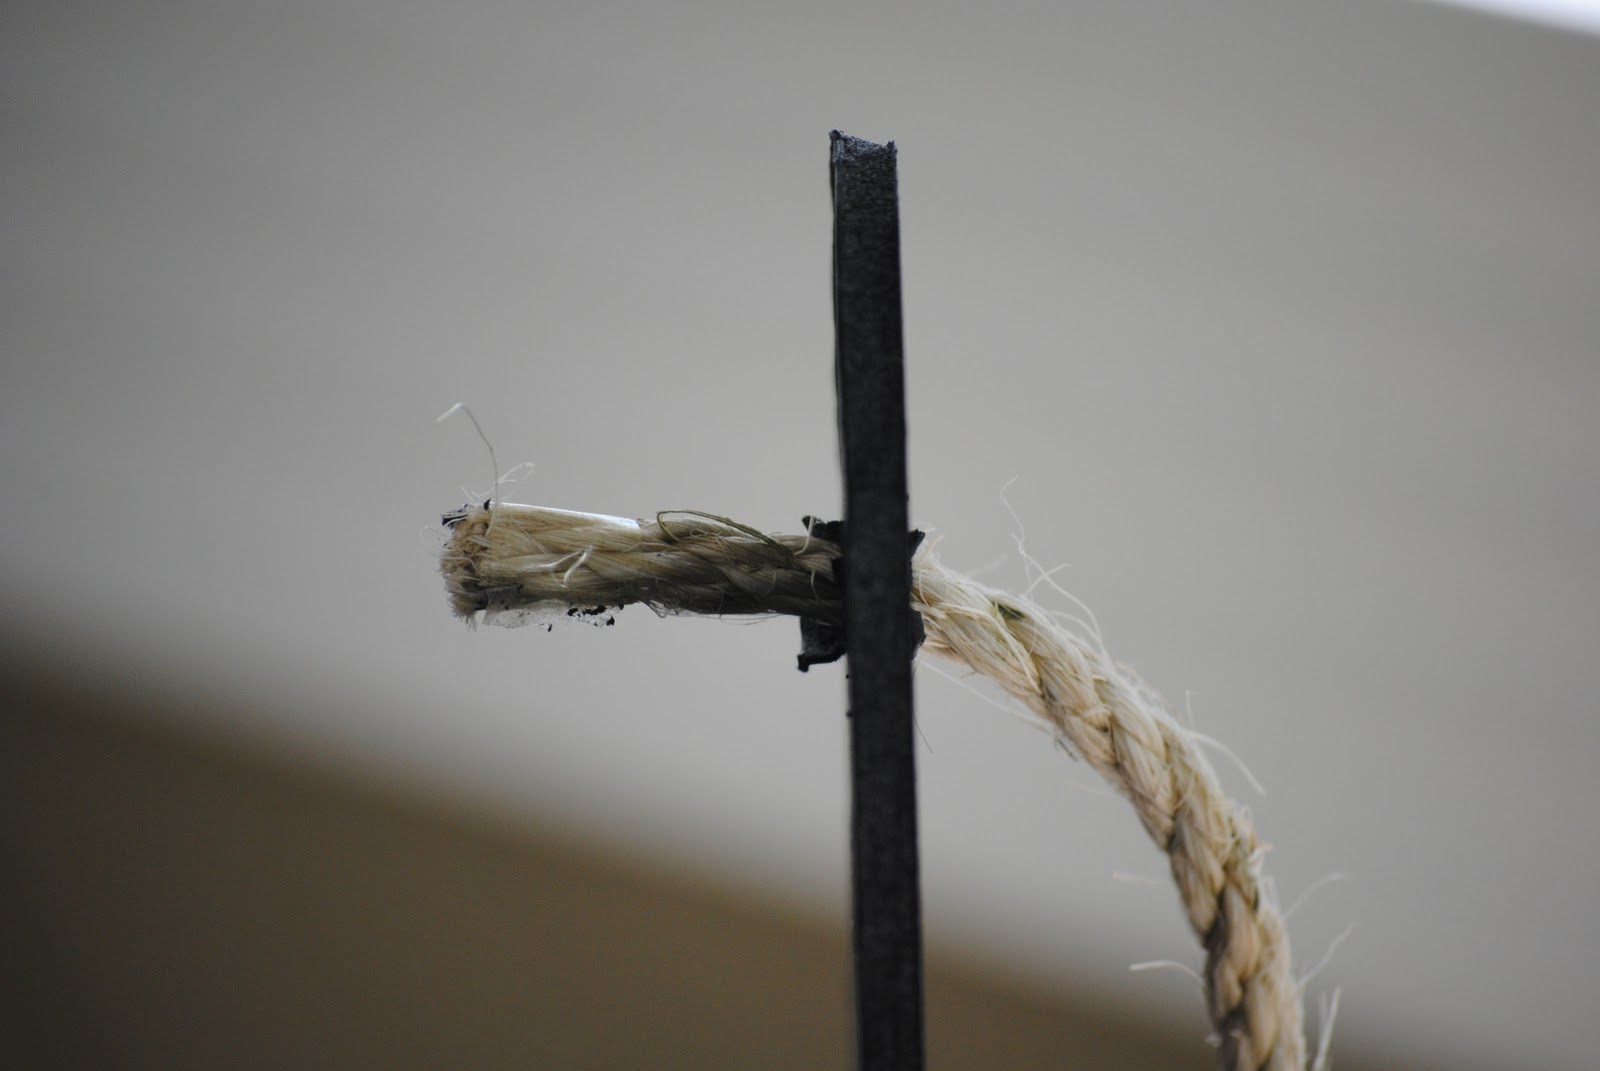
and knot it.
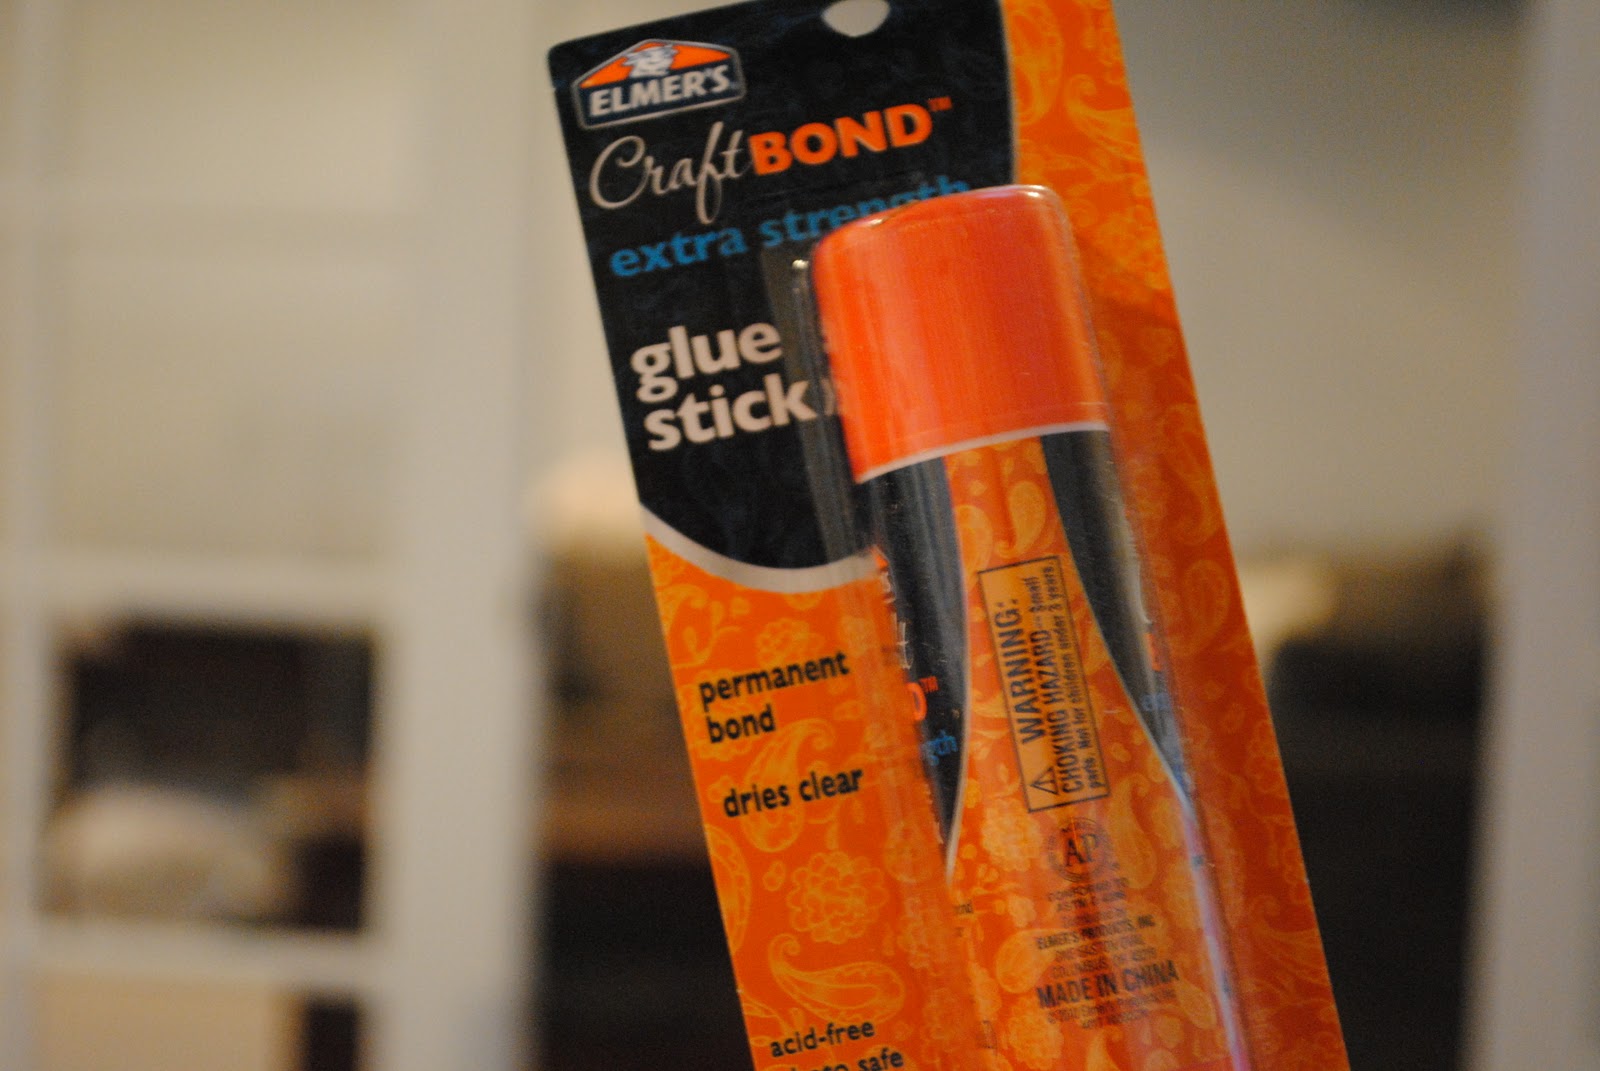
7. Next comes the personalization. You can do anything here! Use a white Elmer’s Painters marker, chipboard letters, stickers, stamps… you name it. The chipboard letters I used came with adhesive but it wasn’t strong enough. Some Elmer’s Craft Bond Extra Strength Glue Stick helped out with that!

You could also use stickers.
8. Enjoy. Use it to carry and store books, art supplies, trucks, you name it. Bee loves his new caddy!

I know what you’re thinking.
“Carrie, really, did foam board and rope really hold up to an 18-month-old?”
YES! Here’s Noodle toting it around, and at one point Bee shook it by the handle back and forth — for at least one minute– until all the balls fell out… and it still looks brand new!


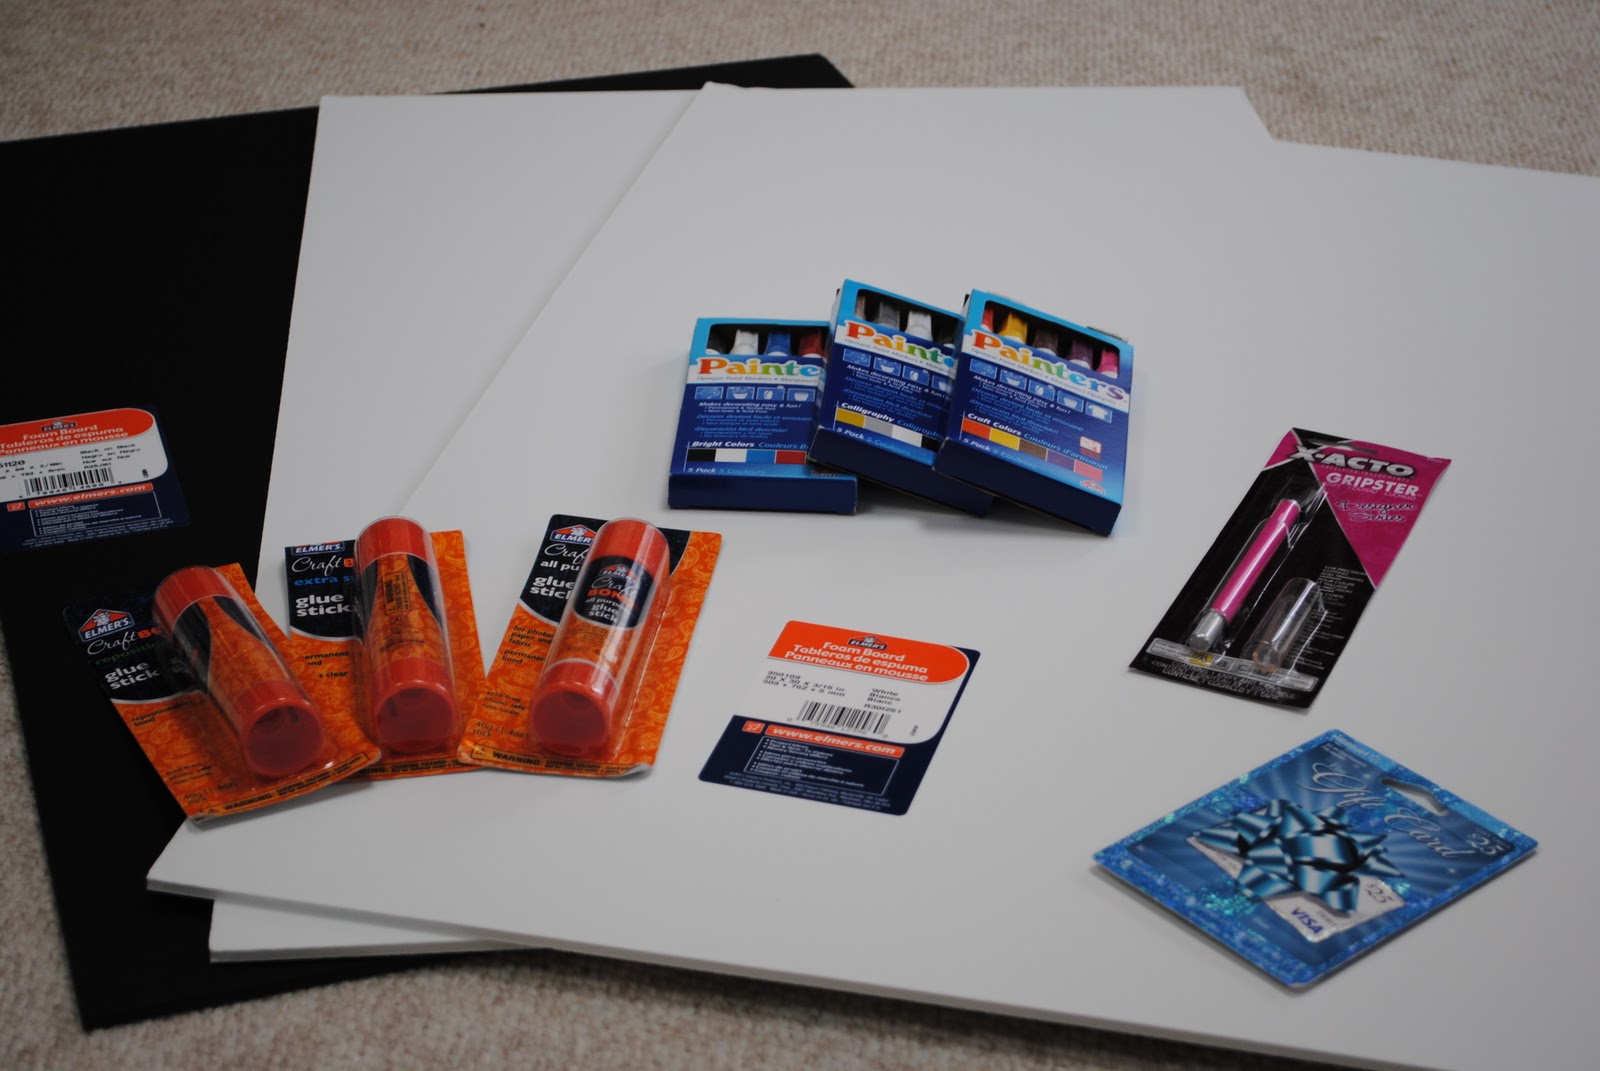
Now, the really fun part. Two lucky readers will win one set of the following Elmer’s products! {I’ve added links to products not in the tutorial so you can see what you’ll get}:
• Black 20×30 Foam Board
• White 20×30 Foam Board
• CraftBond All-Purpose Glue Stick
• CraftBond Repositionable Glue Stick
• CraftBond Extra-Strength Glue Stick
• X-ACTO Designer Series Gripster Knife
• Painters Assorted Colors Set
Initial Entry: Tell me what you’d do with the supplies, be as general or specific as you’d like.
Additional Entries (leave a comment for each):
- “Like” Making Lemonade on Facebook
- Follow @MakingLemonade1 and @Elmers on Twitter
- Tweet: “Want to win an @Elmer’s prize pack? See what @MakingLemonade1 made, and comment for a chance to #win! http://ow.ly/7KDea”
- Subscribe to Making Lemonade in a reader or via email
- Comment with your FAVORITE product from Elmer’s!
I’ll pick a winner December 11th at 11:59 PM using Random.org. Good luck!