Pottery Barn Knock-off: Hanging Pumpkin Lanterns
This post may contain affiliate links for your convenience. Read my full disclosure policy here.
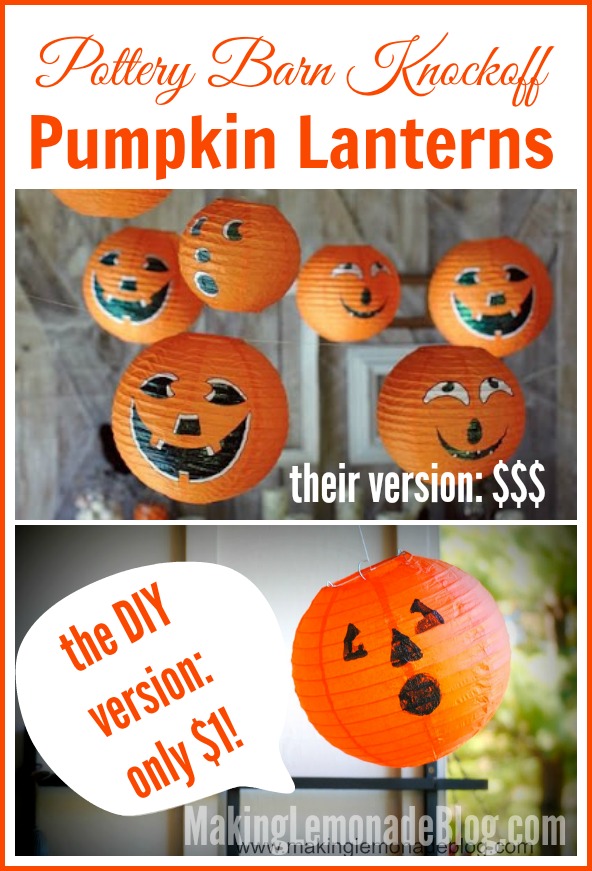
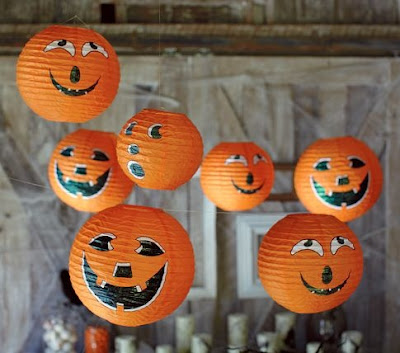
When it comes to Halloween decor, I tend to err on the side of ‘fun’ versus ‘scary.’ When I saw this photo in Pottery Barn Kids, I thought it perfectly fit with our style. Since chinese paper lanterns cost about $1 each, I knew I could make them inexpensively– and with a little glittery ‘bling’ to boot.
We’re having a Halloween party in a few weeks, and I knew these hanging jack ‘o lanterns are perfect for greeting guests. Plus, they were a fraction of the cost of the Pottery Barn version. Cheap Halloween decor ideas? Bring. It. On!
Pottery Barn Kids Inspiration:
Aren’t they cute? But I wasn’t sure I could replicate the two colors without tearing the paper, so instead I decided to put some glitter and glue to the test.
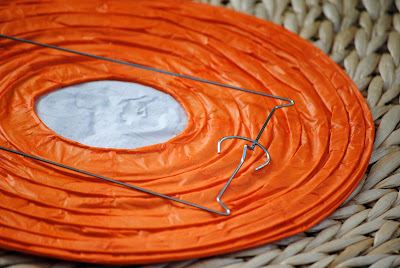
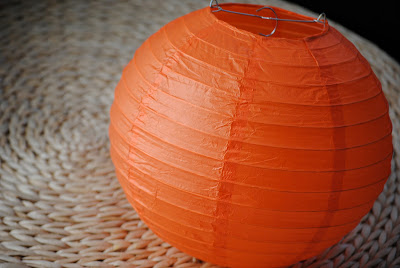
First, I ordered these orange paper lanterns from Just Artifacts, and they arrived a few days later.
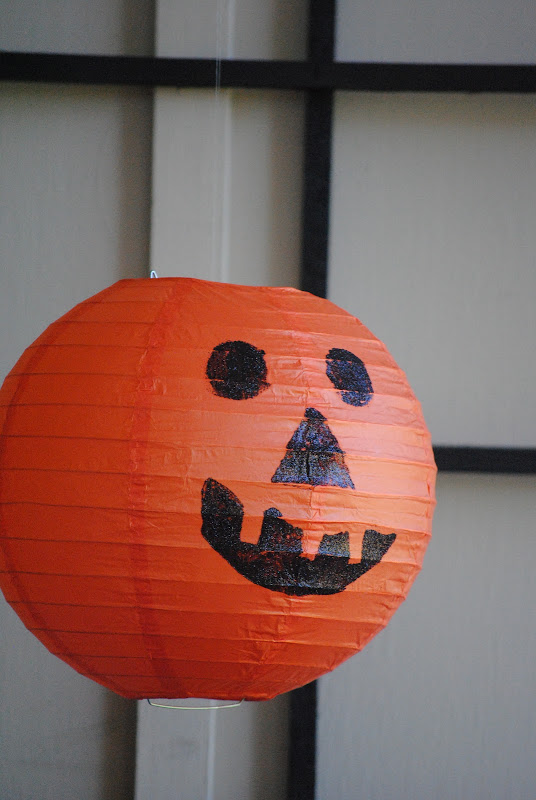
They were simple to put together, and soon I had five ‘pumpkins’ ready to decorate.
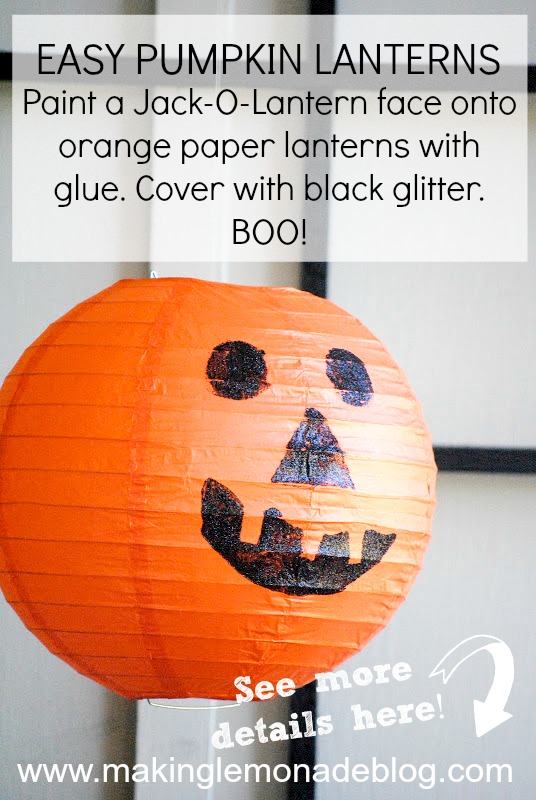
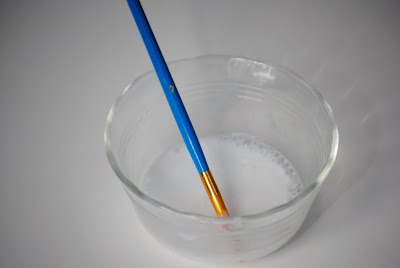
After mixing up some all-purpose glue with a little bit of water to make it more ‘paintable’, I used a thin brush to add glue where I wanted the black glitter to stick. For glitter, I used fine black glitter from the Recollections brand available at Michaels, usually for 40% off which makes it super cheap. I bet Mod Podge would also work for the adhesive, but I didn’t have any on hand (whaaaaat?).
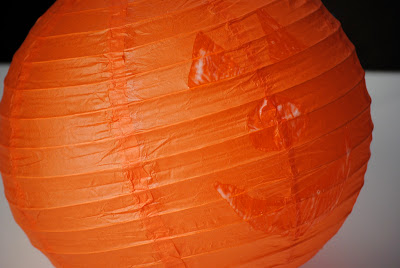
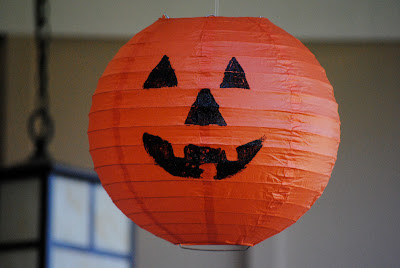
I freehanded the faces, using simple designs. If you want to lightly use marker to outline the face instead, the glitter should cover it up.
When it comes to applying the glue, the glitter does stick best where it’s most thick. BUT, you run the risk of it running down the sides if it’s too thick. It actually looks best when it’s applied in thin layers, but I’m kinda impatient. Since I did my gluing/glittering around 11PM, it was a quick job and not as neat as it could be. I’m sure all you artists would do much better with it!
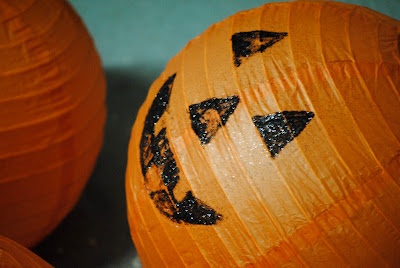
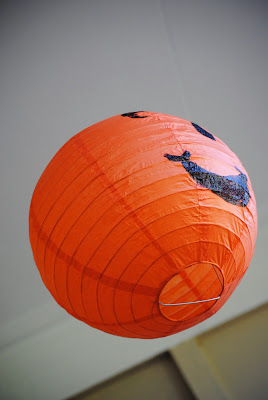
After applying glue, quickly sprinkle the black glitter over the face from top to bottom. Shake off. If needed, apply more glue to the thin spots and re-glitter. This is my pumpkin’s face on round one, before he got one more dose of glitter.
When dry, they are ready to hang! Use clear fishing line and thumbtack in the ceiling to hang them up.
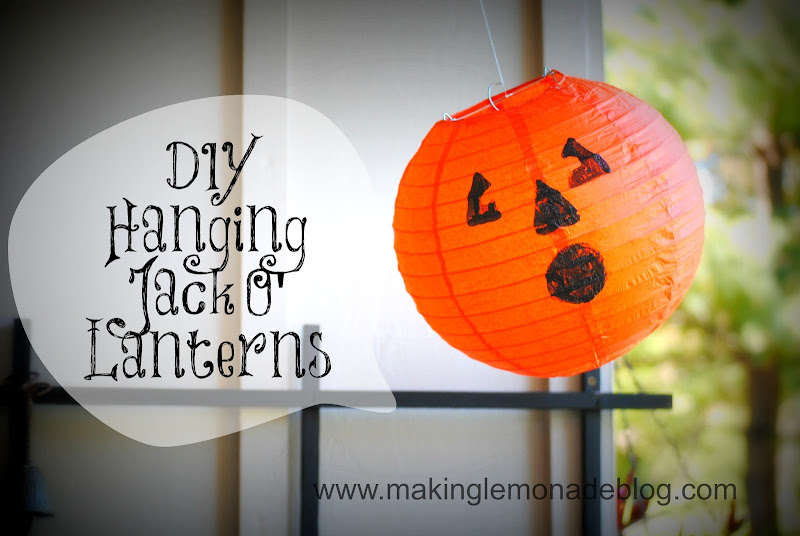
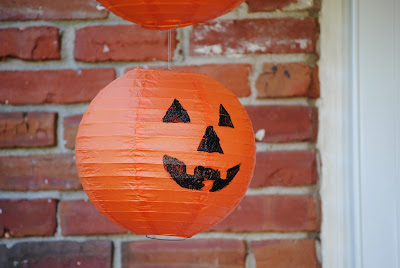
I did a test run by placing mine outside, but will bring them in when it rains. This was my favorite part, because they seem to come alive. They’d twirl and spin, sometimes facing forward…
… and other times giving me the cold shoulder.
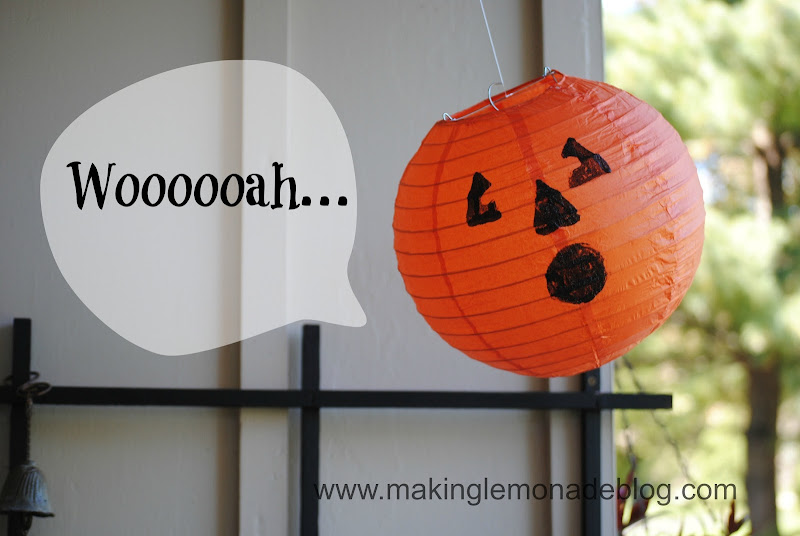
This one had me in stitches when a breeze came along:
As cute as they are during the day, at night they really look cool illuminated by the porch light. They’d be equally adorable inside your home: above your mantel, in the dining room, and in your indoor entryway. The list goes on.
Thanks to some glitter and a few paper lanterns, you have glittery Jack O’ Lanterns that never expire, and will greet you year to year.
Awww, these little pumpkin friends are really growing on me. I’m going to miss them come November 1st!

