Deck Stain 101 & The Perfect Outdoor Couch (Deck Diaries, Part 1)
This post may contain affiliate links for your convenience. Read my full disclosure policy here.
 Okay, I can’t tell you HOW DARN EXCITED I am to kick off The Deck Diaries today! You may remember our deck was showing a lot of wear and tear after such a brutal winter. Those winter weary brains of ours decided to create a ‘vacation at home’ feel on our deck to truly enjoy outdoor living this summer (because as much as we love vacations, we can’t go on them forever). Our dream was to bring a resort feel to our home, minus the resort fees. BUT. We can’t spend any more on our home so we had to keep it on a tight budget, make it easy since our schedules are so hectic, and have it happen QUICKLY to enjoy the fruits of our (relatively small) labors all summer long.
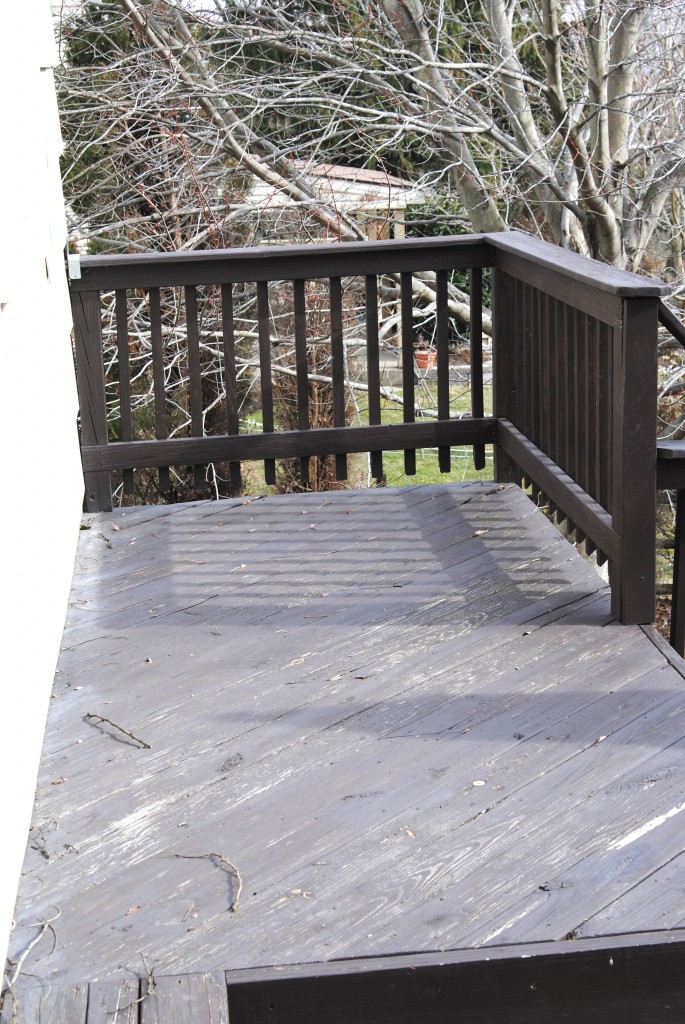
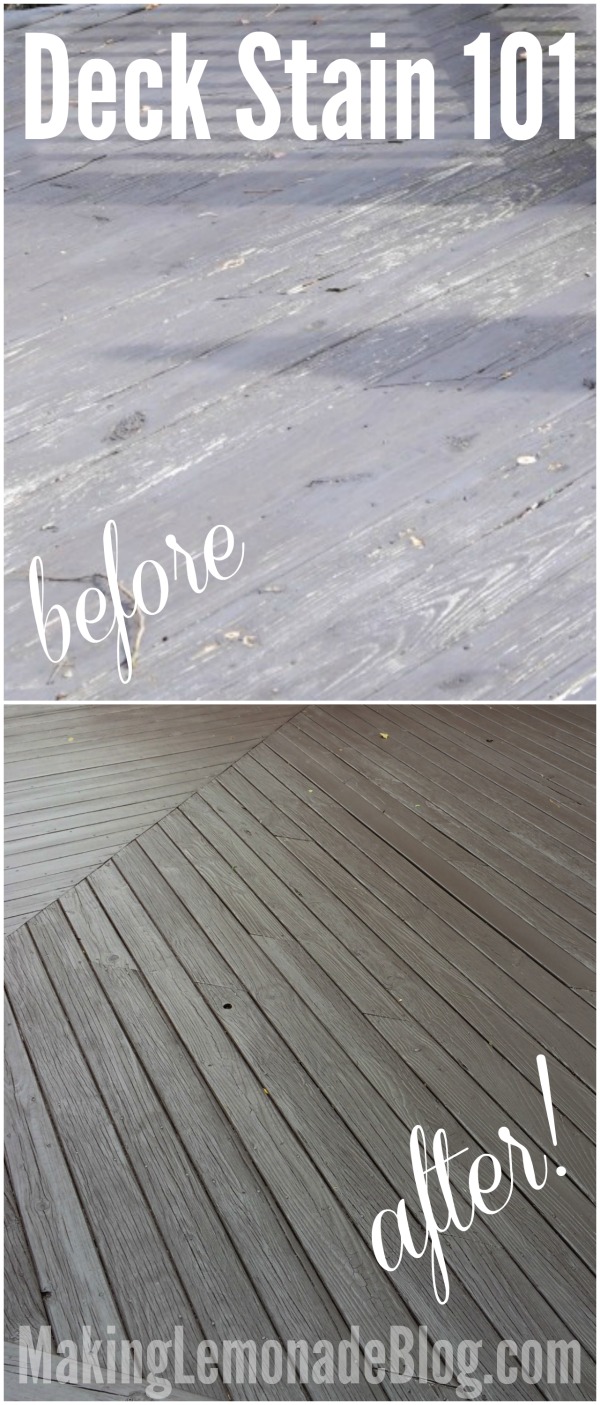
We started here, with a deck that’s getting pretty threadbare looking. Structurally it’s great, but the boards needed some serious TLC.
STEP ONE: Clean the deck
The first step was to clean it. Since there was no mildew and we weren’t changing the color, we skipped the powerwashing step (saved a bundle on that!) Instead, we hosed it off and let it dry. Then we used a leaf blower to clear any lingering debris. A putty knife quickly took care of stray leaves and junk that had settled in between the boards. The stain we used was thick enough to really seal the boards but for any areas that were super rough a little sandpaper was used to make it smooth.
STEP TWO: Choose the right stain!
There’s several types of stain, from actual stain to semi-solid to solid. Since our deck is older, we chose the solid stain which is more like paint. Newer decks can get away with regular and semi-solid, which shows the character of the wood.
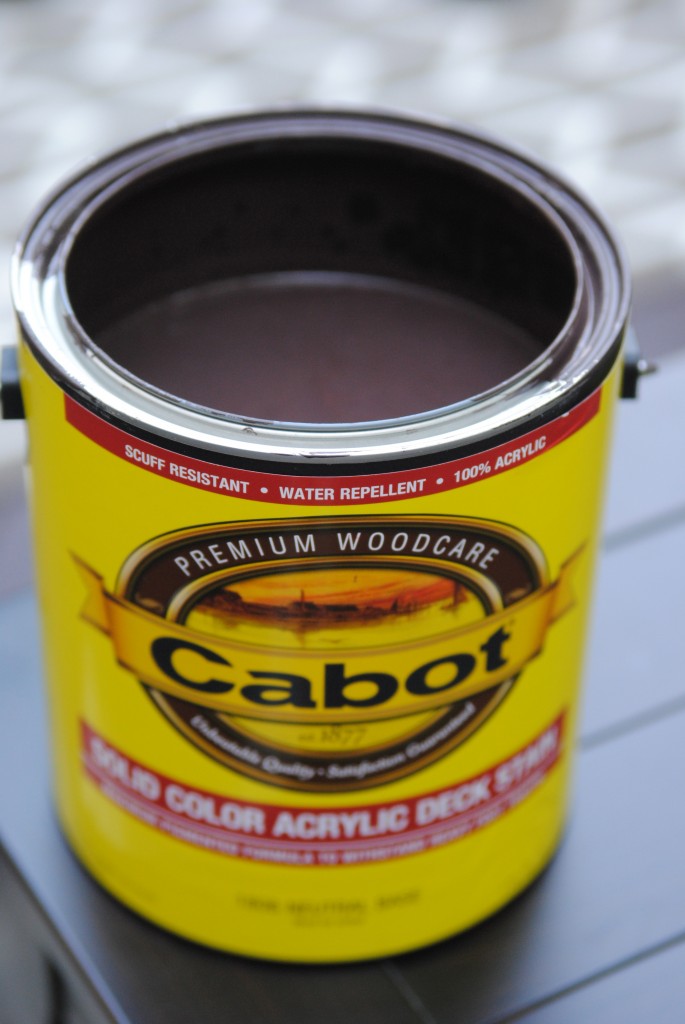
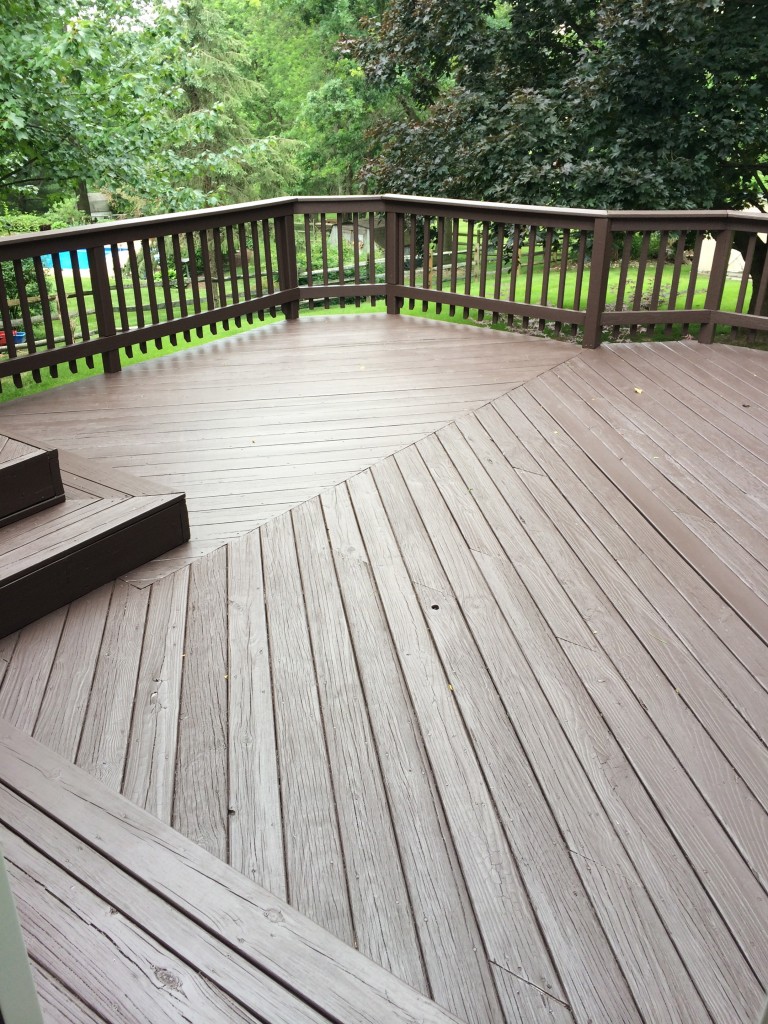
Here’s where the ‘semi DIY’ aspect of the project comes in– because of my husband’s travel schedule (and my taking-care-of-the-kids schedule), we hired our favorite painter to stain the deck. He knocked it out in a day– first staining the spindles and railing and then the floor. The key (aside from having someone else do the hard part, obviously) is to use A REALLY GREAT STAIN. I can’t emphasize this part enough. This is NOT a sponsored post, I pinky swear, but I have to give a huge shout-out to Cabot stain. It’s a pain in the bottom to find (I had to trek up to ACE Hardware which isn’t nearby) but well worth it. We used the solid deck stain in Cordovan Brown. This is the same stain I used five years ago and it holds up like a dream and doesn’t have that purple tint like some dark browns. And believe me, I know this, because in 2010 I ordered SEVEN different samples to try. SEVEN. And this was the clear winner, BOOM.
STEP THREE: Apply the stain
There’s really no tricks for this when using a solid stain. Simply paint it on, giving it two coats where needed. Our painter usually uses another brand of stain but even he was impressed with Cabot– he said it was super easy to work with. It covered the bare parts so thickly, I not only let my kids walk on it barefoot but also roll around and giggle. I’d never let them do that previously in fear of splinters!
STEP FOUR: Let it dry
It’s important not only to let the stain dry but also ‘cure’ before walking on it or putting down furniture; for this product, that was 24 hours (of impatient waiting!)
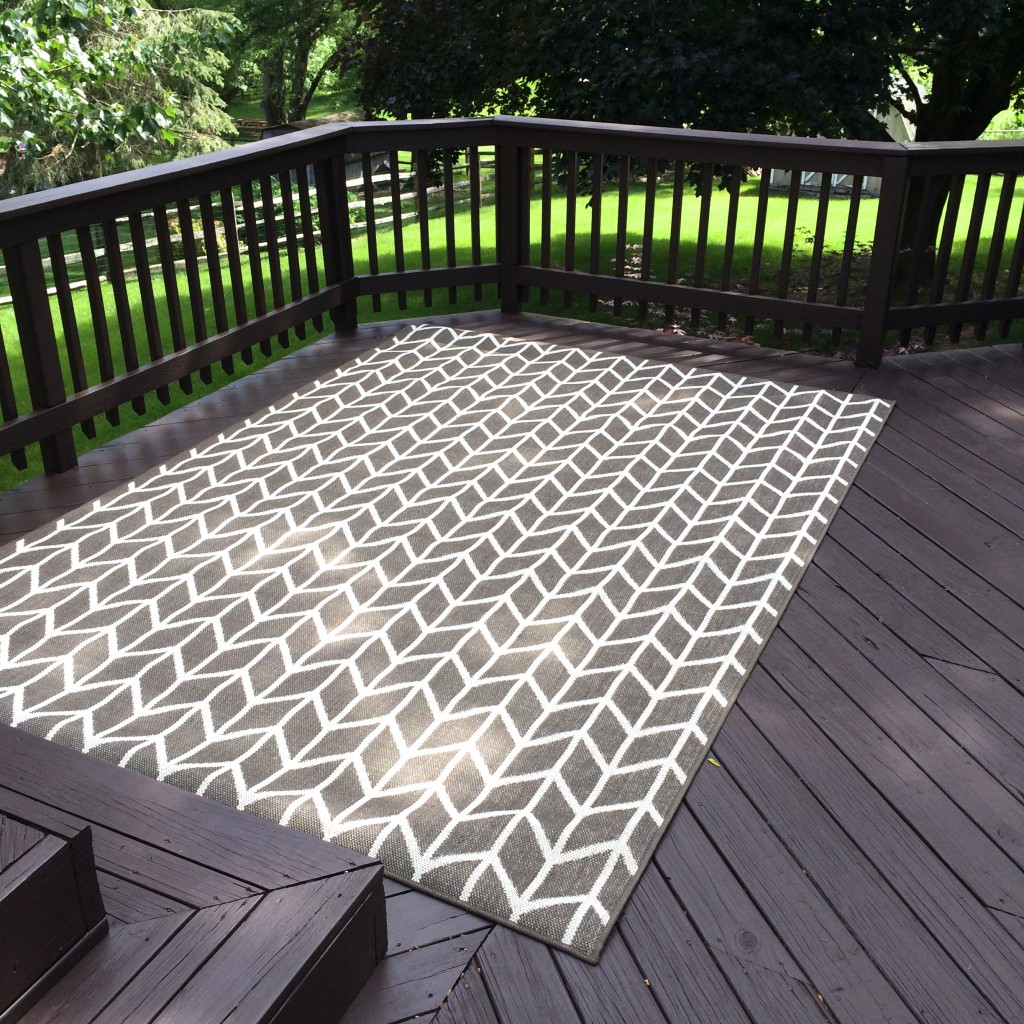
Why so impatient? Because I had this beauty I could not wait to plop down!
I loved it so much I ended up ordering another for the dining section of the deck. Stay tuned. 😉
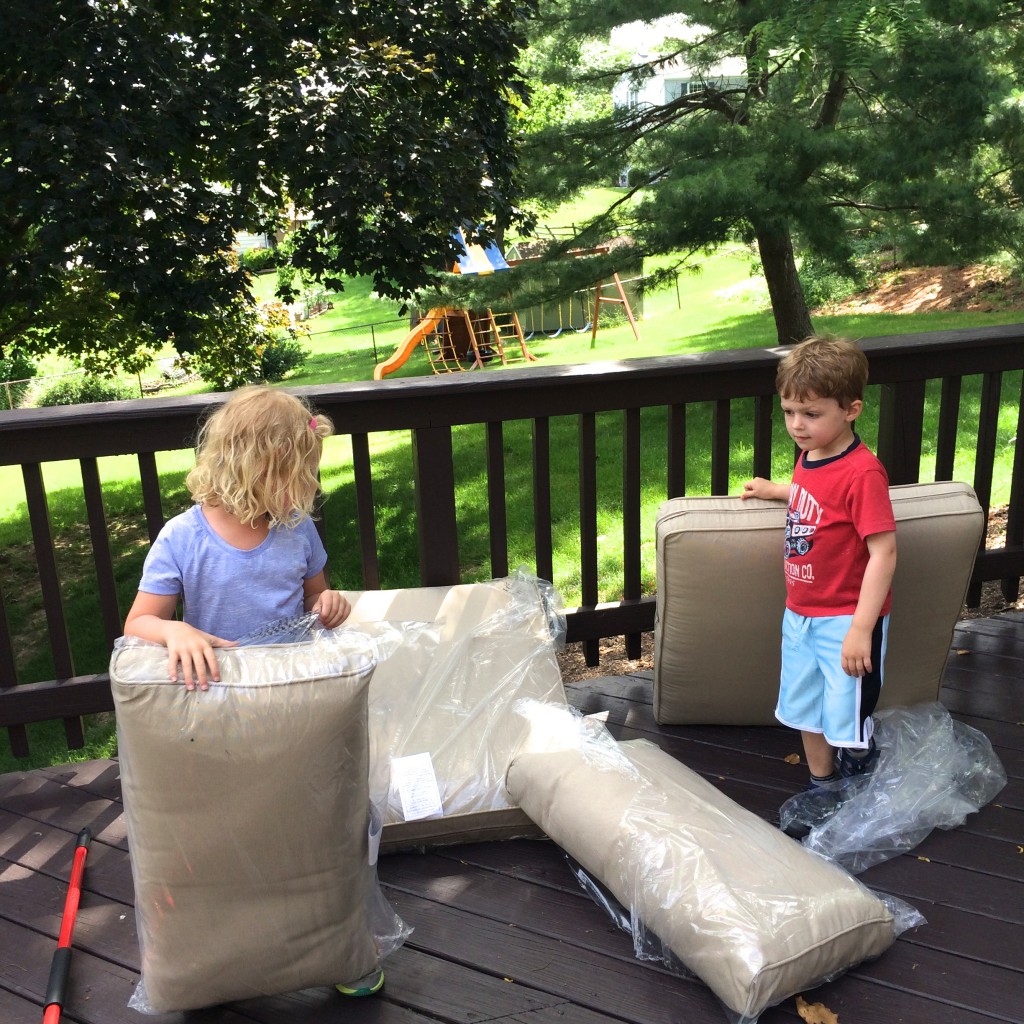
Now that we had the deck stained and rug down there was the job of unpacking our new outdoor couch. My husband is the one that found it, and it couldn’t be more perfect. Since he was leaving for a business trip to India the next day, we worked to get it unpacked and on the deck which ended up being about 1000 times easier than anticipated. Especially with The Wrecking Crew helping out.
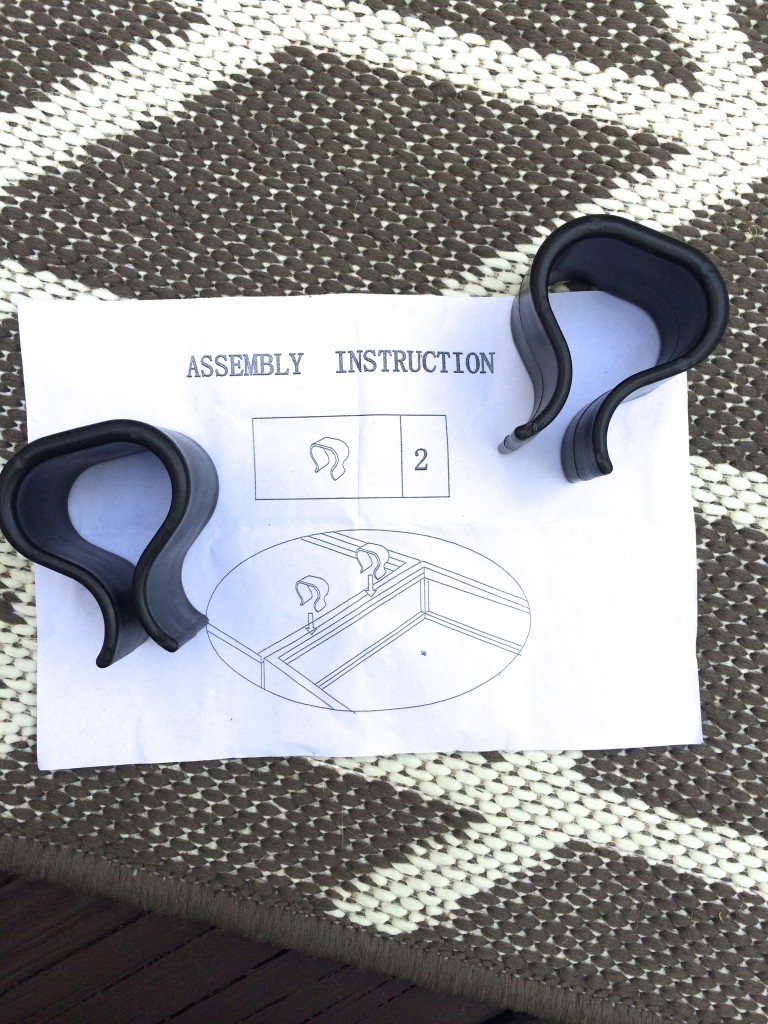
Most outdoor couches in the lower price range had reviews that said they took hours to put together. This one, however, was done in 15 minutes– the hardest part was opening the boxes and breaking them down for recycling. Seriously, here’s the instructions:
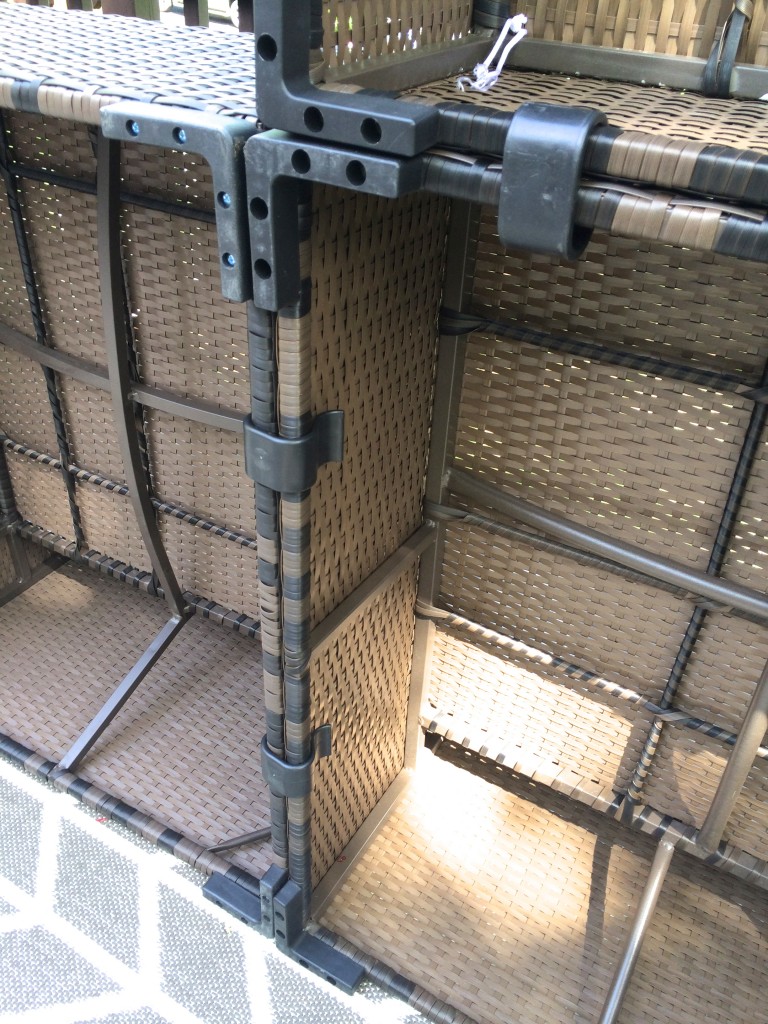
The bottom of the couch:
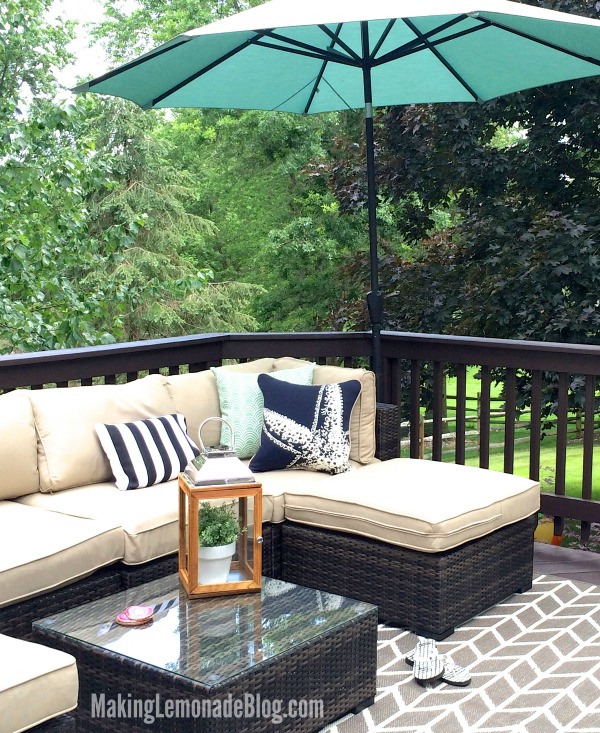
This is just one corner of the deck and I don’t want to ruin the surprises in store, but I also don’t want to be a tease so here’s the sneakiest of peeks (taken on my phone) of what the couch looks like assembled:
EEEEK! Right?!?!? I kicked off my flip-flops, snapped a pic, and proceeded to take a nap RIGHT THERE. That’s just the beginning, we added several other DIY touches that takes it over the top and I can’t wait to share. I’ll have my full review of the couch, sources, and three easy DIY projects that take your deck from ‘blah’ to resort ready coming up soon!
Here’s the rest of the Deck Diaries series, including the final reveal!
Deck Dreaming (Design Board and Plan)
Part One: Deck Staining 101
Part Two: Vertical Herb Garden
Part Three: How to Hang Outdoor Lights
Part Four: Our Outdoor Living Room (DIY Deck Makeover Reveal!)
Who’s ready to come over for some ice cold lemonade and an outdoor nap?
This post is sponsored by my Young Living business! Check out my essential oils page for more information on how you can get these amazing oils in your hands too along with helpful freebies, a gift from me, and tons of support:


