DIY Photo Ornaments: Editing and Printing Photos
This post may contain affiliate links for your convenience. Read my full disclosure policy here.
Last year I wrote a post for The CSI Project on making your own photo ornaments. As I put our sweet photos on the tree this year, I realized the photo editing program I used to make them (Picnik) is in the Google graveyard and no longer works. Which means it’s high time for an updated tutorial using my photo editing BFF, Picmonkey!
{Not to be confused with my actual BFFs; they know who they are. 😉}
Have you used Picmonkey? I’m so in love with it because, for starters, it’s FREE. Secondly, it’s online so you don’t need to download any programs to your computer. And third, it’s so super easy to use that even I can use it (that’s easy, people!)
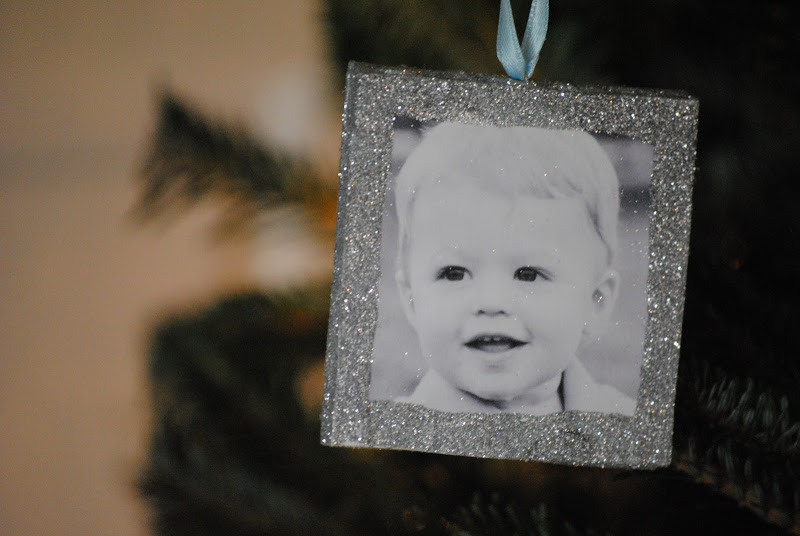
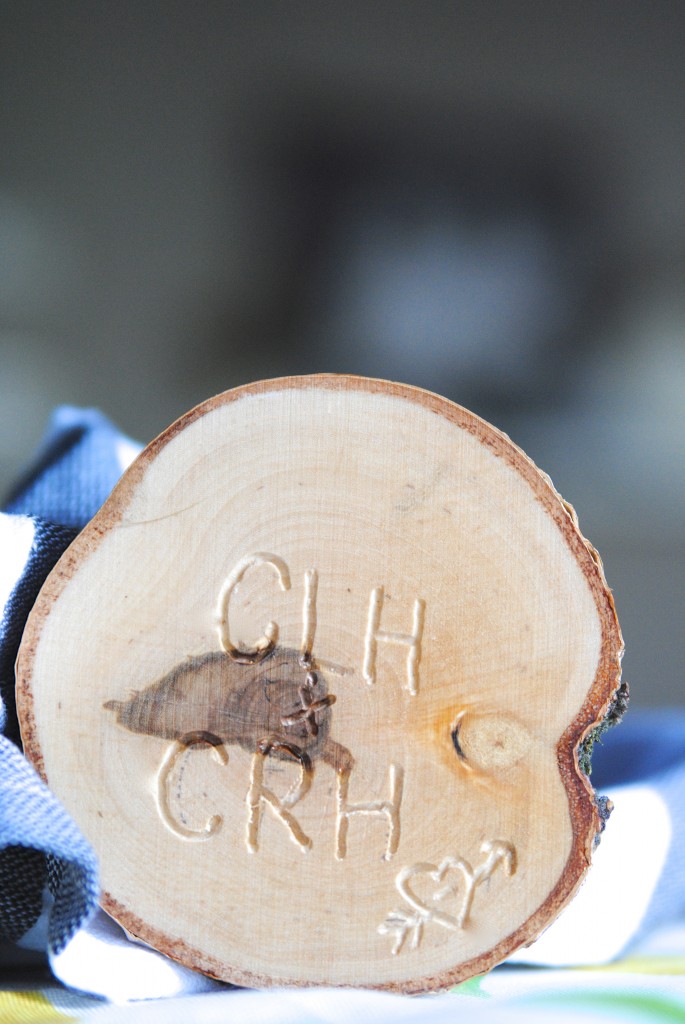
But first things first. Here’s what we’re making:
Having photos of the ones I love on my tree makes me all kinds of happy. When I’m feeling stressed or less than jolly, simply staring at the tree with a mug of something warm and the lights dimmed can bring me back to where I need to be– focusing on the why of the season. Our tree now holds photos of those near and far, and also those we’ve sadly lost recently. I put those near the top, with my angels.
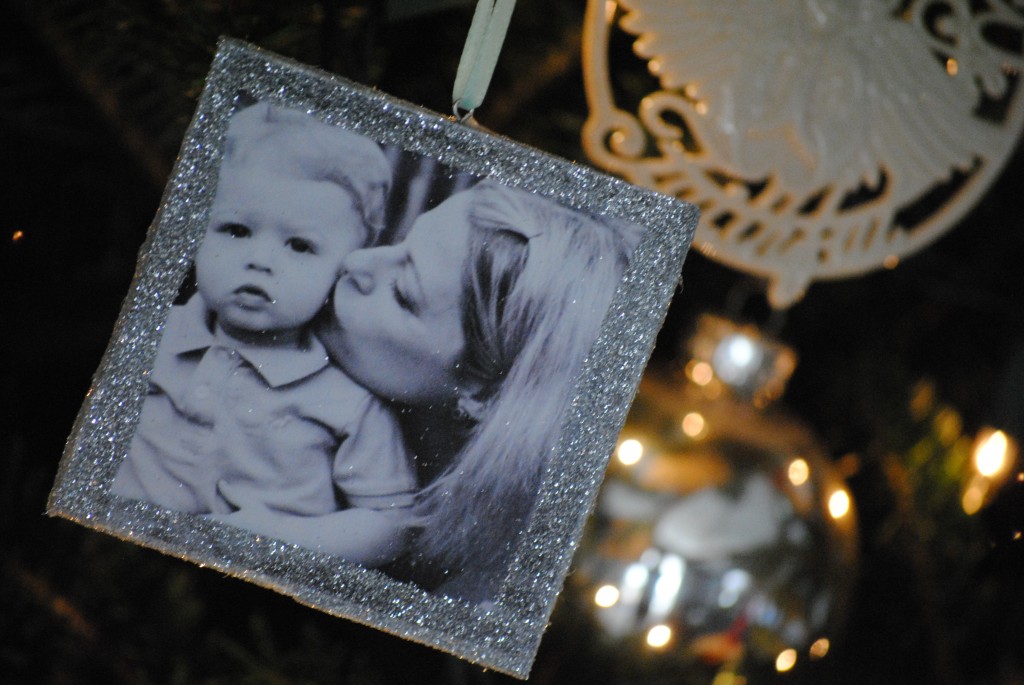
The kids love showing off the the photos to everyone who visits, and each night they go through and tell me all about each one. “There’s Yiayia, and me and Jane, and Grampie, and Mommy kissing Ben…”
Anyways, before we can make the actual ornaments I though it would be handy to have a quick tutorial on how to print the photos for them. You can do it any way you wish, but I figured it out on Picmonkey for those who are photo editing novices like myself. Here’s Part One of the photo ornament tutorial, How to Edit Photos on Picmonkey. Part Two– actually making the ornaments– will be posted at the end of the week.
And now, the photo I’m working with:
Doesn’t he look angelic? Surely this little guy never throw a tantrum or refuses to take a bath and he always shares all his toys.
Sigh.
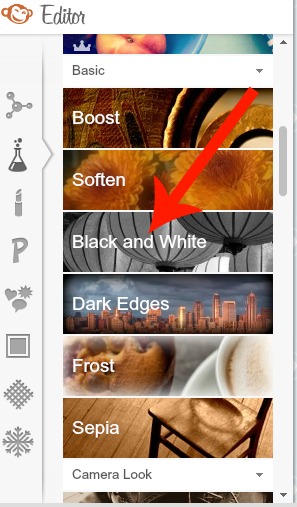
First, upload your photo to Picmonkey. Once it’s there, go to the second icon in the left sidebar (the beaker). That’s the one for ‘Effects’.
Scroll down until you see Black and White, click it, then click apply. How do you like it? There’s tons of other effects you can use, but I like the simplicity of Black and White on my tree. Play around until you find one you love.
Next, you’ll choose the top icon in the left sidebar for ‘Basic Edits.’ Click Crop.
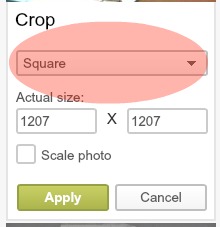
Now that you’re in crop, use the drop down box that says ‘no fixed proportions’ to choose ‘square’ (highlighted in the red oval, below). Play around with the box on the photo– make it bigger, smaller, drag it to the right spot– as long as it stays as a square shape, it will work. {and of course you can make non-square ornaments, too. I just happen to like the symmetry of them on the tree because I’m a nut case.} Click ‘apply’.
You’re almost finished in Picmonkey. Simply save to your desktop.
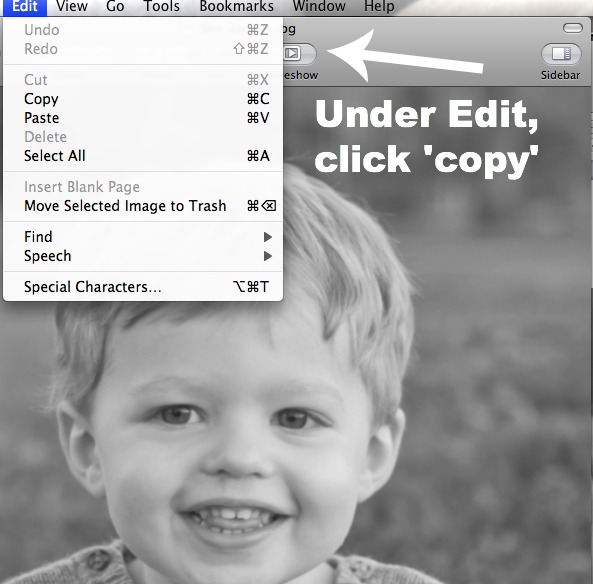
I have a Mac, so here’s my directions for doing this on a Mac. I’m sure it’s similar for those of you with PCs, and probably involves right clicking (which us Mac folks can’t do). I open the photo on my desktop and use the top menu to click on “copy.”
Then I open up a Word document, and paste it in. Voila! Photo magic.
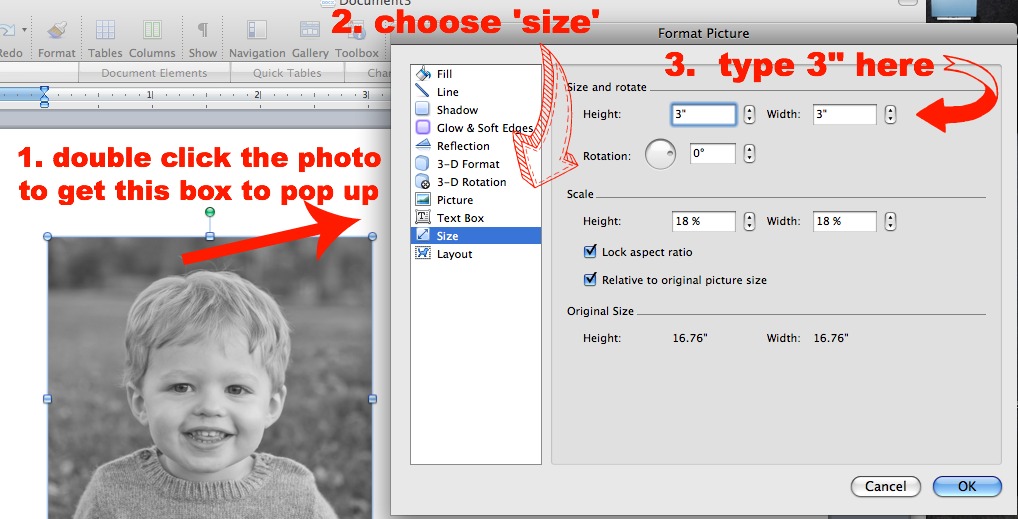
Simply double click on your photo in Word, and the Format Picture box comes up. Choose the ‘size’ option in the sidebar, and type in 3″ in both the Height and Width boxes as your dimensions.
Once you have all your photos edited and ready to go, simply print. Holla, now you have a high resolution 3 inch square photo just perfect for the next step in this project. Now go edit and print the photos you want on your tree, and I’ll meet you back here very soon for Part Two!

While this tutorial was written for printing photos for the ornaments, if you are new to Picmonkey it’s a good basic run-through of a few of it’s functions (like cropping and effects). It’s the gateway to a whole world of easy {free} photo editing!
Have you used Picmonkey before? What are your favorite editing tricks, tips, and functions?
