DIY Gift Ideas: Constellation Box and Tree Ring Coasters
This post may contain affiliate links for your convenience. Read my full disclosure policy here.
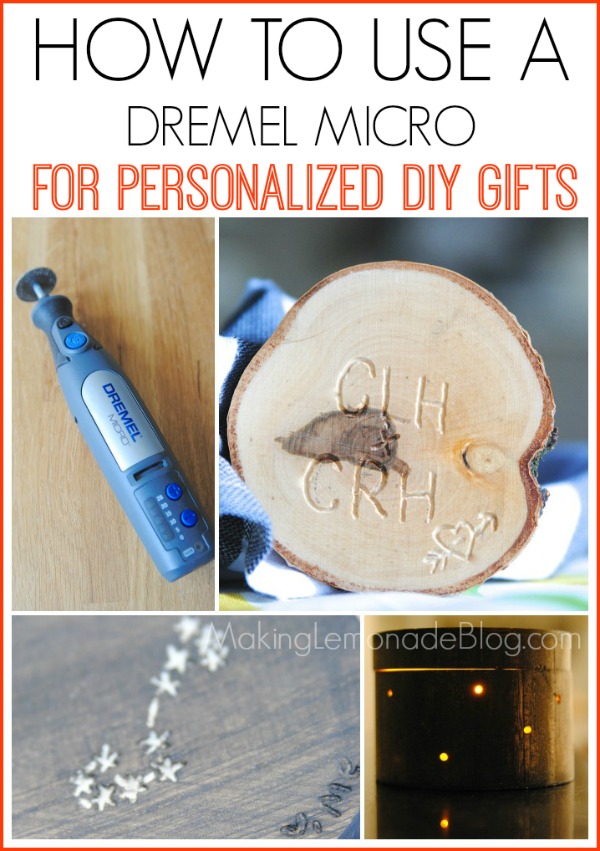
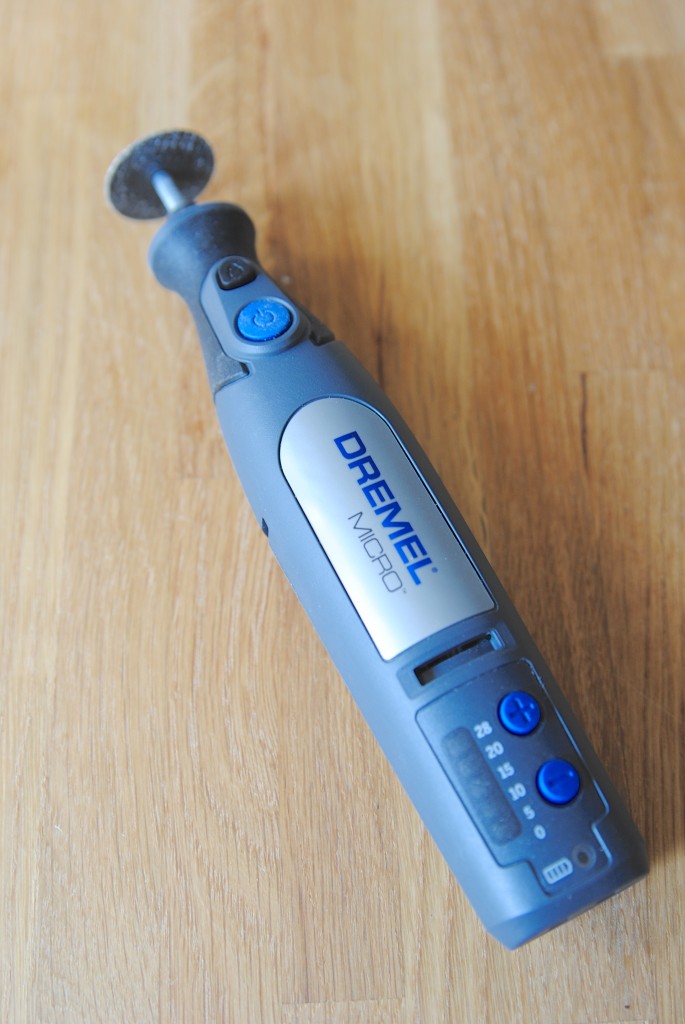
I’ve wanted a Dremel rotary tool for roughly a decade thanks to first hearing about it from my artisan mom, so when I finally got my hands on this hot little tool that does a HUGE amount of tasks from crafts to DIY to hobbies I had a field day. But you’re not here to listen to my field day stories, you’re here because you’re curious about DIY gift ideas you can create with a Dremel Micro rotary tool. It’s seriously the most powerful cordless rotary tool Dremel has ever made. So let’s get to it!
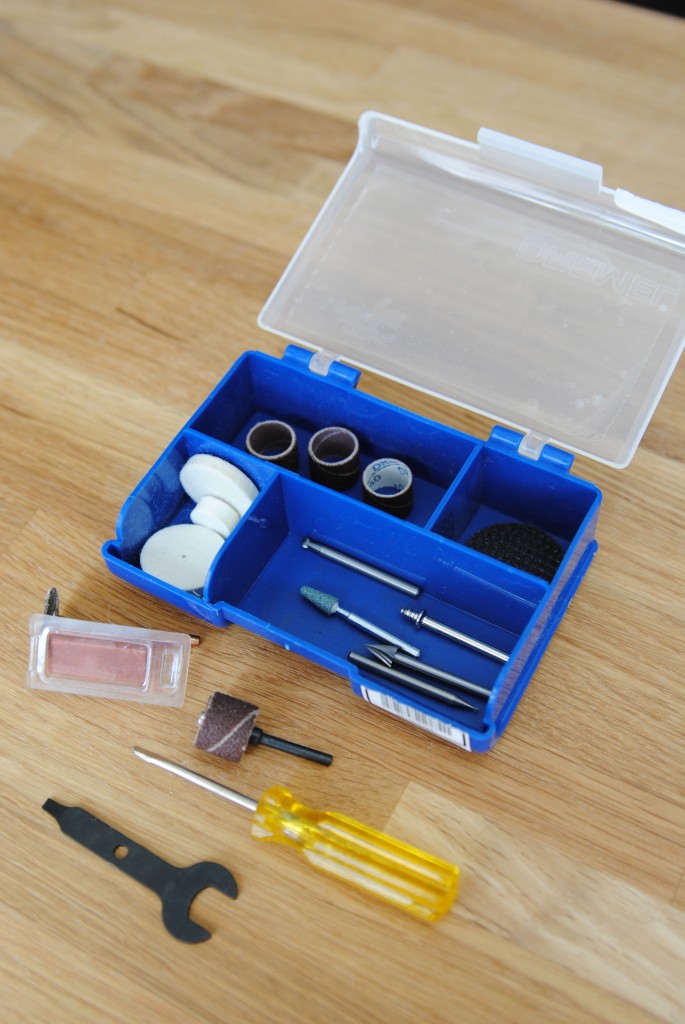
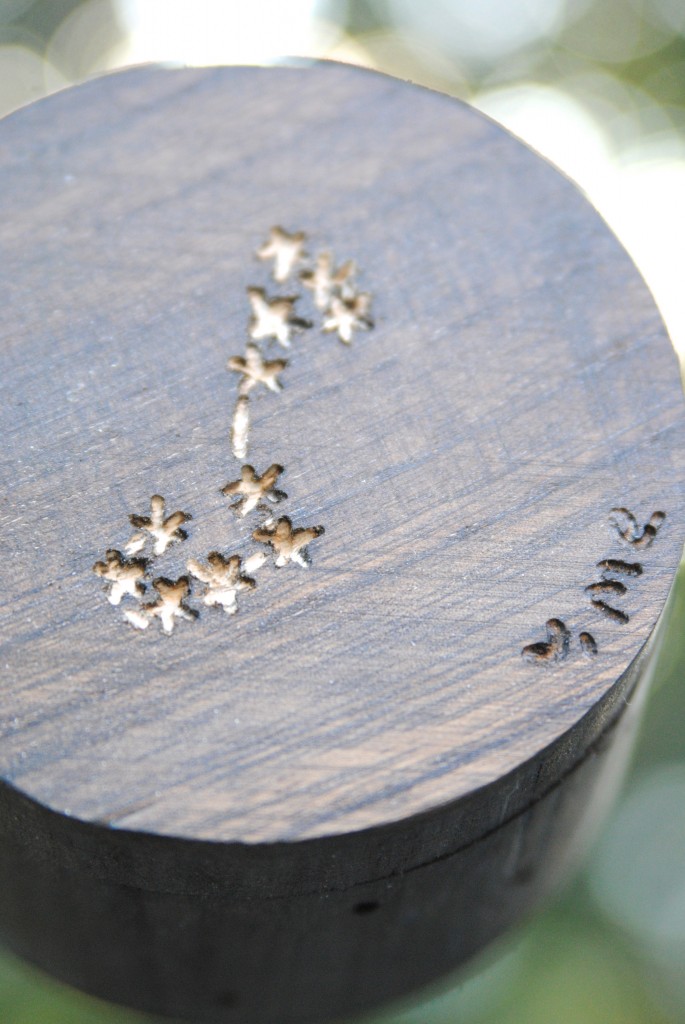
I decided to give it a test drive with two DIY gifts I was dreaming about. Ever since I read The Fault in our Stars last month I’ve been obsessed with constellations and images of stars. So the first gift idea is a wooden box with the Scorpion constellation on the top, which is a nod to my new nephew who’ll hopefully arrive next month since he’ll (hopefully!) be a Scorpio. The second gift is a coaster for my husband’s desk so he not only has a place to set his coffee while he works but gets a sweet little reminder that I’m thinking of him and want him to leave work early so I can have a break from the kids.
Starry Night Constellation Box:
Tree Ring of Love Coasters:

CARVED WOODEN BOX DIRECTIONS
Here’s what I started with, a plain wooden box from the craft store:
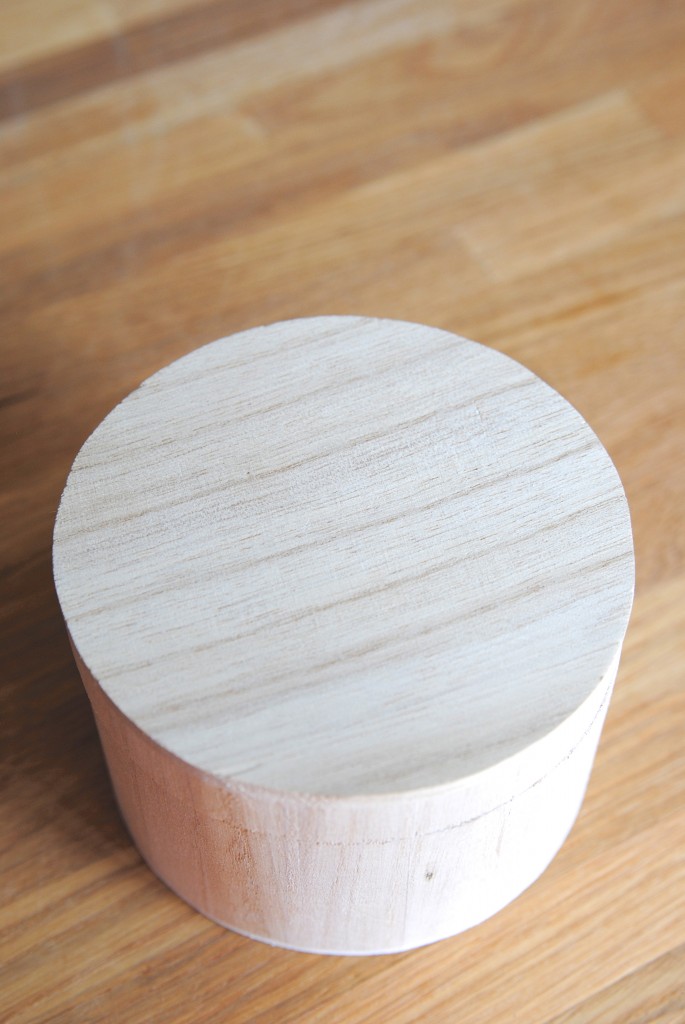
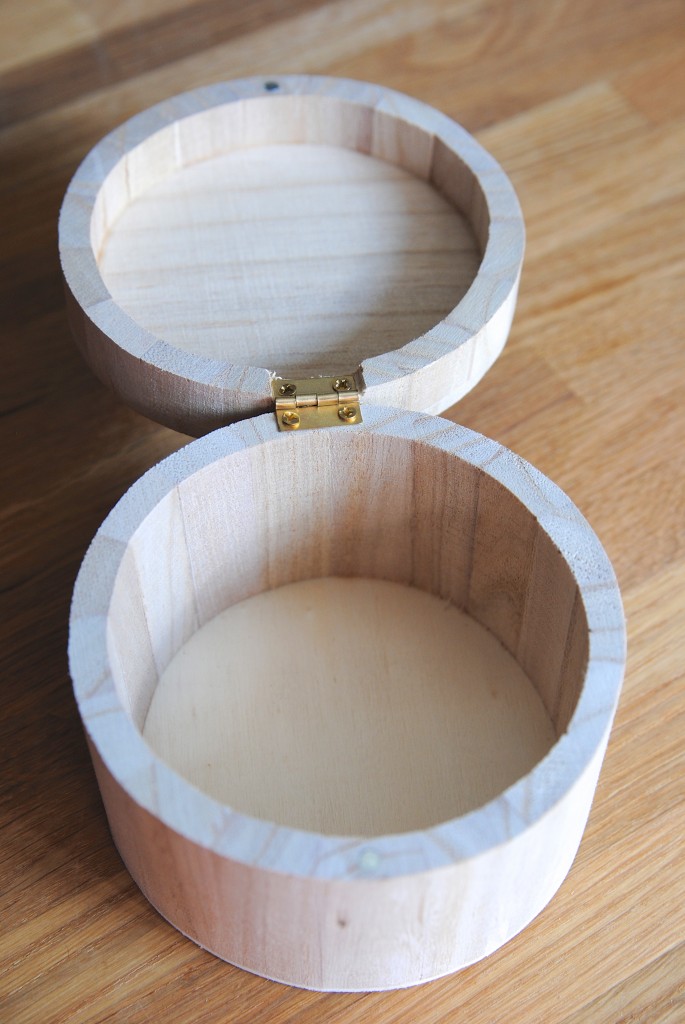
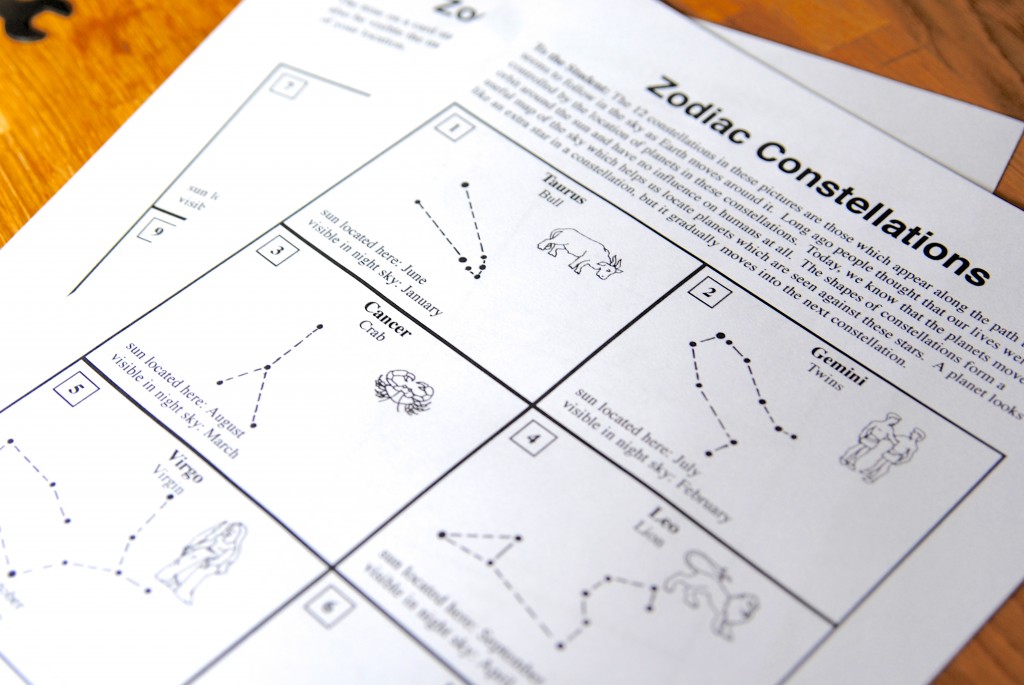
1. Print out constellation charts and cut out the image you wish to carve.
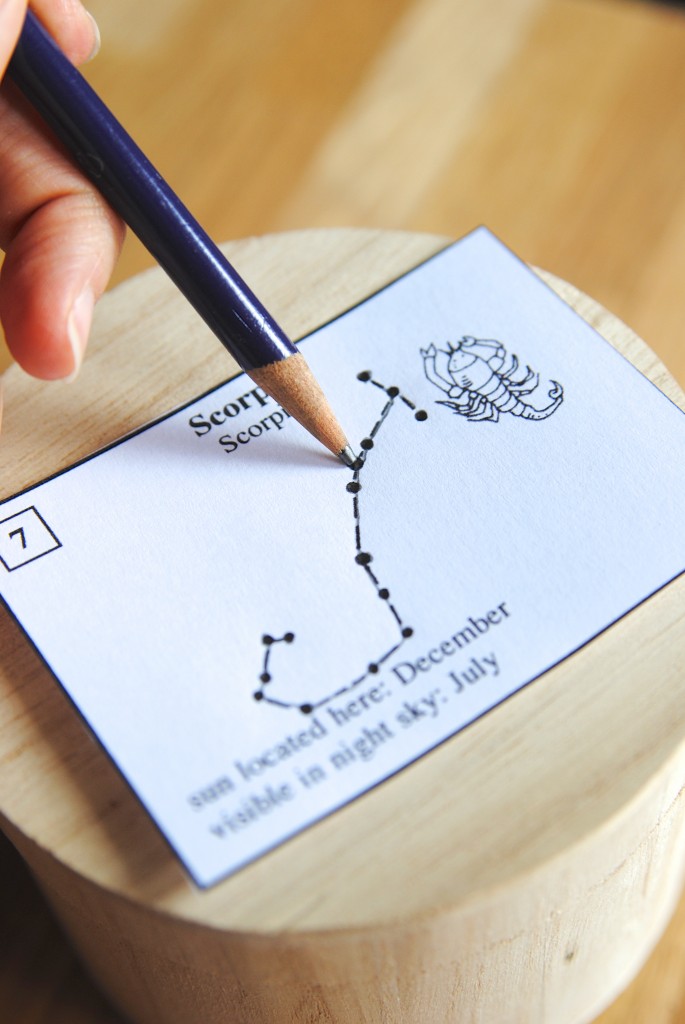
2. Place paper with constellation on top of the box. Since the wood is soft, I was able to use a pencil to push down and trace the constellation which left an indent in the wood. Remove the paper and you have a pattern to carve on the box.
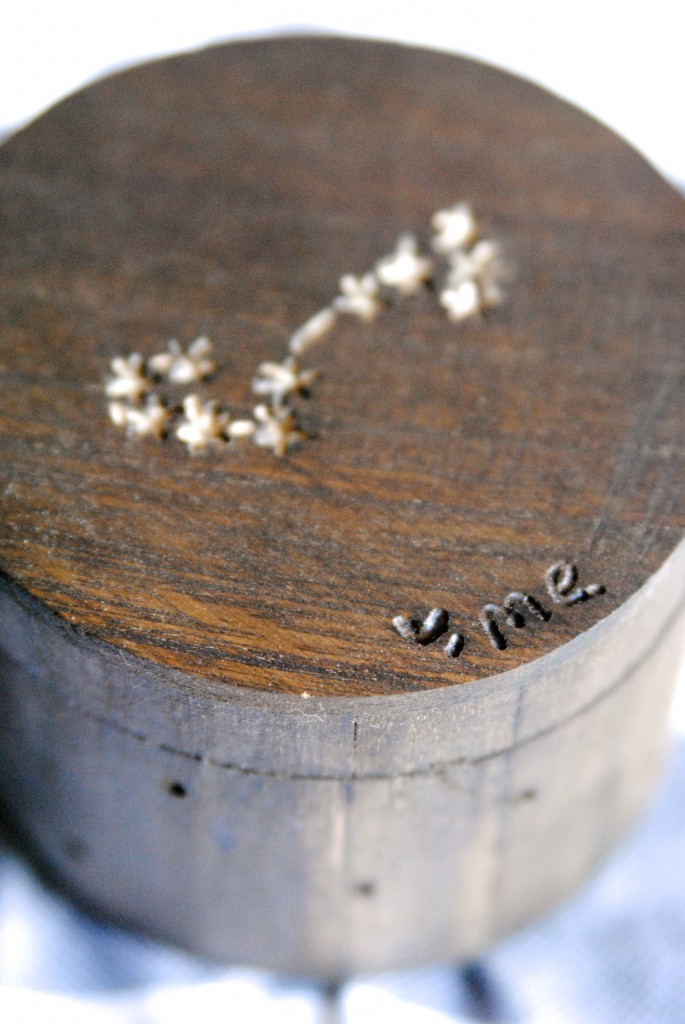
3. If you want the image to “pop”, then stain the box first so that when you carve it it’ll be a different colored design. If it’s okay to have the image monochromatic, you can carve it and then stain it all over, when makes the image the same color as the box. I’m skipping ahead here, but this shows the difference between the two (the stars were carved after staining, and the heart and ‘me’ was before staining):
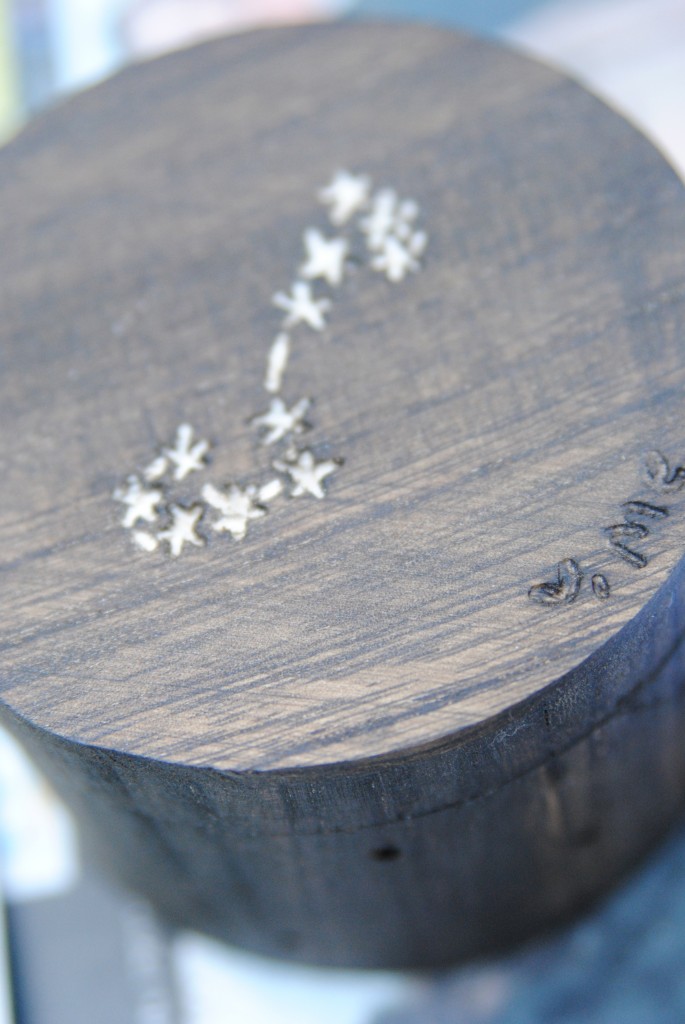
4. The Dremel Micro is incredibly light and easy to use, with a nice softgrip handle and even a task light built in. Using the smallest carving tip, trace the image. Go slowly and carefully, don’t force it– the tool is a good one, let it do the work! You may need to go over it several times, which is better than trying to get it all at once. If it’s unstained, give it a quick sanding with a sanding block. Note that I carved this twice– once before staining to see what it looked like, and once AFTER to make it a different color from the stained wood.
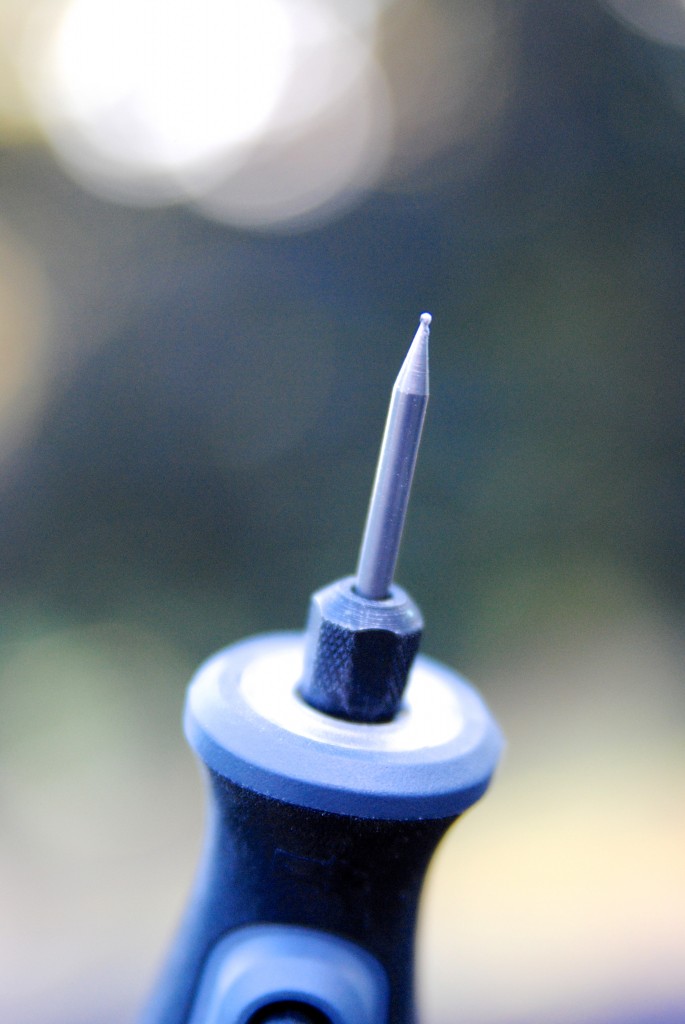
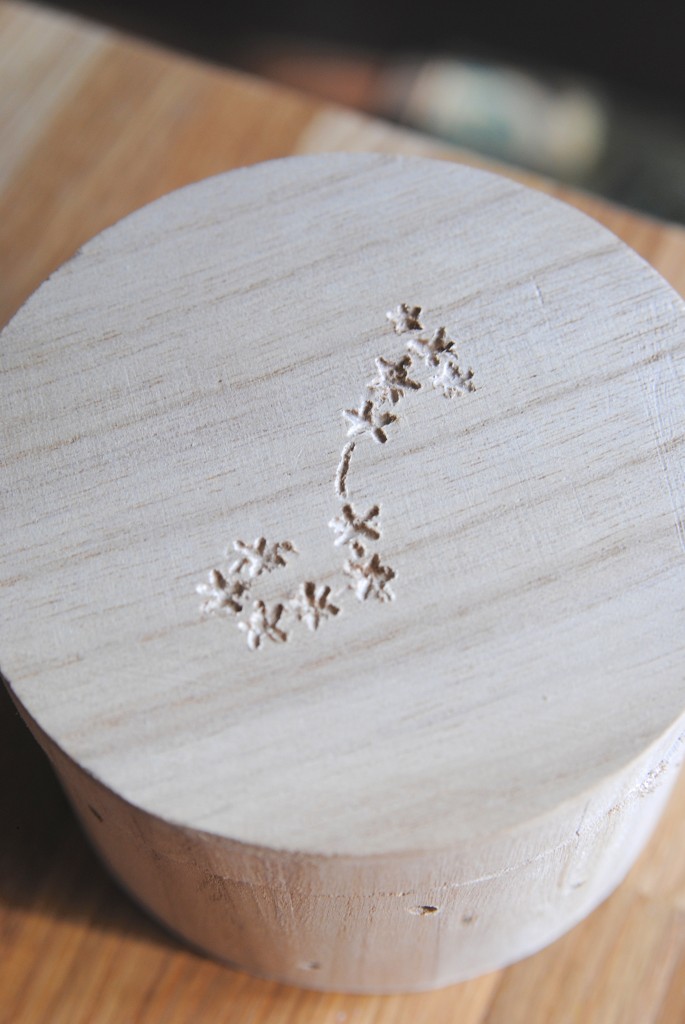
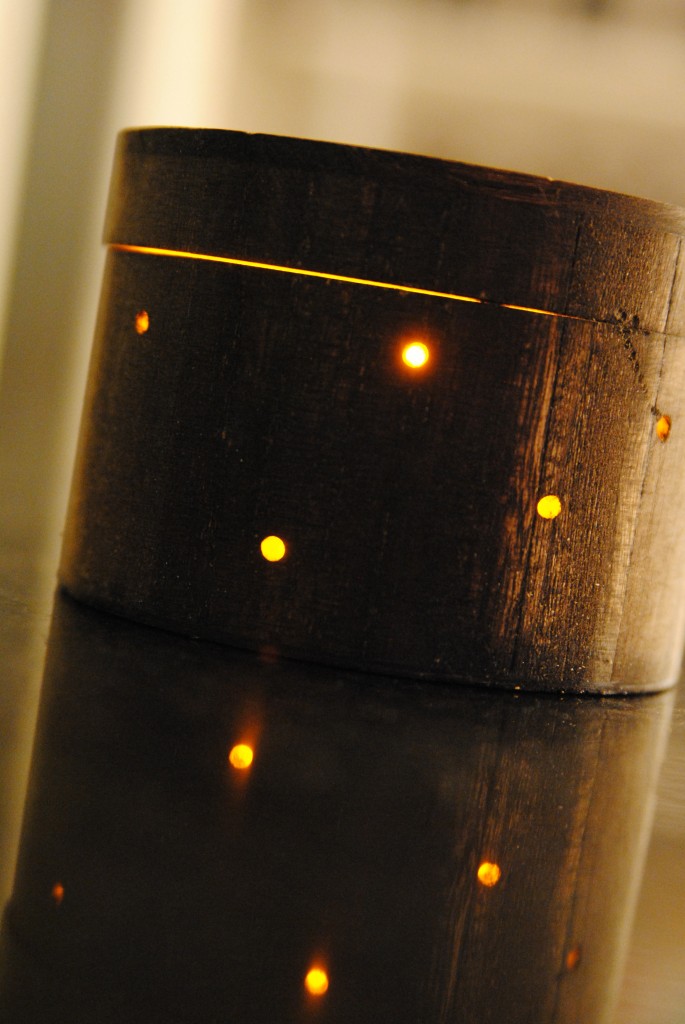
5. For a special touch, use the drill bit to drill a few holes around the side.
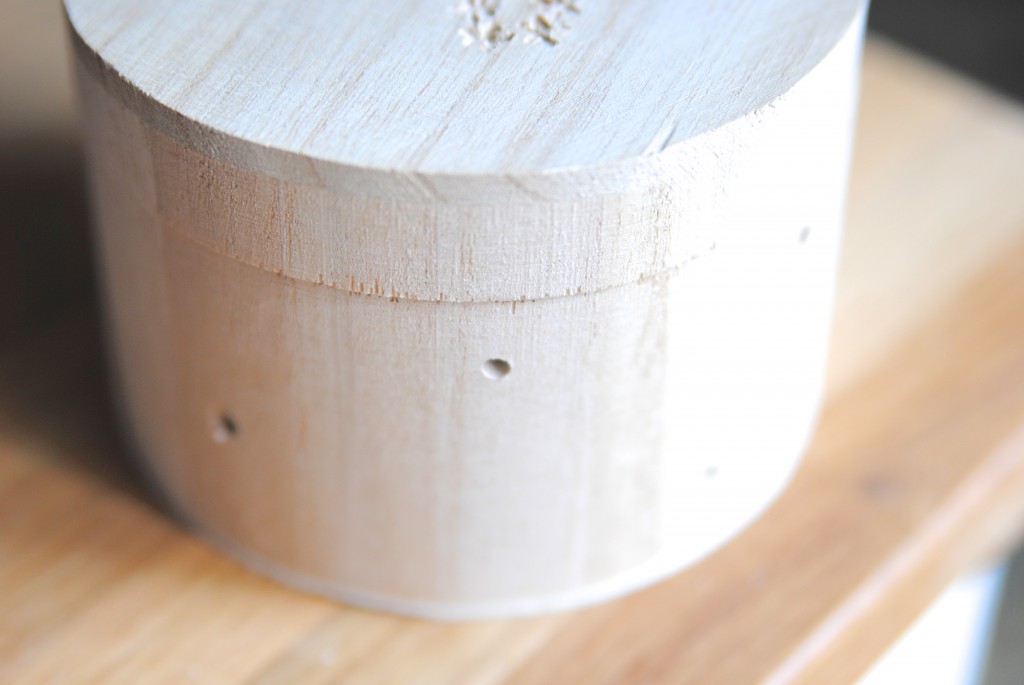
When a battery operated light is placed inside it looks beautiful!
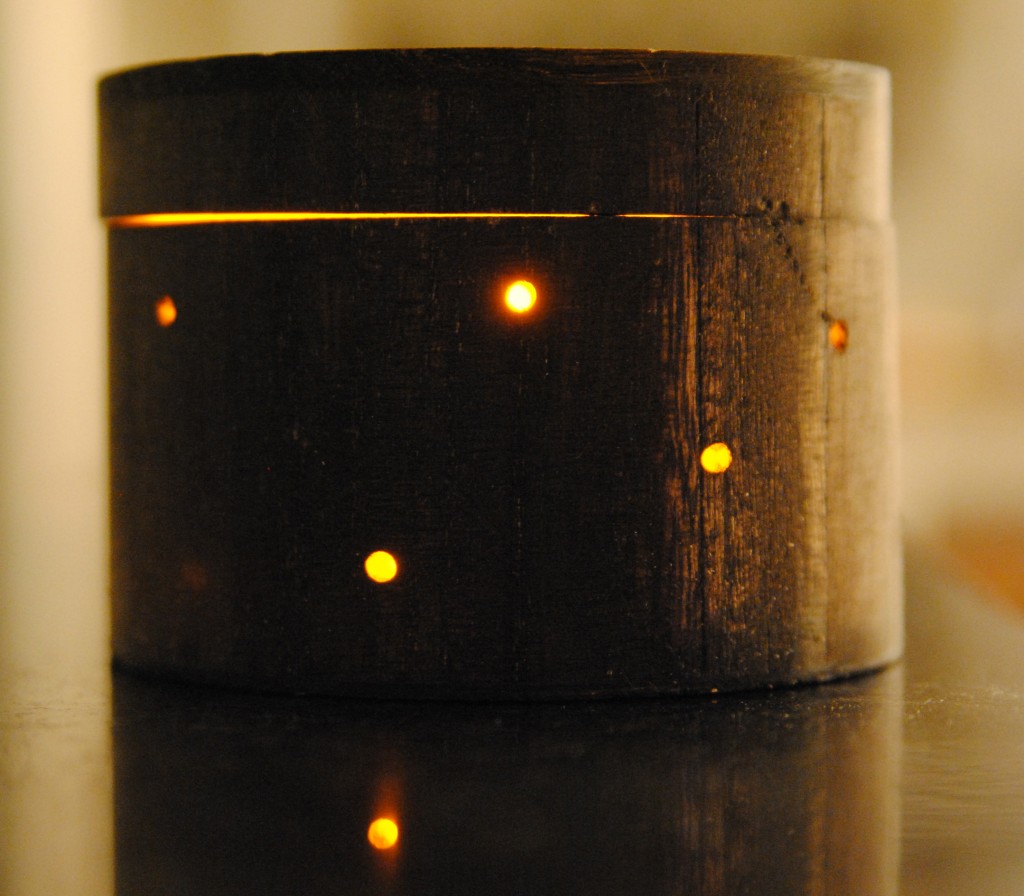
6. Blow off sawdust, and you’re done!
TREE RING COASTERS
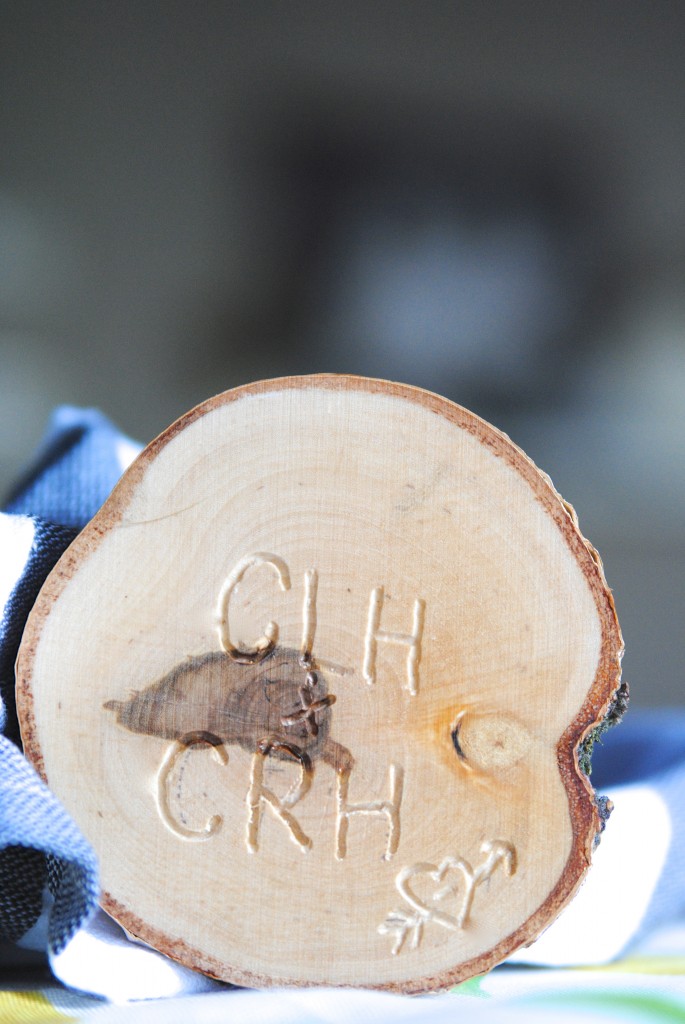
1. Sketch the design you wish to carve. I purchased the wooden slice at a craft store, and the wood is hard so you’ll need to use a different transfer method than the one above. I covered the back of the paper image with pencil, flipped it over, and traced it onto the wooden slice.
2. Carve it using the same tip as above. Blow off sawdust, sand lightly if you wish.
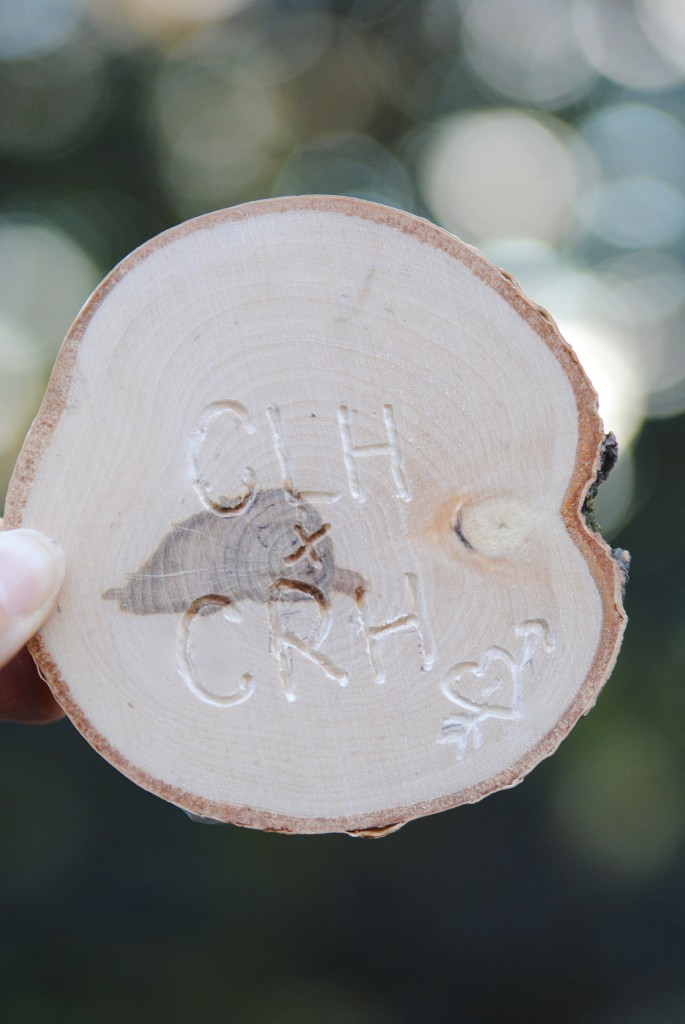
3. Cover with polyurethane and let dry. Give to your sweetie and enjoy!

TIPS FOR USING THE DREMEL MICRO
* Practice, practice, practice! Practice using the various bits and also on different types of wood. I used the same bit for both the box and coaster despite that fact they had two different densities, and it did behave differently. So test it out first, then proceed!
* Make sure you’re using the right bit for the job. The instruction booklet outlines each piece and also desired speeds for using them for various tasks. The Dremel Micro is compatible with all Dremel accessories, so you can buy the ones you need if they don’t come in the kit.

* The power of the tool comes from the speed, so keep it charged to make sure it’s working at it’s best potential.
* When woodworking, gently blow away the sawdust as you work so you can see what you’re doing and so the tool doesn’t go in the wrong spot.
* Several light layers is better than using a heavy hand. Don’t rush, let the tool do all the work for you!
Yup, it might look small but this tool can can cut, carve, engrave, sand, grind, sharpen, clean and polish. I’m psyched to tackle my never ending home to-do list alongside my crafty DIY projects. You can purchase the Micro 8050 online at Amazon.com and HomeDepot.com for $89, or find out the nitty-gritty details and more project ideas at www.dremel.com.
Guess where I’m going right now? If you guessed ‘to do more projects’, you’re correct. If you guessed ‘eat some gluten-free pretzels’, you’re ALSO correct. Off to sand some rust from a metal garden sculpture and help my son personalize his wooden train set with my Dremel Micro. This tool really is the bomb dot com!

Dremel wants to celebrate its fans’ brilliant projects, work and ideas! Now through October 12, share, tweet or post photos on Facebook, Twitter and Instagram that depict your brilliant ideas using the hashtag #MyBrilliantIdeaSweeps for the chance to win weekly prizes, including free tools and handmade gifts, or the grand prize: a custom-engraved Honda scooter and a Micro 8050. Visit www.facebook.com/dremel for rules and to learn more.
I was selected for this opportunity as a member of Clever Girls Collective and the content and opinions expressed here are all my own.
