DIY Marbled Pumpkins (5 Minute Craft!)
This post may contain affiliate links for your convenience. Read my full disclosure policy here.
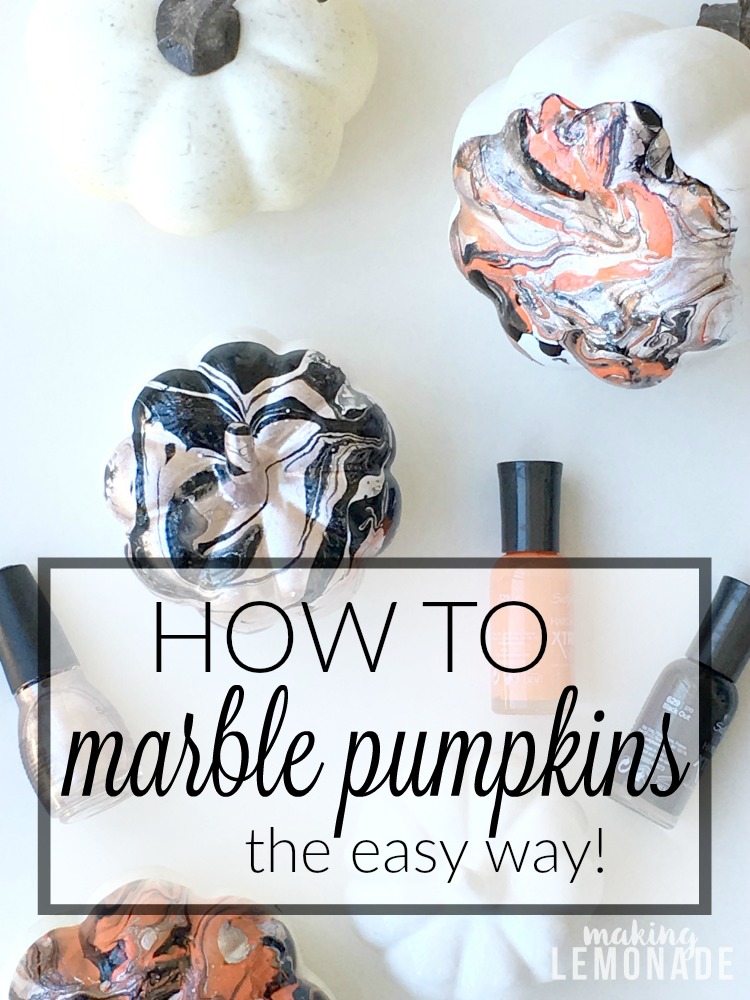
Friends! It has felt like ages since I got my hands dirty with a good DIY, so I hope you’ll love this no-carve pumpkin idea as much as I do. Between moving and my computer crash, I’ve had to pour my energy into ‘eating frogs‘ as opposed to my true love, which is being creative. Quite frankly I thought this project would be one big fail– but I had a dream to marble some pumpkins, so I tried it– and my jaw dropped when I see that not only did it work beautifully but it took under 5 minutes! Turns out you can marble just about anything (pumpkins included) with a few bottles of nailpolish and some water. Who knew marbling could be this dang easy?!
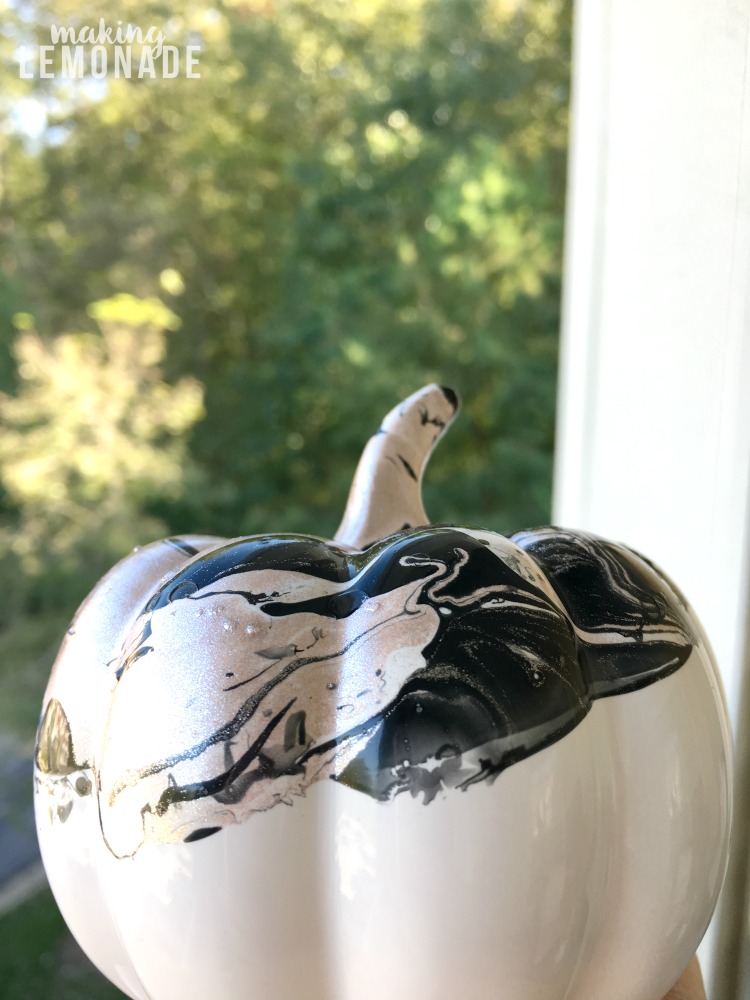
WATCH OUT, world! I have nailpolish and I WILL MARBLE YOU!
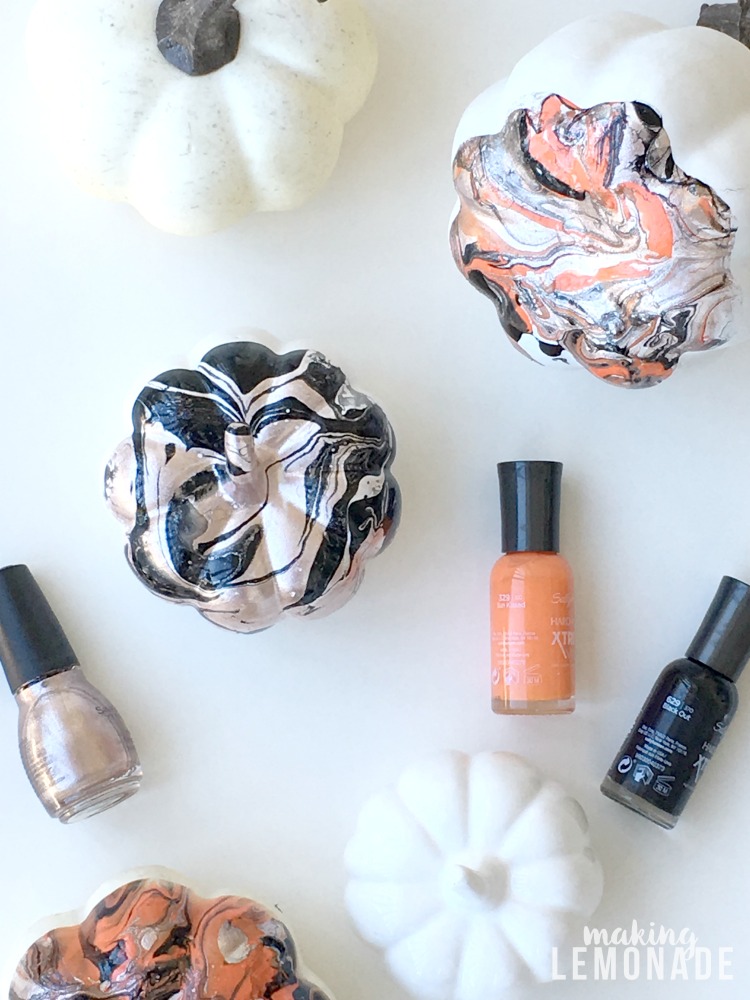
For the record, don’t let lack of space in your home hold you back. I did this entire project on my balcony. Now, I couldn’t whip up a handmade bookcase in these circumstances, but ’tis the season for small DIYs so the balcony works just fine. It’s very humbling to ‘make do’ until our home is finished and we’ve gotten quite creative in using space.
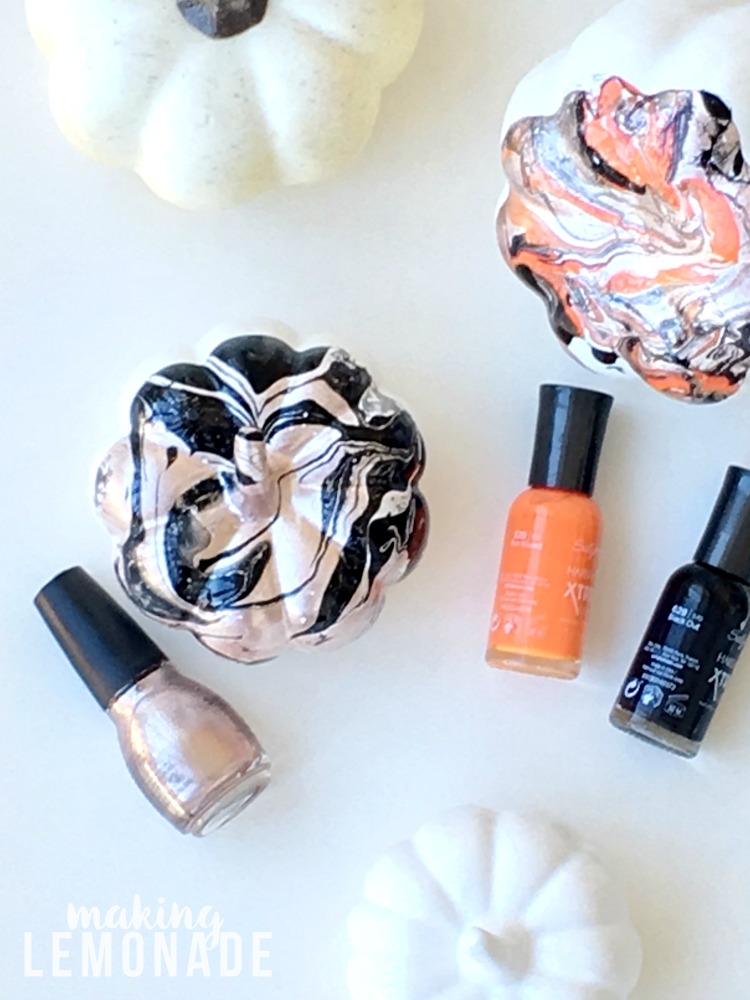
The hardest part about this entire project was finding white pumpkins. You could also use black pumpkins with white and gold polish and it would look FAB. After searching six stores I finally found these faux white pumpkins at Michaels:
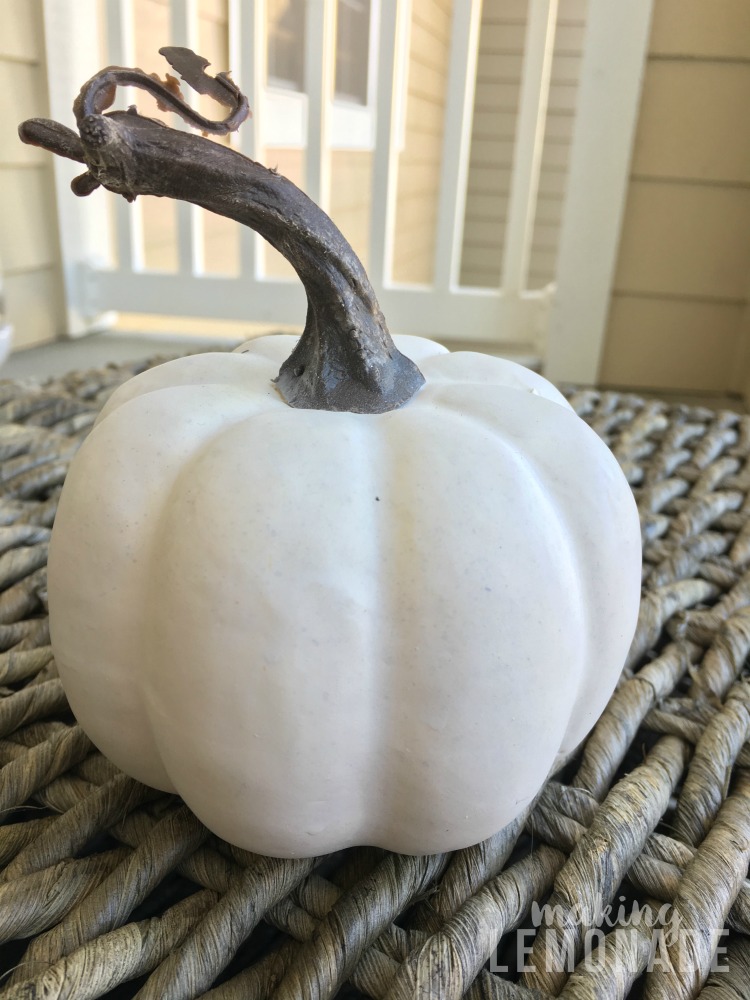
And ceramic ones at the Target Dollar Spot:
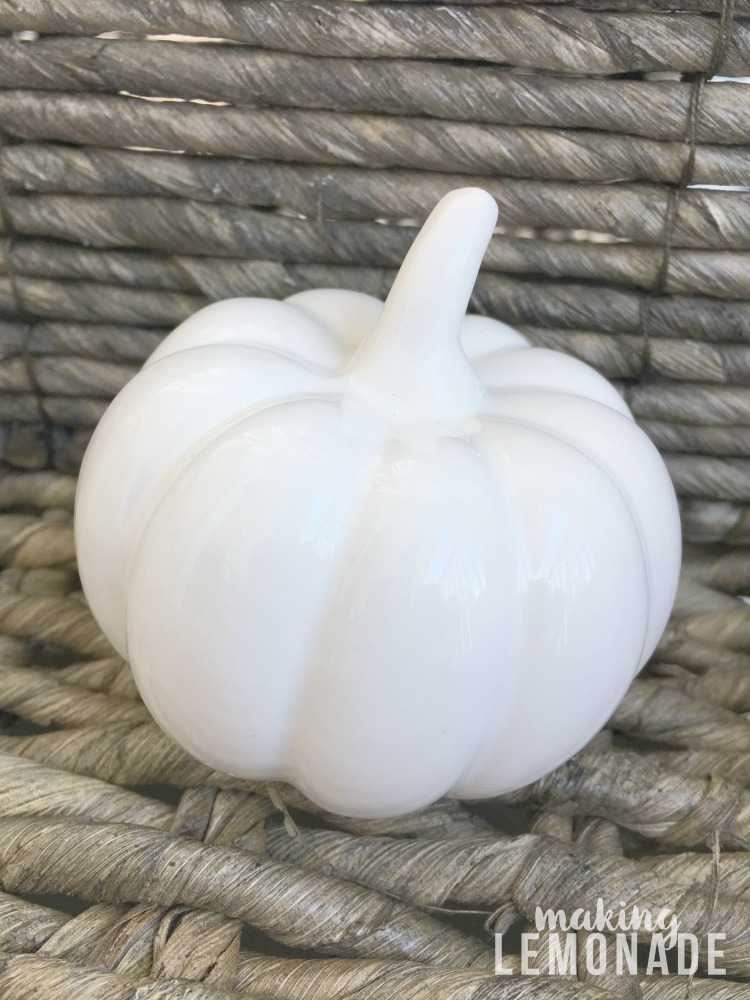
The pumpkins from Michaels were ‘natural’ looking, which is kinda yellow and speckled. I thought they’d look better totally white so I spraypainted them that way and let them dry. You could also spray paint them black for a dramatic look and use white nail polish!
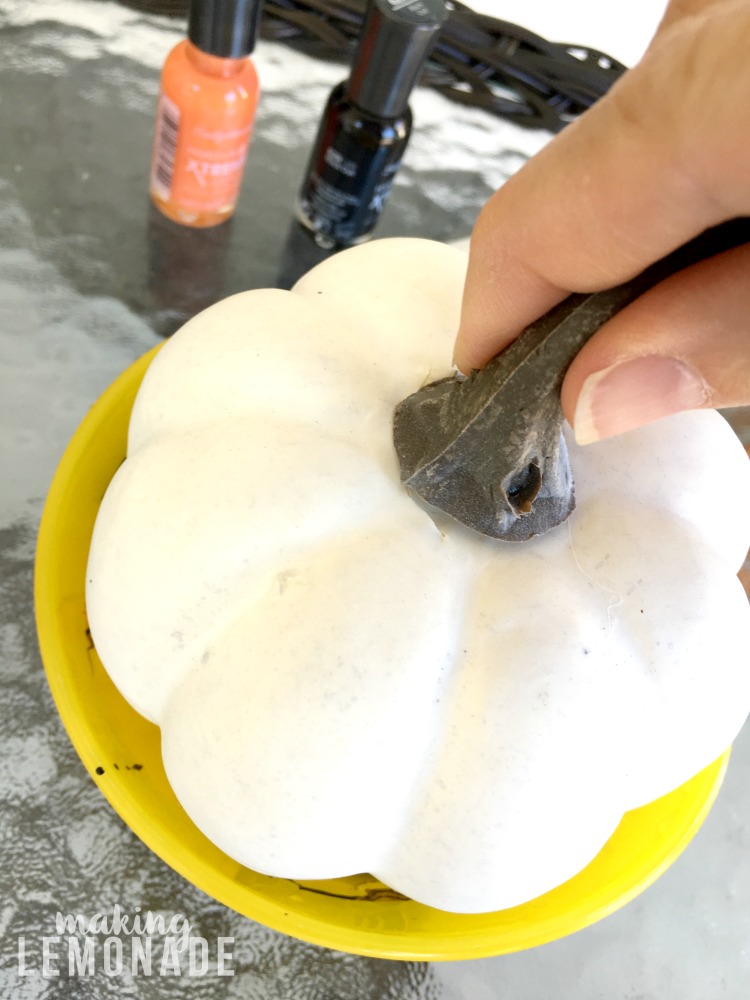
I used what we had on hand (which is very little, since most of our stuff is in storage) and in hindsight the bowl for holding the water was too small. A Cool Whip sized container would have worked better. (NOTE TO SELF: EAT MORE COOL WHIP.) Generally speaking though, you’ll want to use a container you don’t mind trashing since the nail polish will leave residue behind.
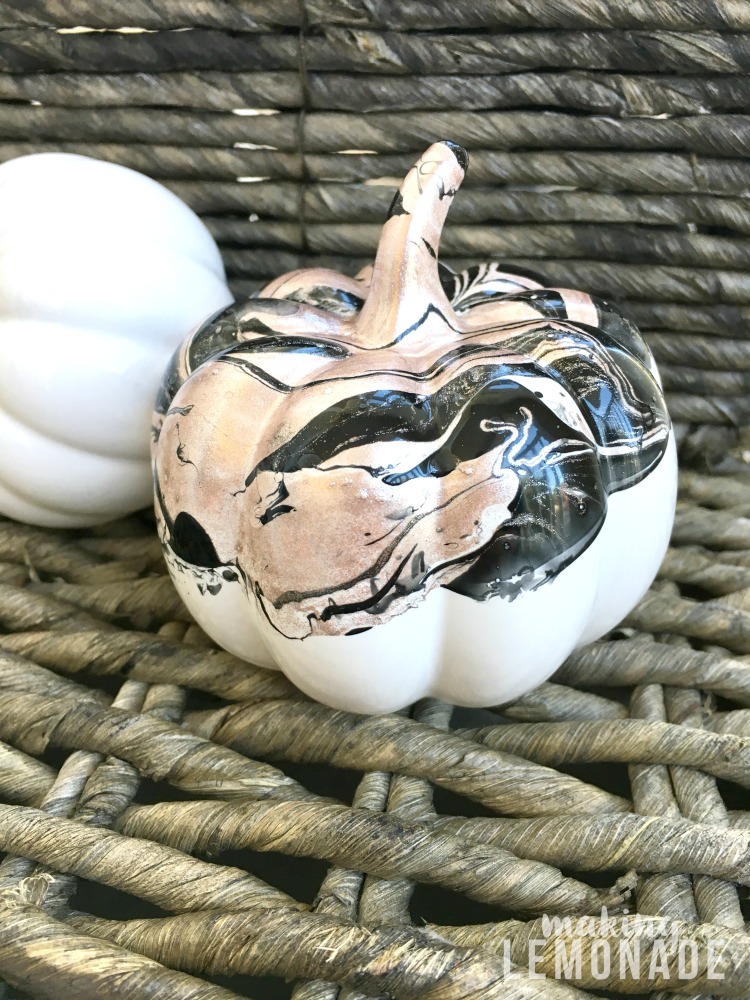
My very first attempt worked beautifully but it only covered the very bottom. The kids think it’s hilarious that I have to display it bottom up. There’s actually still water droplets on the pumpkin, I forgot to dab them with a paper towel first. They come right off.
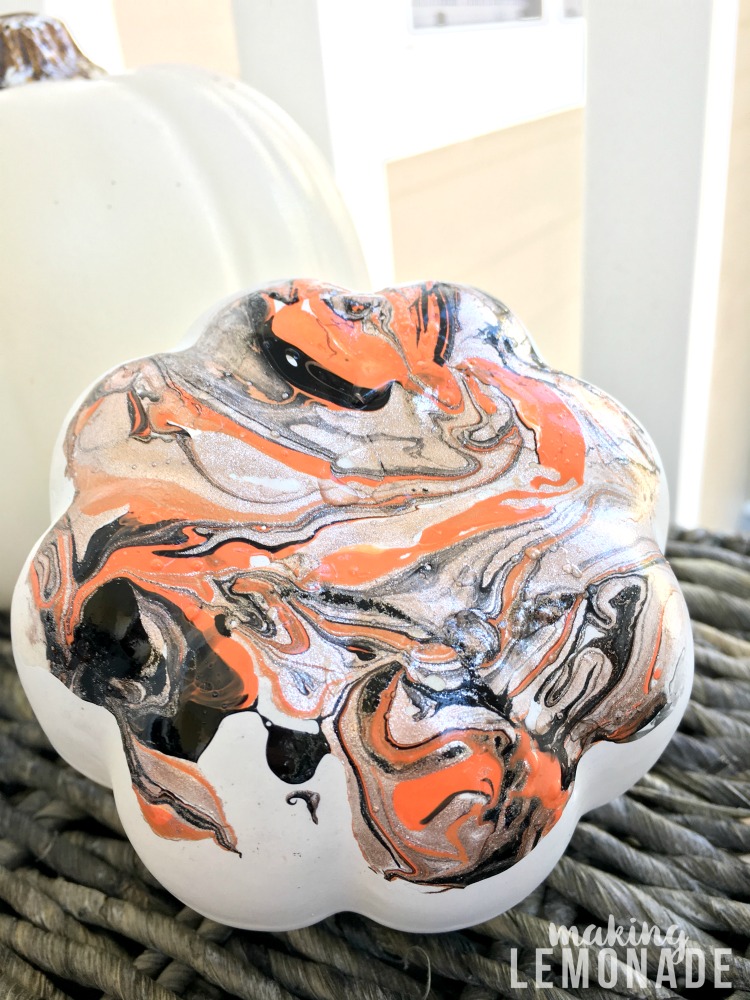
Enough chitchat, here’s how to DIY your own marbled pumpkins in under 5 minutes!
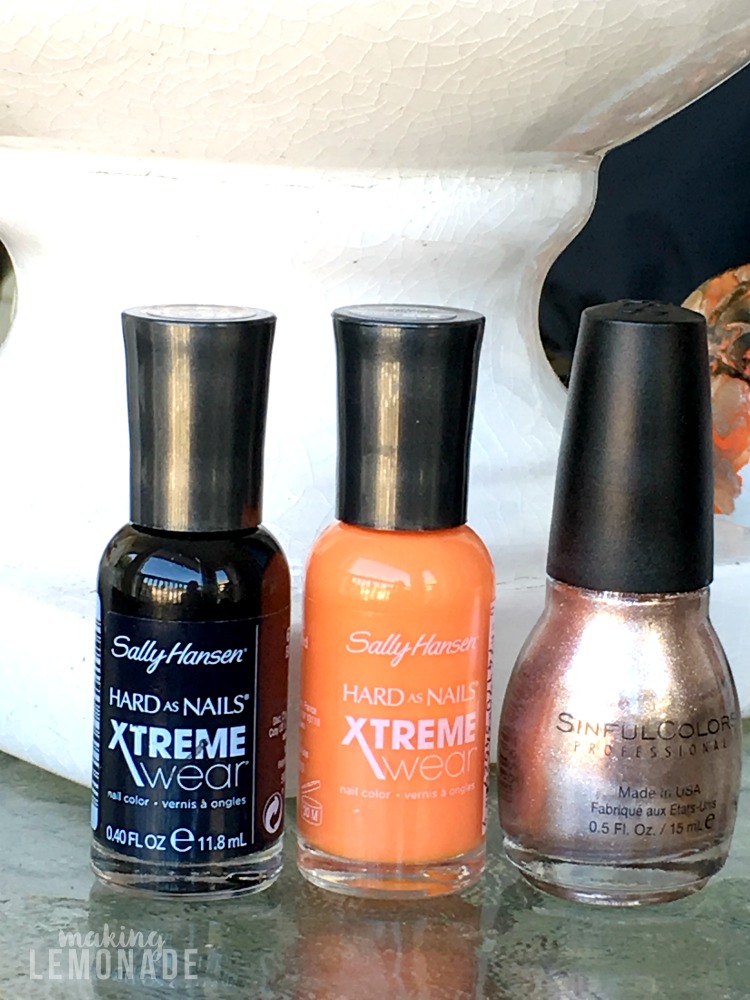
Materials:
faux pumpkin (probably could use a real one too, just haven’t tried that yet!)
nail polish in complimentary colors (cheap is totally fine in this case)
water
old bowl or container that you don’t mind getting ruined
Instructions:
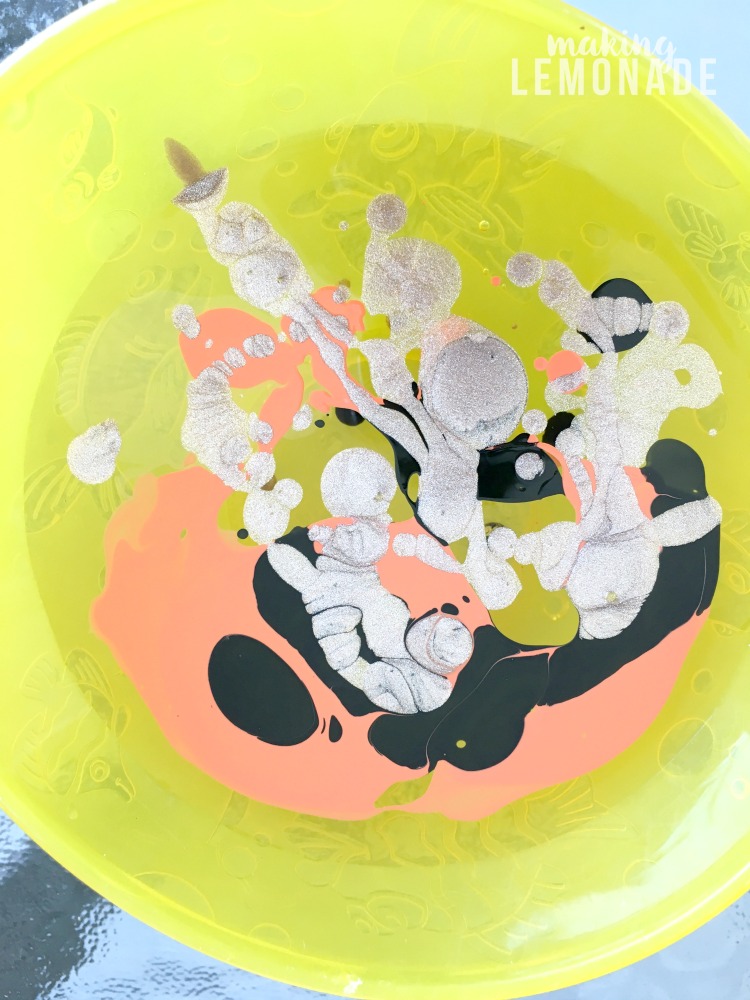
Fill bowl with water. Gently pour some of the first nail polish into water. Most of it should float. Repeat with additional colors.
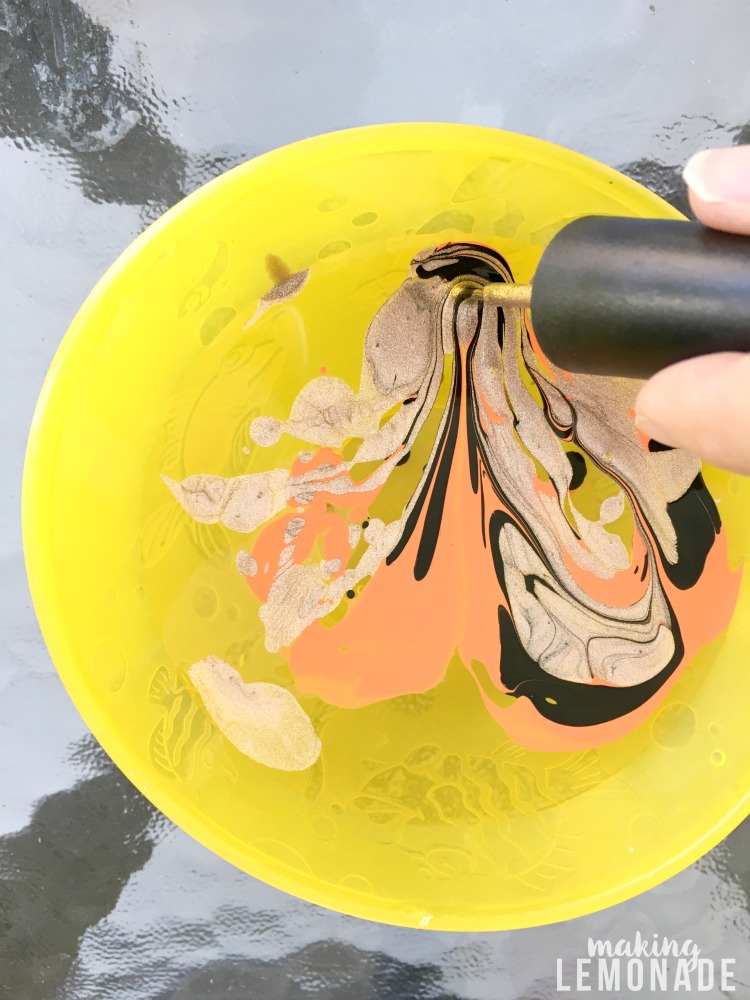
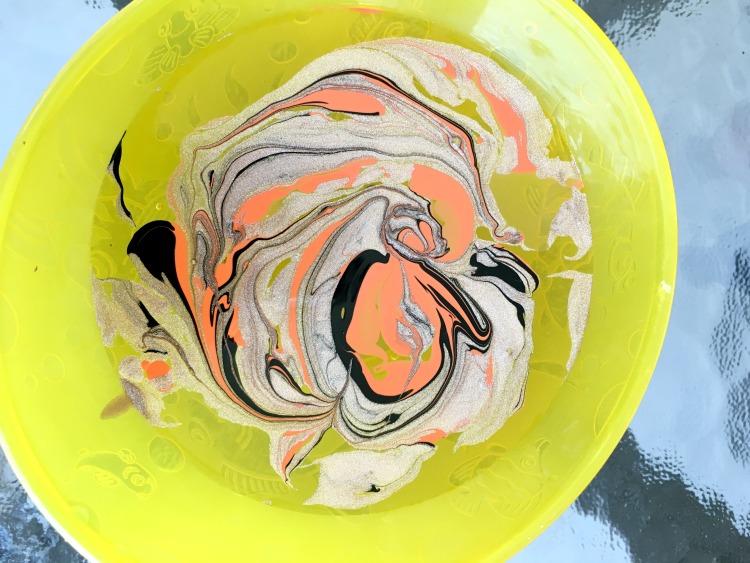
Gently swirl with a toothpick or the nail polish brush; if you want a highly marbled pattern with lots of swirls then do this a lot, if not, just drag it through once or twice.
If your pumpkin has a stem and you don’t want it marbled, gently remove it (such as for the soft faux pumpkins from Michaels.) You can add it back on at the end.
Decide which part of the pumpkin you wish you marble, then hold your breath and carefully dip that part into the mixture until it covers the surface. 😉
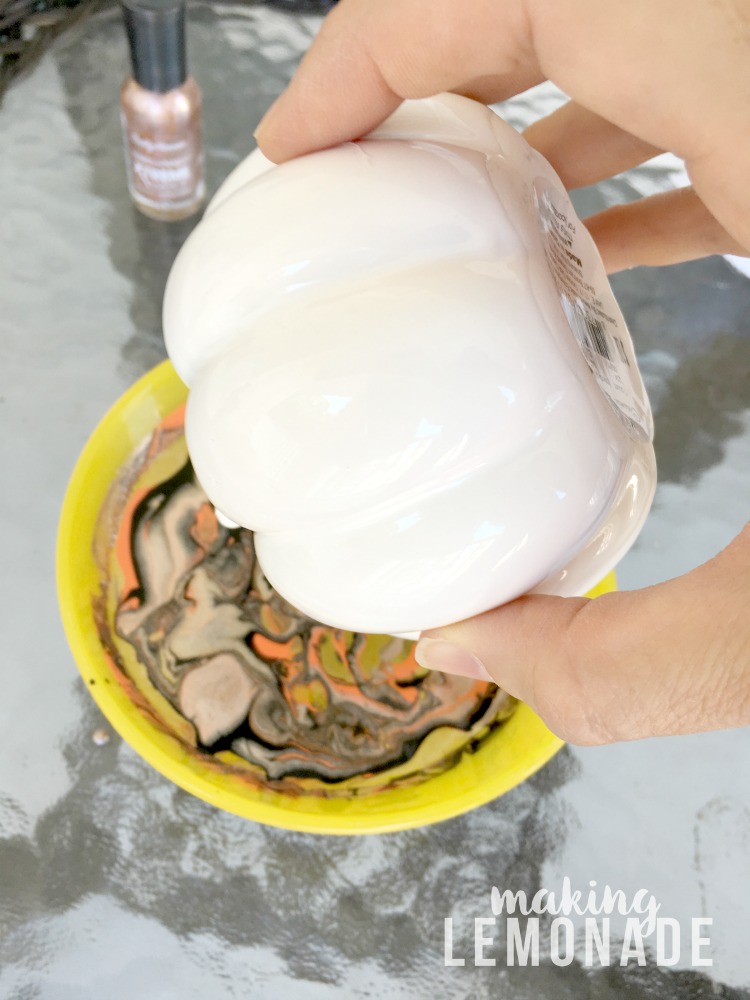
If you have a soft pumpkin, then you can insert a fork and use that to help dip.
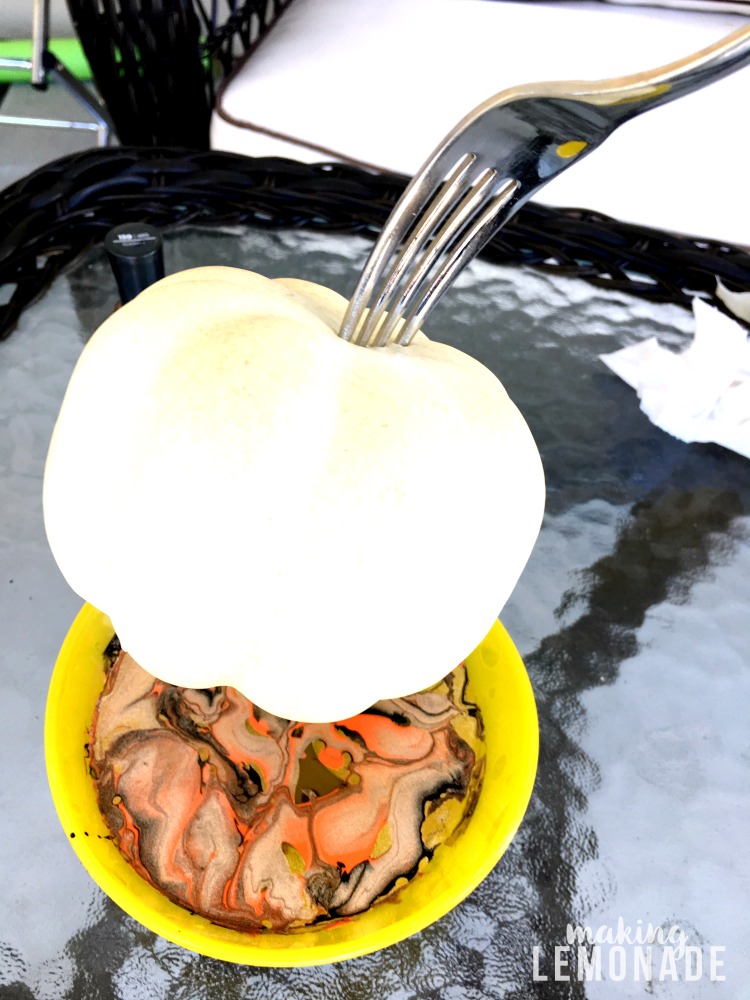
Slowly pull it out, taking the nail polish with you.
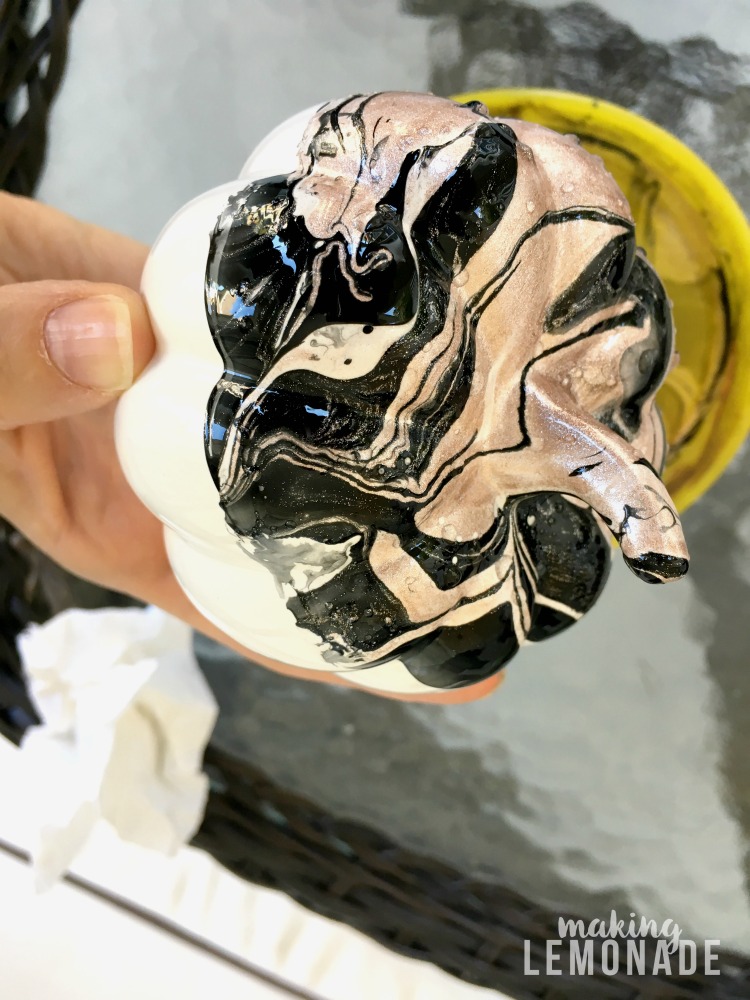
Let dry, and once the nail polish is dry dab it with a paper towel to sop up any leftover water.
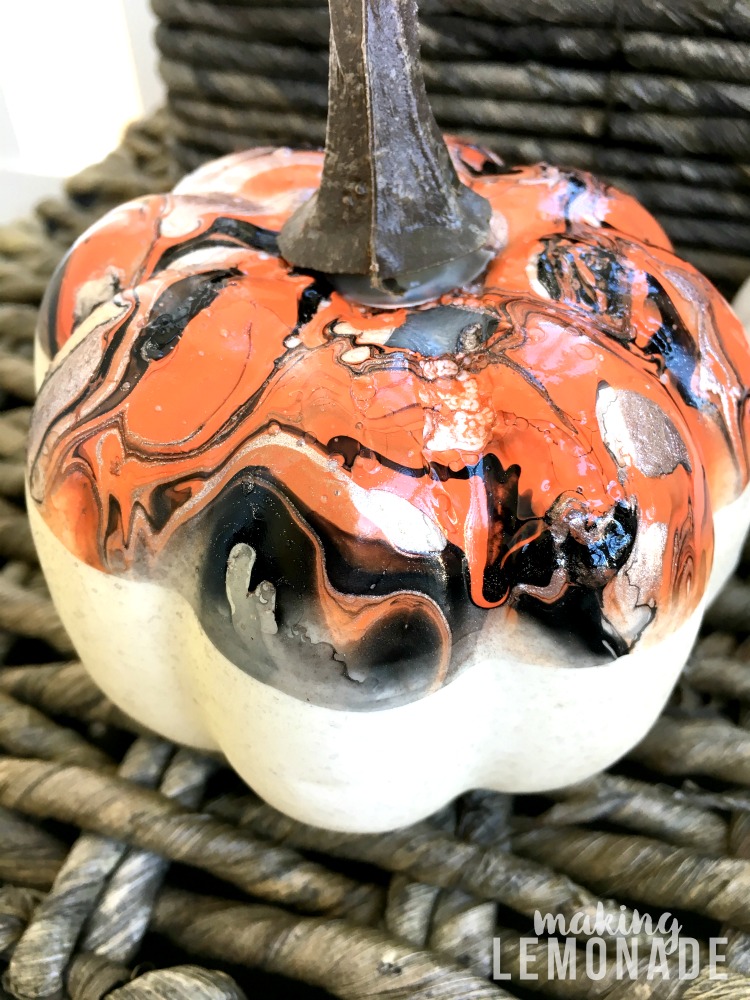
Here’s a visual to show what happened when I reused the water. The one at the top is the first dip, then I added more polish and did it again, and by the third time of adding polish/using the same water it was looking sort of gnarly. The bottom pumpkin is when I used fresh water again, this time with just black and gold, and WOAH! All the heart eyes!
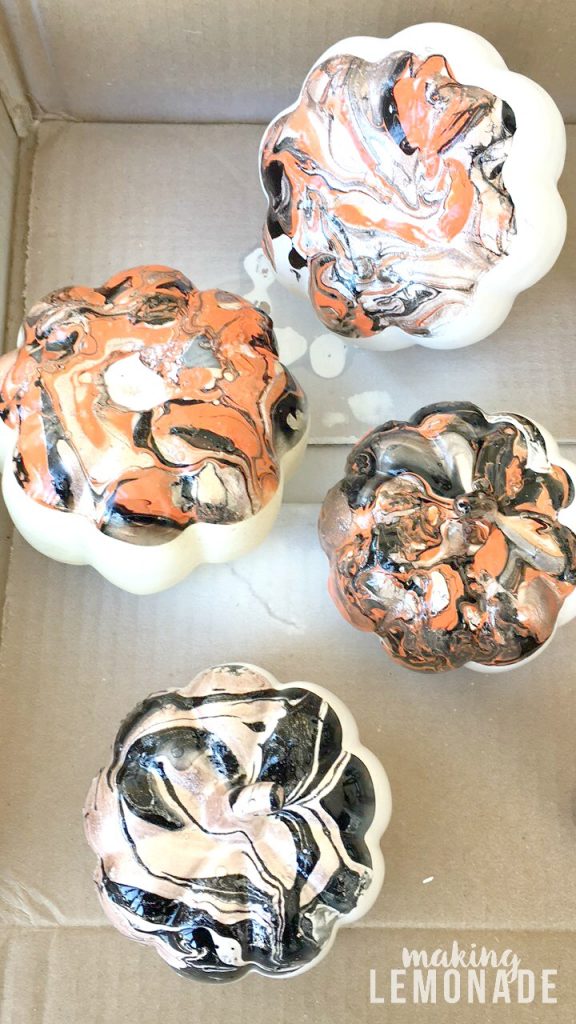
I mean, even the BOWL looked purdy.
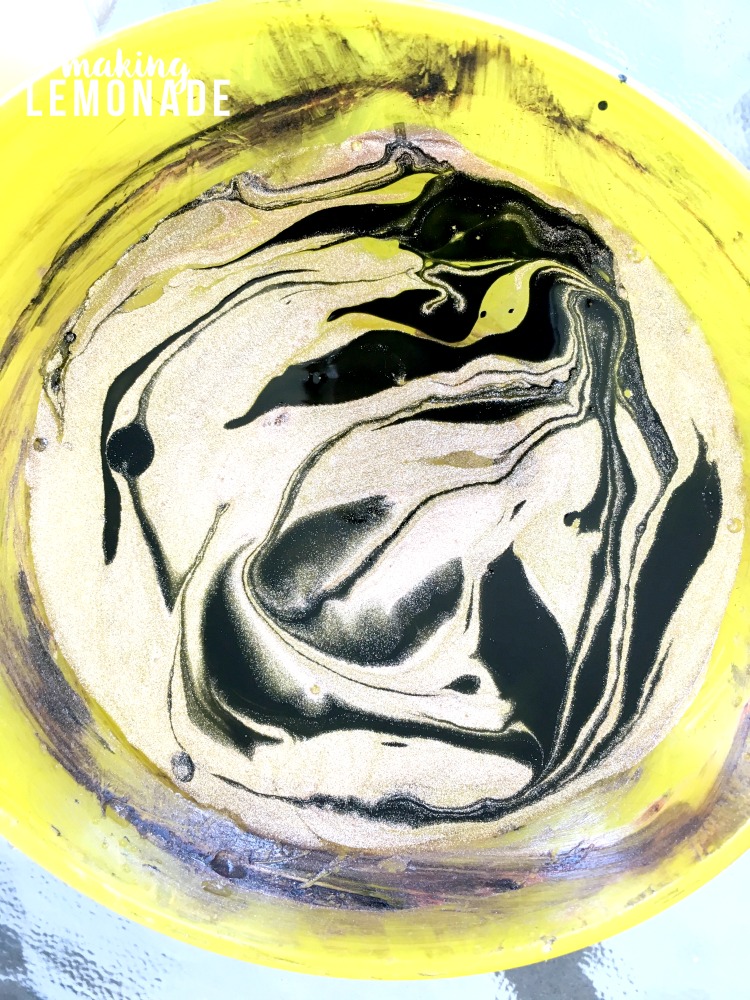
But for real, I did all this marbling (and took iPhone photos since my camera still isn’t hooked up to my computer) in under 5 minutes. Do not pass go, do not collect $200, just grab your nail polish and give this a whirl!
They look great styled with non-marbled pumpkins.

Now ‘scuse me while I find more things to decorate. Why stop at pumpkins? MARBLE ALL THE THINGS!
