DIY Wishbone Plate (West Elm Knock-Off)
This post may contain affiliate links for your convenience. Read my full disclosure policy here.

Wishbones seem to be everywhere this year, and with good reason– they are a whimsical and interesting symbol of coming together as well as our wishes for the upcoming year. Browsing ideas for my Thanksgiving table, I found a set of West Elm dishes and my eye went straight to that “wish” plate:
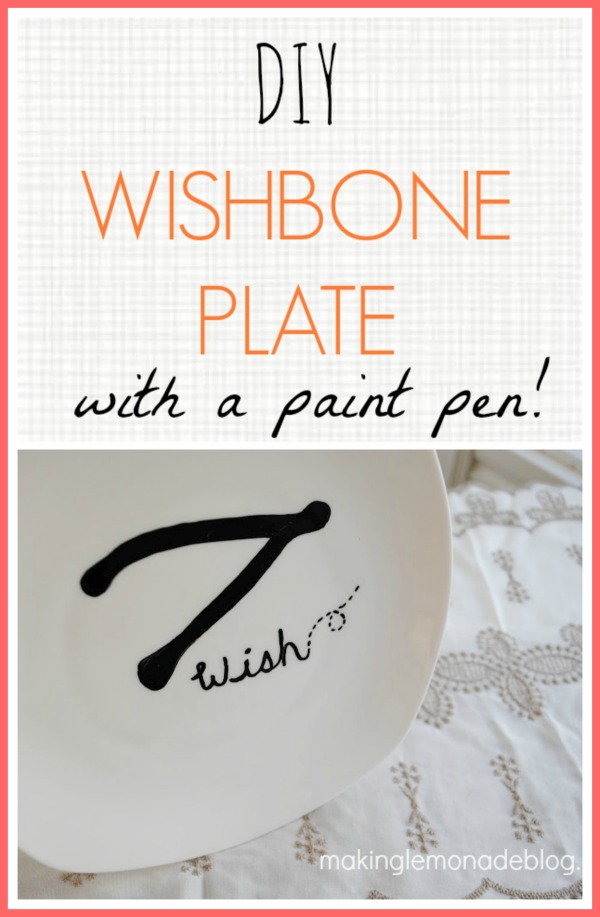
Cute, right? While the whole set is useful, I really just wanted the wishbone plate. You could use it to hold the actual wishbone until time to pull it apart, or as a plate for some tasty seasonal goodies. Never one to copy something exactly, I put my own spin on it and within a few minutes had this baby, for much cheaper. It cost $2.99 total, to be exact!
How easy was it to make? Super easy.
First I found a plate at Homegoods. Aside from the thrift store, they are my go-to place for white dishware. Our Dollar Store also has white dishes, but I was pretty set on a square one (and for under $3, it was worth the “splurge.”)
Here’s the part where I admit my little plate isn’t actually food-safe because I used a regular Elmer’s paint pen. However, if I want to put food on it I’ll place a piece of wax paper over the surface and it’ll be good to go. They do make a pen that’s non-toxic specifically for use on porcelain (then you’ll bake your plate in the oven to set it), but from what I’ve read they warn not to use them on surfaces that come into contact with food. Hmmmm. So, do with that info what you will– perhaps you guys know of a food-safe paint pen?
Back to the plate. Pinterest was my source for finding photos of wishbones to draw freehand, here’s my favorite:
Next, I drew a rudimentary wishbone on a post-it note (that made it nice and sticky so it stayed in place on the plate for tracing). You can also use repositional Elmer’s glue stick on there for the same effect. I rounded the ends a bit after taking this photo; wish I’d been a more diligent photographer!
Then I cut it out, placed it on the plate, and traced around it with a paint pen. You could also use the opposite part of the paper like a stencil and trace inside it if you prefer.
Don’t freak out if you make a mistake, just add a little water or rubbing alcohol and some elbow grease and scrub the “ooops” off. You can see where it ran when I did that above.
I doodled a whimsical “wish”, and Bob’s your uncle, my plate was finished.
{what does Bob’s your uncle mean, anyways? I’ve heard that before, I swear I’m not making it up.}
Now we’re almost ready for Thanksgiving. One more project to show you tomorrow, then it’s time to mash the potatoes and roast that turkey.

.


