DIY Photo Folio : Father’s Day Gift Idea!
This post may contain affiliate links for your convenience. Read my full disclosure policy here.
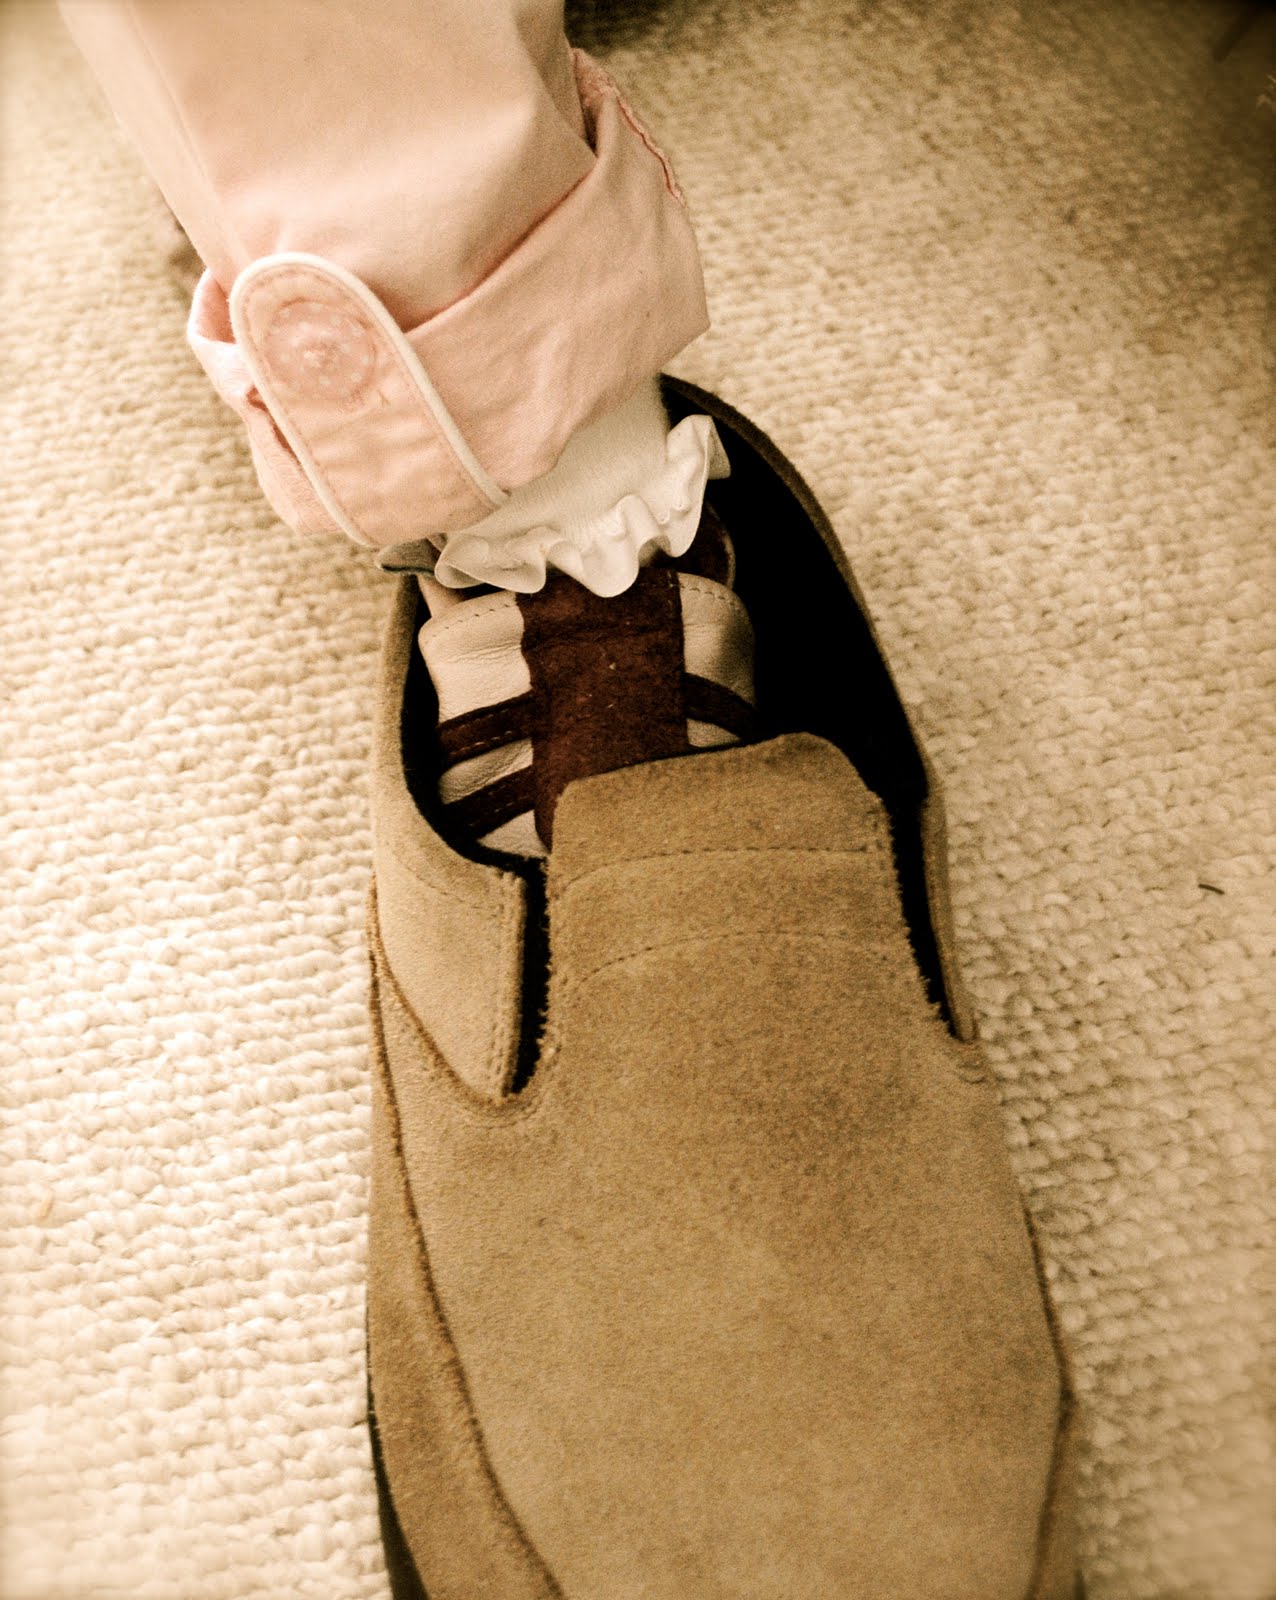
I’ll admit it: this project was born out of necessity as a last minute gift for my husband. His birthday was April 10th, and oh……. about April 9th I realized I didn’t have anything for him. Leave it to my daughter Noodle to give me the inspiration needed to get moving! She loves putting on her dad’s shoes, so I quickly snapped a pic and realized this would be his gift.
Hmmmmmm… but what to do with it? We don’t need any more framed photos. He already has a digital photo frame at work. What he does do is travel, so a portable photo folio felt like a great way to remind him he’s loved whether he’s in L.A., the UK, or here at home.
The hardest part of this whole process was choosing the photos. I used CVS’s one hour photo processing (you order online and pick-up within after an hour) because we were crunched for time. It just so happened they were running a .9 cent hour photo special so these prints ended up being super-cheap.
Time Needed: 20 minutes (really!)
Materials:
blank folded note cards (you can make your own by folding card stock, too!)
sewing machine and thread
piece of ribbon
photos
photo-safe glue
fine-line marker
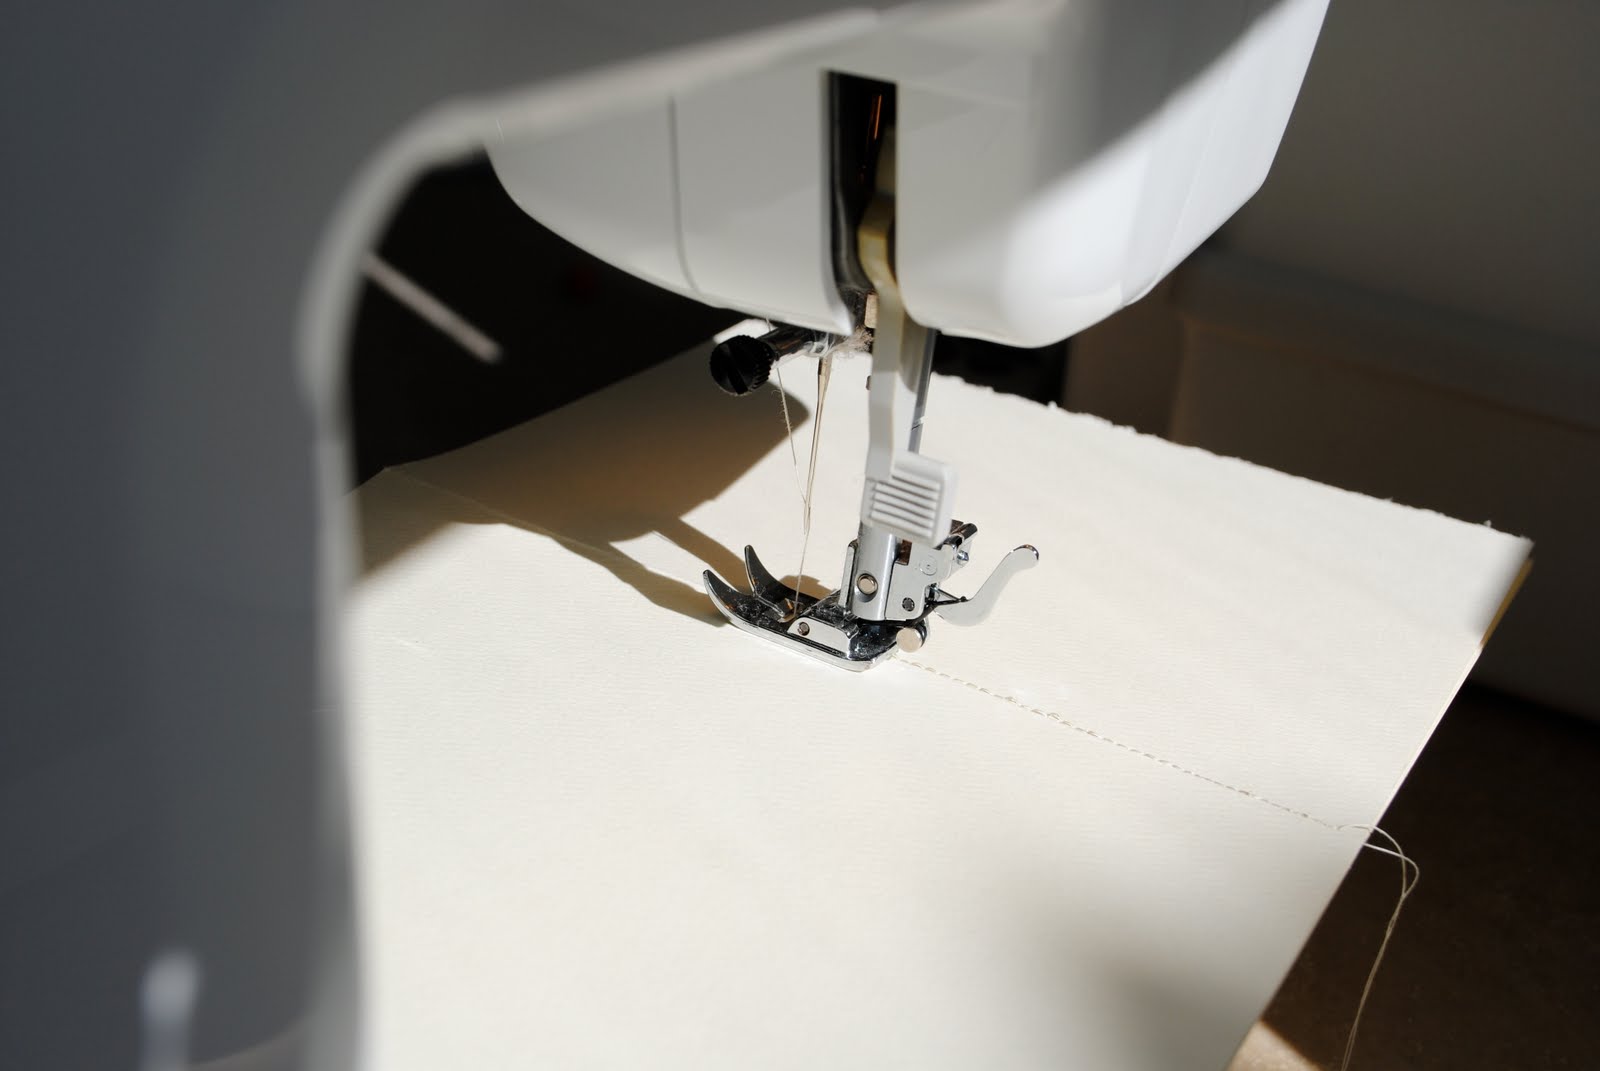
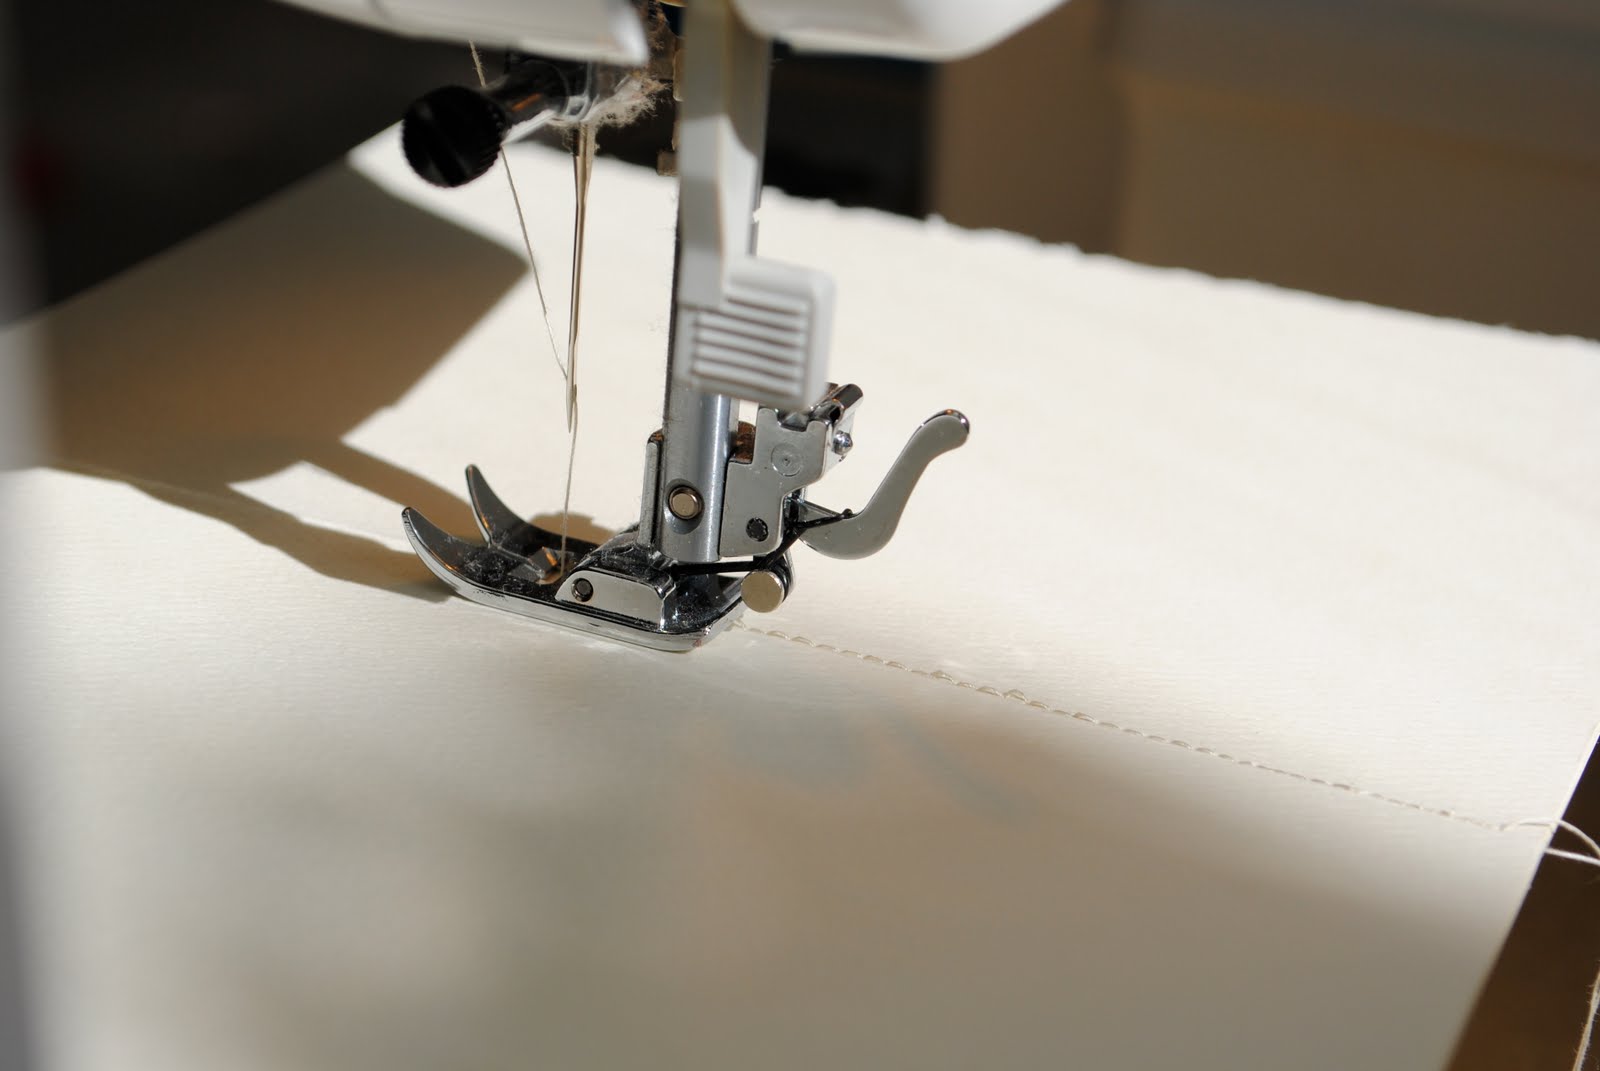
Step One: Place three cards together like a book, with each fold nesting inside the others.
Step Two: Sew down the middle of the fold using a straight stitch. When you are done sewing, tie the loose ends so it doesn’t fray.

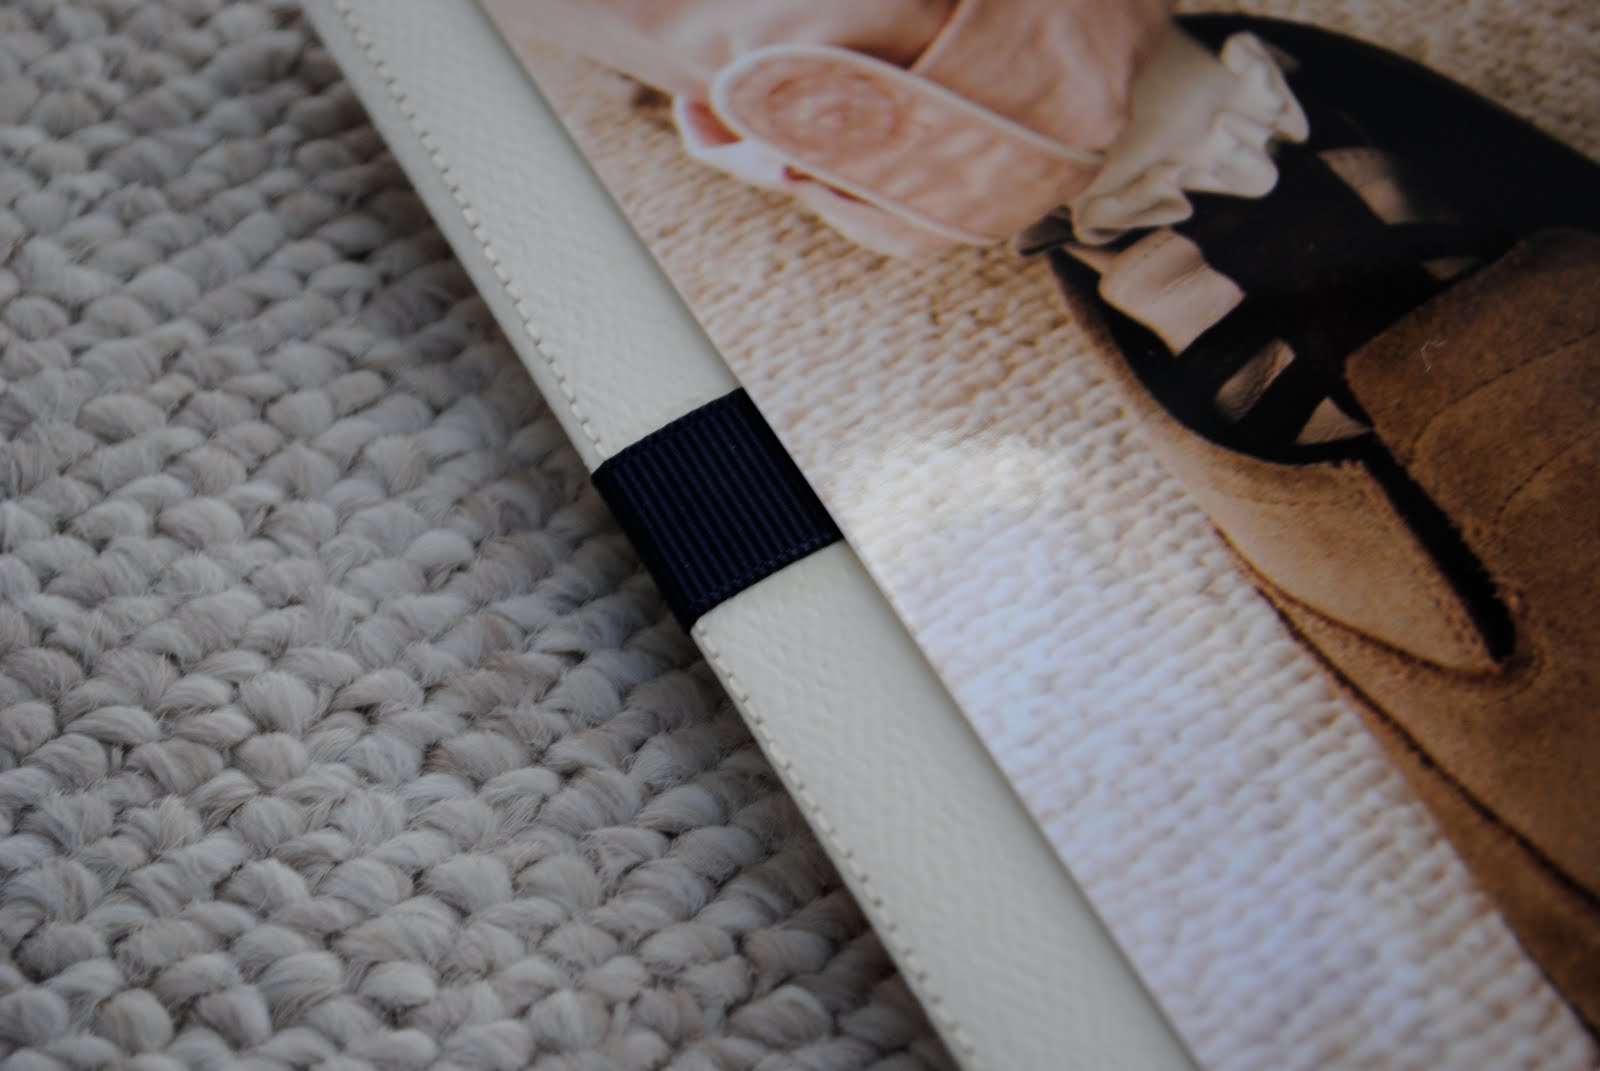
Step Three: Choose a piece of ribbon for the covers. Leaving a “tail” for tying, glue your ribbon to the front cover, around the folded side, and around back (leaving another “tail” to tie it all up!) Note that I took the photos after this step because I got so caught up in making it I just forgot. I was in the ZONE!

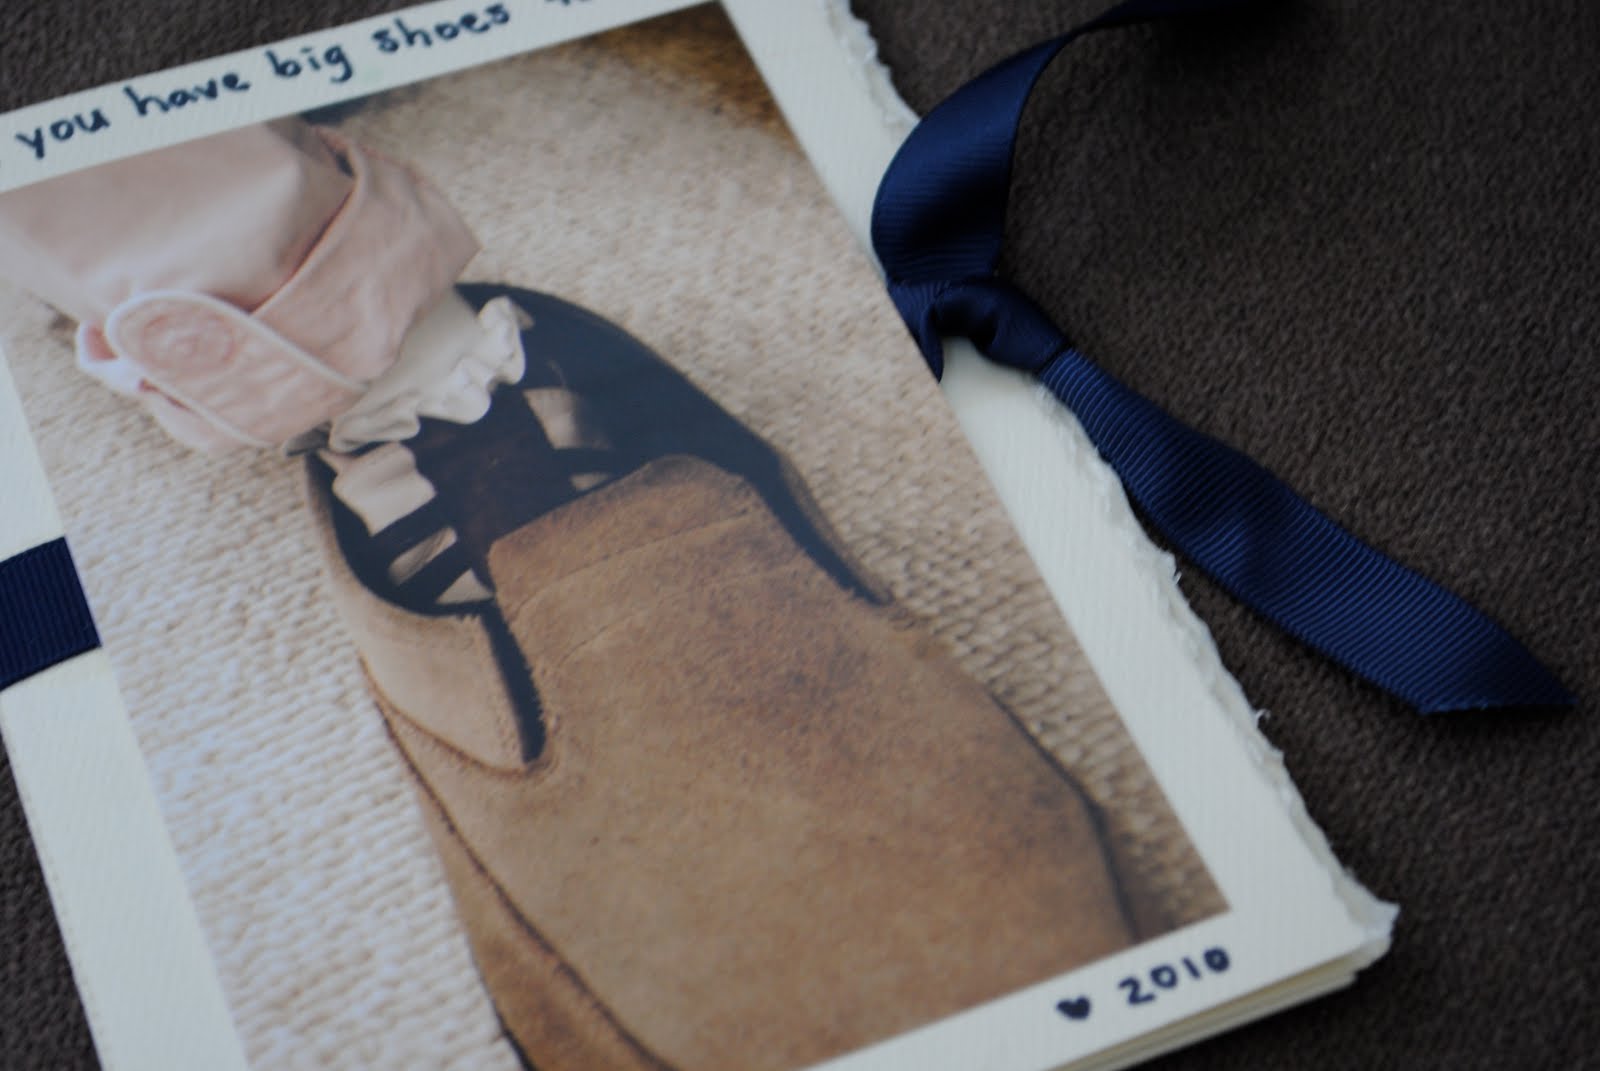
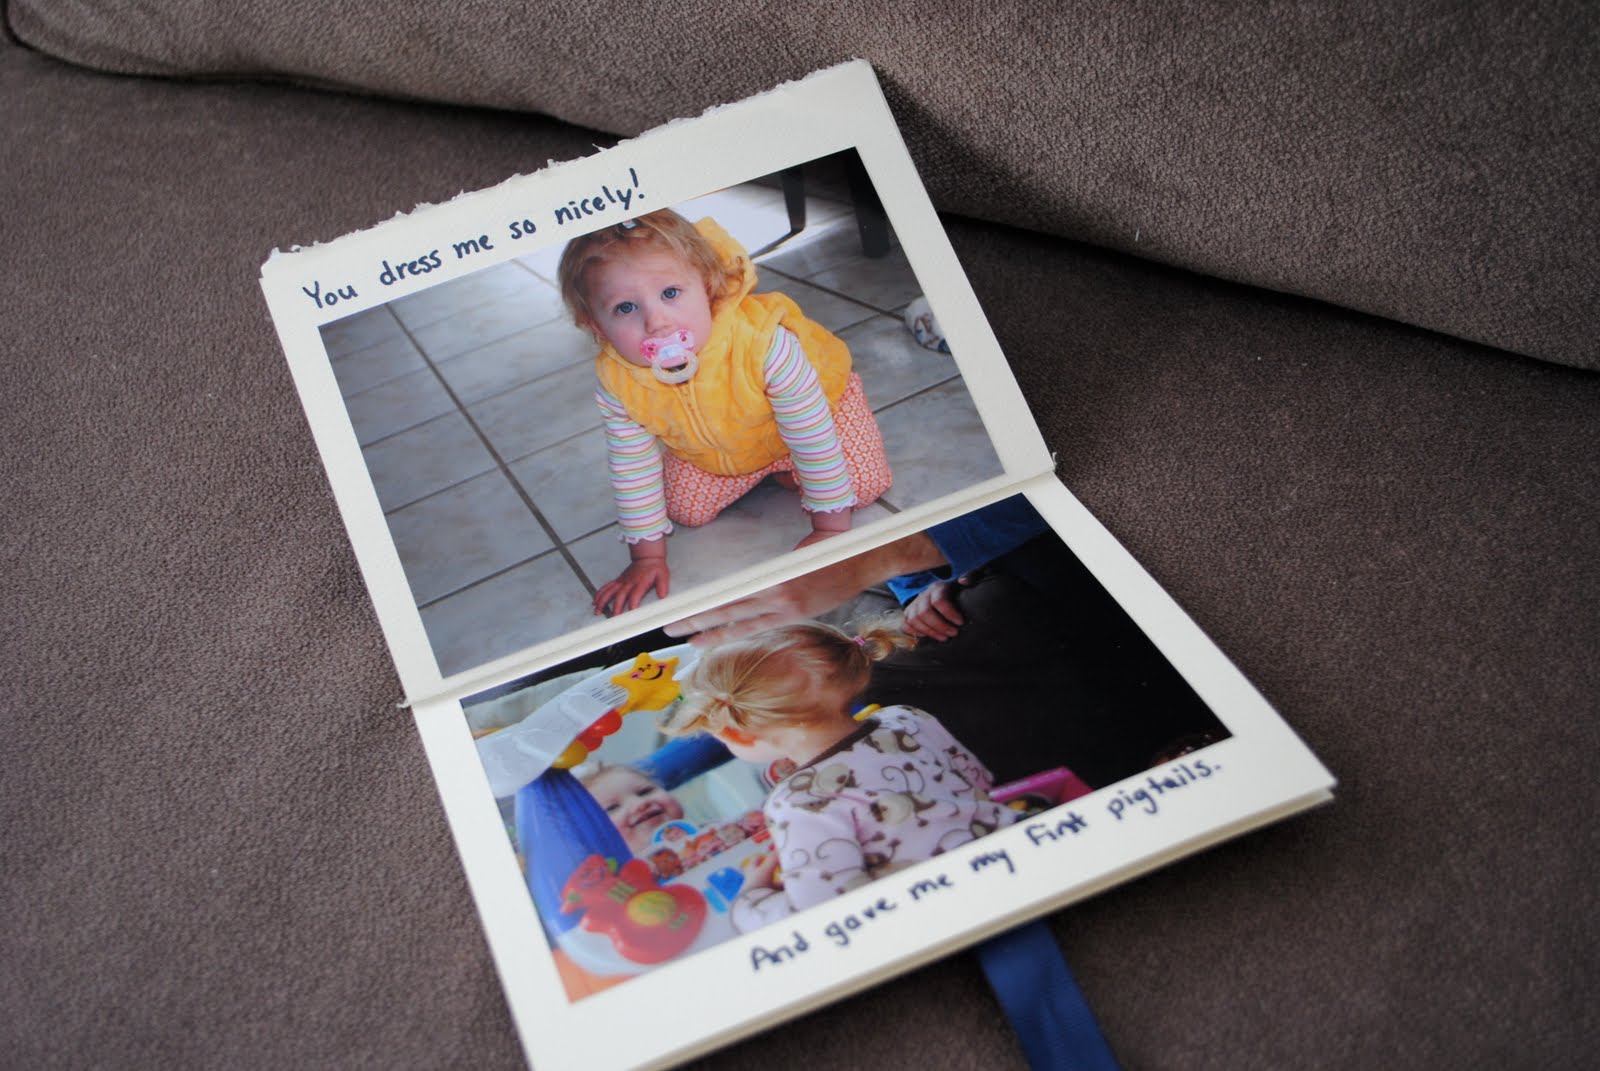
Step Four: Choose your photos. Glue one to the cover, and the rest inside.
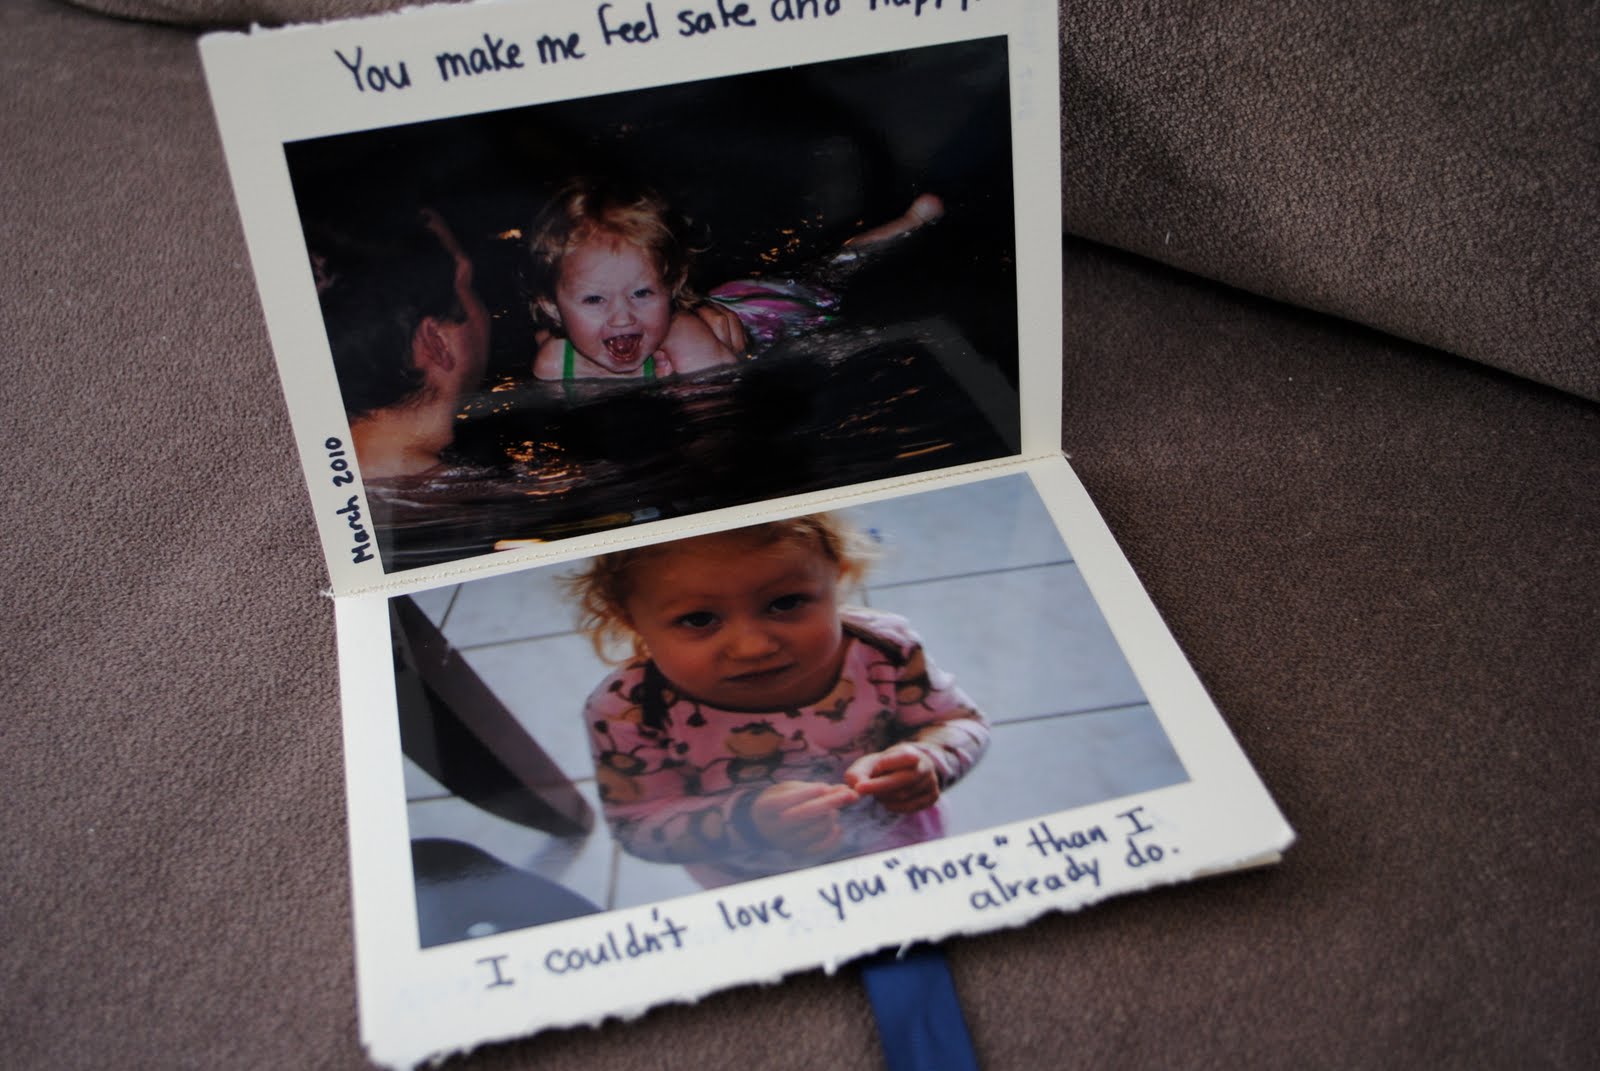
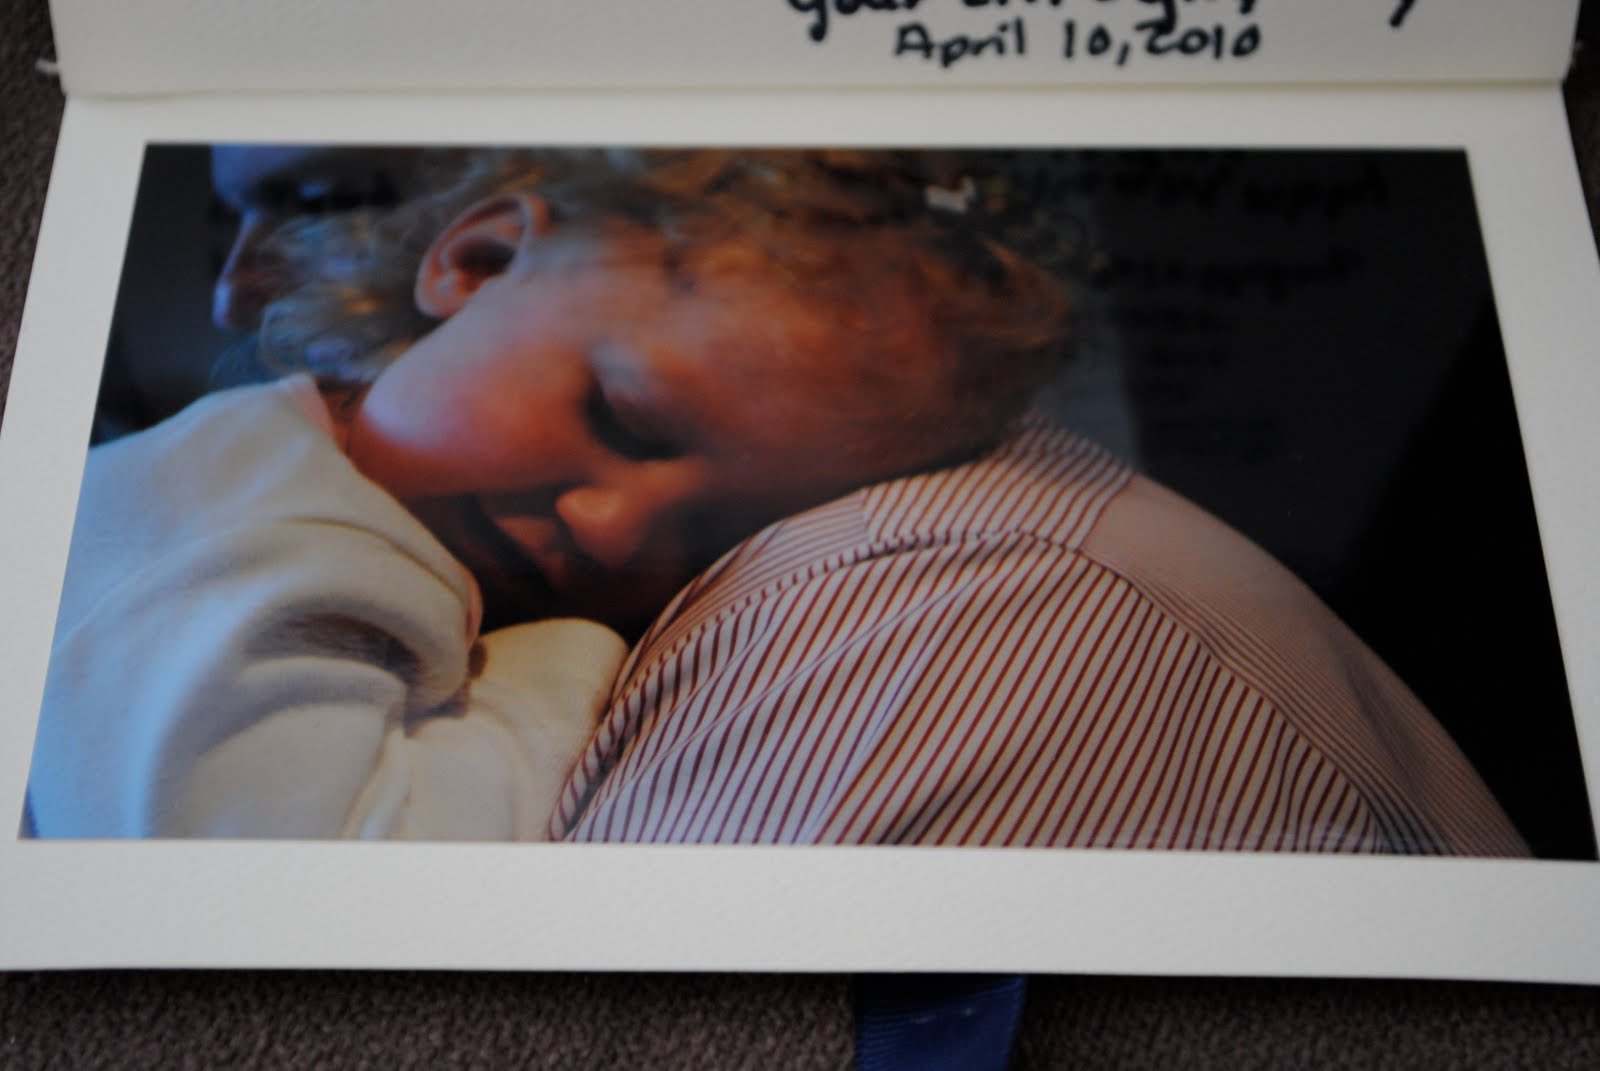
Step Five: Keep it short and simple, or add comments and dates around the photos. Make sure that your marker doesn’t bleed through the paper and ruin the aesthetic of the folio. You can avoid this by writing on paper you know has a photo directly underneath it, therefore blocking the ink from coming through the paper. Or, just use a pen that doesn’t bleed. I learned my lesson!
Step Six: Tie up the ribbon, and you’ve got a memorable gift for someone you love. This would also make a great gift for grandparents, who– if they are anything like my mom– LOVE to carry around photos of their grandkids!