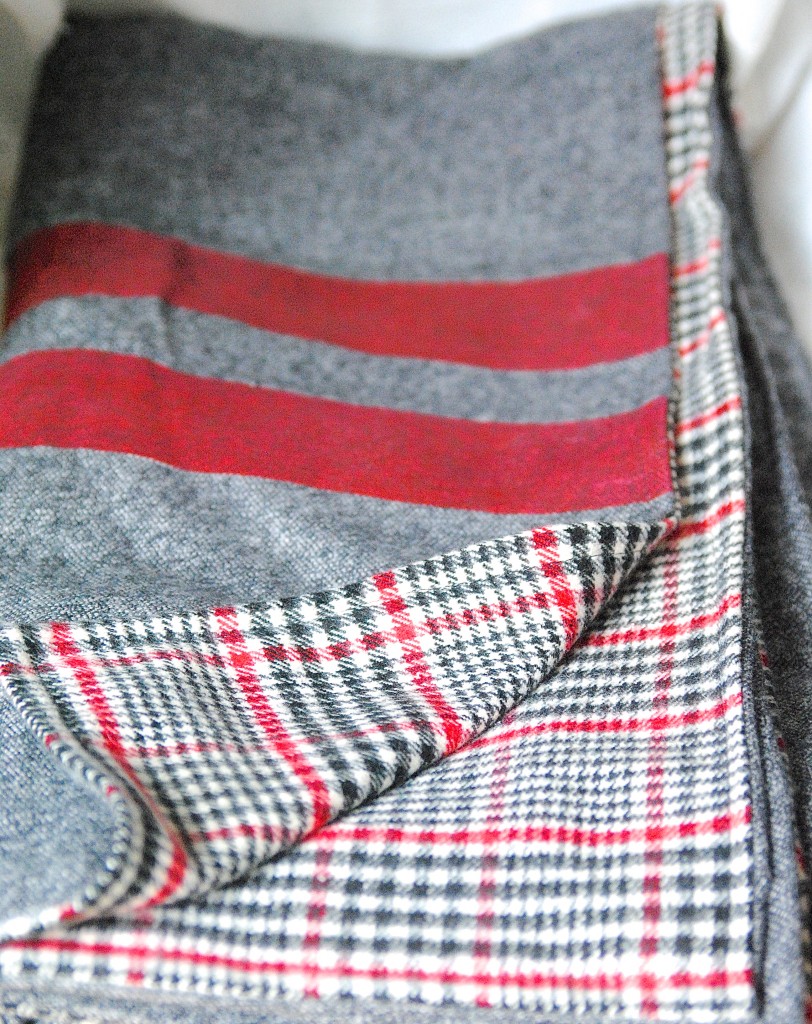
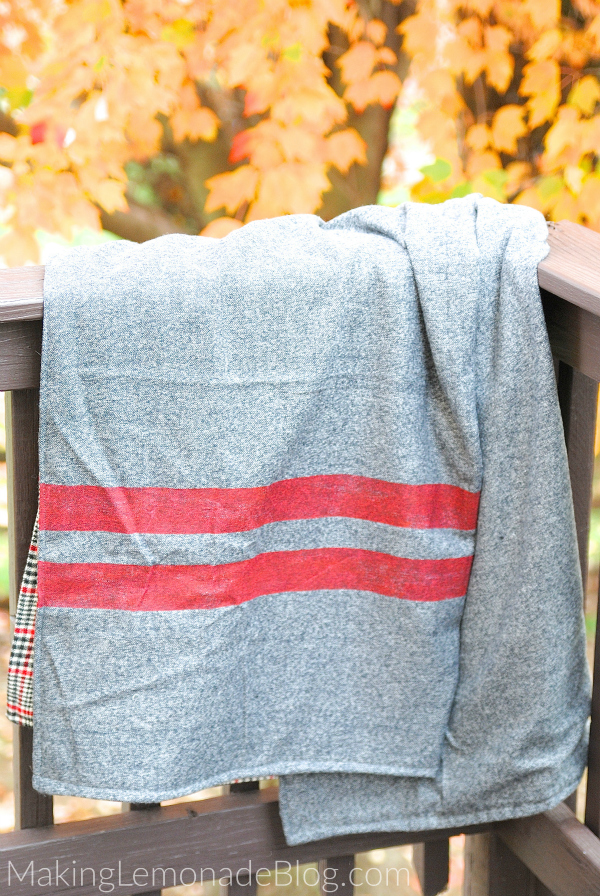
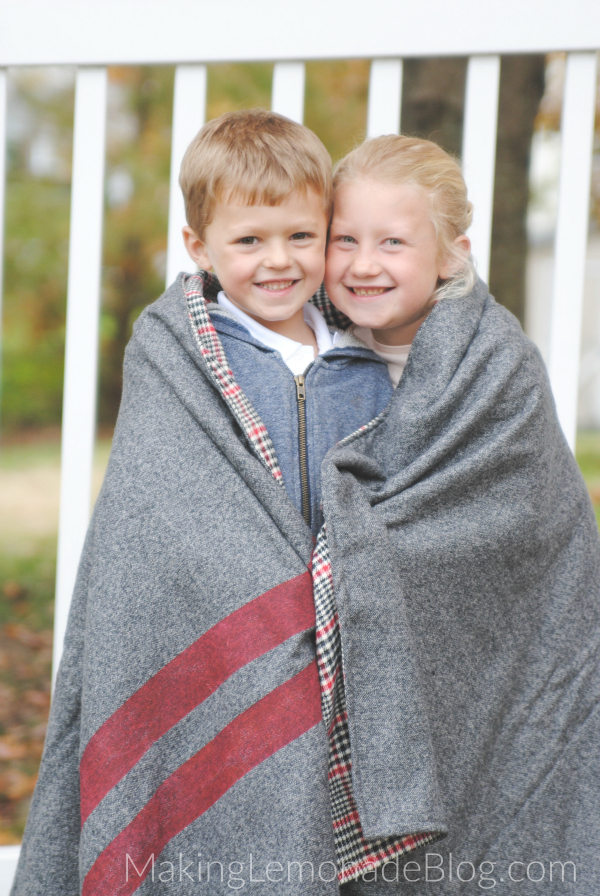
Even with the warm fall we’ve been enjoying, that seasonal chill is in the air– the ‘grab the blankets and a coffee and cuddle in front of the fireplace’ kind of chill. I’m always cold, even in summer, so our house is strewn with throw blankets. I add a few each year and it never seems to be enough! Each family member has their favorite, and when I spotted flannels on sale at the fabric store recently I decided to grab a few yards and see what I could do. After some measuring, cutting, and quick sewing we had our very own DIY (knock-off Pendleton) throw blanket to fight over.
Seriously, feast your eyes on these goodies I found at JoAnn Fabrics, though I bet they carry them at most fabric stores. So many great patterns to choose from, I couldn’t decide which ones to get. Which means I got all the patterns. 😉 YOU GET A BLANKET, and YOU GET A BLANKET!
There’s two ways to jazz up this simple blanket, and I included them both here. Skipping those steps makes this even easier and quicker, perfect for homemade gifting or making a stack for your entire family. Without the painted stripes, this throw blanket would take under an hour to make.
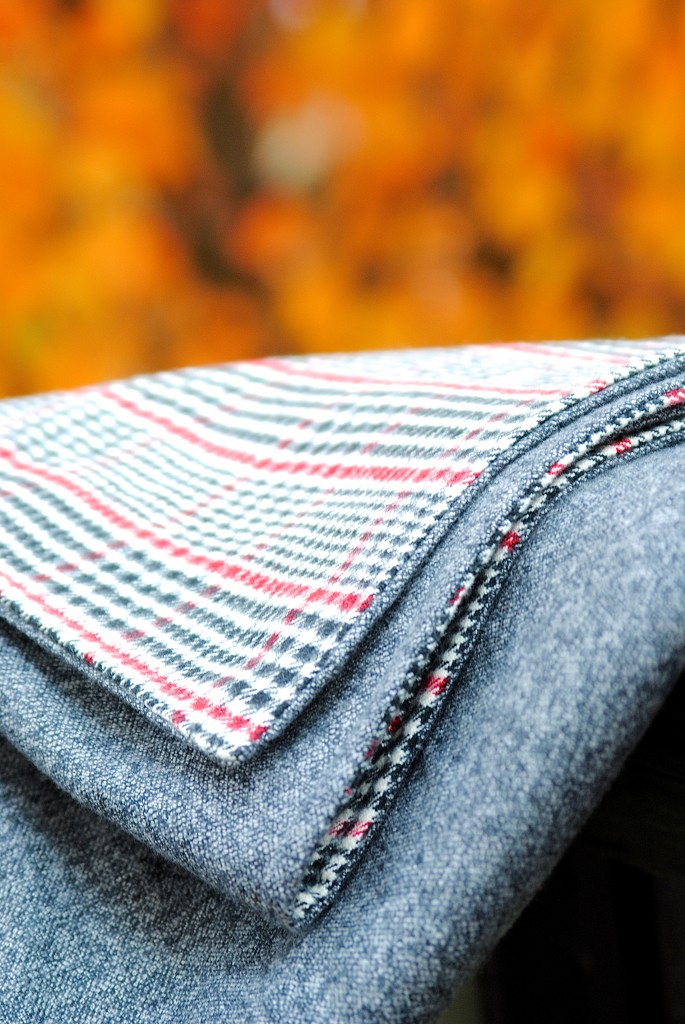
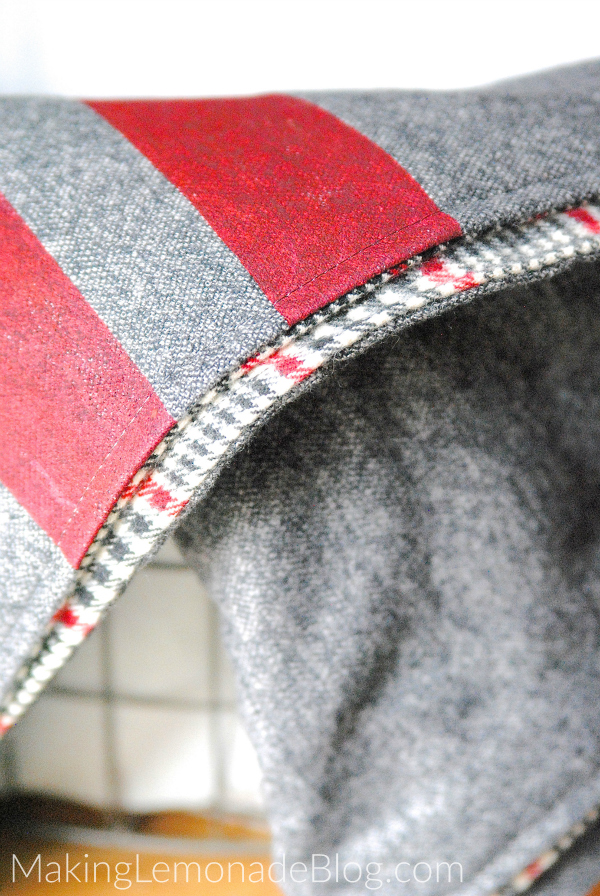
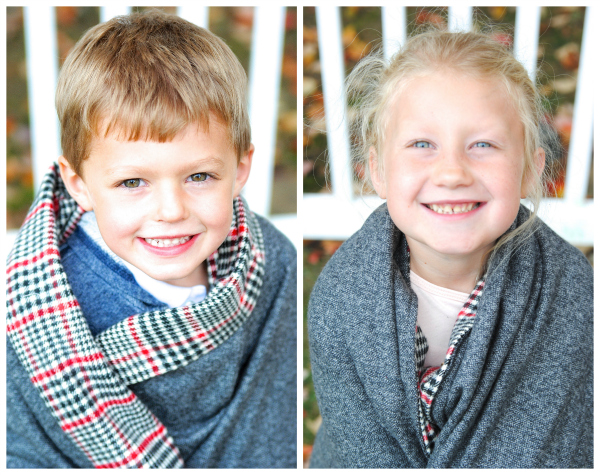
One way I made this blanket extra fancy (jazz hands!) was making it double sided since I couldn’t possibly choose just one fabric to use. If you want a thinner version (I’m looking at you, Texas, with your warm temps!) skip that step and just hem the edges to give it a finished look.
The other way I added to it was by using fabric paint to add in stripes. This was my way of making a knock-off Pendleton blanket. You could also add a red cross to make a vintage-looking army blanket. So many ways to pimp your blanket.
Full disclosure, I am NOT a seamstress. My skill level is at about the fifth grade level. In other words, if I can do this ANYONE (even your 5th grader) can too. And they will probably do it better.
Materials:
2.25 yards of flannel fabric for EACH SIDE (I used 2.25 yards of each pattern, so 4.5 yards of fabric total)
thread
sewing machine
fabric scissors
pins
fabric paint medium (optional)
craft paint (optional)
painter’s tape (optional)
measuring tape (optional)
Directions:
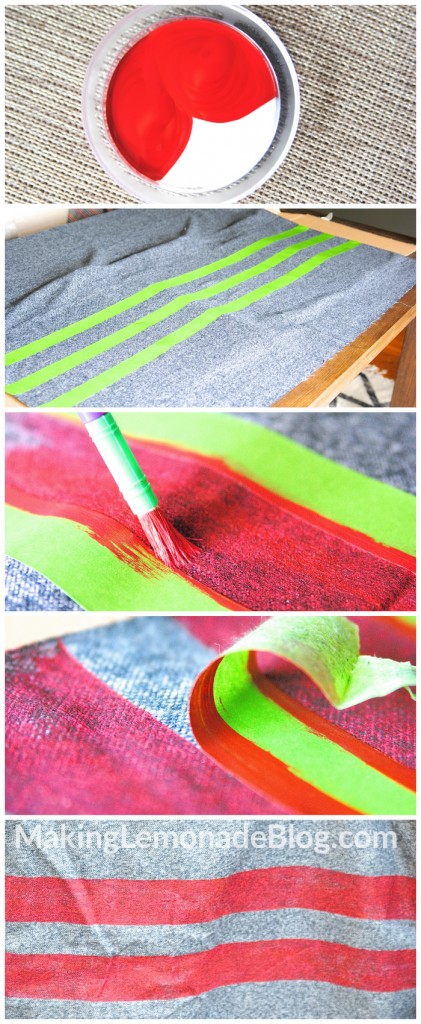
For the painted stripes: Follow the directions to mix the fabric paint medium with the craft paint (usually it’s 2 parts paint to 1 part medium). Place 3 pieces of painter’s tape the desired distance apart, making sure to keep them level. Paint in between the tape to create two stripes– use a ‘dry brush’ method and dabbing motion so it doesn’t leak under the tape. Let dry. For darker stripes use two coats of paint, I liked the distressed, vintage look of just one coat. Once dry remove tape.
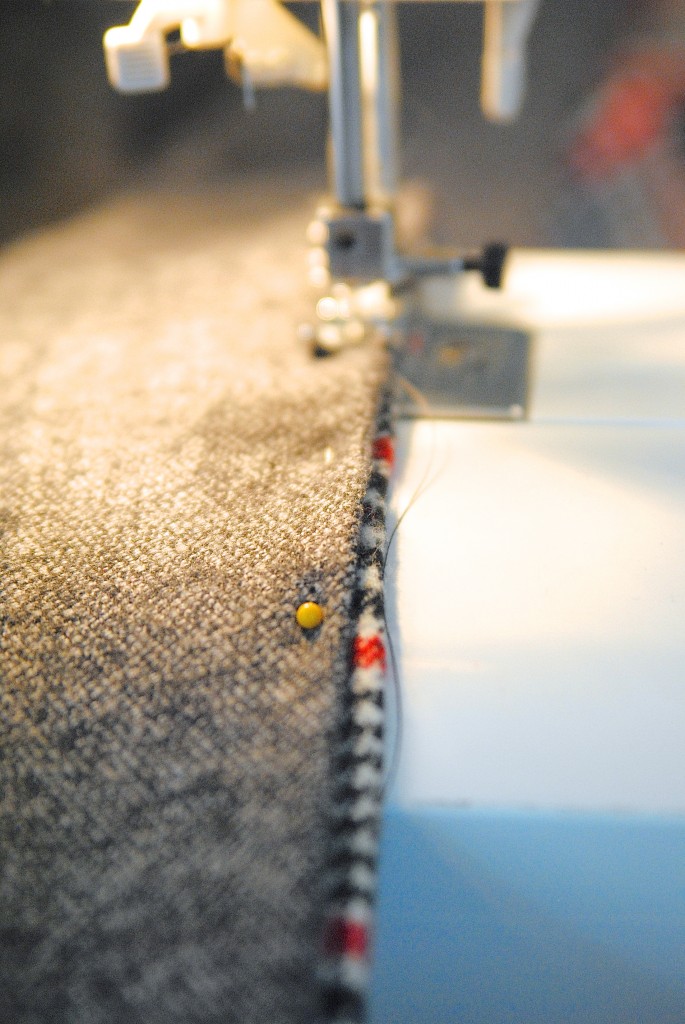
Step 1. Place the two pieces of fabric together, WRONG SIDES FACING OUT. Pin the edges together, leaving room to sew your seam.
Step 2. Sew a seam almost all the way around, leaving about half a side free to give some room when you turn it right side out. Before you turn it right side out, trim extra fabric around the edges; I left about 1/4 of an inch extra fabric and trimmed off the rest. Turn right side out, taking care to make sure your corners are pushed all the way out and look sharp.
Step 3. Now you’re going to add a topstitch around the edge of the blanket. This will give it a finished look as well as secure that .5 of a side that still needs to be hemmed. First, you’ll want to invert the seam that needs to be hemmed and pin it. It should now look like the rest of the edges, but without stitches.
Go ahead and sew a topstitch around the edges, when you come to the unfinished section it will simply blend into the rest once it’s topstitched. Doesn’t that edge look amazing?
Step 4. That’s it, you’re done! Now go snuggle!
Oh boy. I’m gonna need a few more blankets.
Raise your hand if you’re a throw blanket family too. If not, it’s never too late to hop on the blanket train. Now get sewing!
This post is sponsored by my Young Living business! Check out my essential oils page for more information on how you can get these amazing oils in your hands too along with helpful freebies, a gift from me, and tons of support:


Cute blankets! And even cuter models!
Thank you my dear!! <3
I love this a lottalottalot!
But you won’t need it where you are, haha! #I’mjealous
Love these! Great tutorial. Love your little models too. 🙂
Hi. Can you tell me why we want to mix fabric paint with craft paint? Can I just use fabric paint? Why would one want to mix them? and am I mixing the same color…for example, I am doing a navy fabric paint so should I mix with a navy craft paint? Look forward to hearing from you. PS…love love love these blankets!!
Hi, actually you are mixing craft paint with a medium that turns it into fabric paint. 🙂 It’s called Fabric Paint Medium and dries clear so it’s the same color as which ever craft paint you choose. That way, you don’t have to use the limited range of fabric paint colors available.
So going to JoAnn’s this weekend to pick up a variety of flannel patterns! Thank you sharing!
I am getting ready to make a blanket very similar to these. I was wondering if you have had any problems with the fabric shifting after they are used for a little while. I am trying to decide if I need to tack the fabric in the middle of the blanket in a few spots to stabilize the blanket so it doesn’t shift later.
So far it hasn’t shifted, but it doesn’t get heavy use. Sorry I don’t have a better answer! If you planned to wash it, perhaps it’d be best to tack it… but for light use, it’s been fine. 🙂
Just want to thank you for this quick, easy tutorial. Picked up yards and yards of flannel at a thrift store. Whipped up 5 blankets to cover hay bales around a fire pit for a s’mores bar at my son’s and his fiance’s wedding.
You are welcome! That sounds so lovely and cozy!
I am confused, if you face the wrong sides in before you sew it, wouldn’t that make the wrong sides on the outside when you turn it?
Ooof, good catch! I messed up one word, it should say wrong sides OUT and not IN. Fixed it. Thanks for catching that!
Hey! These throws are absolutely gorgeous! I was wondering what the final size of your blanket was. I am fairly new to making blankets and wasn’t sure what a good size would be. Thanks!
Your blankets are so easy to make. I make lap blankets and fill them with filler using cotton . I also have made fleece blankets that I tie. I love those but my hands do not. After tying about 20 of them, my hands hurt. I will try your method and just sew them. I wonder if I could serger them. Just bought a serger and am learning to use it. I hate making mistakes with the price of material. Have you done these with a serger?
I haven’t tried them with a serger but I bet that would make them even easier to make. 🙂
Beautiful! Did you wash fabric first?
Cindy, you are definitely supposed to wash fabric first. Now… did I wash the fabric? Let’s just say I’m a rule breaker. 😉 I had to whip this up quickly for the post and therefore skipped that step, but if I made these again I would for sure.
Hi this is really great. Quick question which material were these blankets made out of? Please let me know asap thanks!!! ^^^
They are made from the flannel fabric at JoAnn Fabric. 🙂
Hi, how big do these come out to be? Twin, Queen, King, or what dimensions?
I really like the fabrics you used to create the blankets and the photos are great. Did you make them yourself?
What was your seam allowance?
I absolutely love this idea! Does the flannel typically last longer than the normal fleece blankets? I’ve had issues with fleece getting worn quickly.
Thank you for sharing a great idea. I will plan on making a few of these this summer.
Also, noticed several people have asked the size of the throws and I think that would depend on the width of the fabric.
You already stated you purchased 2.25 yards.
I took your amazing idea and added cotton batting lightweight to give more warmth. I just pinned it well and stitched on the plaid . I bragged how easy and warm and quick to make and now I have to make more. It’s hard to believe but they disappear after the children leave.