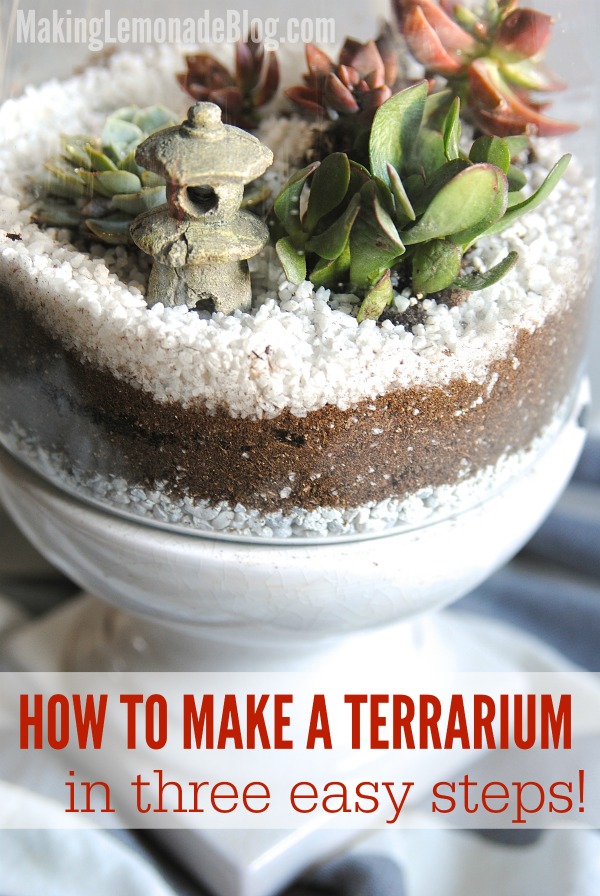
How to Make a Terrarium {in 3 Easy Steps!}
This post may contain affiliate links for your convenience. Read my full disclosure policy here.
Indoor gardening is my favorite. It’s on a smaller scale with no heavy lifting, there’s no weeds to deal with, and unlike my outside garden I never find spiders hiding in the plants and causing me to FREAK THE YOU-KNOW-WHAT out. I have little terrariums tucked all over my home, and each time we pass a succulent container in a store my husband hurries me by, “NOTHING TO SEE HERE!” he begs. {did you see the hanging glass terrariums at Whole Foods recently? egads! LOVE!} Making your own terrarium is a cinch, if you don’t know the steps already I’m going to show you how!
Added bonus: for those who have trouble keeping houseplants alive, the succulent plants that thrive in terrariums usually require little upkeep that even the blackest of thumbs can handle. AND ALSO you can use just about anything to house your terrarium. Is there anything these little guys can’t do?
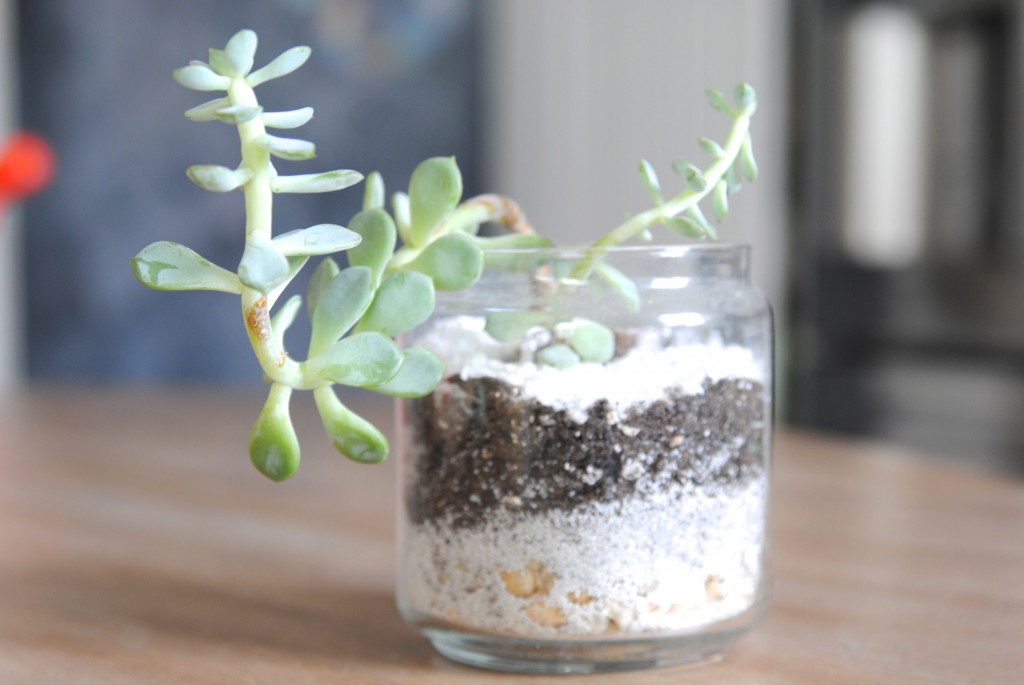
Here’s one I planted over 3 years ago, and it’s still thriving in an old jar from The Dollar Store:
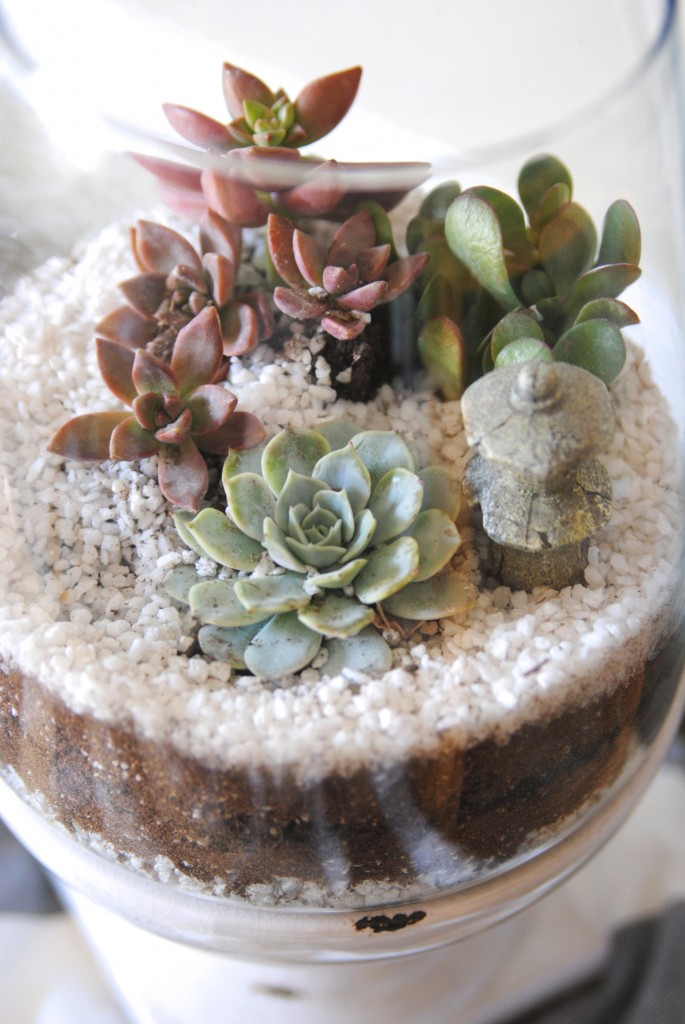
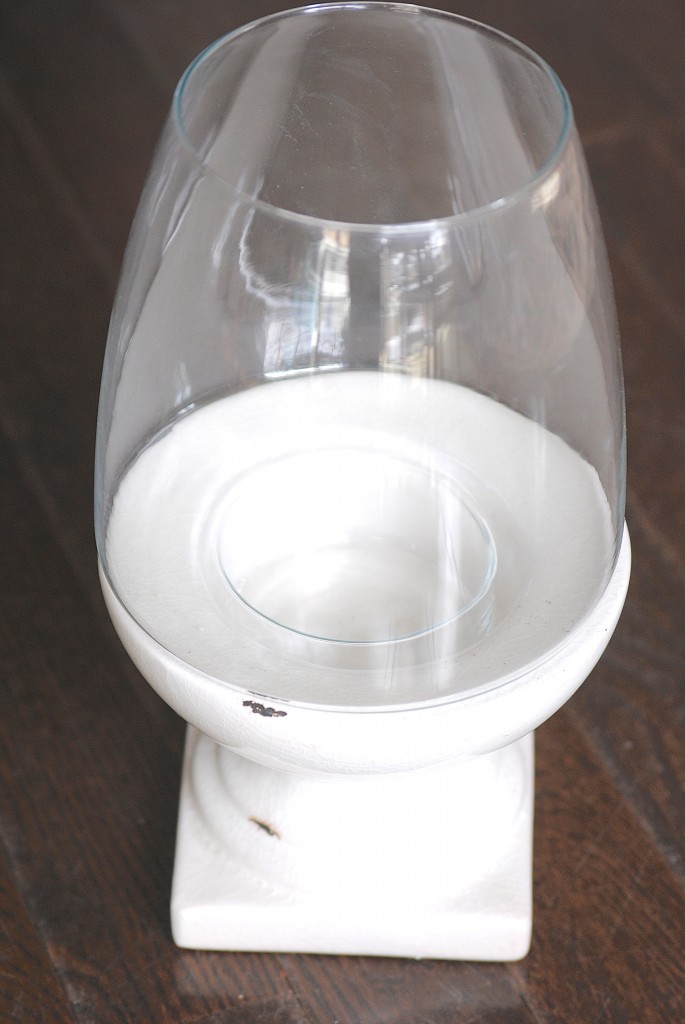
For this particular project, I found a glass hurricane candleholder on clearance that looked like the perfect terrarium container. Discount stores, Target, HomeGoods, and even thrift shops all are great places to find containers on a budget.
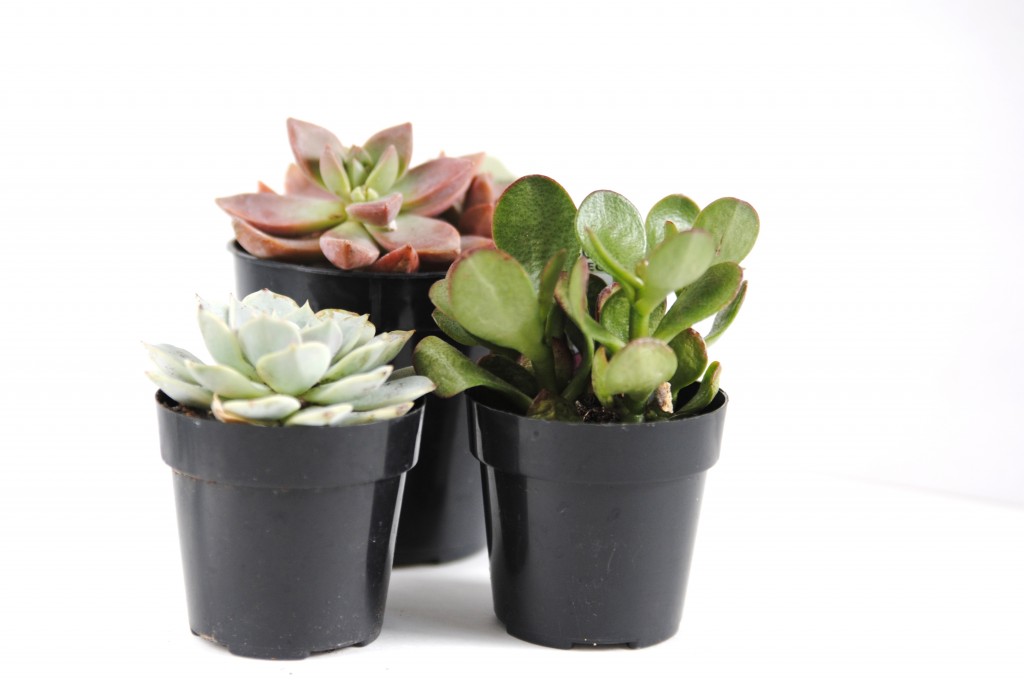
I purchased my succulents at West Elm but you can also find them at Home Depot or other nurseries (I’ve even seen them at CVS, and faux ones at The Dollar Store– talk about low maintenance!)
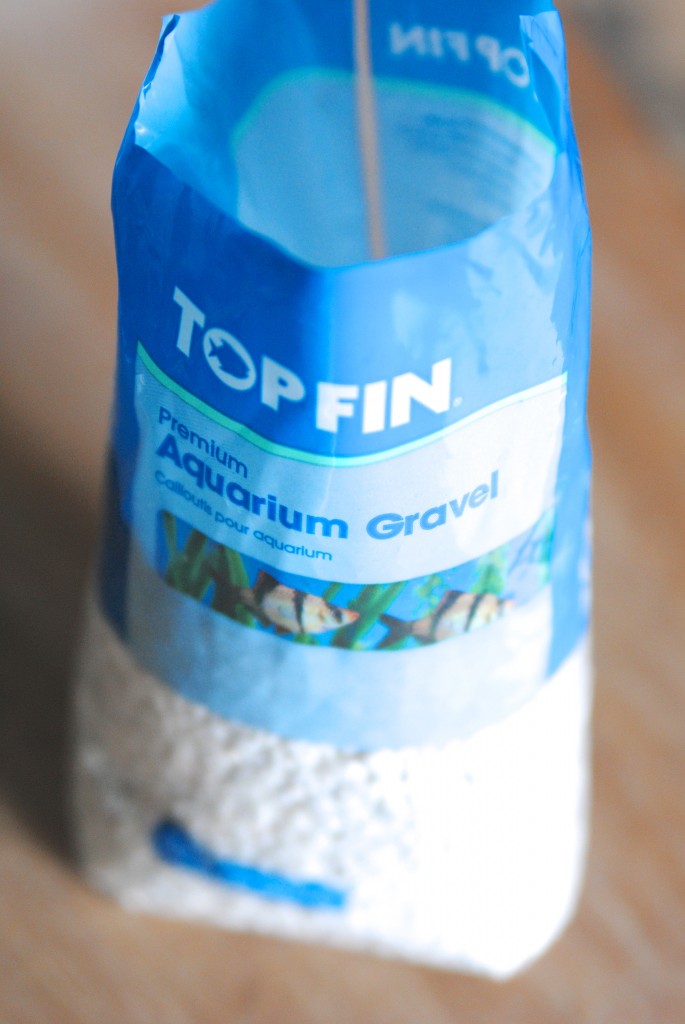
The aquarium gravel came from a pet store, where you can also pick up some aquarium sand if desired for a nice final layer above the soil. Stroll the aquarium aisle, and you might even find a small ornament to add to your garden like the cement pagoda I used in mine.
Here’s what you’ll need to get started on your indoor gardening adventure:
Materials:
Aquarium gravel
Soil
Succulents
Glass container
Large spoon
Chopsticks or stick
Straw and/or tweezers
Aquarium sand (optional)
Small garden ornaments (optional)
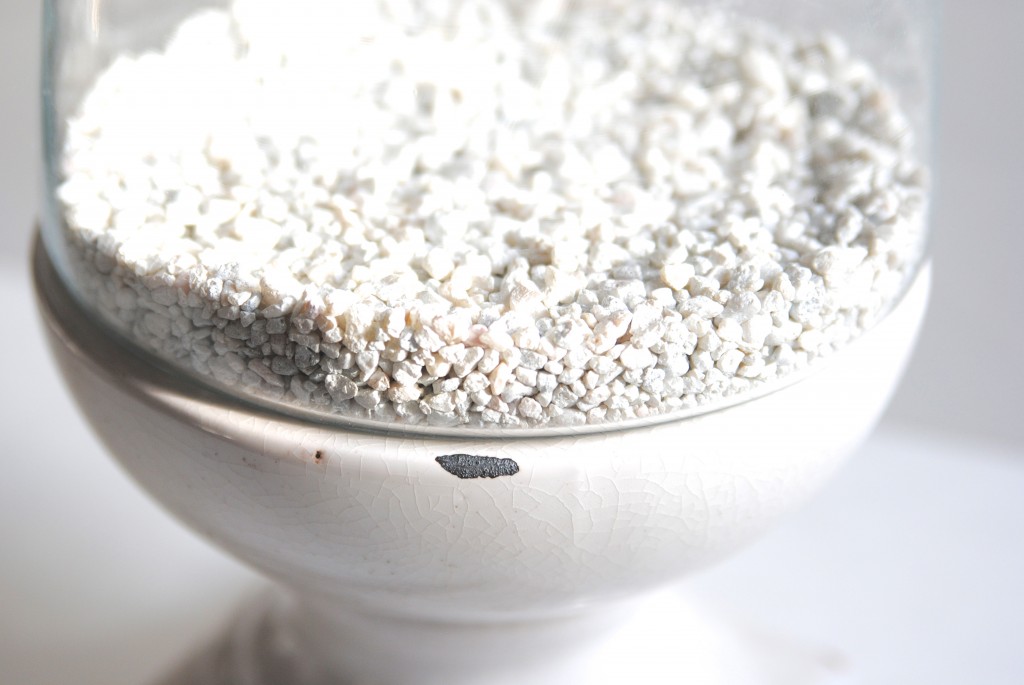
Step One: Thoroughly clean your container. Then, add a first layer of gravel.
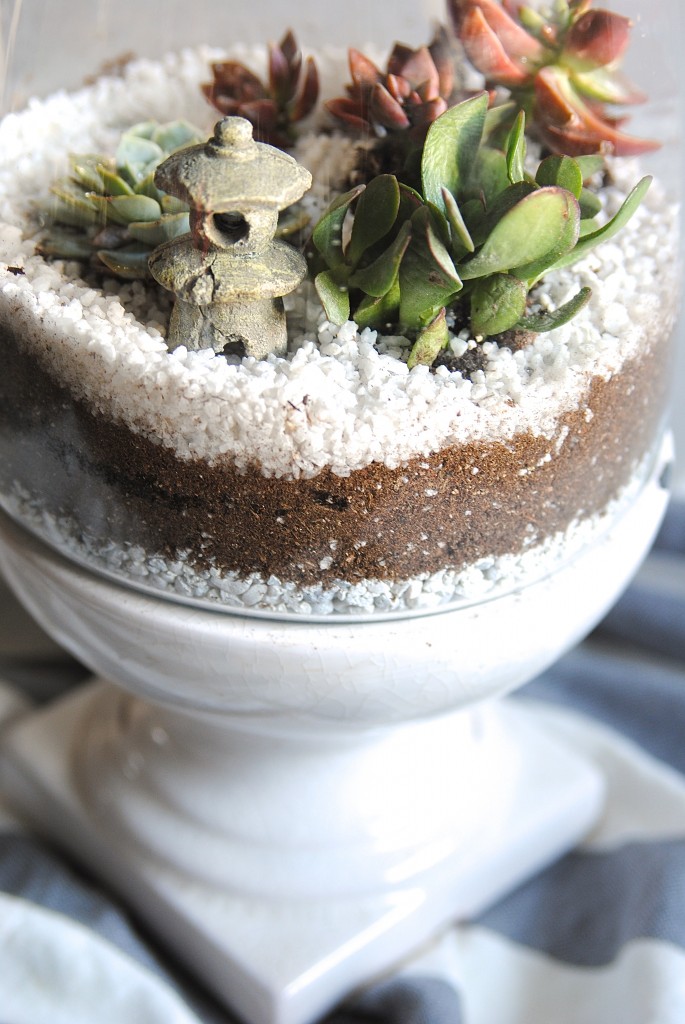
Step Two: Next, add a layer of soil. Use the chopsticks or spoon (depending on the width of the opening in your container) to dig holes for the succulents. Place each succulent in a hole and thoroughly cover roots with soil. You may need to add another layer of soil to cover the roots. I add a few spritzes of water to make sure the roots are in place and watered.
Step Three: Add your final layer. I used smaller gravel for this layer, but white aquarium sand looks beautiful too. After adding the layer, use a straw to blow off stray pieces or create ripples and ‘dunes’. You could also use craft tweezers to pull out random pieces of gravel that have settled in the succulents. Add any additional ornamentation, place in a sunny spot, and water once a week if needed (check soil for dryness). Step back and enjoy your beautiful new garden!
Terrariums are a lovely way to add plants to your space without the hassle of constant upkeep or the need for heavy garden tools. Terrariums brighten up any windowsill and thrive in sunny spots, so as long as you remember to water occasionally you’re good to go! When it’s time to move or re-arrange decor as I sometimes (ALWAYS) do, simply pick up your garden and bring it with you. How many other gardens can do that?
Plus let me reiterate, NO SPIDERS.
This post is sponsored by my Young Living business! Check out my essential oils page for more information on how you can get these amazing oils in your hands too along with helpful freebies, a gift from me, and tons of support:

