How to Reupholster an Ottoman (with Faux Fur!)
This post may contain affiliate links for your convenience. Read my full disclosure policy here.
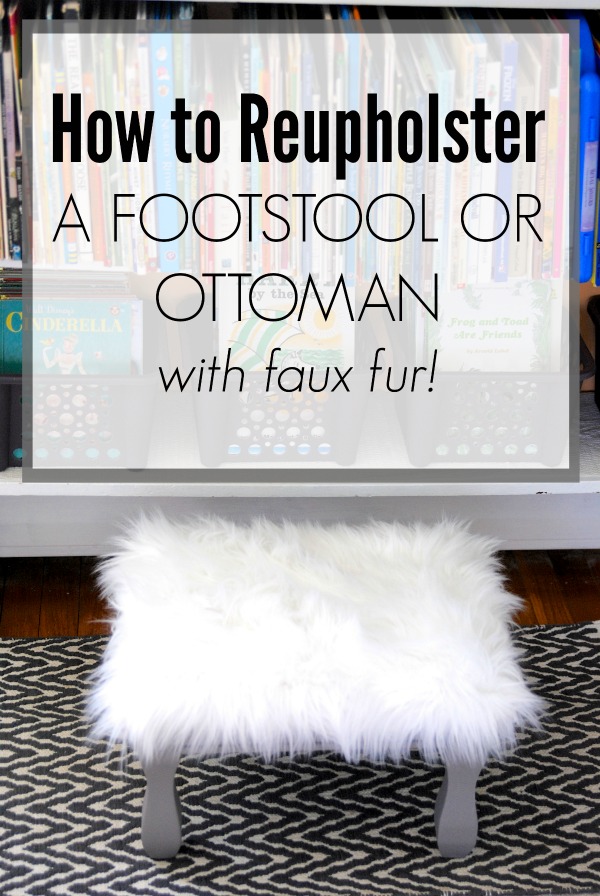
Ready for a quirky little DIY idea today? We’re going to learn how to reupholster a footstool or ottoman in faux fur! Even if you’re not into the fuzzy look, you can use this technique with any fabric for the same effect. Footstools aren’t hard to find, I grabbed this one at the thrift store years ago and it’s been begging for a makeover ever since. Not knowing quite what to do with it, inspiration struck when I found a faux fur rug on clearance at Homegoods and BOOM, done. You can find similar fabric at fabric stores as well, in many colors and shades too. Just promise you’ll stick with faux or PETA will come screaming at me. 😉
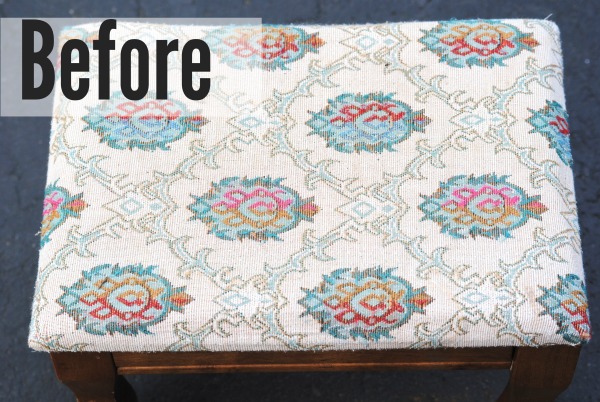
Let’s take a peek at the before photos. You’d think I’d have enough class to at least match the font and color in the word ‘before’, but hey, that’s what happens when you blog after midnight.
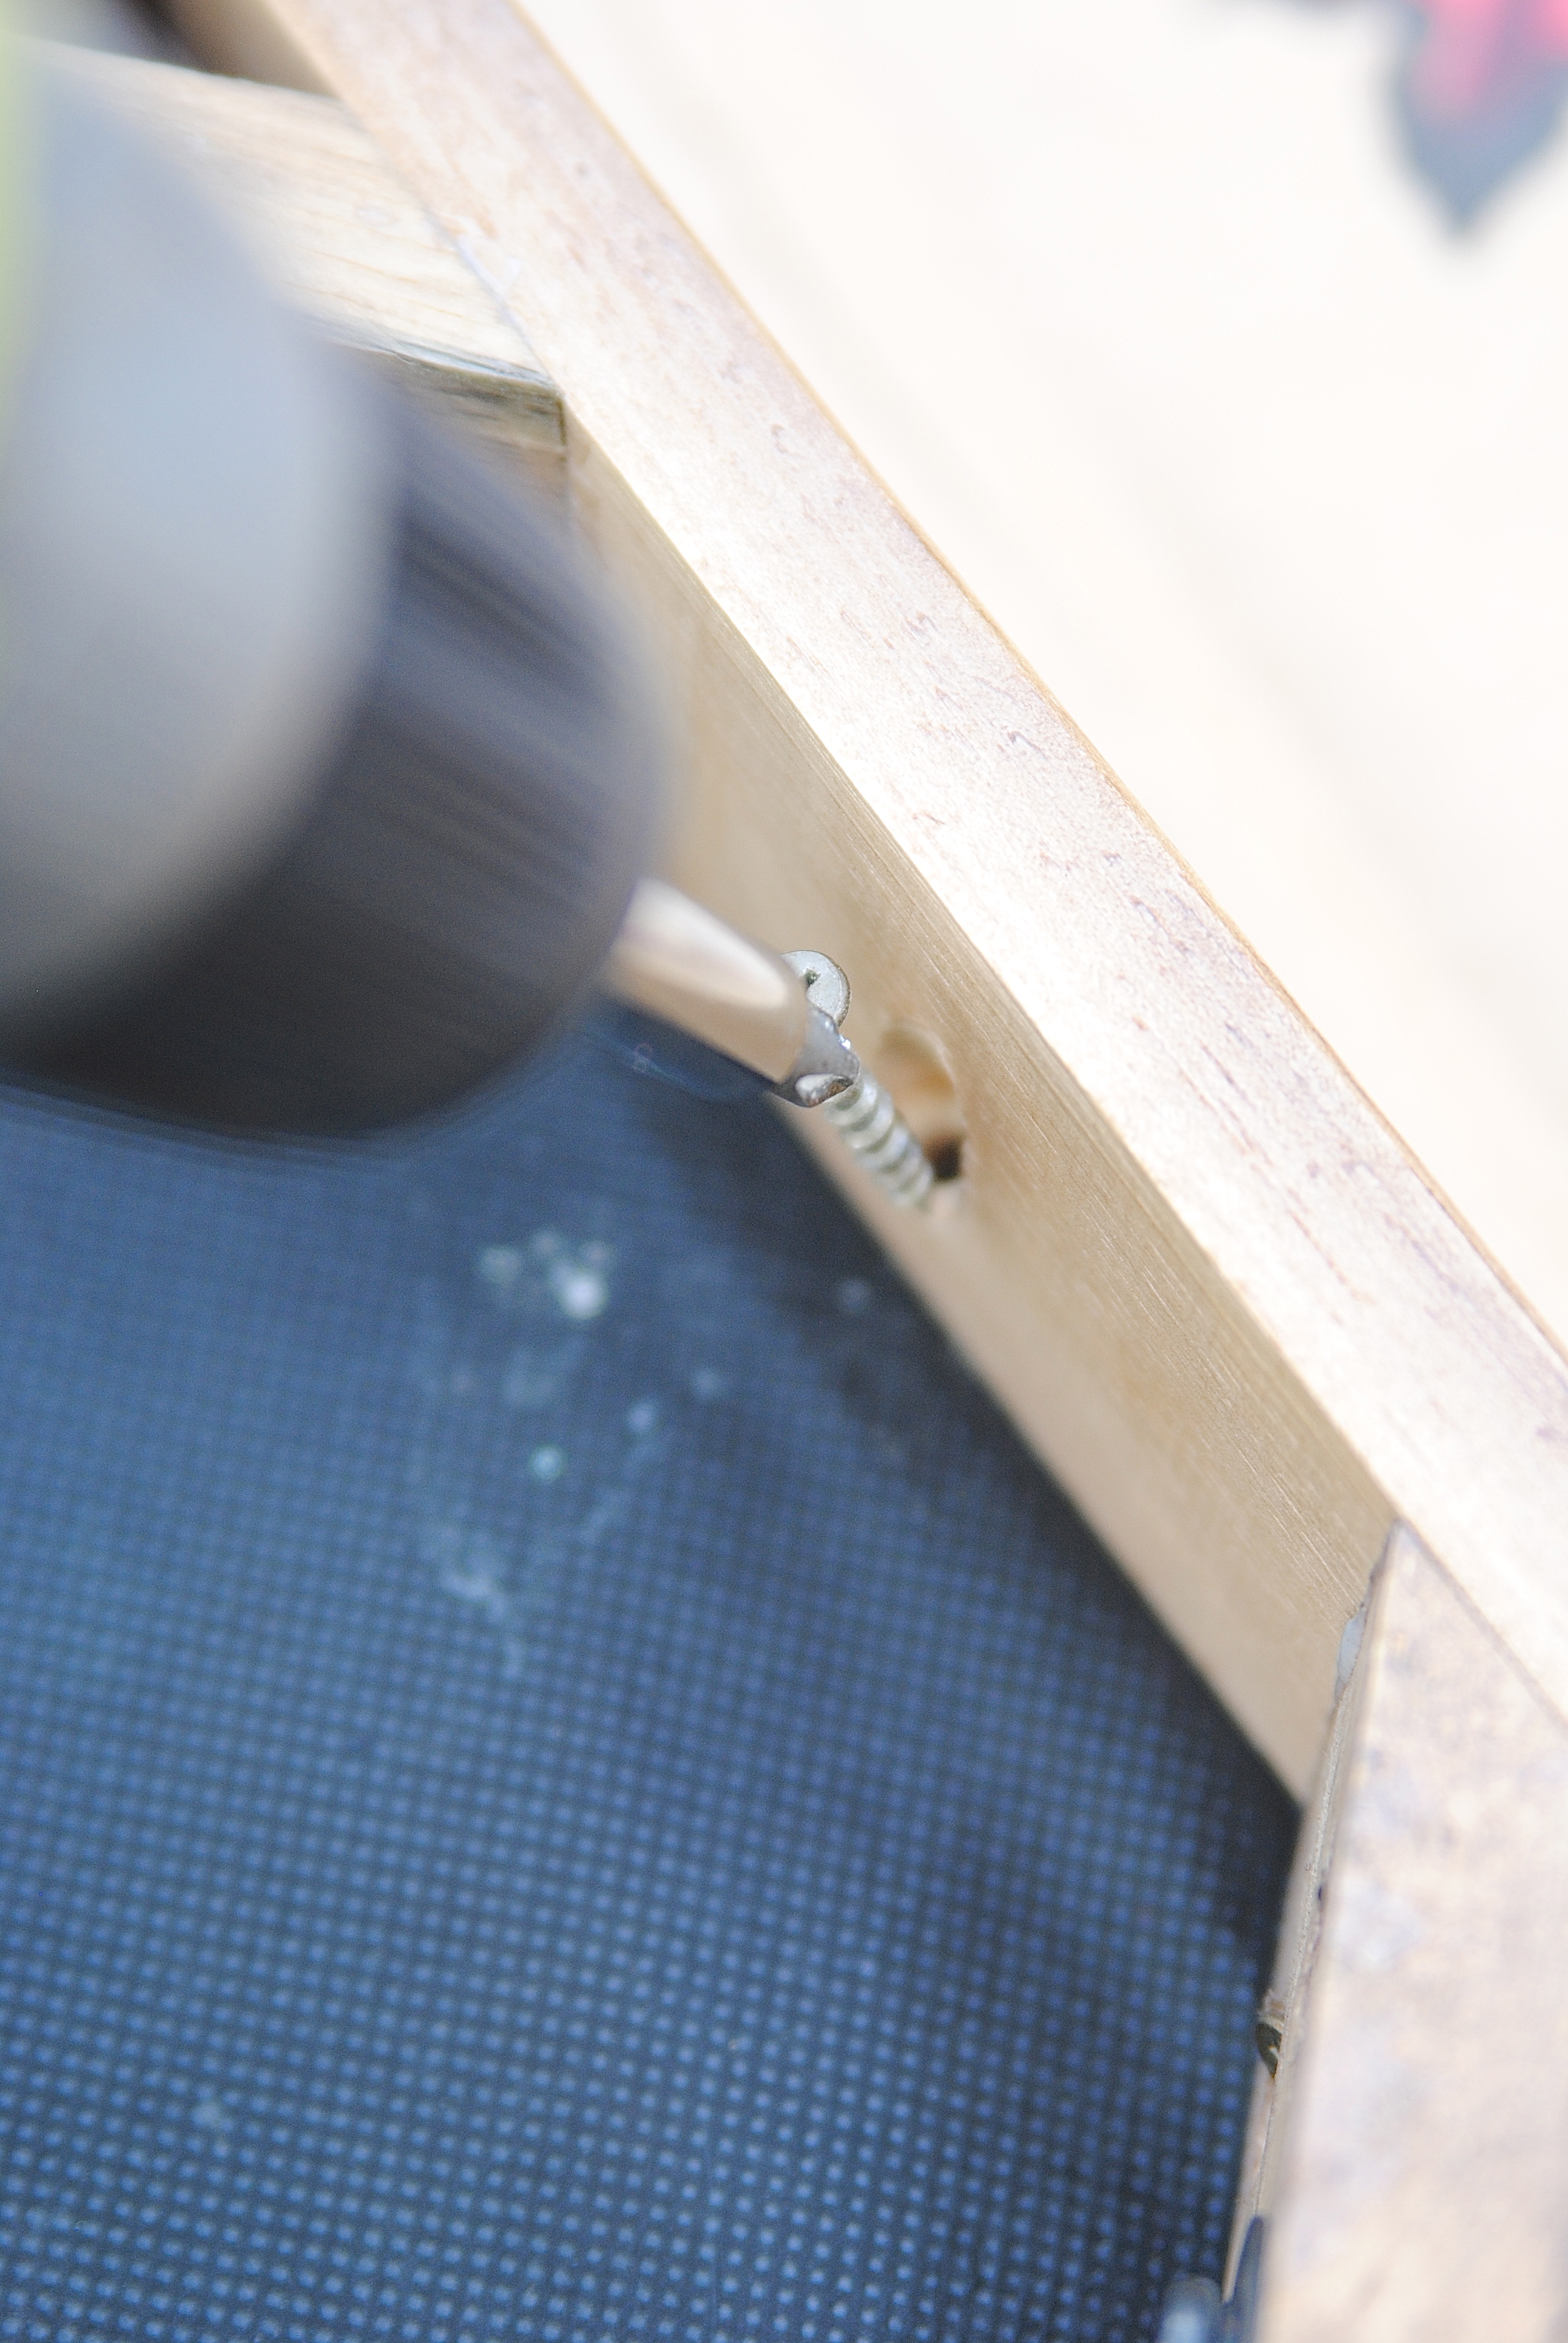
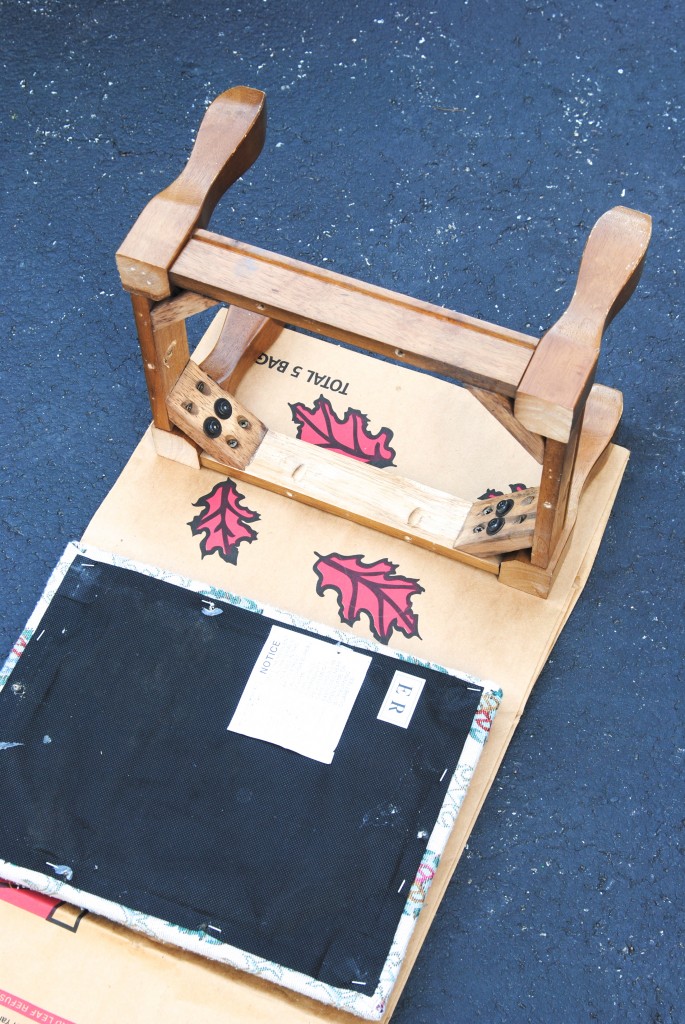
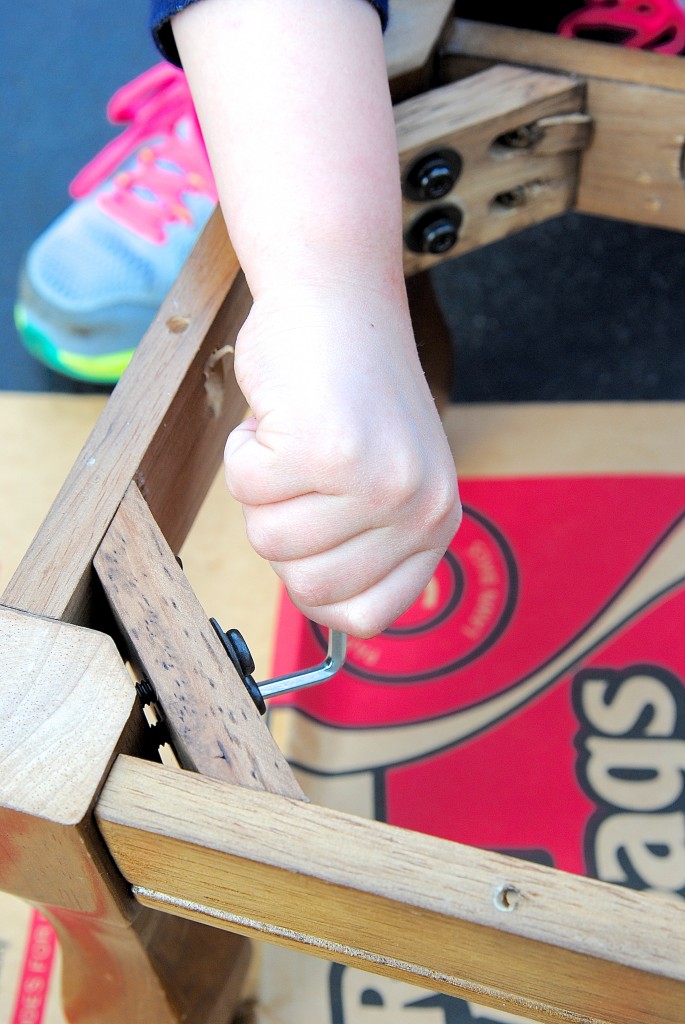
It’s a great little stool, with many ways to use it. The fabric was just outdated and worn and needed some spiffy-ing up. The first obvious step is to take apart the frame and legs, which I did with the cordless screwdriver while also trying to take a photo which is why it looks like that. I highly NOT recommend photographing while unscrewing, FYI.
We also tightened up the leg screws to make sure it was stable.
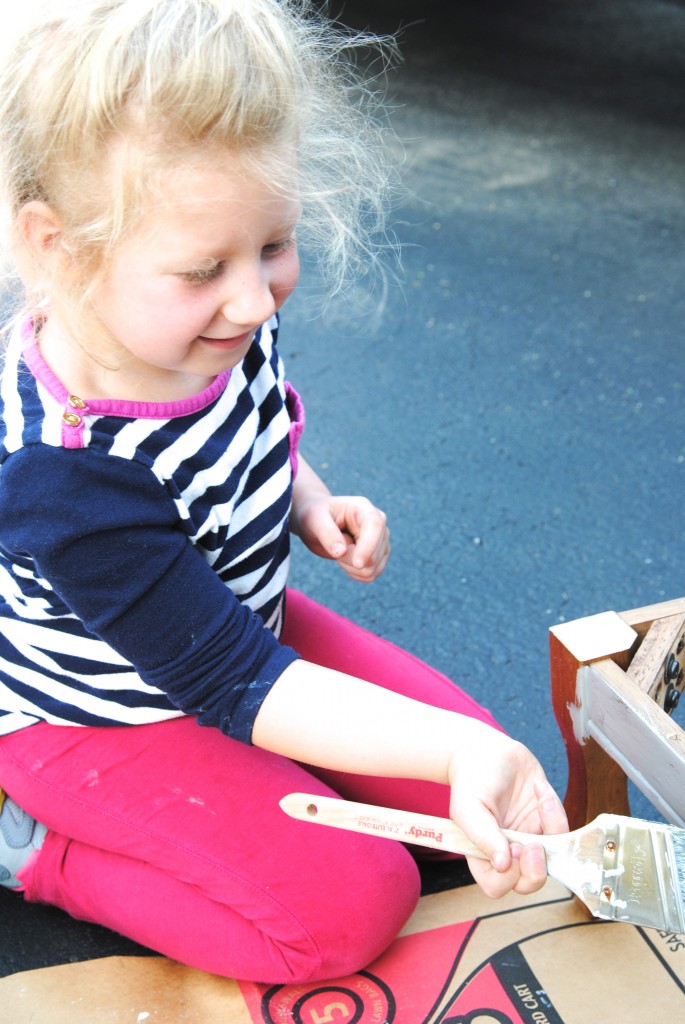
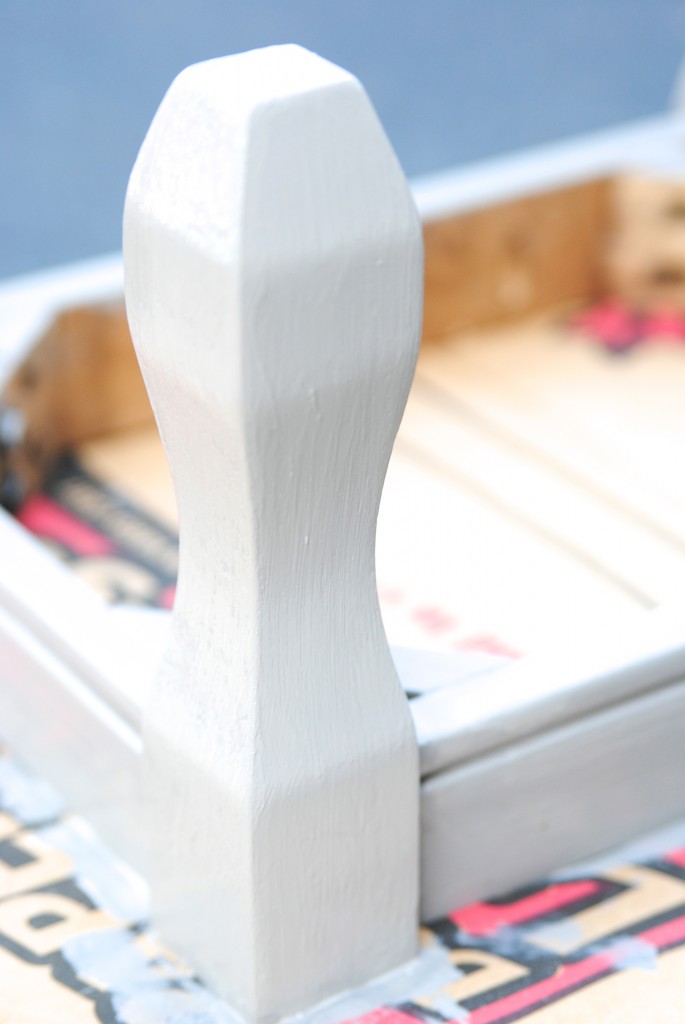
Next, we gave it a good cleaning and used our favorite chalk paint recipe ever so no other prep work was needed. Abby actually did most of the painting, I simply made sure it was in the nooks and crannies. We gave it two coats and let it dry.
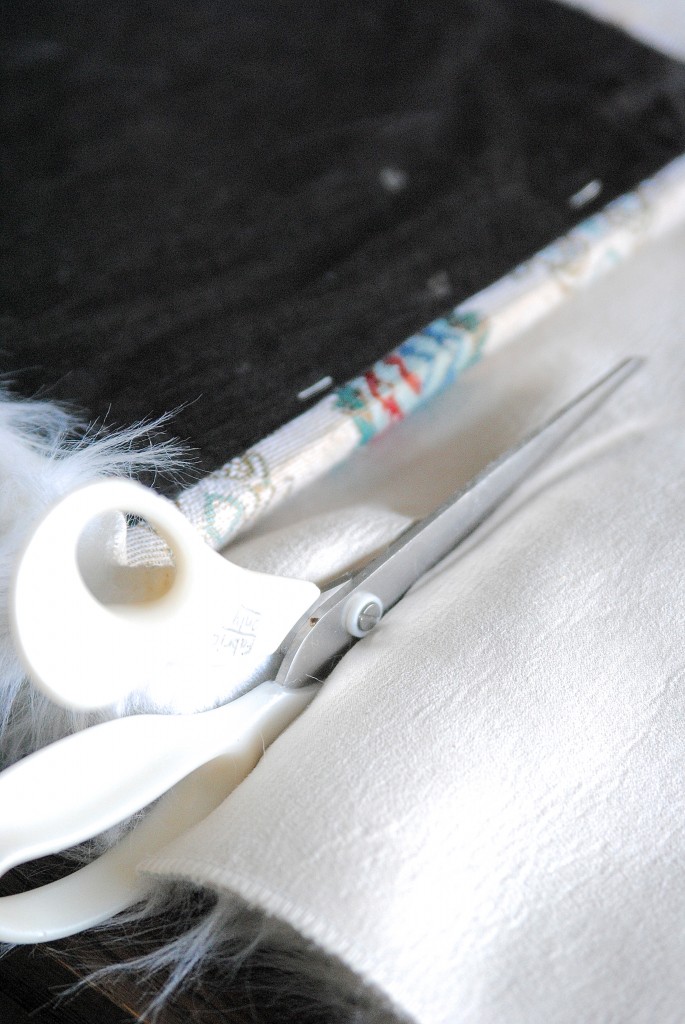
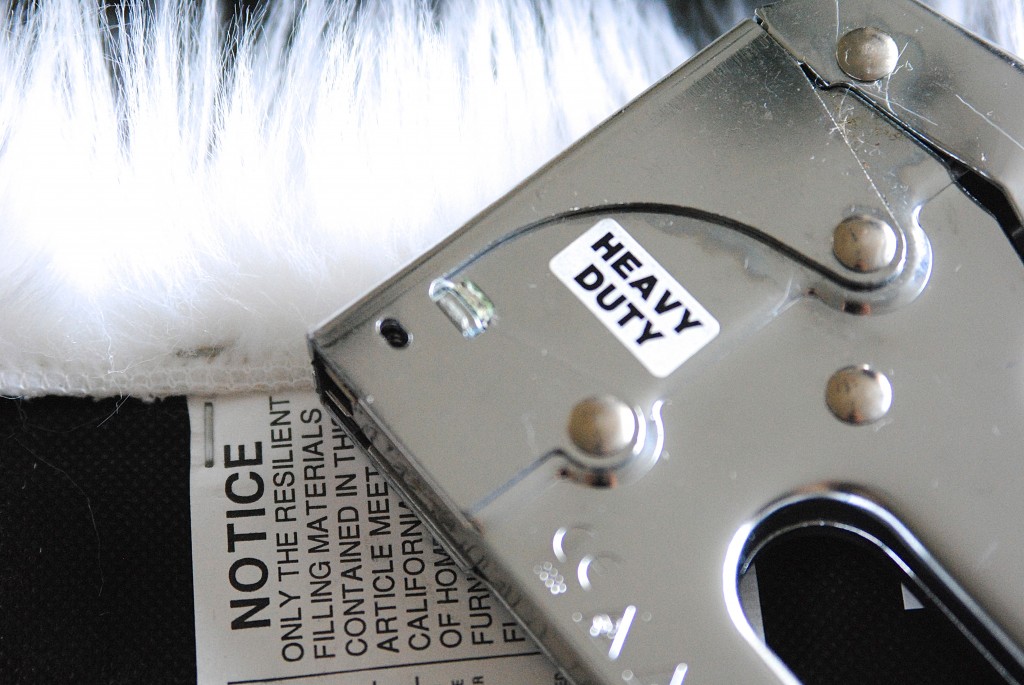
As for the top, I cut the faux fur rug to fit over the top with a 1.5 inch overlap around the edges. It helped to find a line in the fur before cutting to reduce shedding. Then, I folded it around the sides and stapled with my staple gun.
Here’s where I held my breath and hoped it worked– I placed the frame/legs onto the back of the fur covered piece and screwed it back in using a cordless screwdriver. I even used the same holes, it lined up perfectly! I was worried the fabric would be too thick but that’s when a heavy duty driver comes in handy. No photos of that process, as evidenced by step #1 it’s dangerous to (screw)drive and photograph.
Which reminds me. Yesterday I was sipping a bottle of water while driving (okay, it was a lemon Pellegrino soda in a can) when Abby told me it was NOT okay to drink and drive. Since when did 6 years old learn this stuff?!
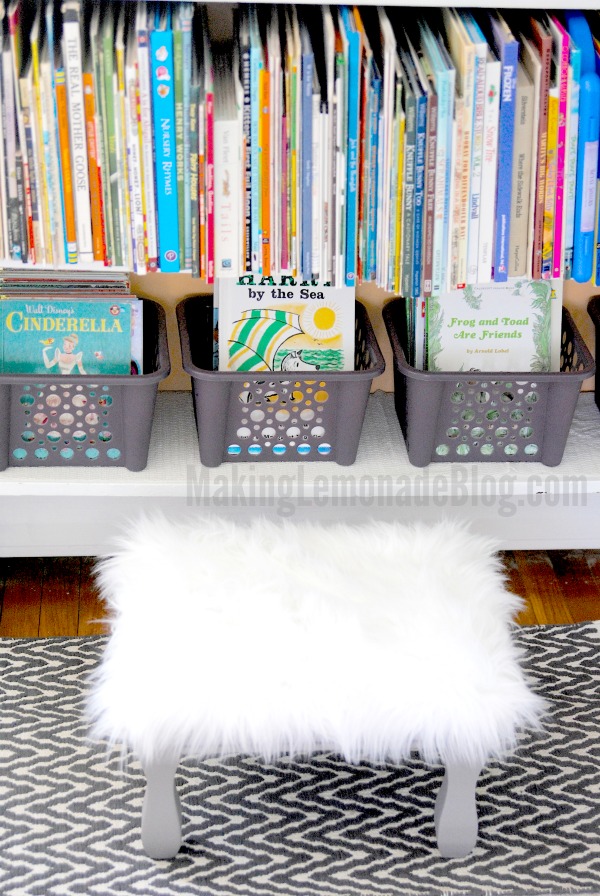
Back to our lovable, furry old stool. It was done! Ready to rock and roll and bring delight to a certain little lady.
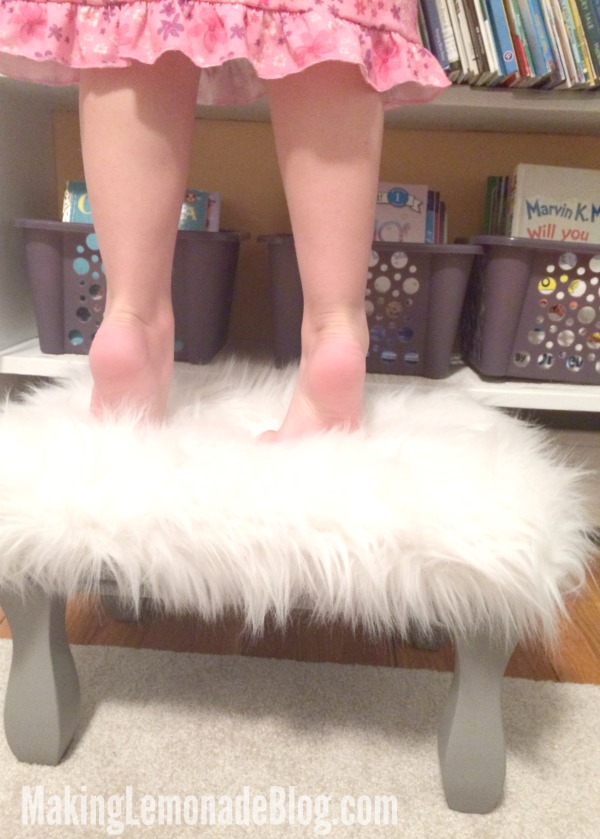
Who uses it to reach more books.
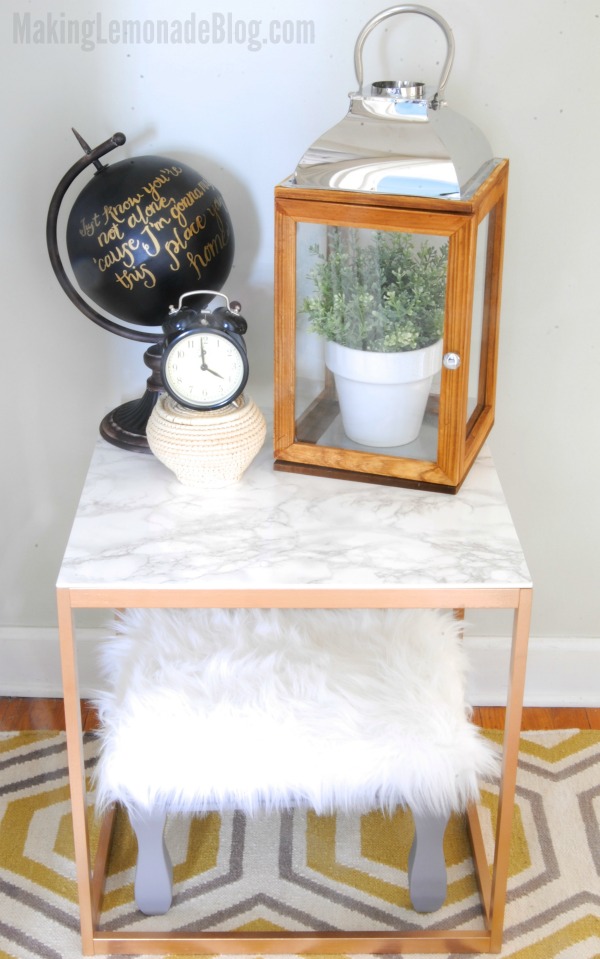
And her mama, who likes to steal it and style it. But mostly for my little lady. 😉
It may be over the top, but this stylish stool looks great all around our home. And the feel of fur on your toes is like WOAH. I might have to make a few more. Or use the rest of the rug to make some slippers. That fur is no joke! Like eye-candy, but for feet!
What crazy project is coming next? Oh, just wait. You’ll never look at the Dollar Store the same way again (can you say Pottery Barn knockoff?!)
Tell me the truth: is there room in your life for a faux fur stool? Or is this one too over the top?
This post is sponsored by my Young Living business! Check out my essential oils page for more information on how you can get these amazing oils in your hands too along with helpful freebies, a gift from me, and tons of support:


