Really Reusable: Clementine Boxes!
This post may contain affiliate links for your convenience. Read my full disclosure policy here.
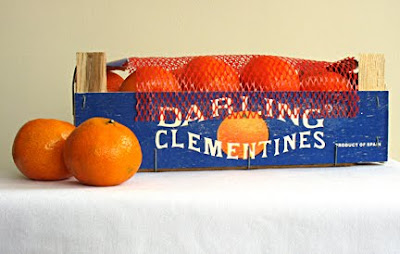
Welcome to the first edition of Really Reusable! I love to repurpose things, so I’m starting a feature where I list step-by-step directions on how to reuse common household/thrift shop finds. You know about my craving for Clementines, so the inaugural edition features the boxes that have started piling up from these yummy seasonal treats!
Once the Clementines are gone and the holidays over, wouldn’t it be nice to have a little bit of Spring in your home? Here’s how:
- empty clementine box
- paperwhite bulbs (I got a kit at Home Depot for $5.95)
- empty plastic bag
- stones such as small gravel, river rock, etc. (if you don’t have any, you can find large bags at Home Depot and smaller bags at the dollar store, Michaels, Ikea, and even a pet store if you use fish bowl stones)
- container to place inside box (I used disposable ovenware from the grocery store)
Here’s a close-up of the Paperwhite kit (you can just use plain bulbs, but this kit was very easy to find at Home Depot):
You don’t need to use cocopeat– paperwhites will grow even in small loose stones. If you choose to plant them that way, look online for how to get your bulbs started.
I’m hoping to have some “After” photos in about a month, so check back then! I think those tall stems will fill that empty space nicely, don’t you?
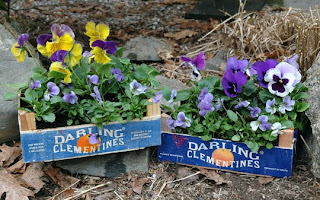
::: If paperwhites and wheatgrass aren’t your thing, Re-Nest shows you how to plant other annuals to bring the outdoors in.
::: Use them in the garage to house garden tools, organize seed packets, or corral other odd sized objects. You can write on the side with permanent marker and don’t need to worry that you’ll ruin it. They are great for stacking, too.
::: Fill them with goodies for holiday gift baskets! Perfectly sized for homemade treats, breads, jams, biscotti, coffee– you name it. Line it with decorative dish towels or fabric, and wrap it in clear cellophane if you are worried that the treats will fall out.
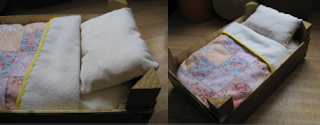
::: Doll beds. I know, so cute. RecoverGirl gives easy directions on how to turn them in doll beds. This would be a great project to tackle with your daughter, or as a cheap-o Christmas gift!
::: These are great for areas such as your laundry room. They can hold sample sized detergents, dryer sheets, lingerie bags, etc. Use them in a linen closet to store hand towels and other similar sized linens.
::: Trays! They make great trays for areas of your home that can use some organization. Case in point: top of the toilet. Put a cute towel in the bottom, and fill with a tissue box, spare toilet paper roll, etc. Use them on a kitchen counter to house your detergent, hand soap, and hand lotion.
::: With their rustic look, they would be great places to hold pots of herbs or other small indoor plants. Keep the wood plain or paint to accent your decor.
Have any additional ideas for ways to use these versatile boxes? I’d love to hear your ideas!
{I’m linking this to the Metamorphosis Monday party at Between Naps on the Porch and Frugalicious Fridays at Finding Fabulous. If you are in the mood for some GREAT before and afters, be sure to stop on over!}
