Homemade Photo Album (Mother’s Day Gift Idea)
This post may contain affiliate links for your convenience. Read my full disclosure policy here.
This tutorial for a handmade personalized photo book (the perfect homemade gift for Mother’s Day) won’t totally solve the problem plaguing mothers everywhere:
How do I get the {thirty thousand} precious photos off my computer and organized/displayed– quickly and easily and with very little effort?
It will, however, get a few of those precious photos into their hands. In this digital age, that means something for sure! It’s the perfect Mother’s Day gift for yourself or a grandmother– a personalized “brag book” to carry along so your sweeties are always at hand.

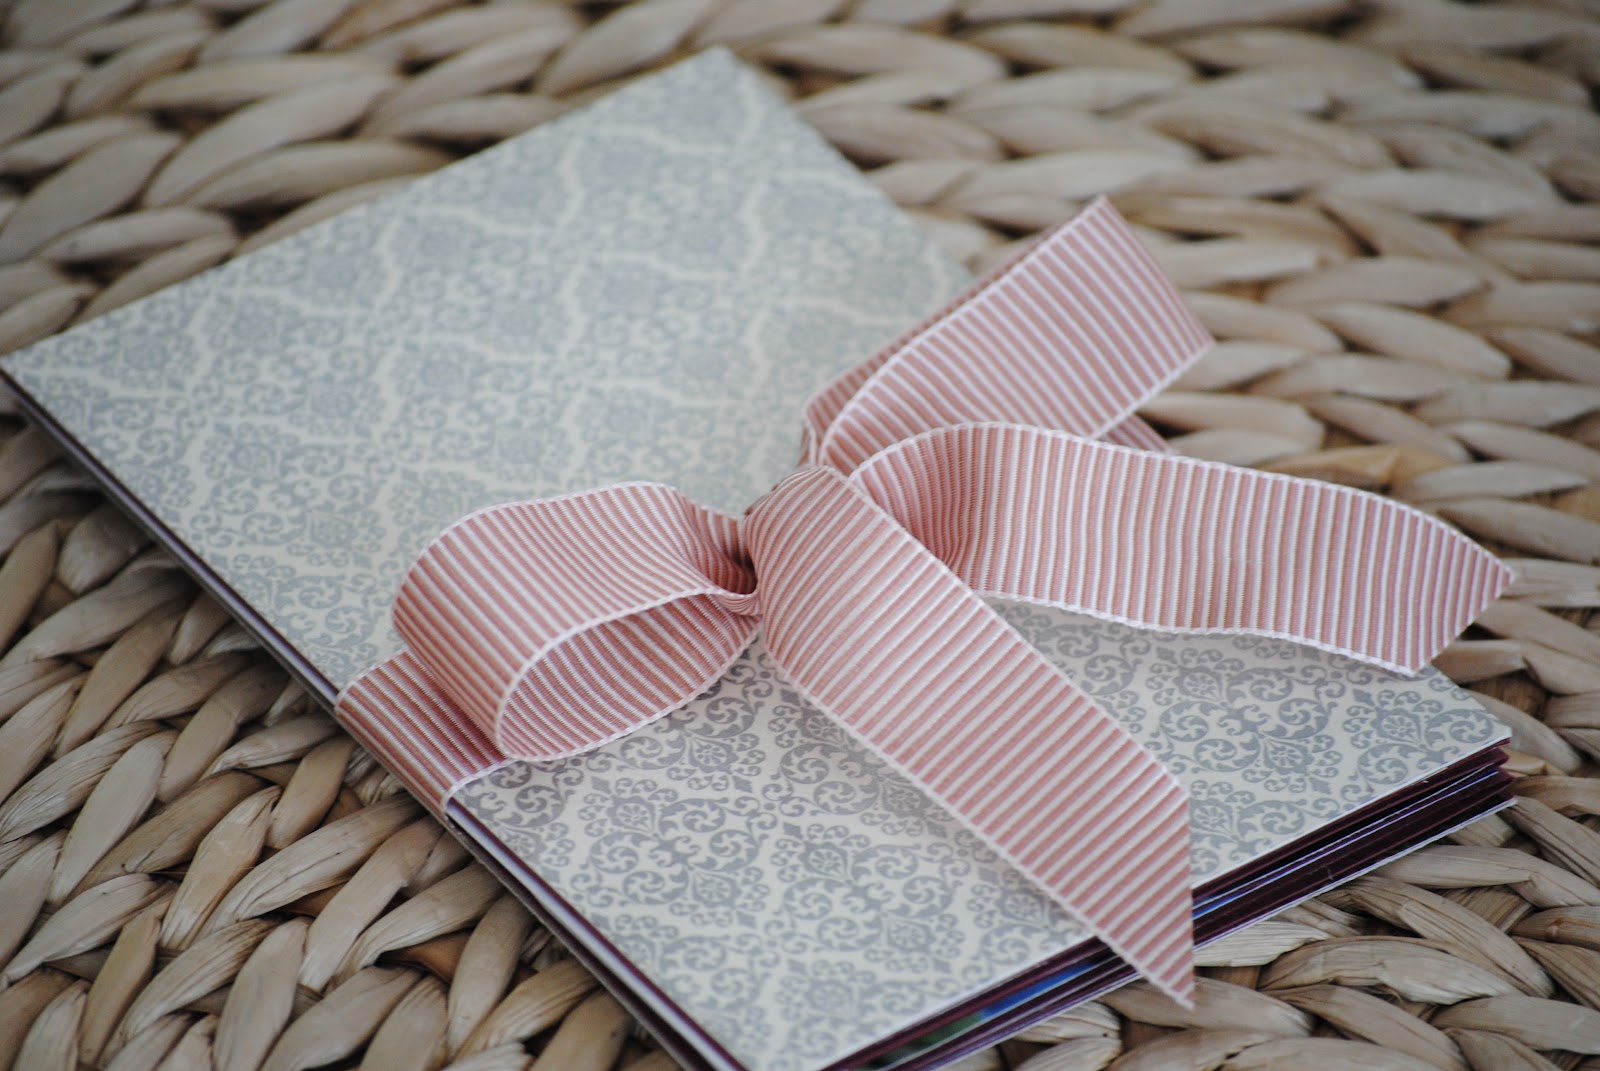
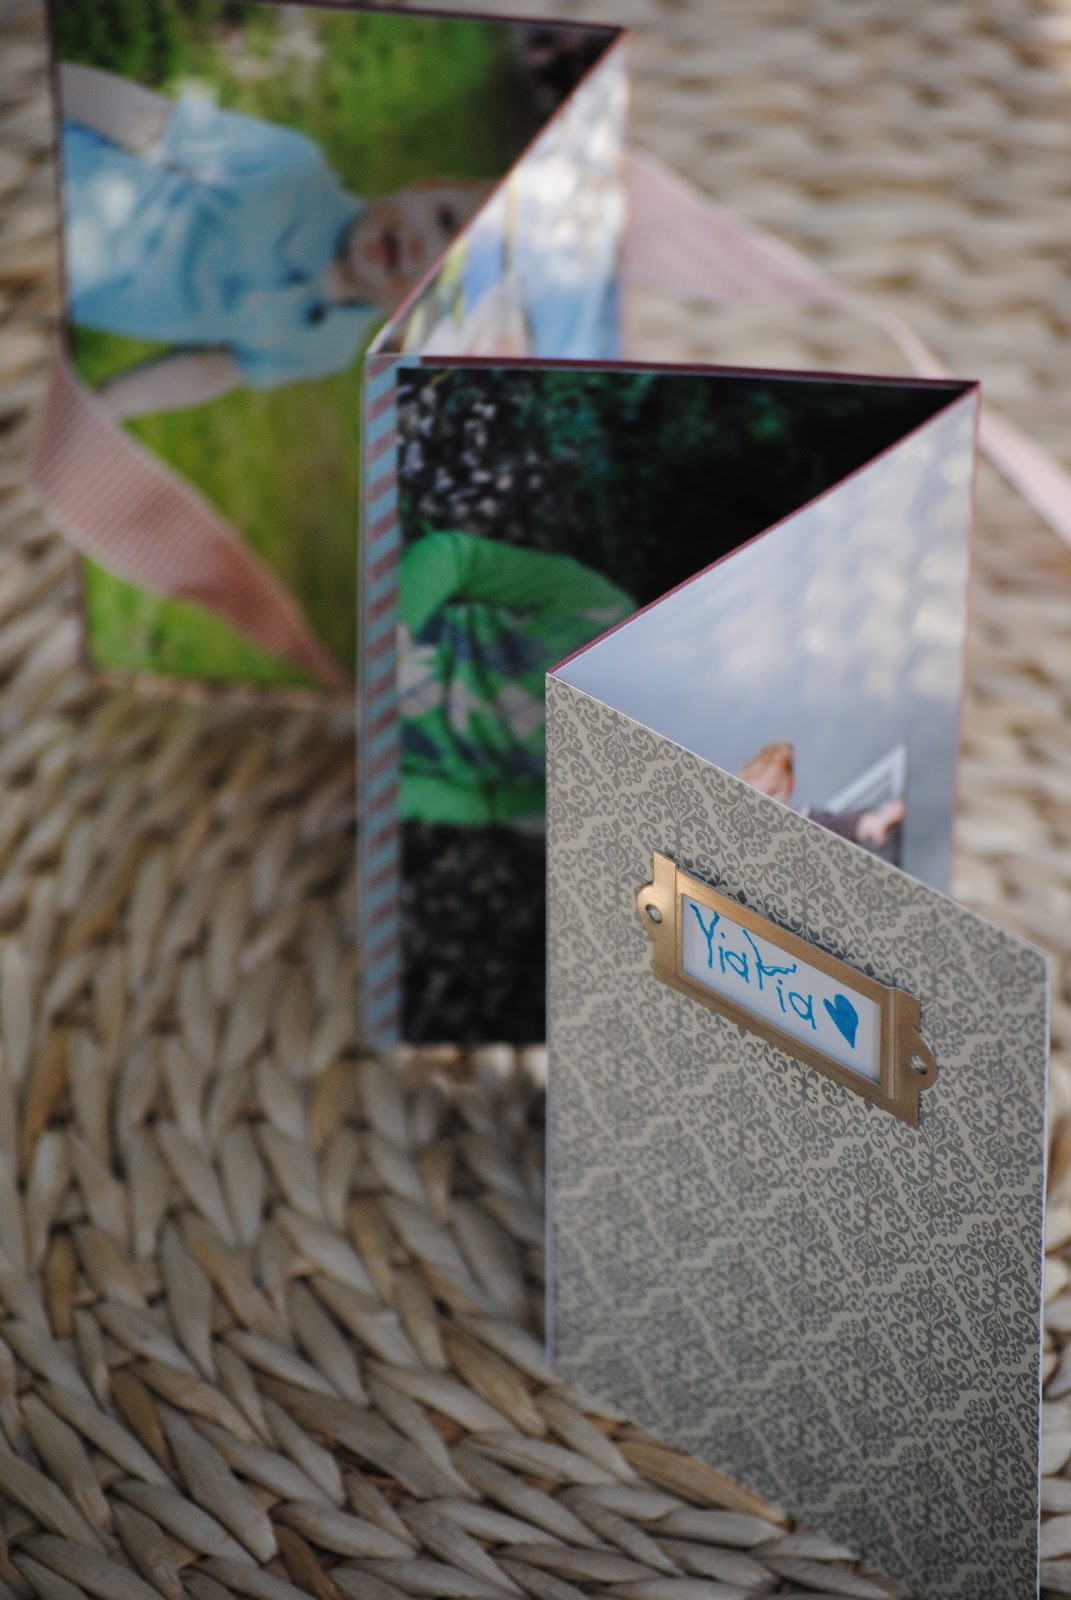
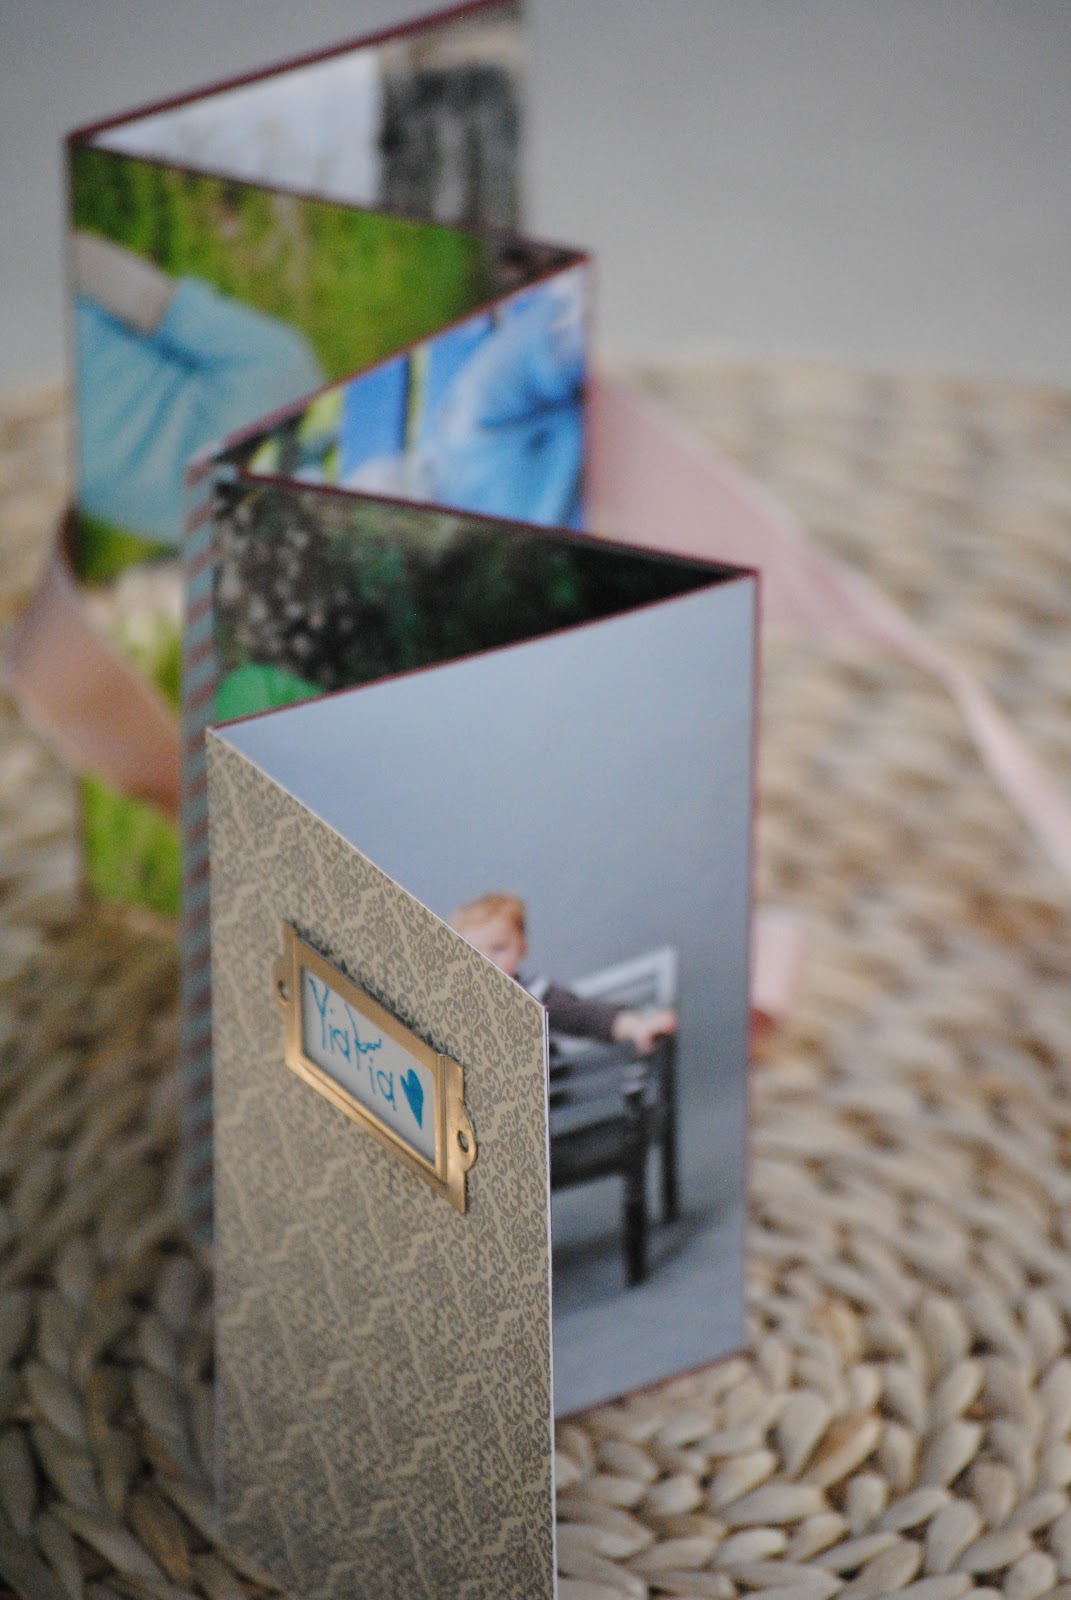
I mean, doesn’t this look so much cuter than swiping through the photo gallery on your phone?


You can easily crank out a few of these assembly-line style– so get out the supplies, park yourself in front of the t.v. for an hour, and get your craft on. 😉
Materials:
10 photos
1 sheet patterned scrapbook paper
1 sheet solid colored scrapbook paper
washi tape or clear tape
ribbon
ruler
scissors, x-acto knife, or paper cutter
glue for covers (preferably photo safe)
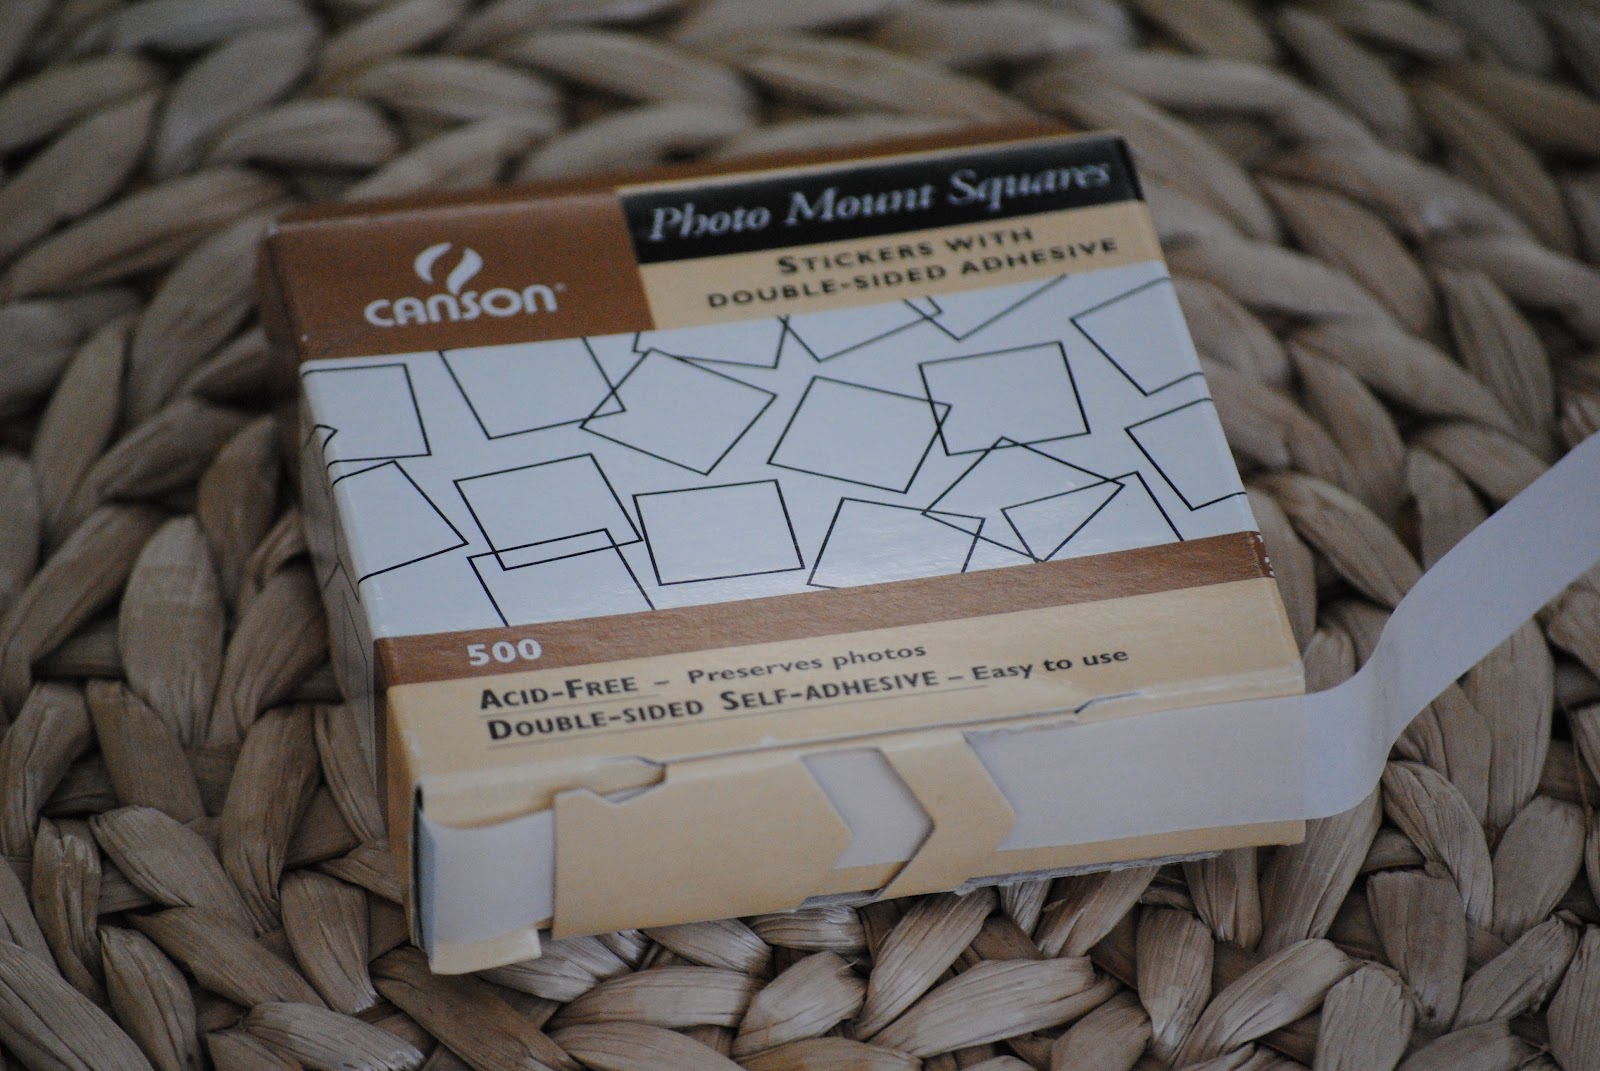
photo mounting squares (acid free and photo safe)
embellishment (optional)
Note: I made this album using 4X6 sized photos, but for a more modern look go for square– 5X5 would look great. Just be sure the photos you want to use will fit that size requirement.
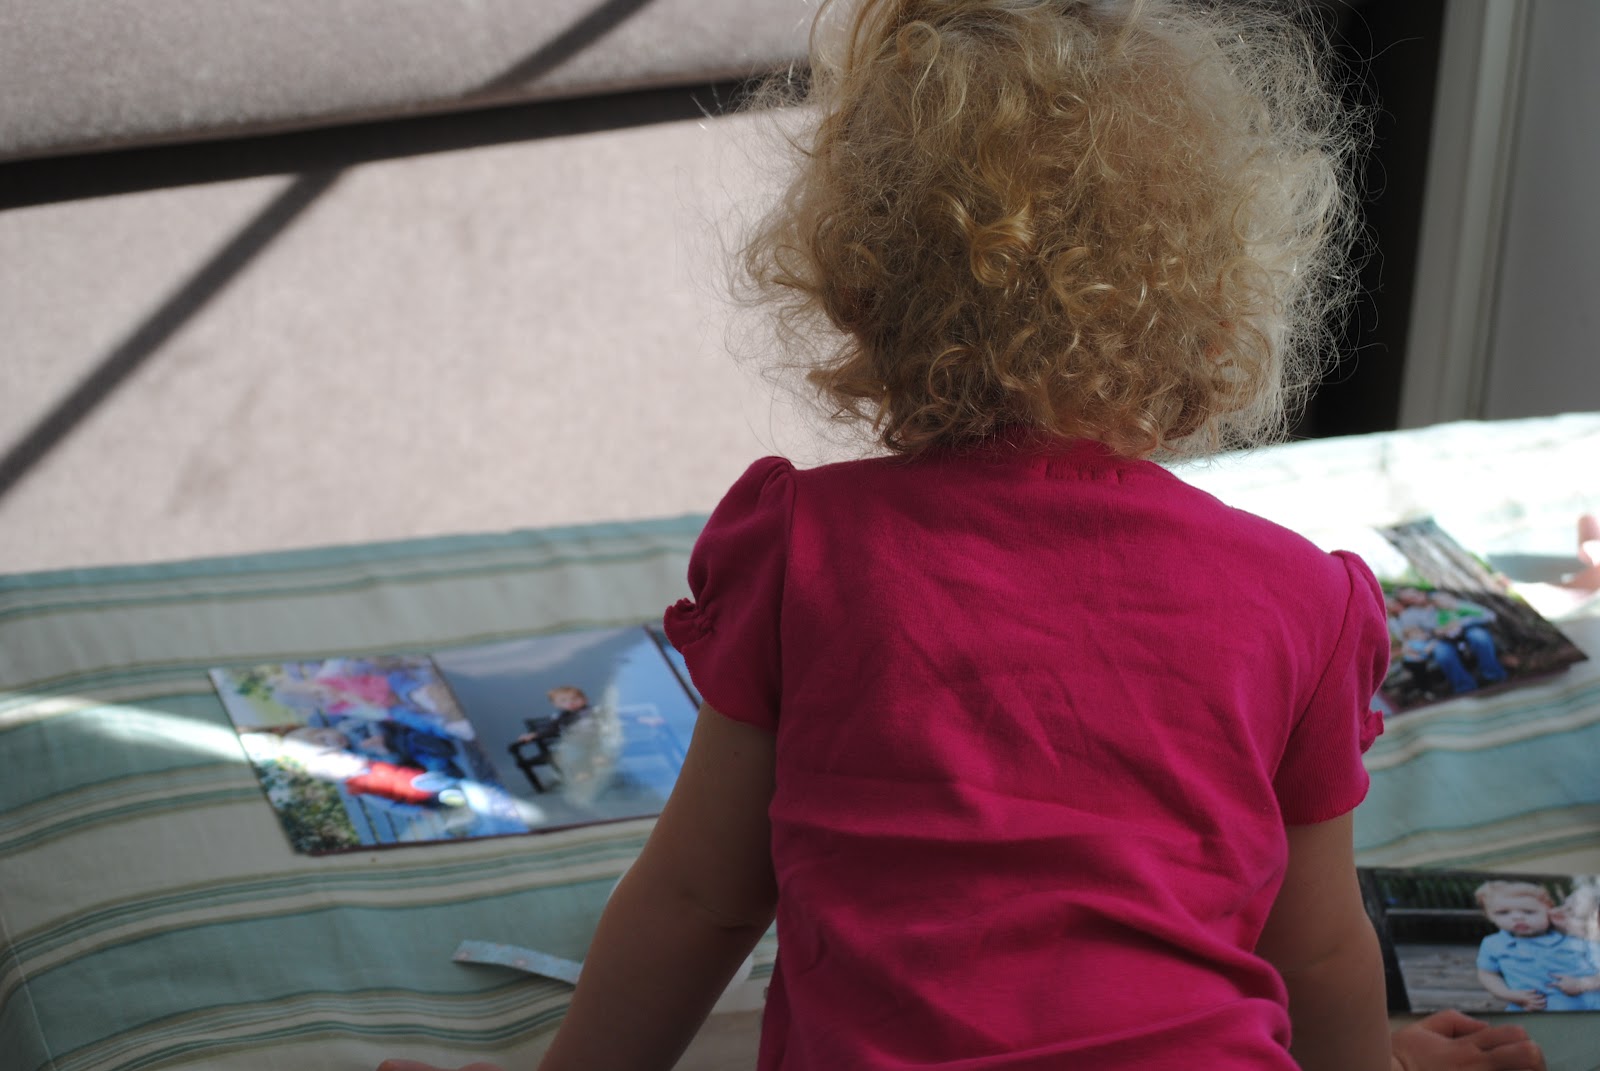
1. First, print or order some photos you love (4X6). I did a set for each grandmother, including a few photos I know are their favorites. Noodle helped me choose.
2. Go on a paper shopping spree at the craft store or raid your own stash. You’ll need one sheet of ‘fancy’ paper for the covers and a coordinating solid color sheet. I bought a few, actually, in case I made a mistake and needed a do-over.
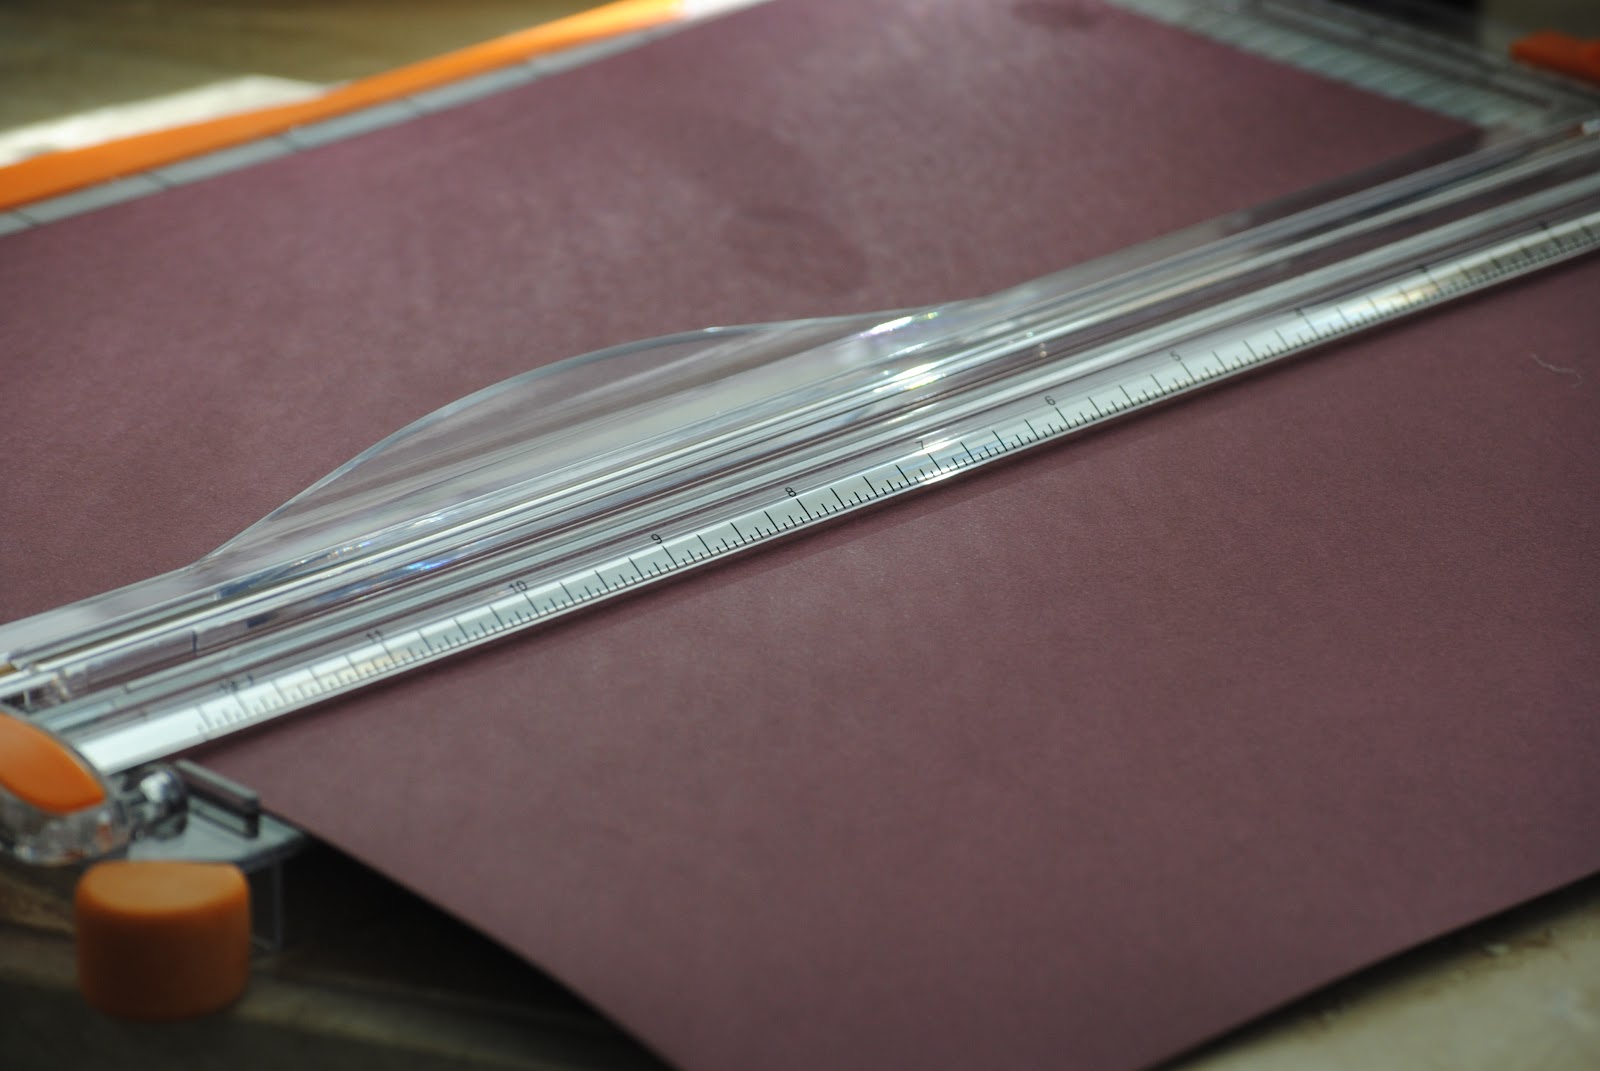
3. Next, measure and cut your covers using the fancy patterned paper. You’ll need two pieces, each sized 4X6.
4. Now it’s time for the pages. Make sure your solid scrapbook paper is exactly 12 X 12, because sometimes they are off a few centimeters and you’ll want a perfect square to start. Cut the 12 X 12 sheet in half, creating two 6 X 12 inch sections.
Then, measure three 4″ long sections on each piece. Fold at the 4″ marks. I used a bone folder to make the folds really smooth but that’s certainly optional.
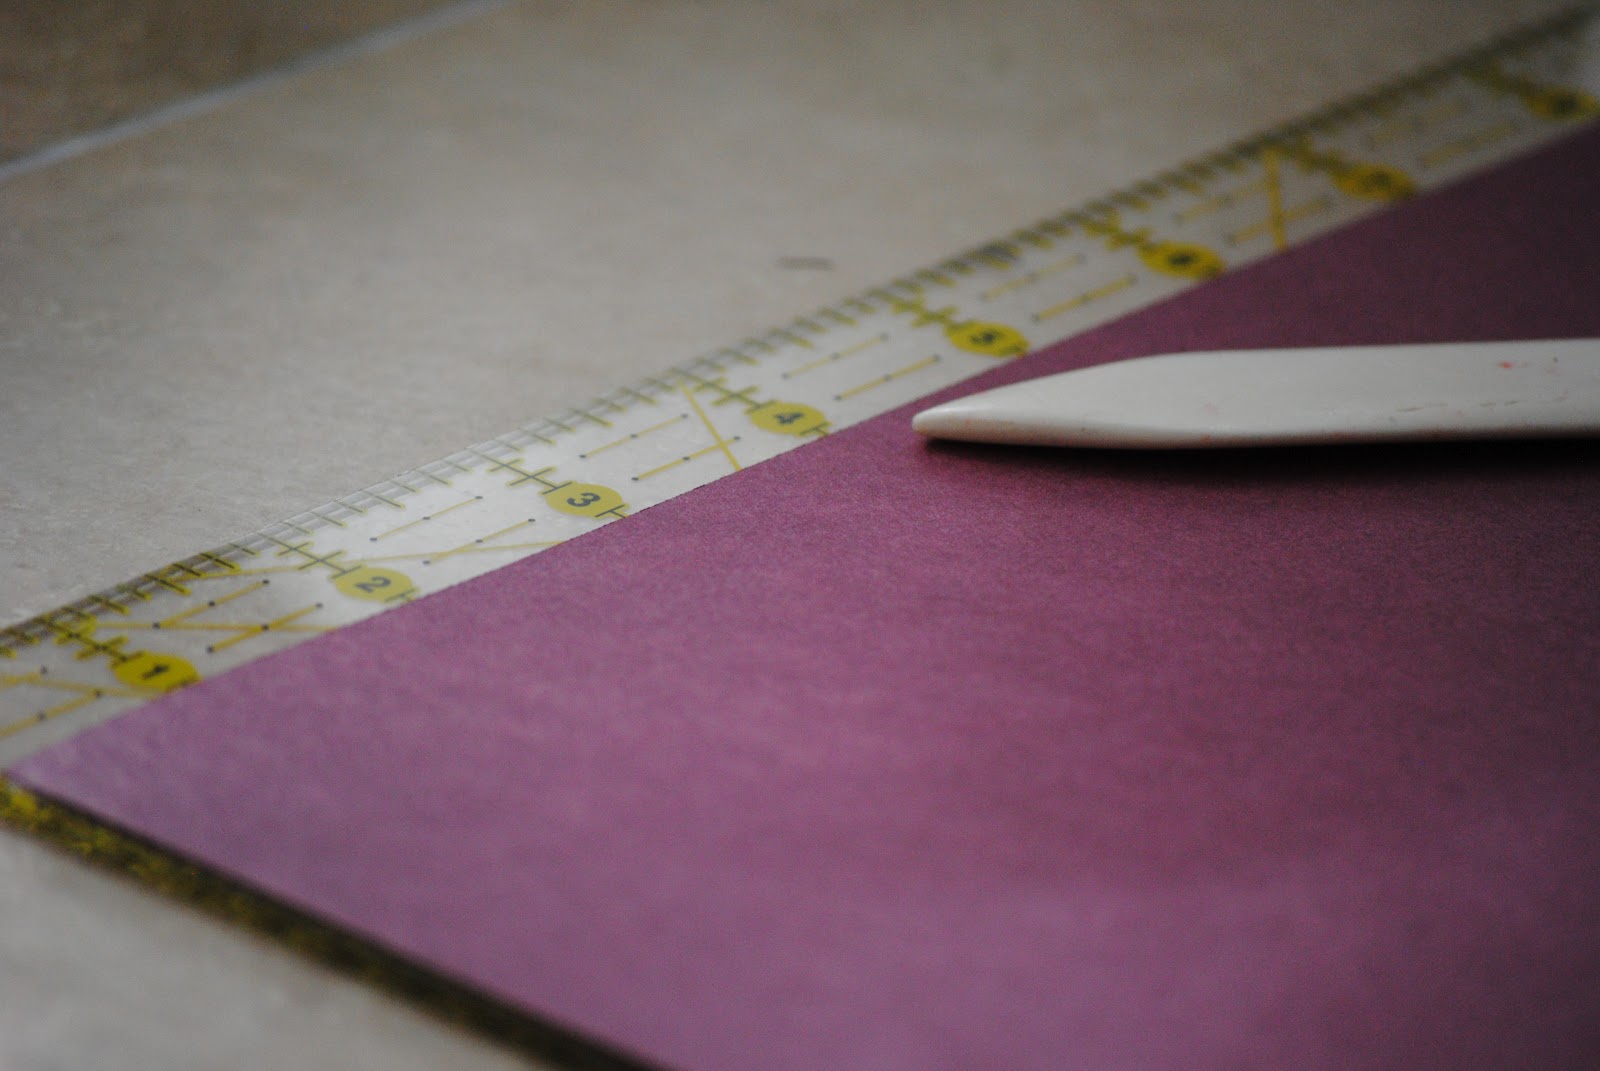
You’ll end up with two pieces with three sections each, sized 4X6 and just waiting for some cuteness.

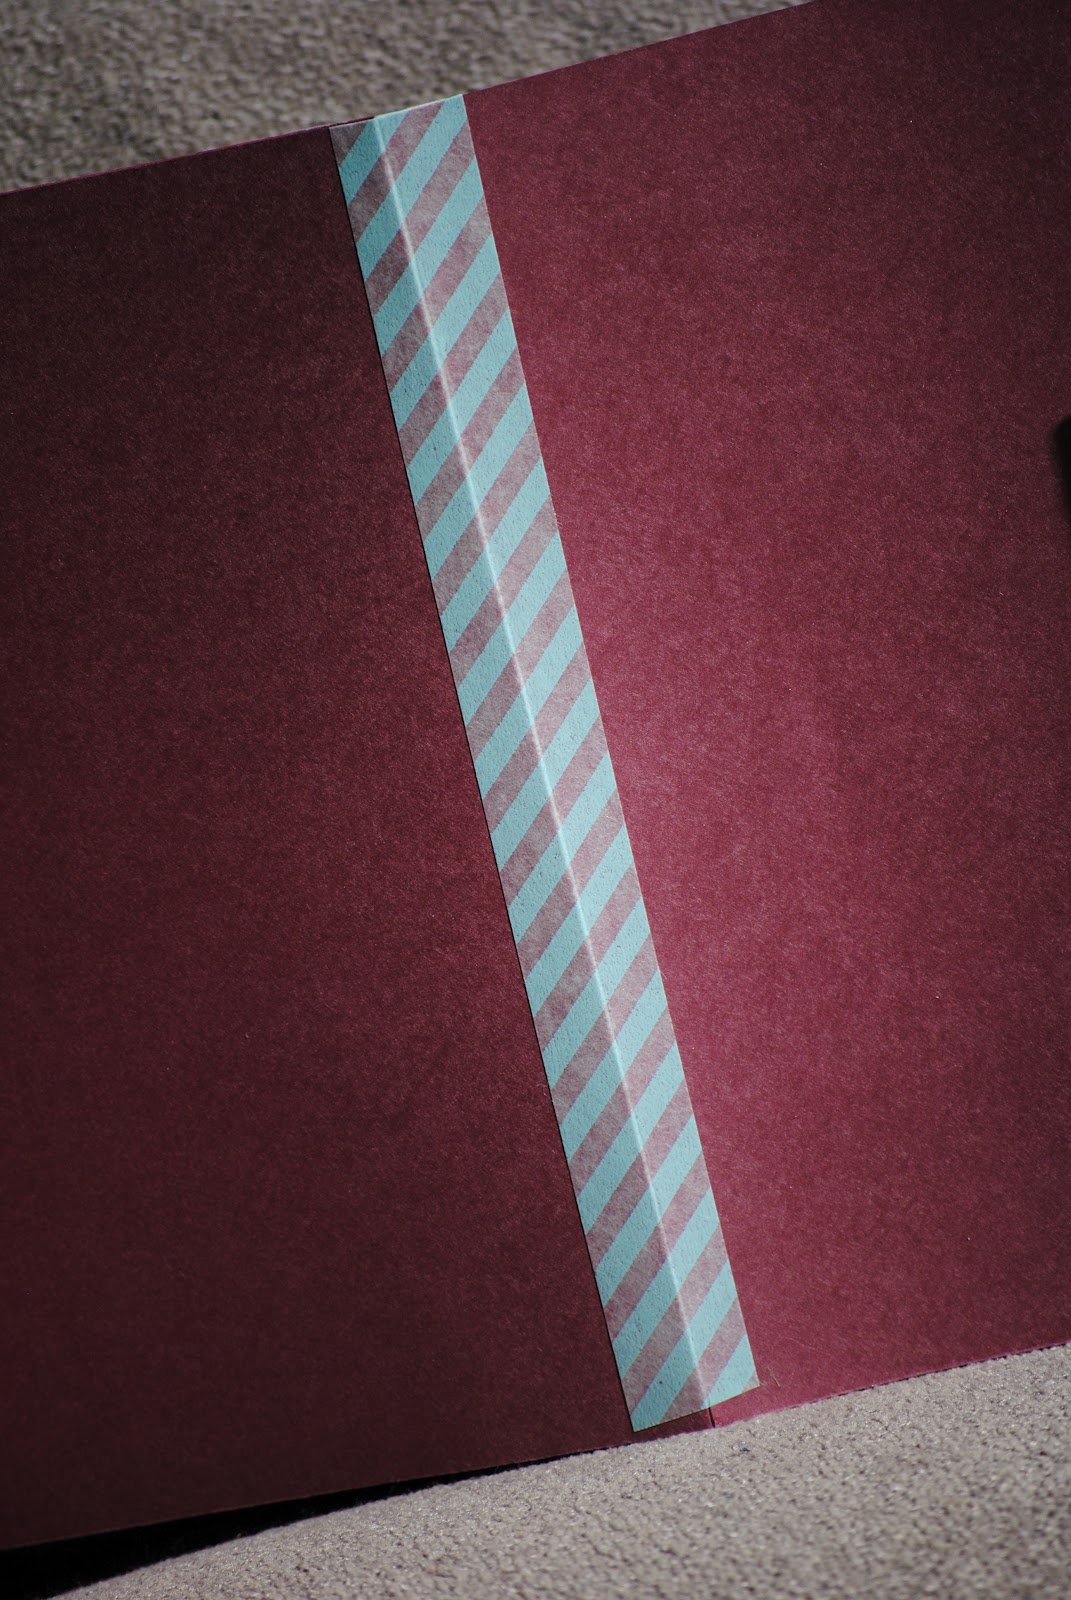
5. Tape the two sections together at the short ends. I used washi tape because I love the stuff but you can use any kind of tape you’d like, including clear. Your album is taking shape! Fold it up accordion style to help you find the front and back covers.
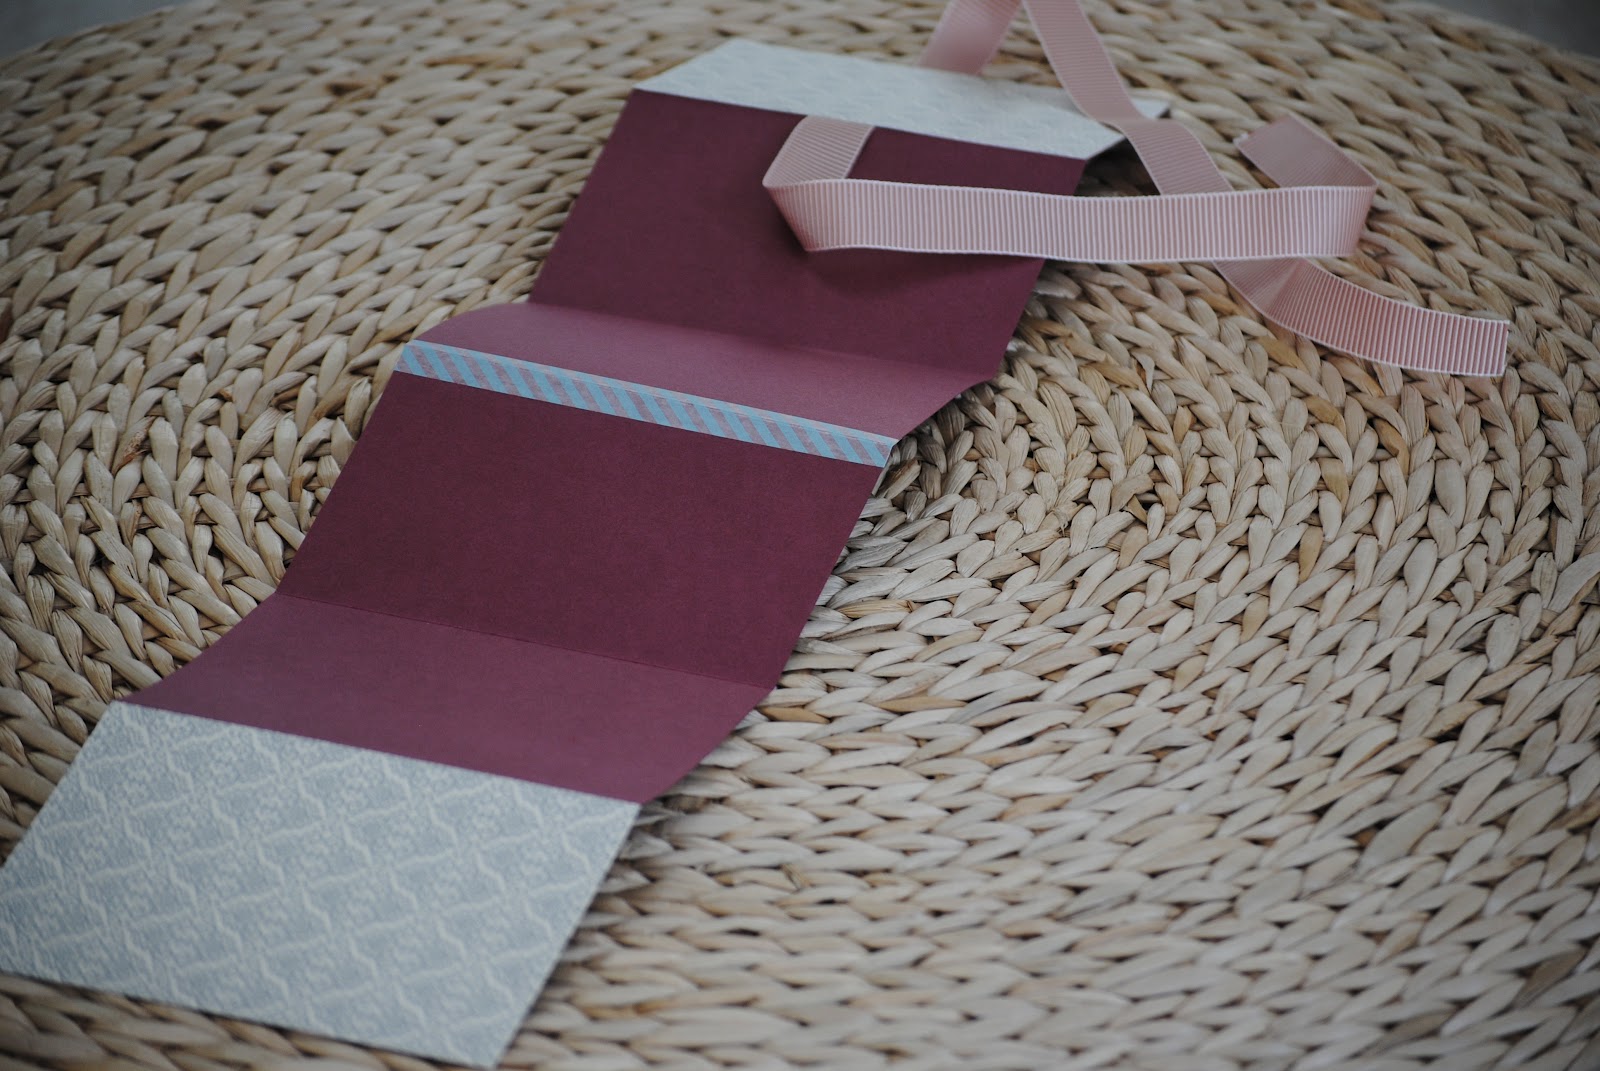
6. Be sure the ribbon is long enough to wrap about the album and tie in front, then cut to desired length. Glue the ribbon to the middle of the back cover, with it’s ends hanging free out of the sides.

7. Now glue your fancy scrapbook paper covers onto the front and back. The back cover will be glued over the ribbon. The photo below is upside down, so sorry, but it illustrates how the back cover should look– in other words, the back cover is at the top of the photo, with the ribbon.
Here it is tied up around the sides and in front.
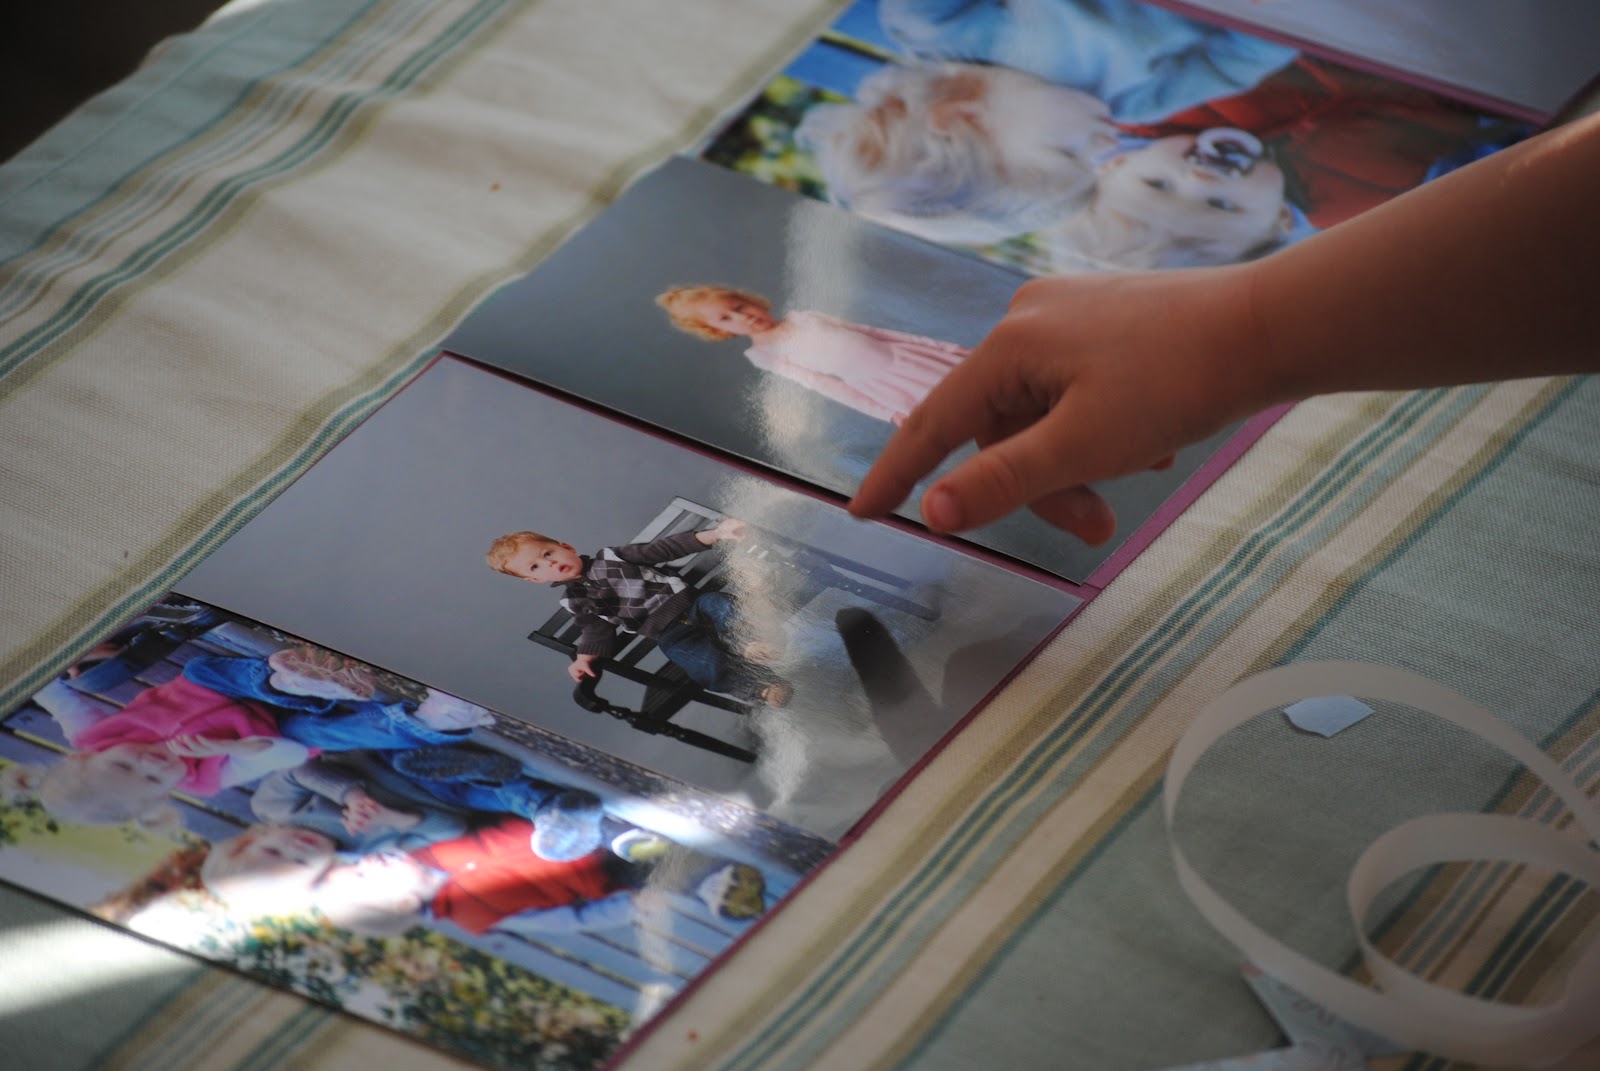
8. Next up? THE FUN PART. Arrange your photos on the remaining open pages, both front and back. I like to have them all face the same way, and keep the color families similar as well. But it’s great to exercise your personal creativity here!
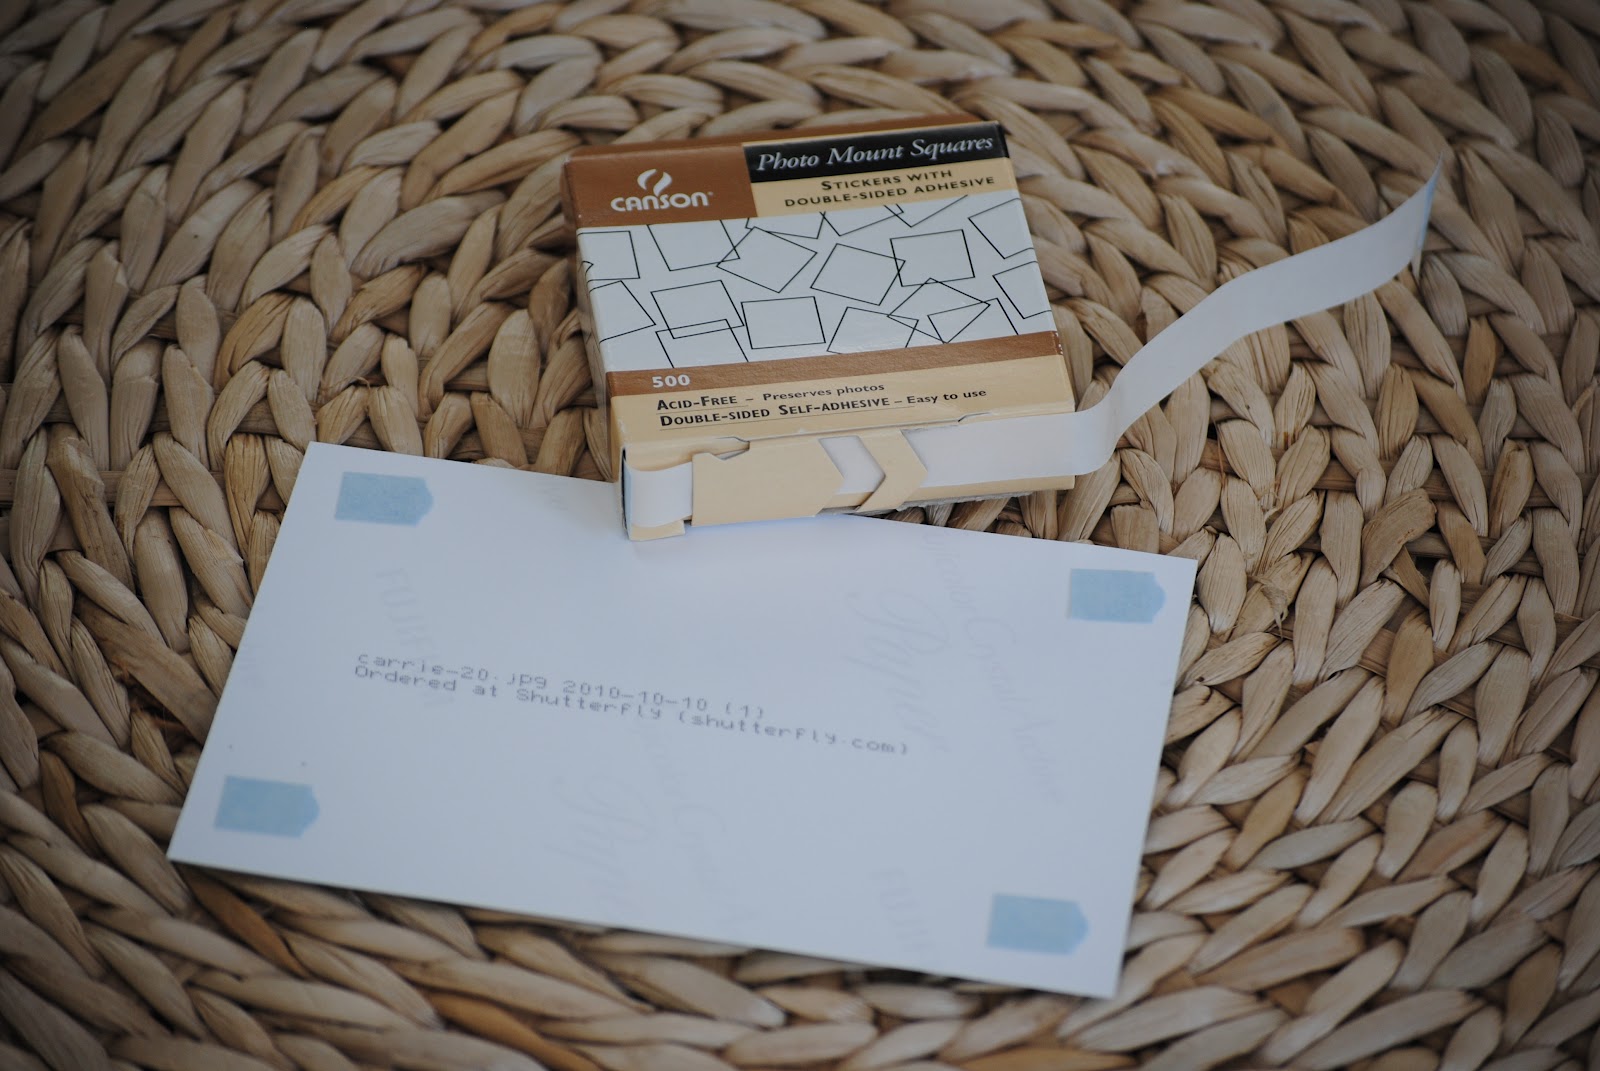
9. Use photo mount squares on the four corners of each photo. Attach to the pages.
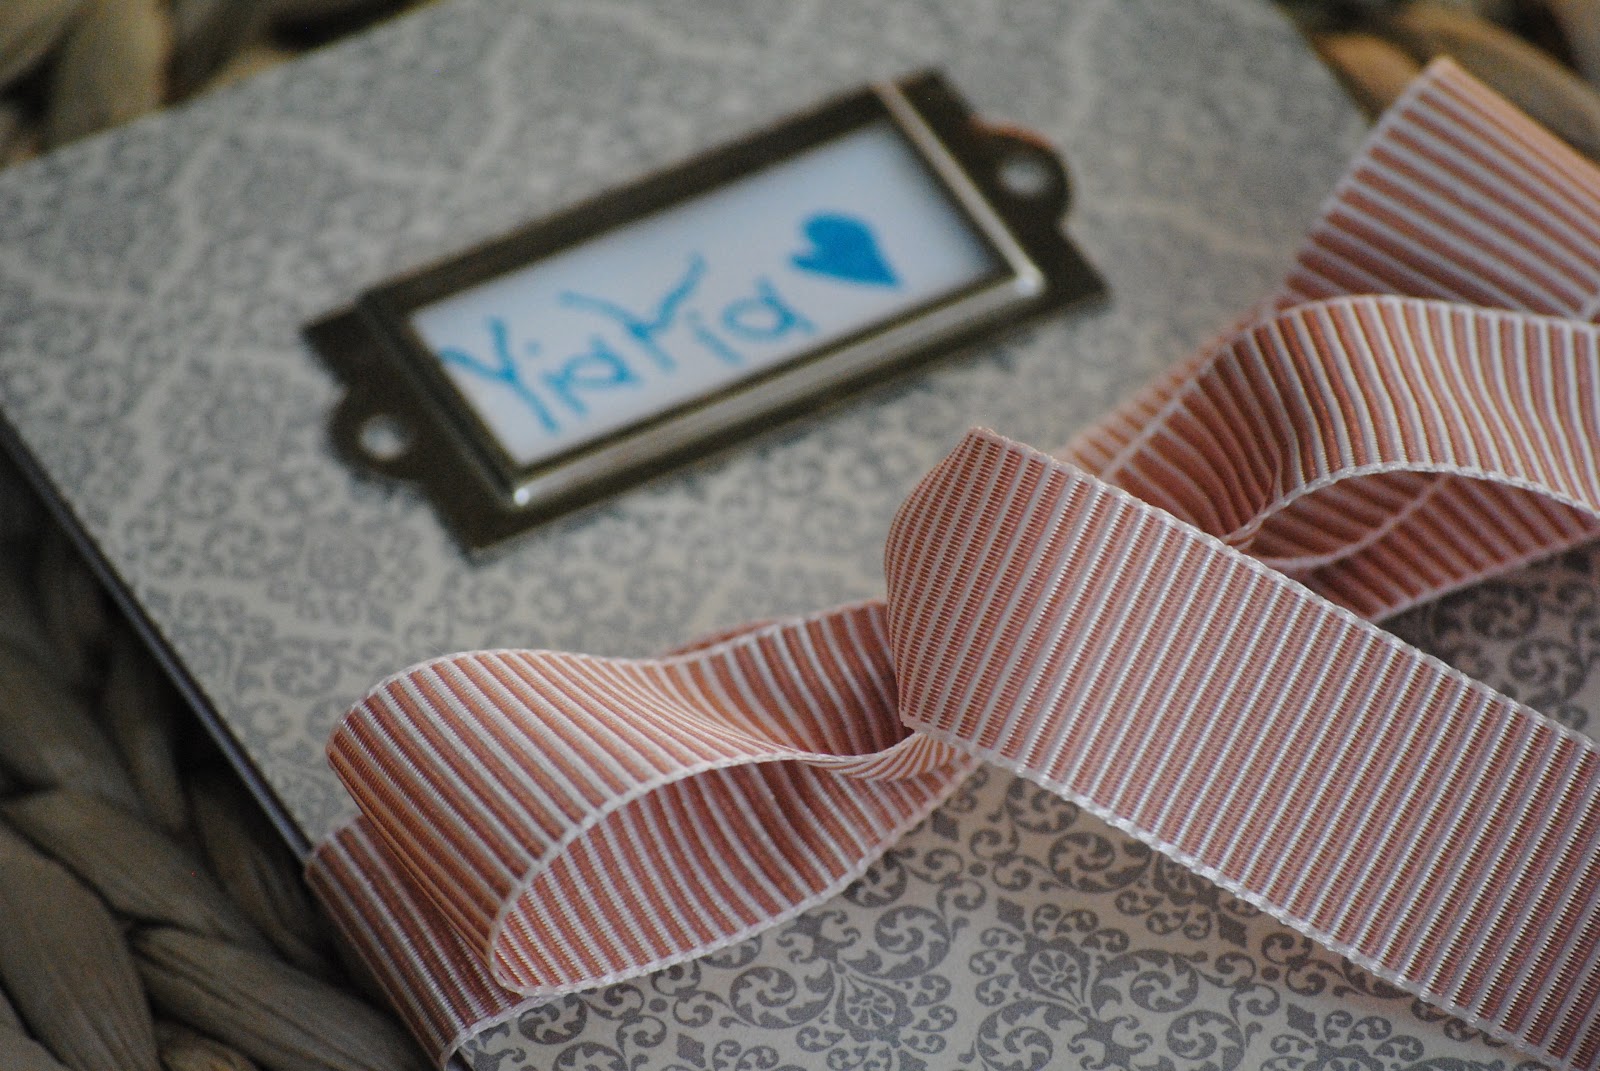
10. I’m embarrassed to tell you it took about 14 times of me writing “YiaYia” and HATING it until I brainstormed the idea to have Noodle trace it. Her version looks the best by far! I glued a metal label holder (found in the scrapbook embellishment section) onto the cover over the YiaYia label. Tie the bow, and woot woot, you have a custom photo album for Mother’s Day, handmade with love.
We can’t wait to give this to grandma (aka, “yiayia”) on Sunday. Now, I’m off to make two more– one for our other grandmother and one for… you guessed it… me.
It’s about time those photos get off my computer and into my hands!
If this project has too many steps for your taste, check out the Father’s Day Photo Folio from a few years back. It’s much simpler, but this version holds more photos.