DIY Beaded Wooden Star Tree Topper
This post may contain affiliate links for your convenience. Read my full disclosure policy here.
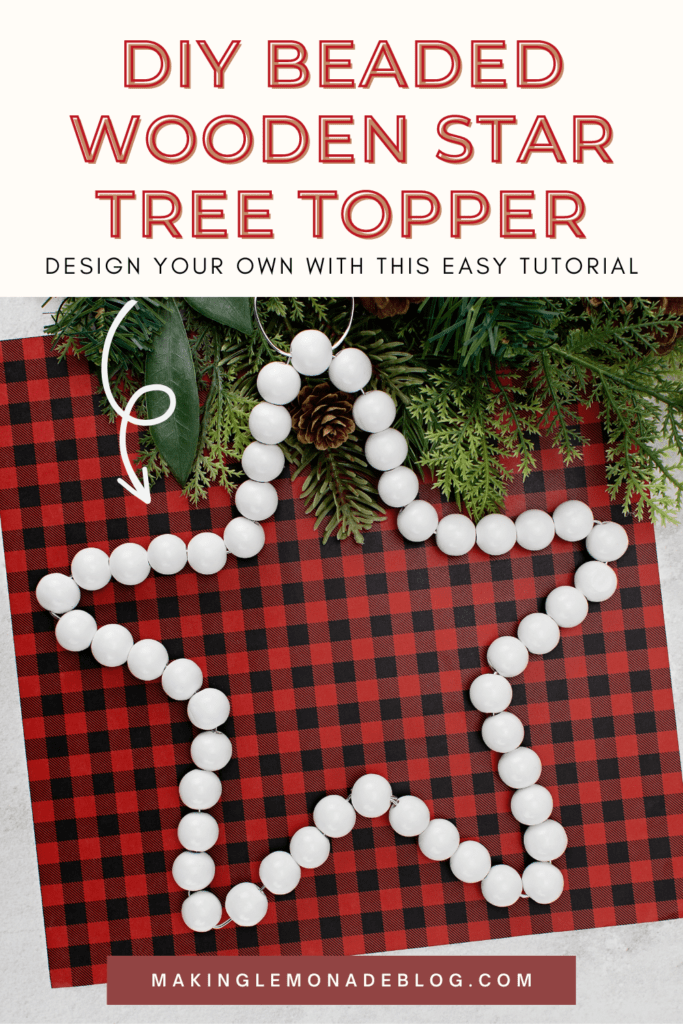
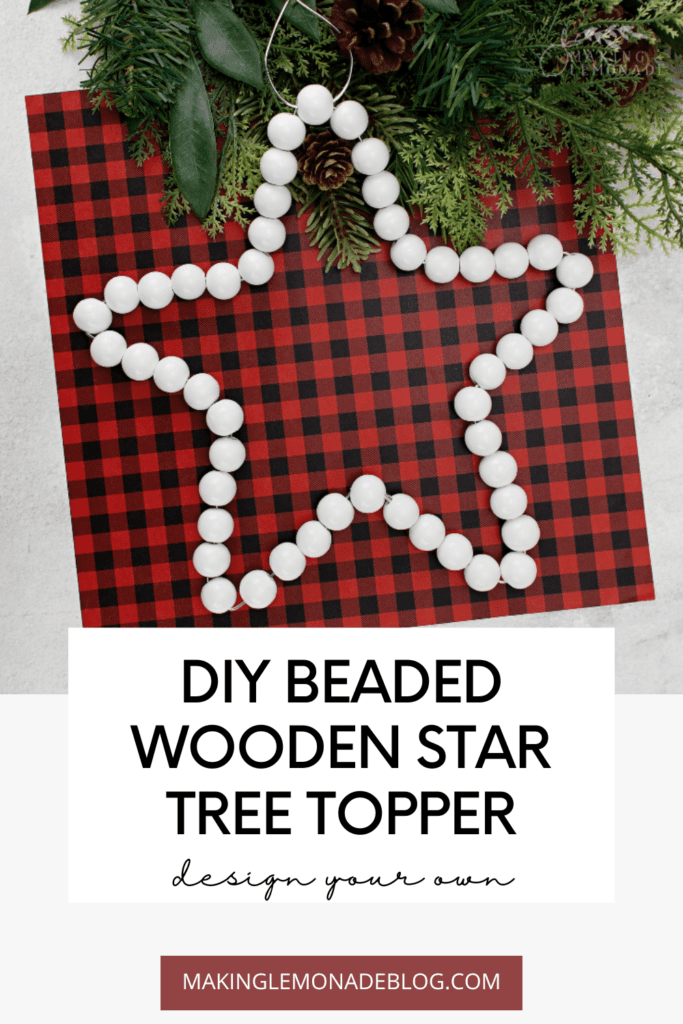
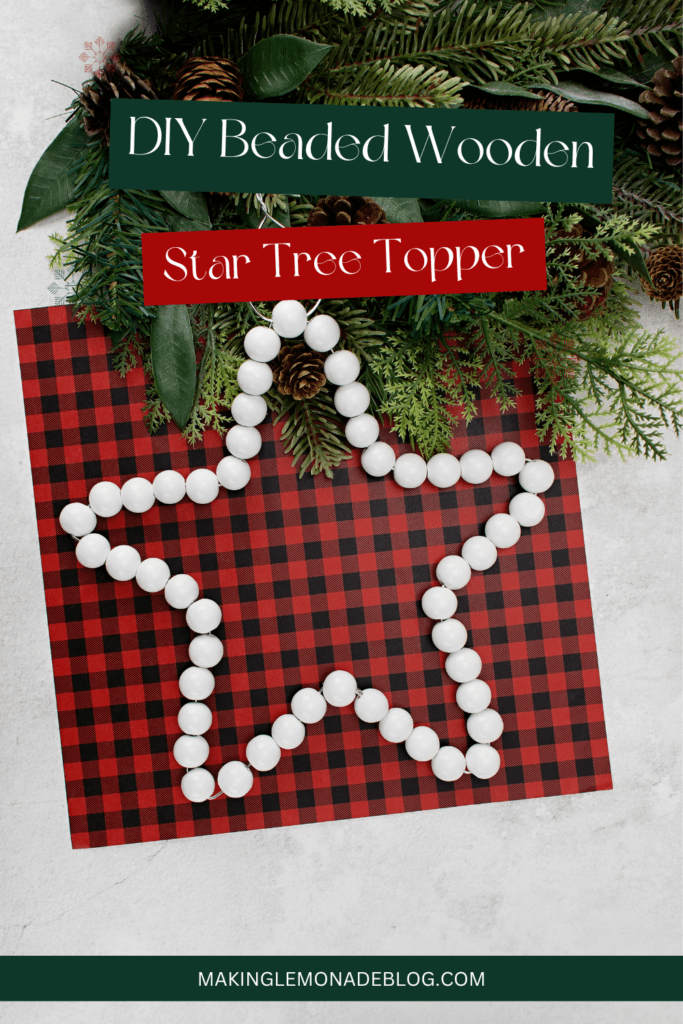
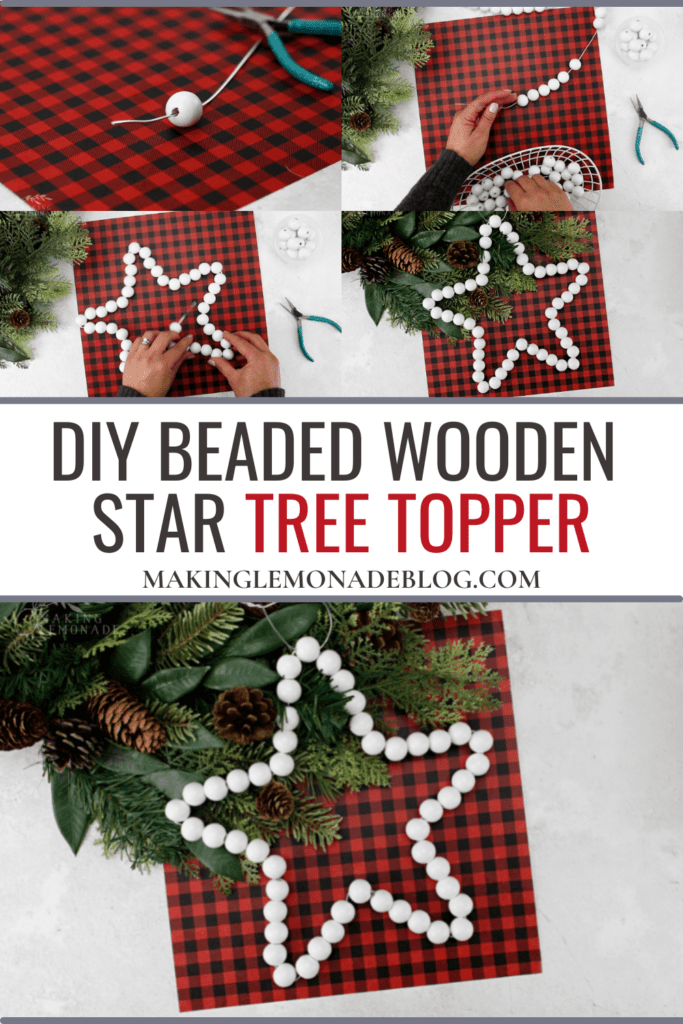
Not interested in buying a Christmas tree topper that EVERYONE and their mother already own? I get it- I wouldn’t too. That’s why I decided to design and DIY my own! Make your own beaded wooden star tree topper and use it to decorate your rustic Christmas tree. It’s also the perfect holiday gift to give to a loved one.
As you create DIY Christmas crafts, make some stovetop potpourri or some low-cost paper bag snowflakes. You can decorate your home on the cheap without spending a ton! We also have a round-up of other DIY tree toppers you can make.
All Christmas trees need toppers – but what kind of topper you add is completely up to your own aesthetic, personality, and values. Some people like to use toppers passed down to them from previous family members; some like to celebrate their beliefs with angelic toppers. Then, other people love to create tree toppers themselves.
One of the best things about making toppers yourself is that you can have a different tree topper each year! As your interests and home decor themes change, so will your tree decor (and that includes your tree topper).
This wooden beaded star tree topper fits into any decor and aesthetic. Use it to symbolize the star that led the wise men to Jesus or decorate a rustic tree with simple wooden beads. This topper is super easy to make! You can also make this craft as a fun DIY project with a small group of friends.

Handmade beaded Christmas star topper
Many rustic home decor pieces incorporate items made with wood. It’s a way to bring the outdoors into your home.
I personally love the simple white colors in this stunning wooden star tree topper. It goes great with some of the other natural Christmas decor ideas running through my mind this holiday season.
No matter how you decorate, this star topper goes with everything.

How to make a beaded star tree topper
Scroll through the images below. I have simple step-by-step pictures that show you exactly how to make this beaded star tree topper. Then, I’ll also include a printable card with all of the tools and steps in one place.
First, here’s a quick overview of this easy Christmas craft.
Gather your tools
The very first thing you’ll need to do is get your tools and supplies ready. Here’s what you’ll need in order to create the tree topper:
- Aluminum wire
- Needle nose pliers (or regular pliers, if needed)
- Wire cutters
- Wooden beads
Once you have all of your items, it’s time to make your rustic tree topper!
Thread the beads
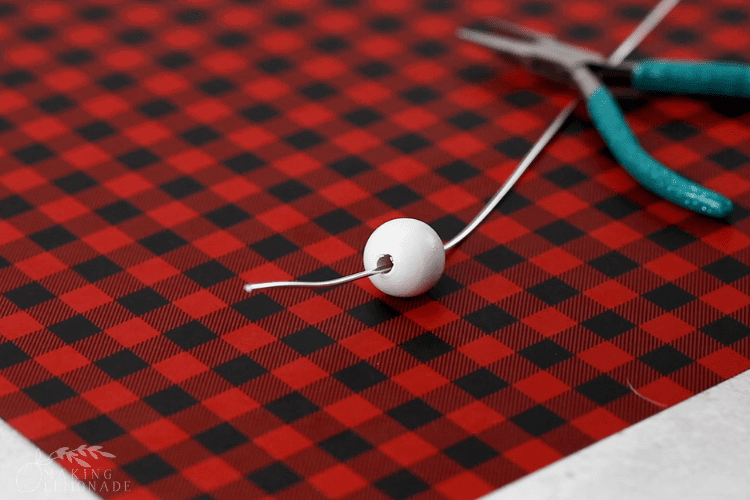
Start out by deciding how big your want your star tree topper to be and cut the wire to that length. It might help to loosely make the shape of your star in order to get an idea of how big you want it.
Once you know what size you want the star to be, cut the wire, add the first bead, and twist the wire at the end, so the beads don’t fall off.
Tip: This is the part that kids can help with! Thread the wooden beads onto the wire until you completely fill it up.

Shape the star
After you threaded all the beads, twist both ends so that the beads won’t fall off. Then, begin to shape the star. You don’t have to get this perfect. In fact, an imperfect star has more character.

Add hangers
After you’re satisfied with the star’s shape, you’re ready to add the wire hangers. Twist some pieces of wire into a loop and add as many as you want.
Some people like to add one hanger on each star loop; other people prefer to just add one to the top. Use your best judgment here.

How to attach star tree topper to your tree
Most tree toppers will sit on top of the tree, with branches going into the topper. This topper is different because it hangs like a large ornament.
You’ll notice a wire hanger on the top point. This will wrap around the highest branch on your tree, with other branches going behind and around the star. It fits perfectly within the tree’s needles and branches.
Now you have the perfect Christmas tree topper to tie to your holiday decor.

DIY Beaded Wooden Star Tree Topper
Equipment
- Wire Cutters
- Needle Nose Pliers
Materials
- Aluminum Wire
- Wooden Beads
Instructions
- Thread wooden beads onto the wire until you have enough for the size of the star you’d prefer. Tip: Bend one end of the wire around the first bead to keep the beads from falling off as you thread them.
- Once the beads are added, leave a length of wire at the end (you’ll use this to twist around the end of the other end of the wire once the star shape has been created) and use the wire cutters to cut the wire.
- Shape the wire into a star shape making sure the sides are even. The number of beads per side will depend on the size of your beads and the size of the finished star.
- One shaped, add lengths of wire to each side of the star (or one loop to the top) and use them to attach the star to the top of the tree.

How to make a beaded star Christmas tree topper video
There you have it! That’s everything you need to know to make your own tree topper. Get creative and try other shapes, too. I’m excited to see your version and how you put your own spin on it. You can always share and tag me on Instagram so I can see your beautiful project!
Love it? Pin this wooden star tree topper post to save it!
