DIY Vintage Inspired Glassware
This post may contain affiliate links for your convenience. Read my full disclosure policy here.
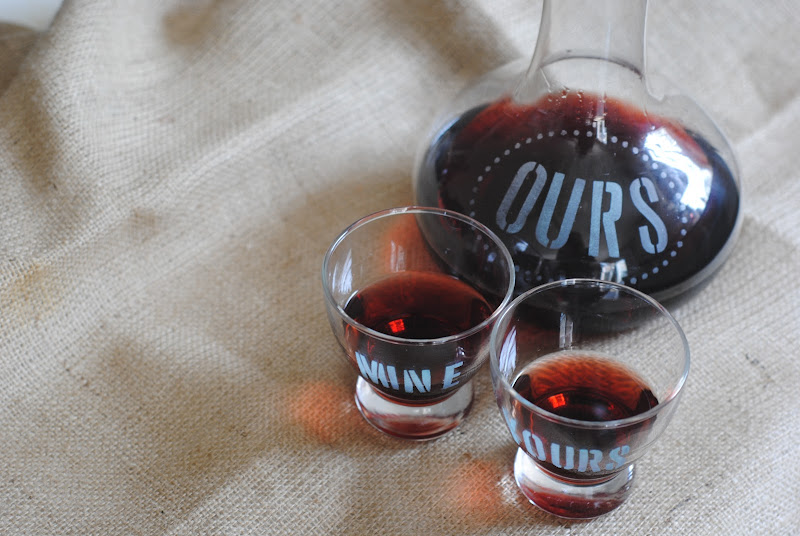
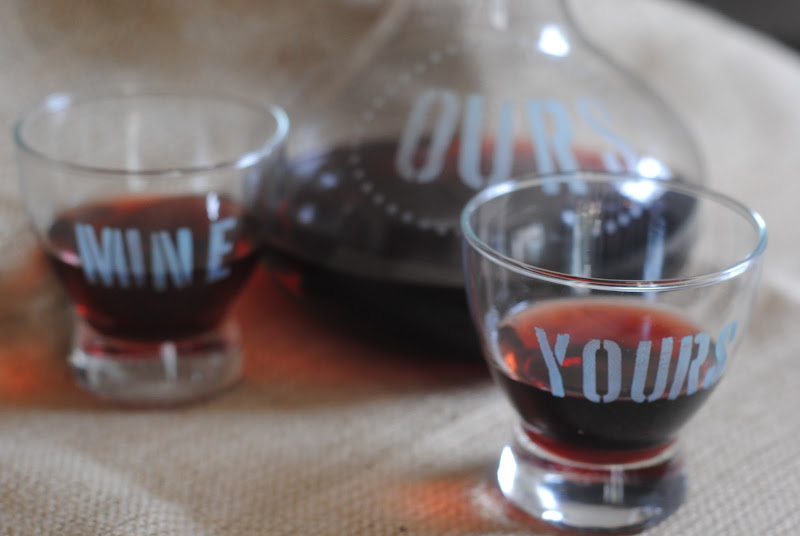
Isn’t it thrilling to find something for a few pennies at the thrift store and transform it with just a little love? Even more thrilling is a product that helps you do just that, like Plaid’s brand new Martha Stewart Glass Paint line at Michaels. I turned a ho-hum wine decanter and two oddball glasses into a vintage inspired bar set, perfect for fall wine tastings and romantic dinners for two {after the kids go to bed, of course… do you know what those guys DO to glassware around here?}
Once you have the Martha Stewart paint and stencils in hand, it’s not hard to find something to paint. In fact, it’s pretty hard to find something you don’t want to paint! In order to keep myself from painting everything in sight, I set out to my local thrift to find the perfect piece. While browsing, I stumbled upon two retro glasses and {in a separate aisle} a wine decanter. The decanter, as it turns out, is being sold for $65 retail at a store we all know and love– but this day, it was sitting all by itself for 50 cents. With my “set” purchased for under $2 total, they were homeless no more and ready for a makeover.
These are the six colors I was sent to play with. The paints come in various sheens and levels of translucence, making choosing just one to use for this project awfully tough. But I wanted to keep it simple, so I chose the frost paint in Surf– which just so happens to be my favorite color.
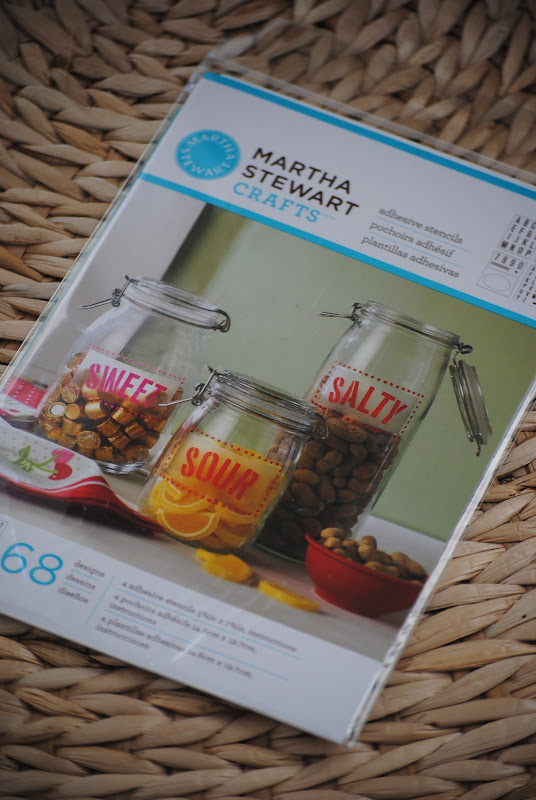
Because she’s brilliant like that, the Martha Stewart stencils are adhesive. This makes it easy to apply to curved surfaces and have crisp edges– both of which I needed to give these curvy items some personality. Here’s the set I received– letters and numbers and a few borders to jazz them up:
Check out the various tools in the Martha Stewart line, there’s one for every purpose!
Step One: First, be sure to wash the glassware thoroughly. I used warm soapy water and followed up with some rubbing alcohol swiped across the spot where I would place the stencils.
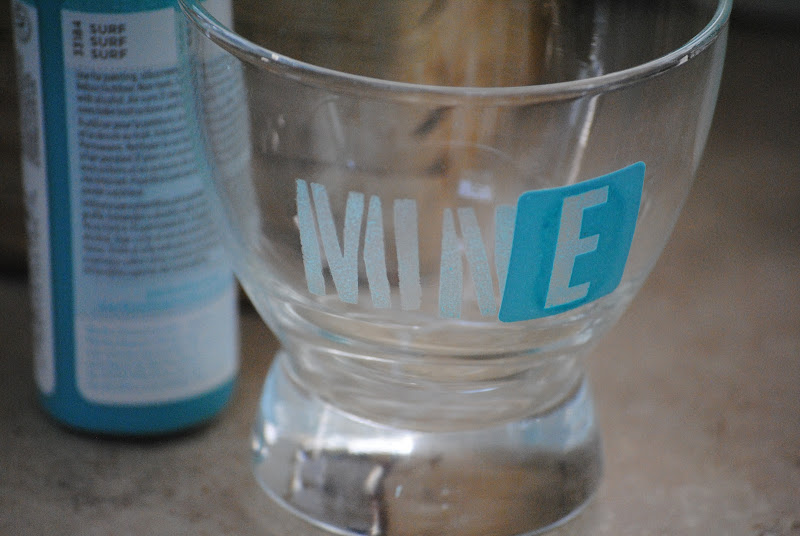
Step Two: Apply the stencil. If you are using several letters to spell a word, be aware you may need to overlap the edges to get the proper spacing. I did mine one letter at a time, let it dry a few minutes (the paint dries quickly!) then moved on to the next letter.
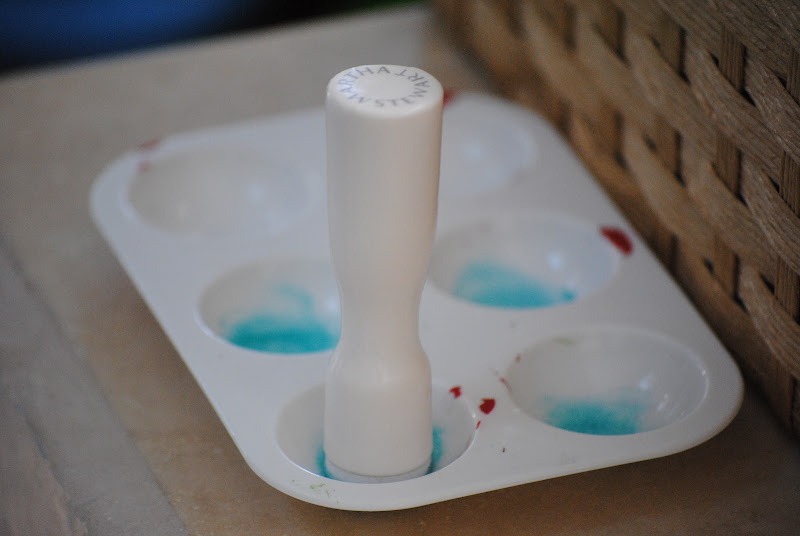
Step Three: I used an aqua frost color for this application. Take your pouncer (Martha calls them pouncers, in the past I’ve referred to them as spouncers in case I’m confusing you) and tap it in the paint. Tap excess paint onto another surface so you aren’t using too much.
Then, tap over the stencil. Continue to tap (or, pounce) until the entire open area is covered. Once it’s dry for a few minutes, move on and do the next letter.
Something to be aware of: you’ll want to be sure to use the same density of paint for all your letters. The first time I tried it, some letters had thicker paint than others and with the frost sheen you do need to watch out for that. If you do need to take paint off and try again, it’s as easy as a swipe with a paper towel as long as you do it right away.
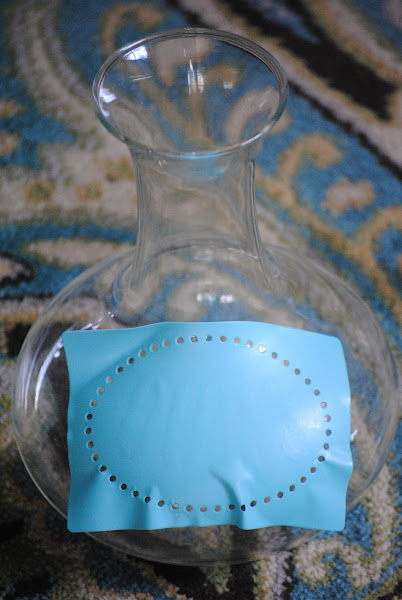
Step Four: Center the border stencil over the words. As you can see, it got a little wrinkled but I made sure all the dots were pushed firmly down so the paint didn’t seep and it turned out great. Once in place, apply paint as directed above.
Step Five: Let it fully set for 24 hours before using the decanter and glasses.
Now, my plain glass pieces are jazzed up and waiting for a wine-and-cheese night. Or, in this case, a spiced apple ‘juice’ afternoon. :: hiccup ::
Learn more about Plaid and the great ways you can use this new product on their Facebook , Twitter, and Pinterest pages.
Linking up at House of Hepworths, Tatertots & Jello, My Repurposed Life, DIY Project Parade. Find my post disclosure here, and check out the other projects {from my crafty friends} that you can recreate using Plaid’s Martha Stewart Glass Paint!
