DIY Christmas Woodland Fairy Light Shadow Boxes
This post may contain affiliate links for your convenience. Read my full disclosure policy here.
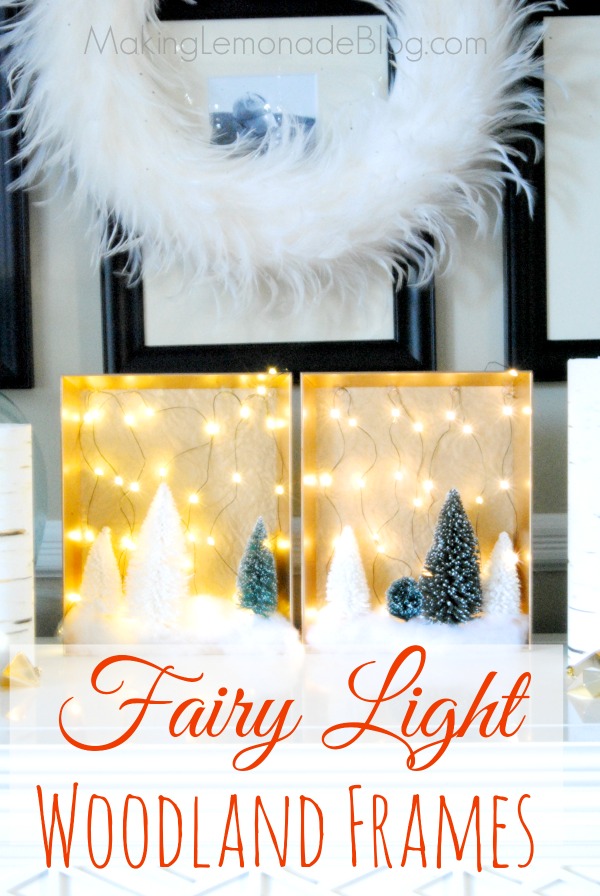
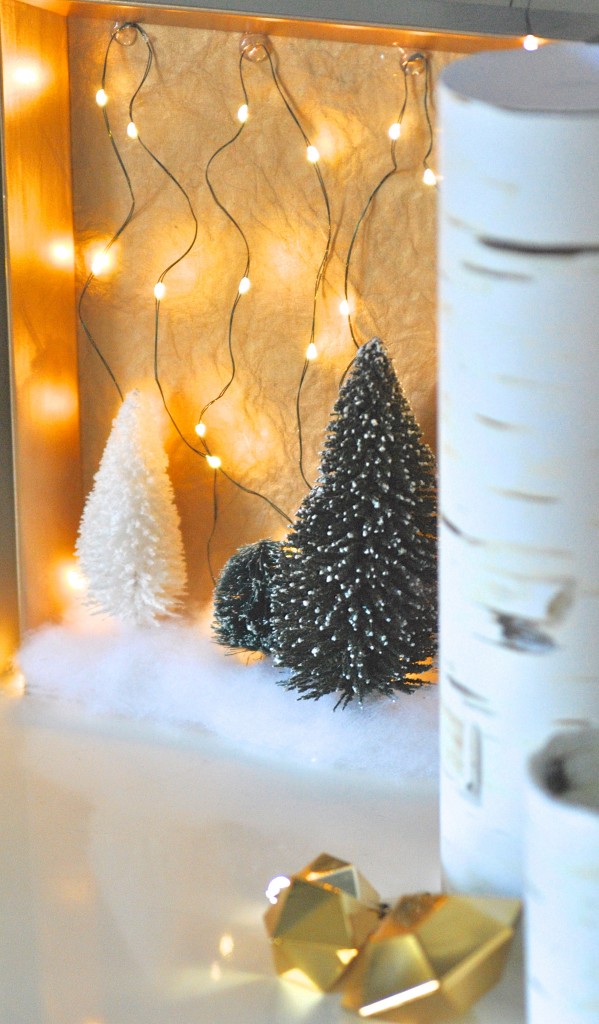
Are you looking to add a whimsical touch to your holiday decor this season? I wish I came up with the idea for these glorious fairy light boxes myself, but truthfully I saw a similar version at Terrain and just knew I had to DIY them. Especially since I can’t find them on their website anymore. They were super easy to make (of course, I mean, it’s ME, I can’t do complicated!) and add a beautiful glowing touch to these dark nights. Plus the kids are enthralled by the dimming lights and rush to turn them on as the sun goes down each day.
If you’re looking for an easy Christmas craft to light up your holiday decor, give this one a whirl. I mean, ACK, those bottle brush trees! Fairy lights! WHIMSY!
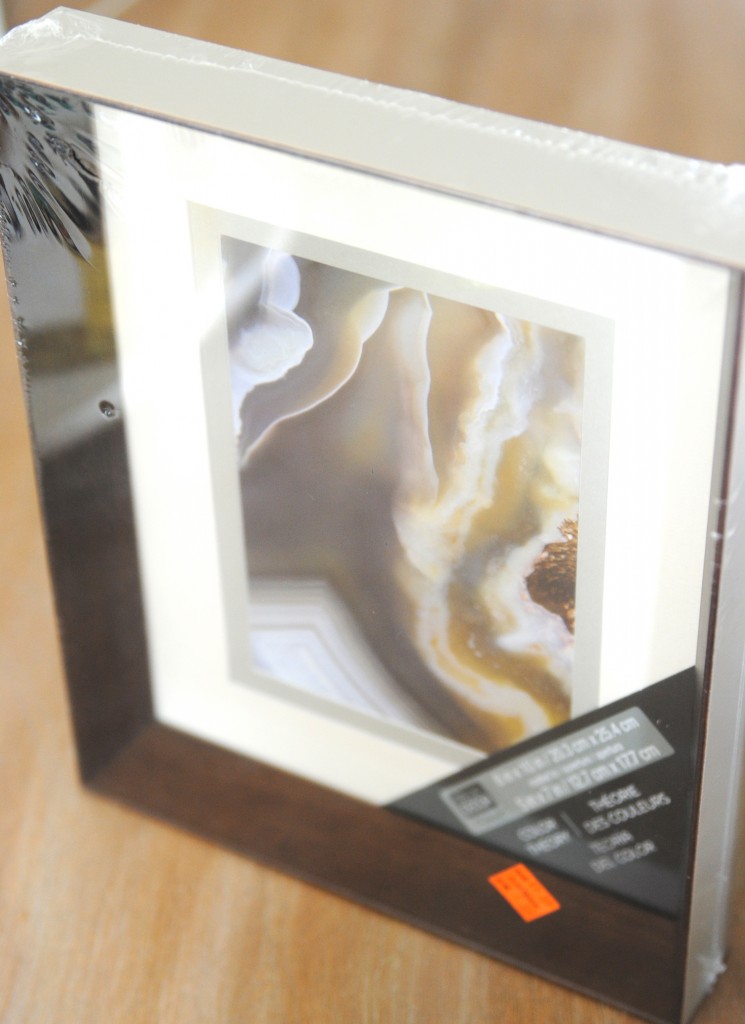
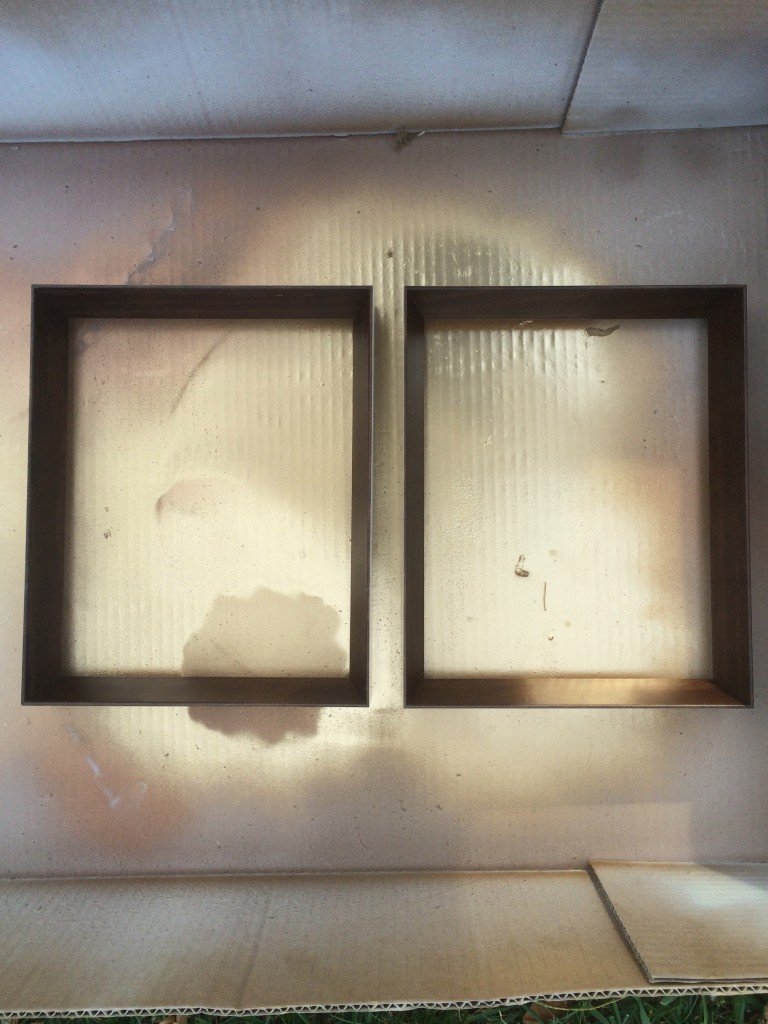
First, it started when I found these shadowbox style frames on sale at Michaels. You can find similar ones and use a coupon for a great price, but they ended up costing only $4 each on clearance (that’s when the voices start whispering: “Carrie, it was meant to be… buy the frames…”)
I blasted them with some gold spraypaint. OF COURSE.
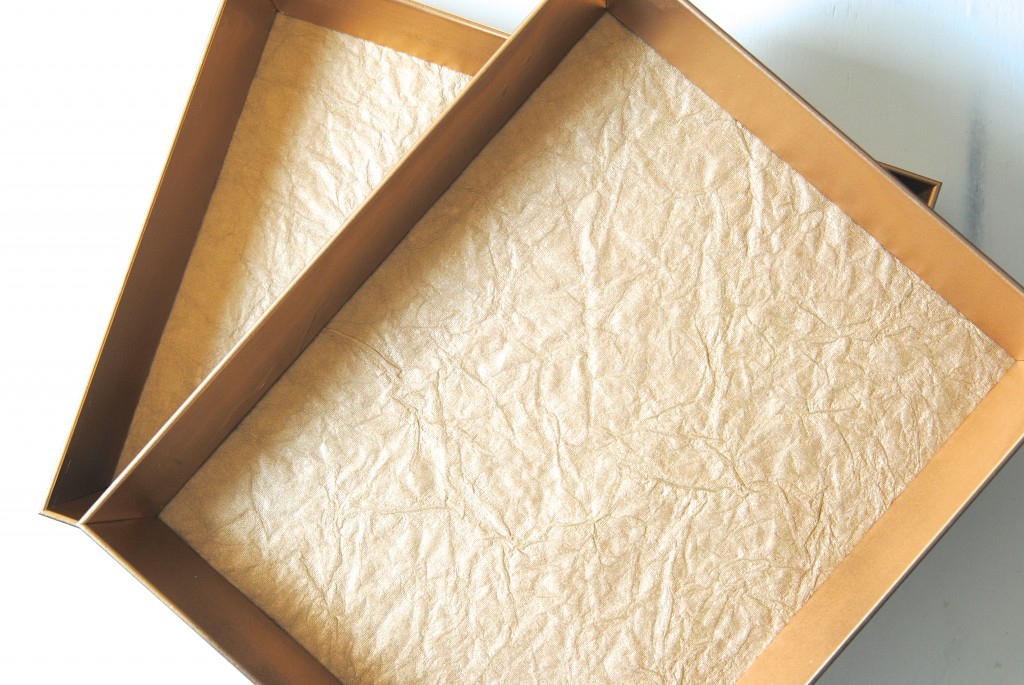
There were several beautiful papers I could have added (I’m a paper addict) but settled on a crinkled gold piece I found in the scrapbook aisle. I cut the paper to size and placed it in the frames IN FRONT OF the glass (you still need the glass in there to keep it thick enough to hold it all together, if that makes sense).
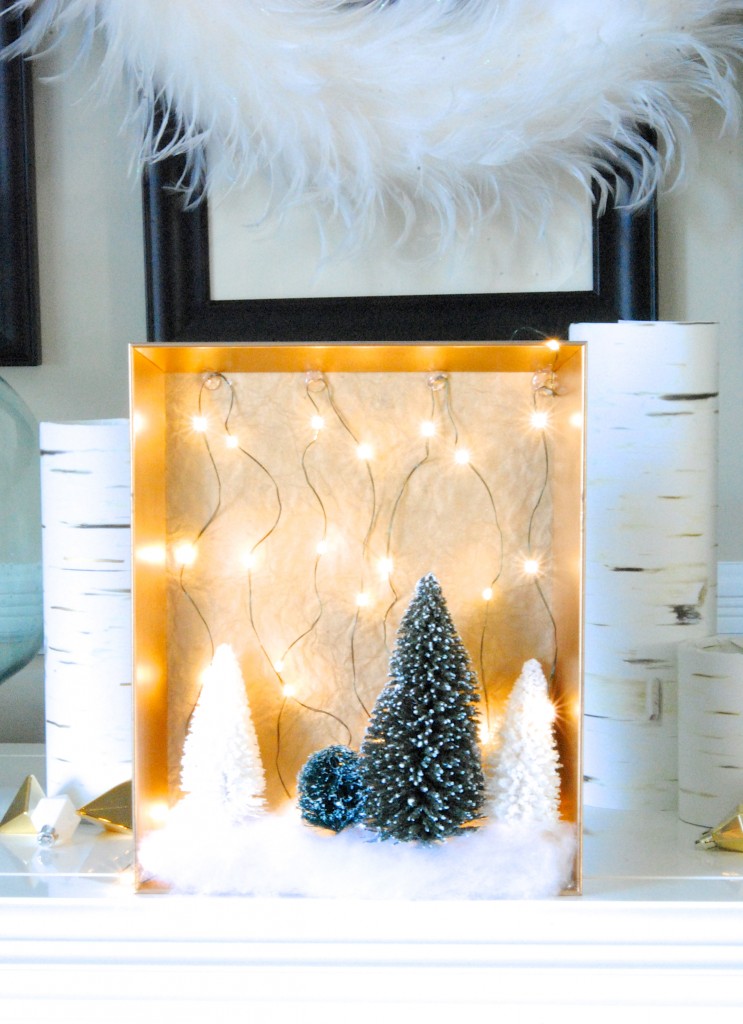
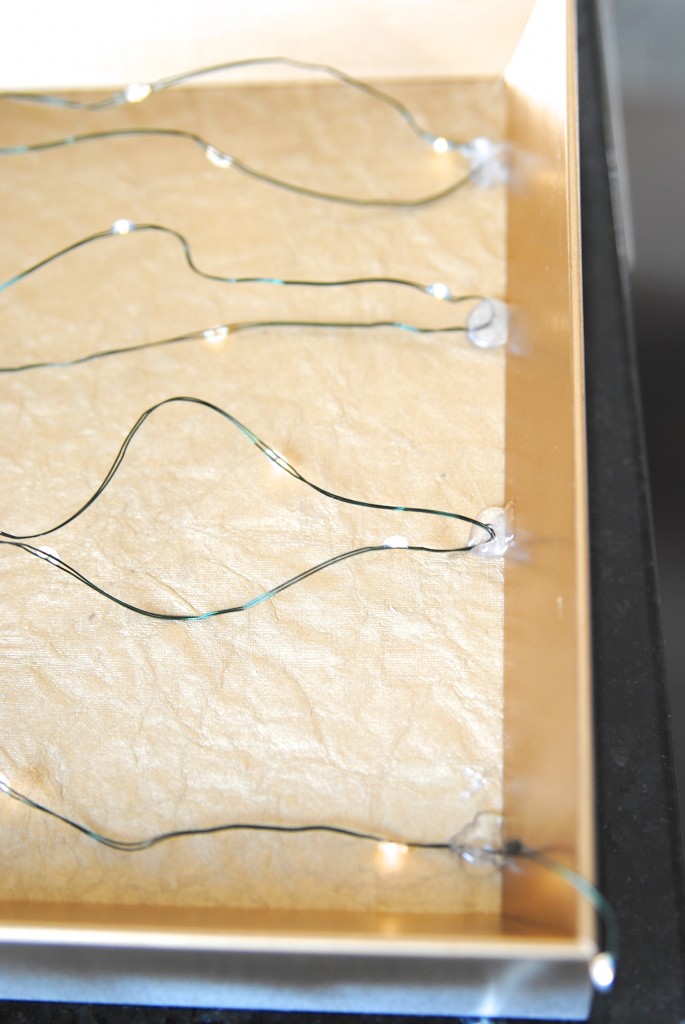
Then, add your fairly lights! I duct taped the battery pack to the back, and used a low temp glue gun to attach the lights in dots along the top and bottom of the frame. Be sure your glue is not hot enough to damage the wire but pliable enough to hold it. I put on the dot of glue, let it cool a moment, and then pushed the wire inside. You DO NOT want to damage the wire!
The fairy lights I used came from Michaels. They would have looked better with white wire but I was in a time crunch. There is a setting on the back where you can keep them on non-stop, have them blink, or have them dim. We love the dimming setting, it’s so lovely to watch them get brighter and then dim, like real stars.
You have to trust me on that one. I’m too lazy to make a video. 😉
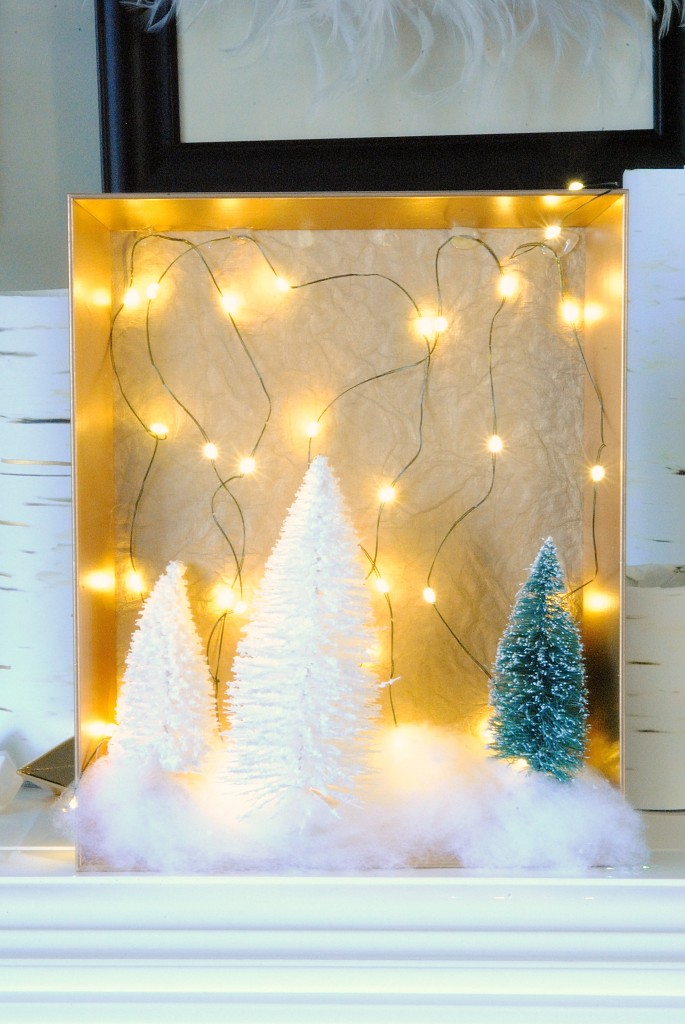
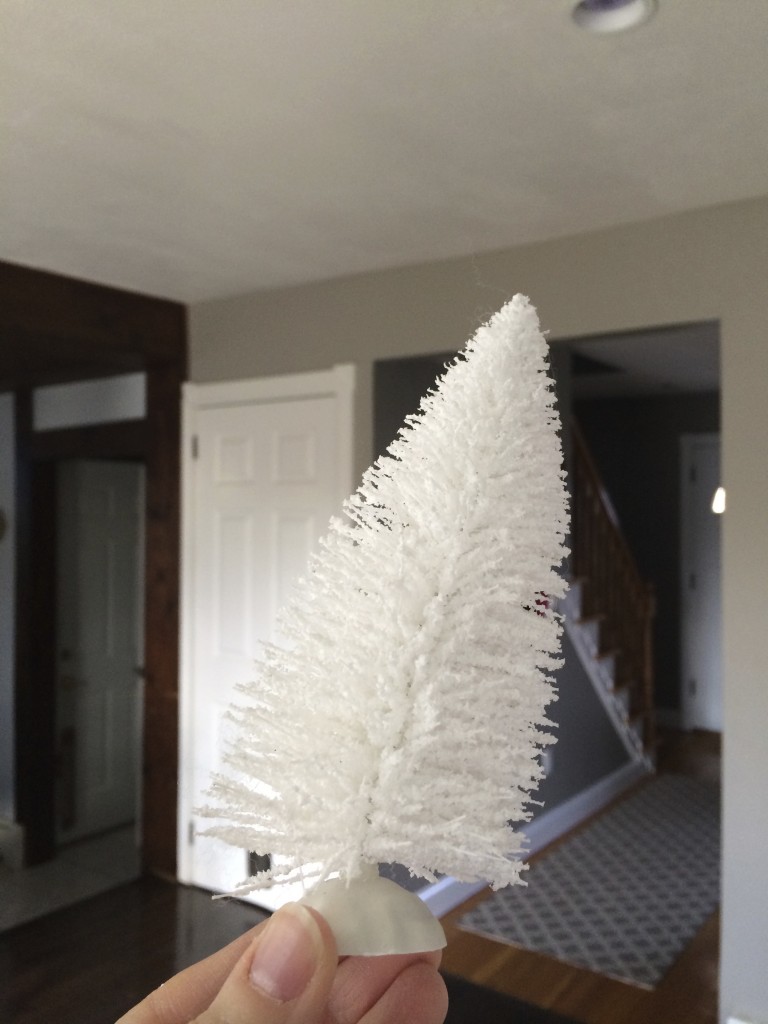
After the lights are in place, hot glue some ‘snow’ in place. I used faux snow from the craft store. Place glue at the bottom of each tree, and attach to the snow. I also bent the trees and added a dot of glue to the back and glued it to the gold paper to help keep it in place. You can’t tell it’s bent when you look at it straight on! Here’s the side view:
Don’t they look darling?
We can’t stop staring at them!
If you’re looking for more fairy light ideas, be sure to check out these popular posts:
Fairy Light Mason Jars
25 Gorgeous Ideas for Using Christmas Lights in your Home
Shine on my friends. SHINE ON.

