From Drab To Fab: Luggage Rack Makeover
This post may contain affiliate links for your convenience. Read my full disclosure policy here.
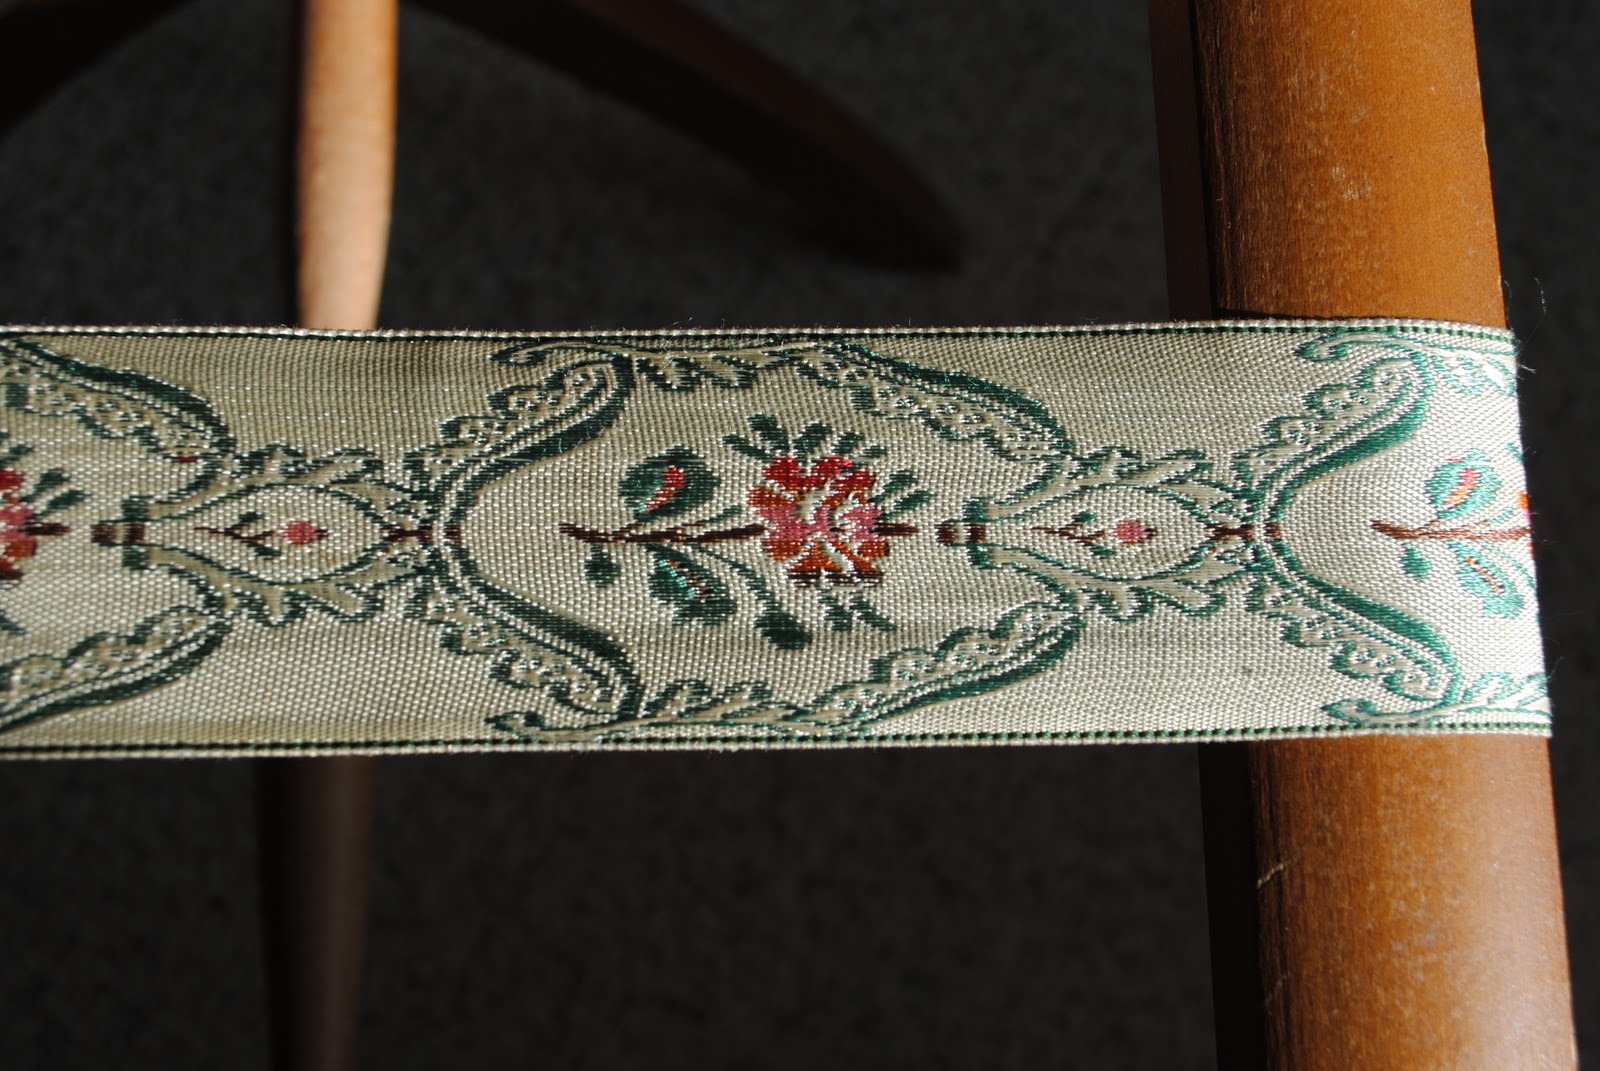
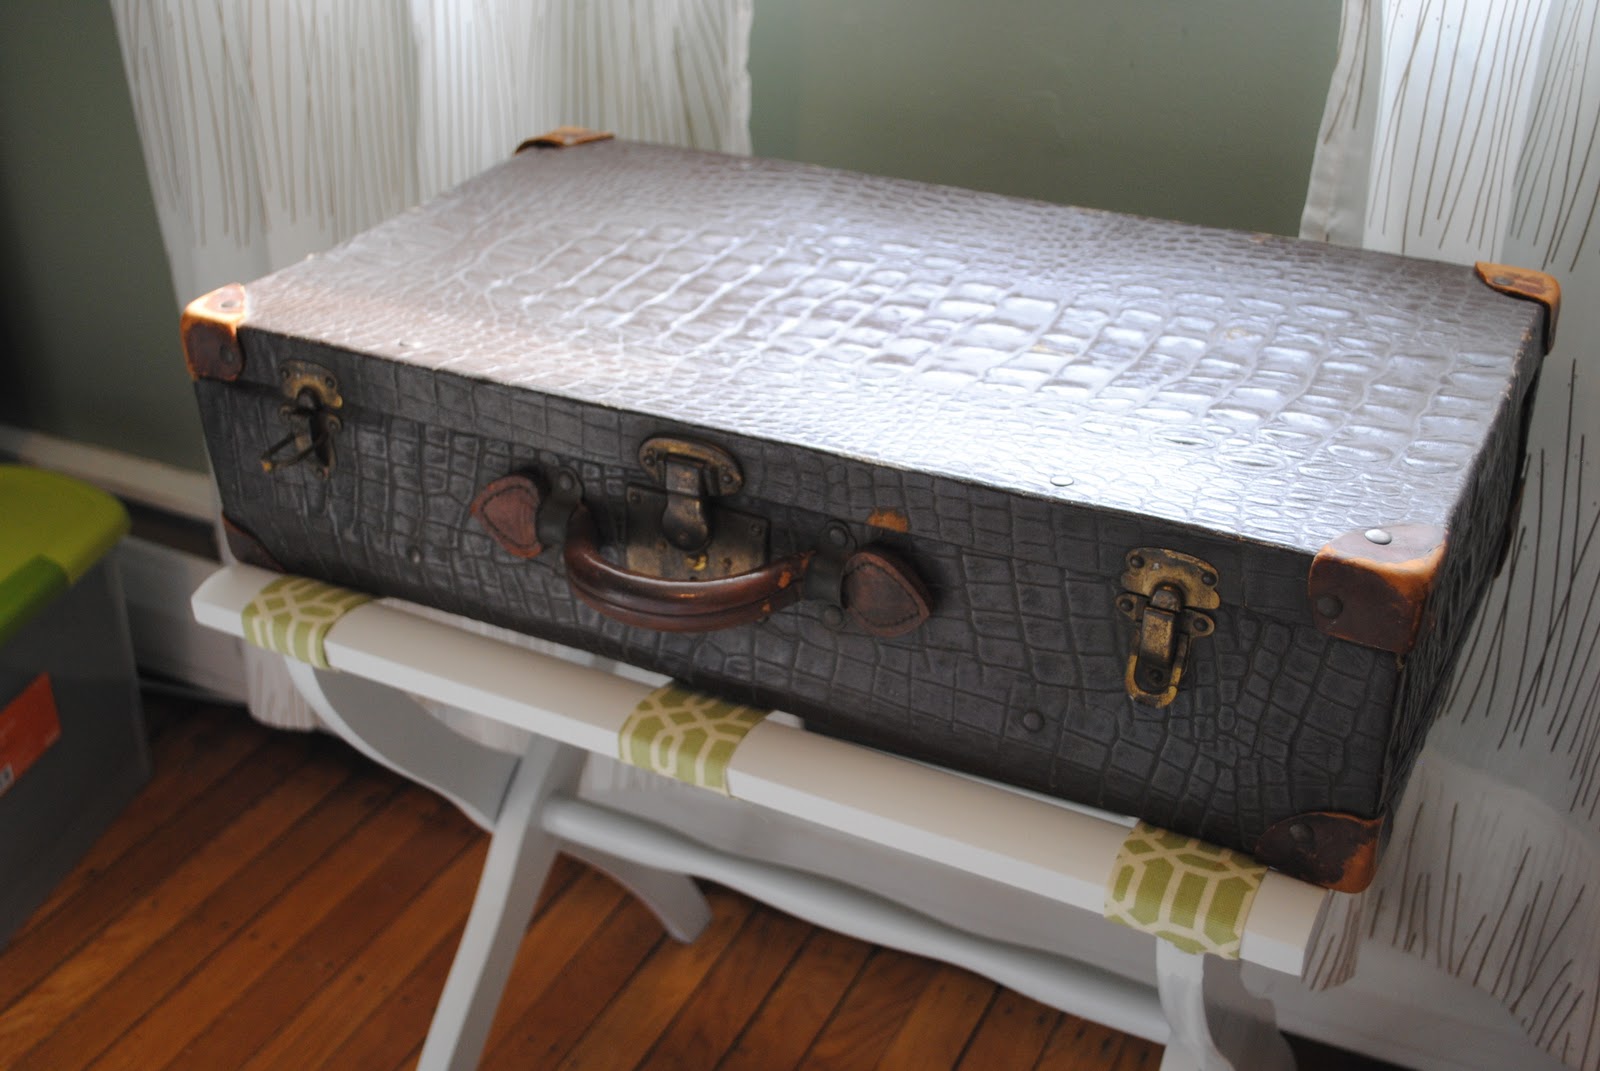
As part of the Goffice redo, I gave this old luggage rack (previously purchased for $3 at a yard sale) a makeover. The light colored wood and floral fabric didn’t match the new room… or the old one, for that matter. This quick fix added a dose of style and function, since the luggage rack comes in handy for those traveling with suitcases!
Here are the BEFORE photos:

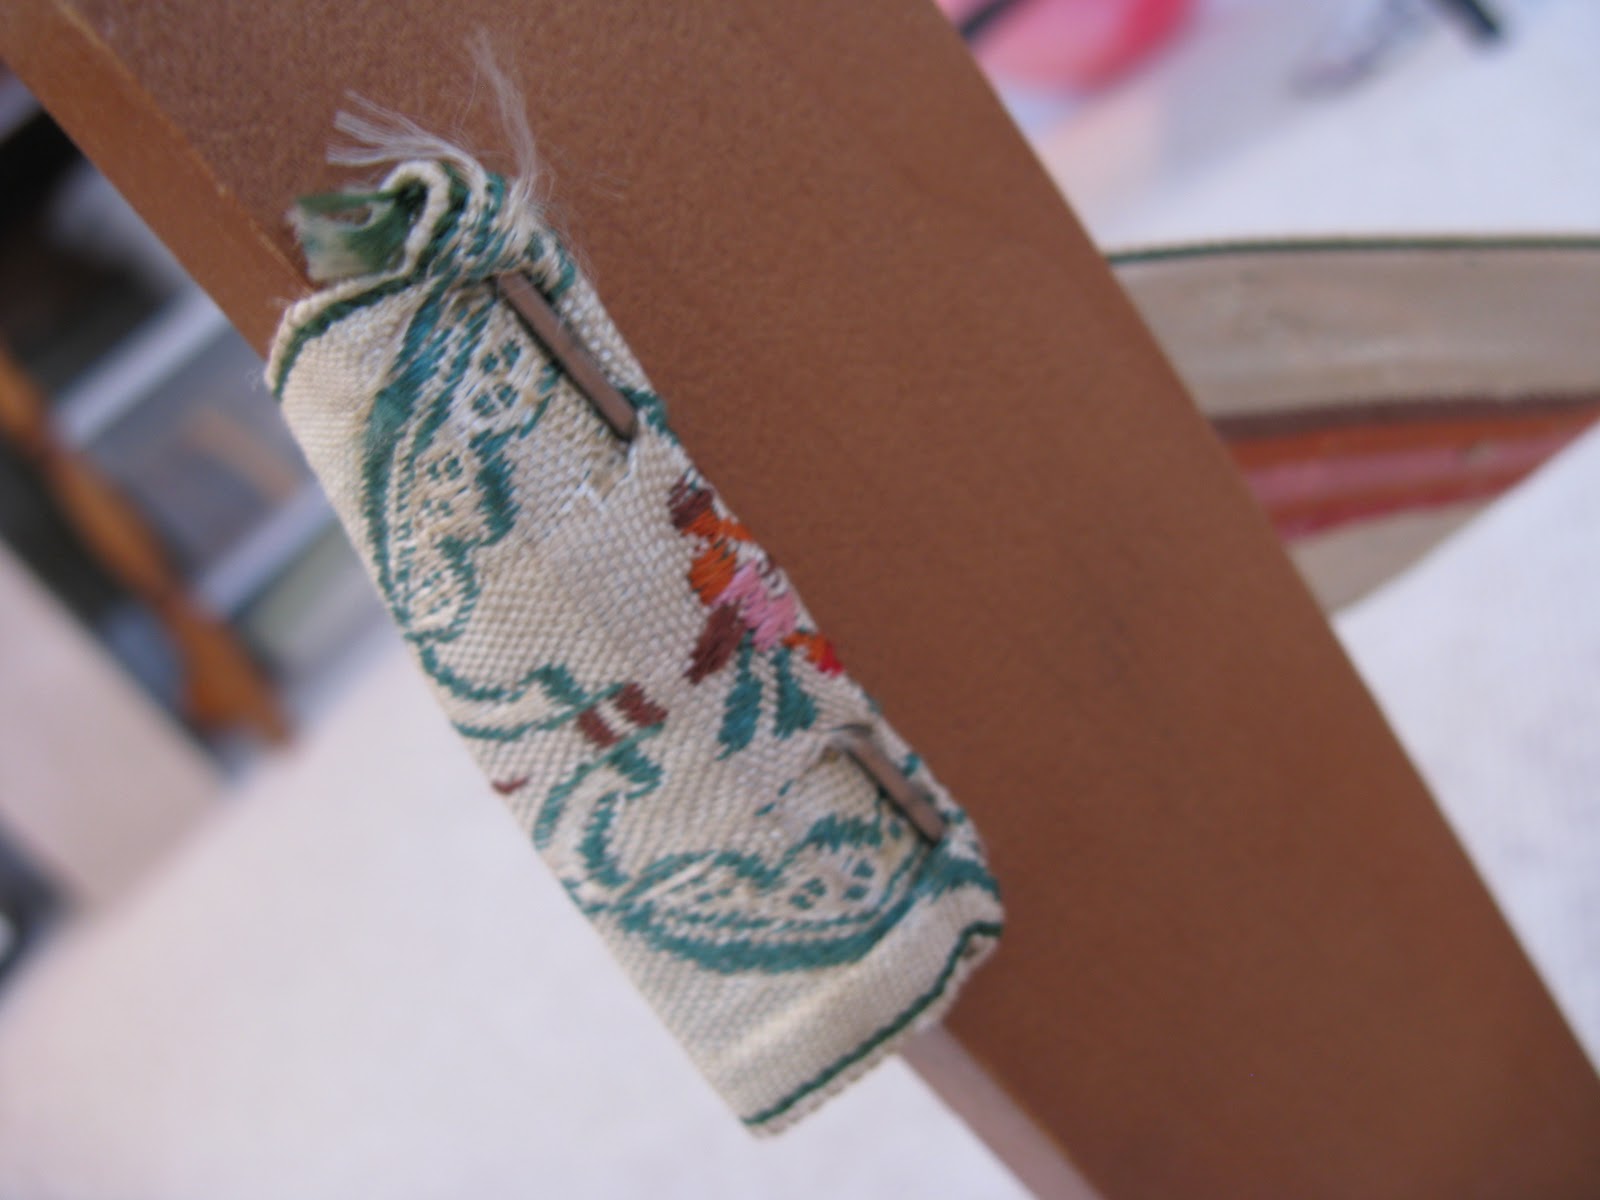
First, I removed the old fabric straps with pliers.
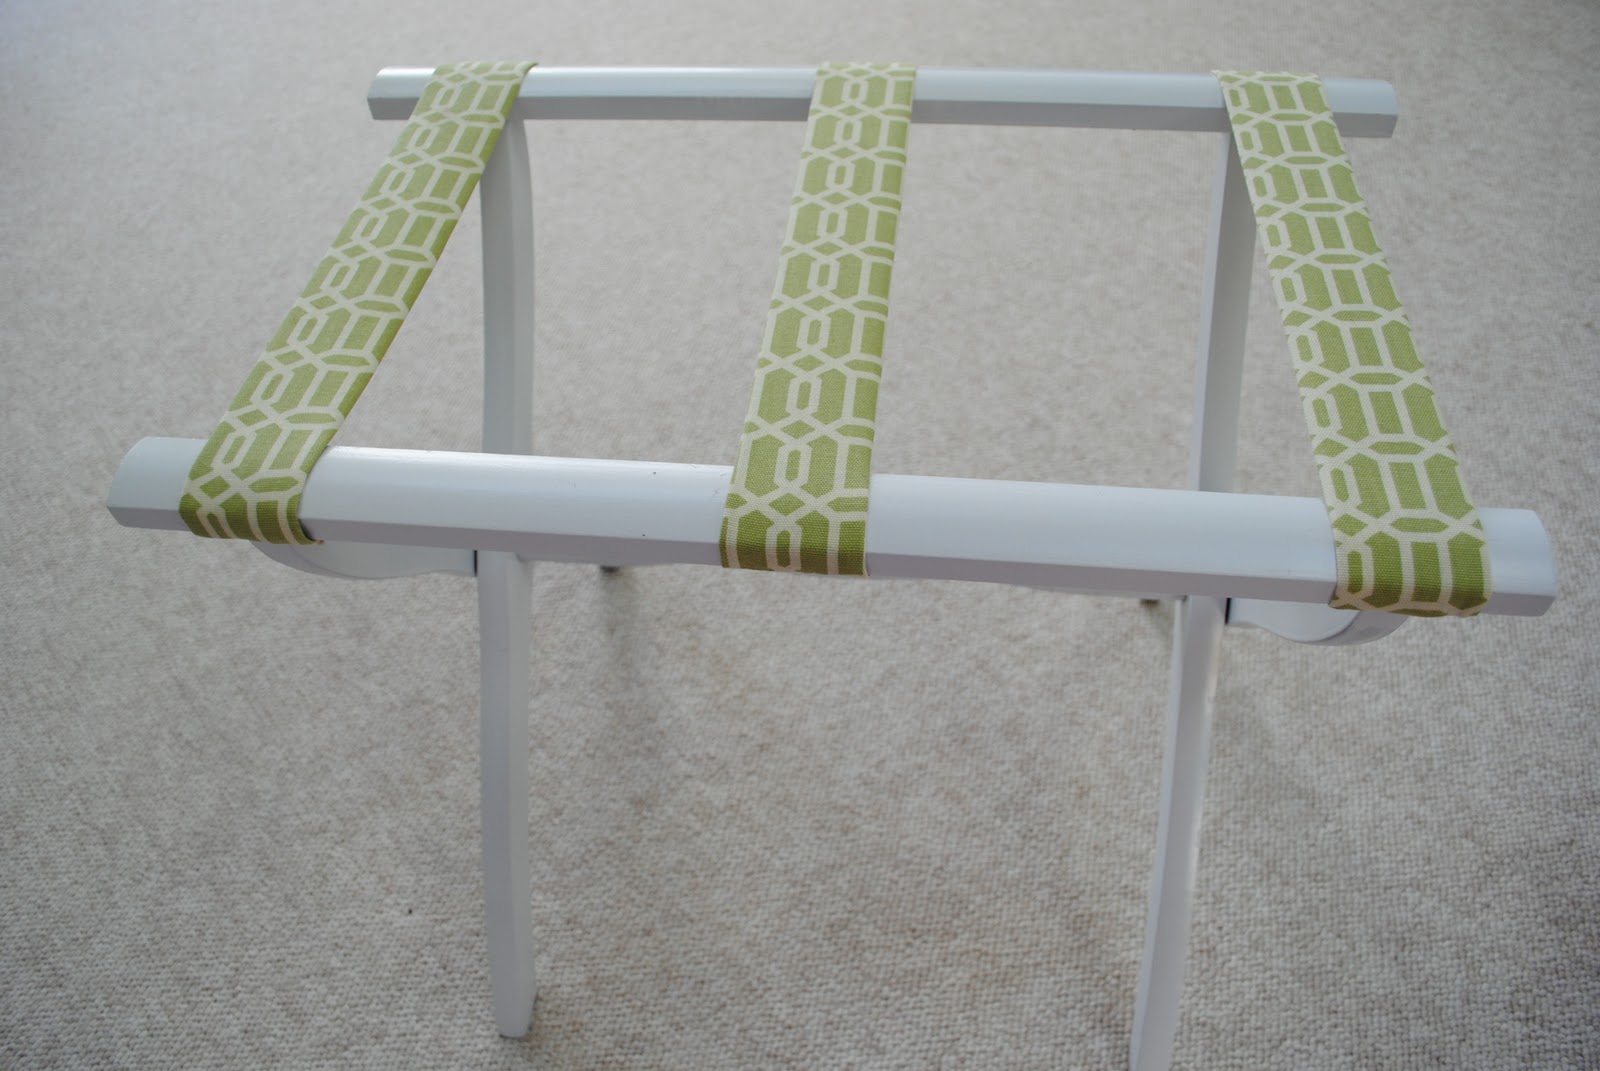
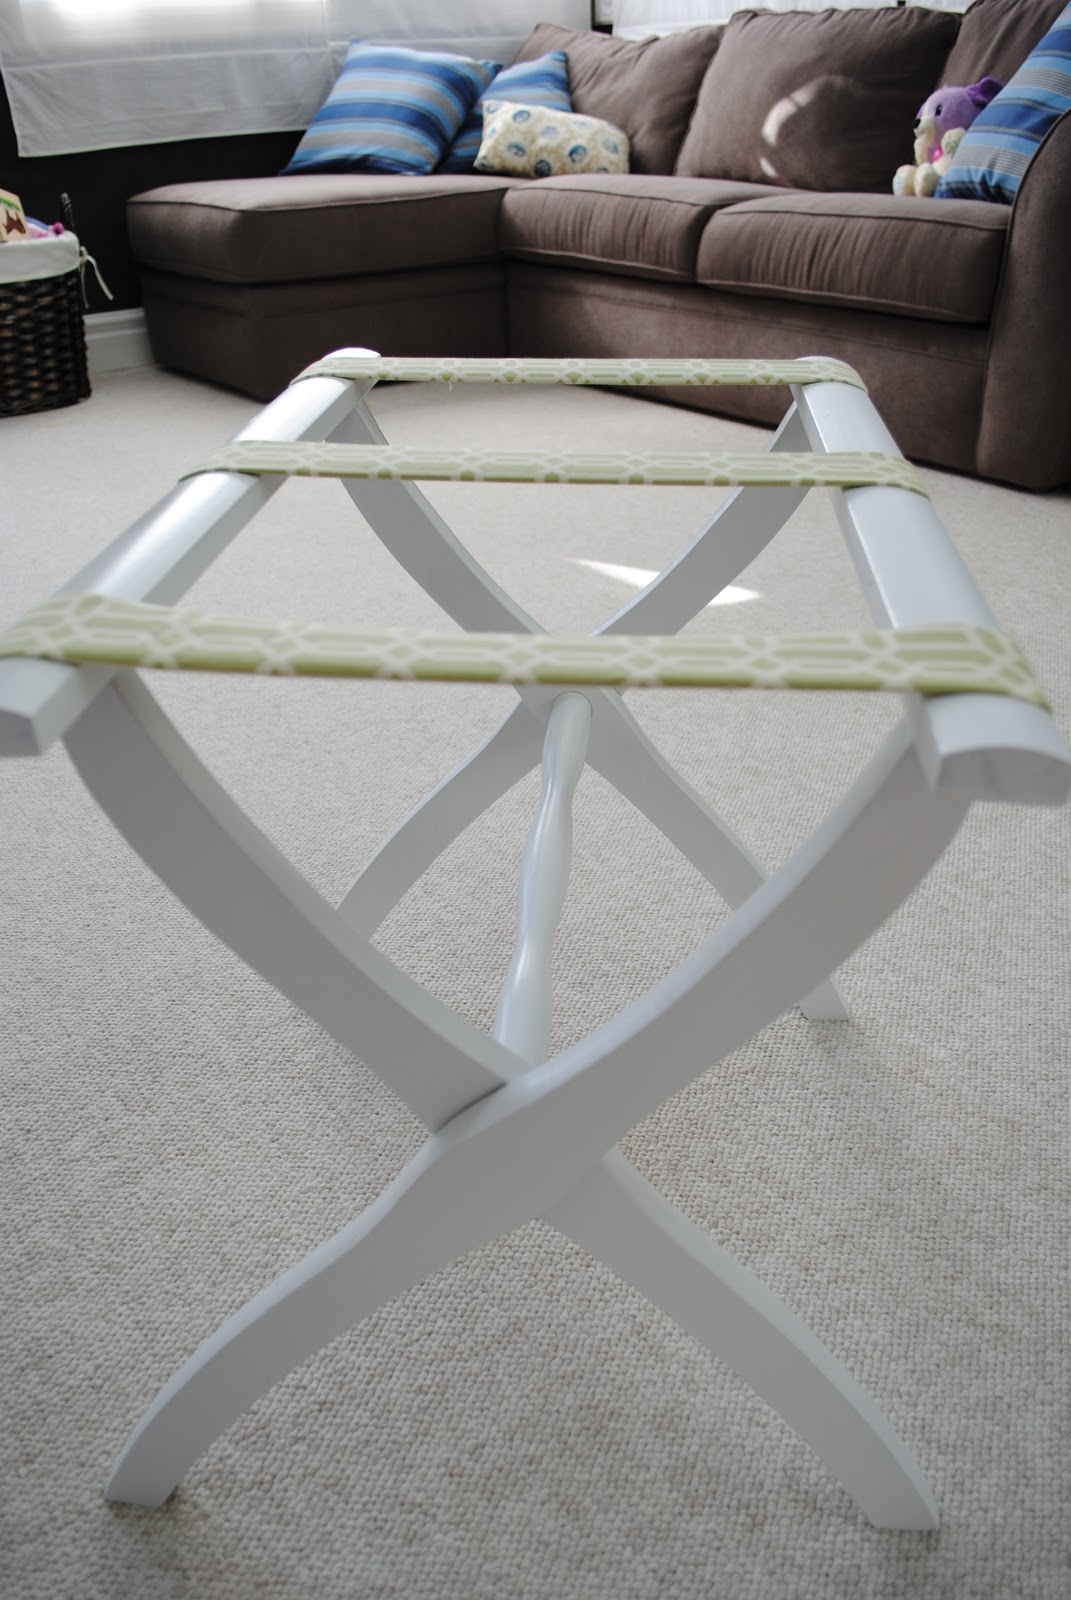
Next, a good covering of white spray paint gave a neutral base to work with.
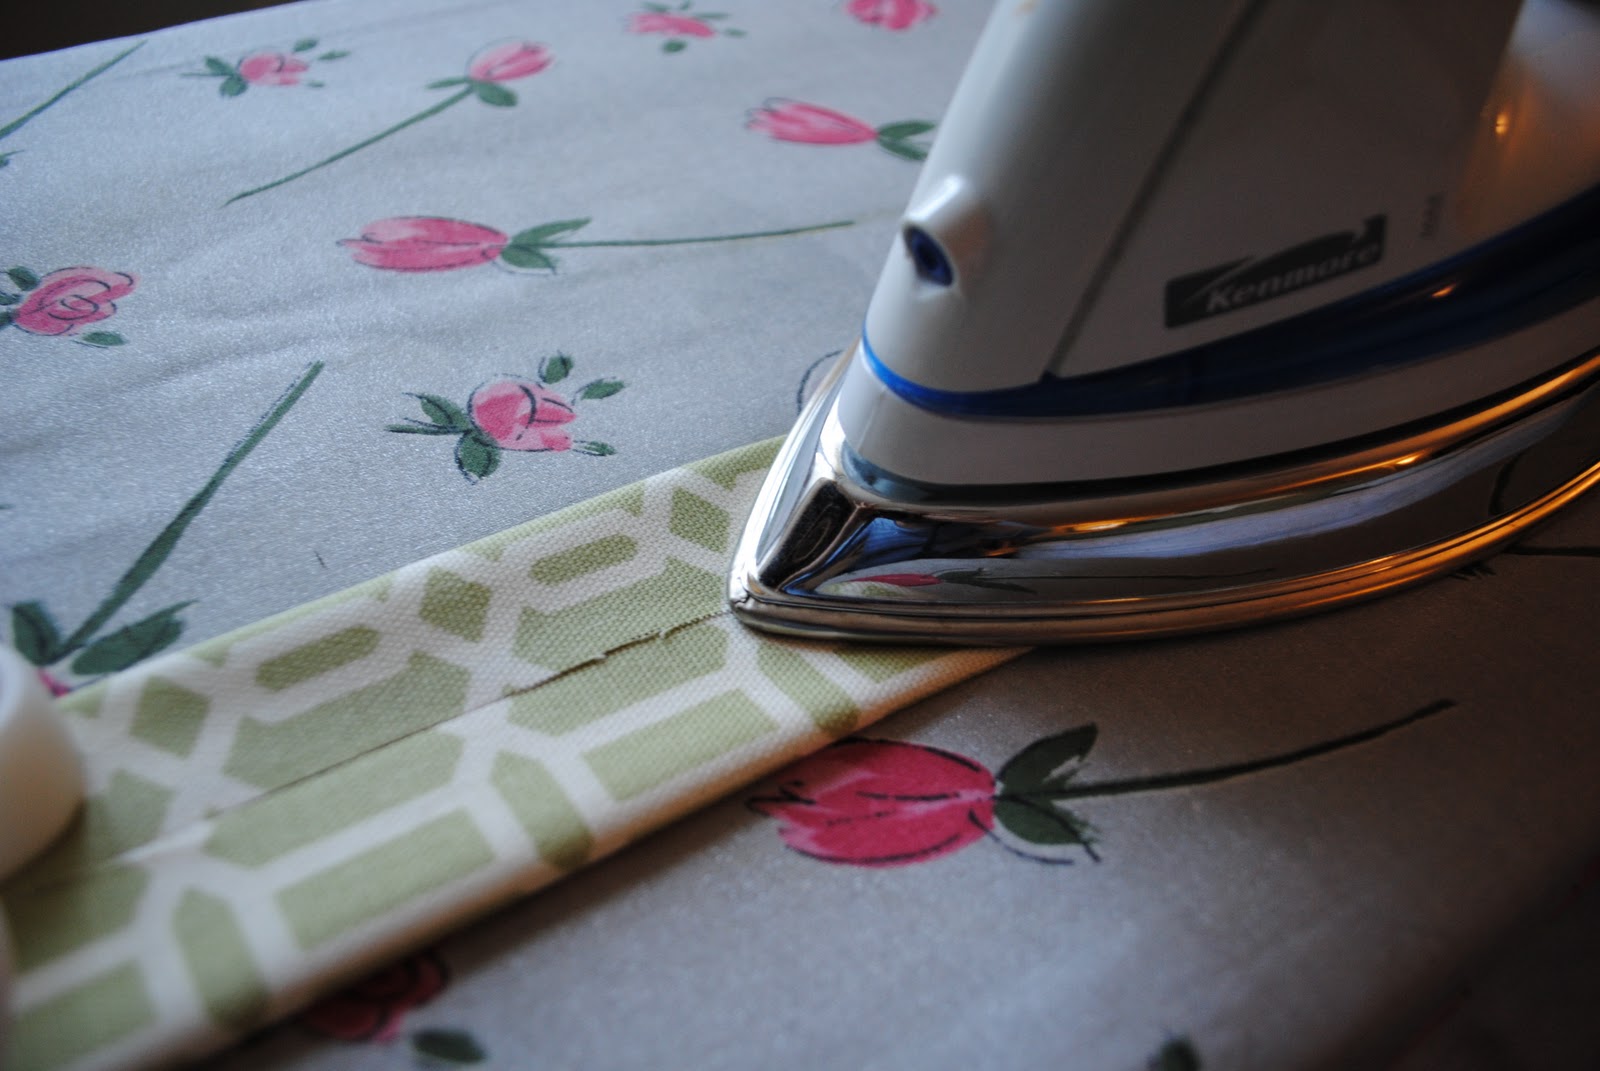
Then, I folded fabric around the old straps and ironed them together using no-sew iron tape.

Once the straps were ready, I simply stapled them onto the back with a staple gun.

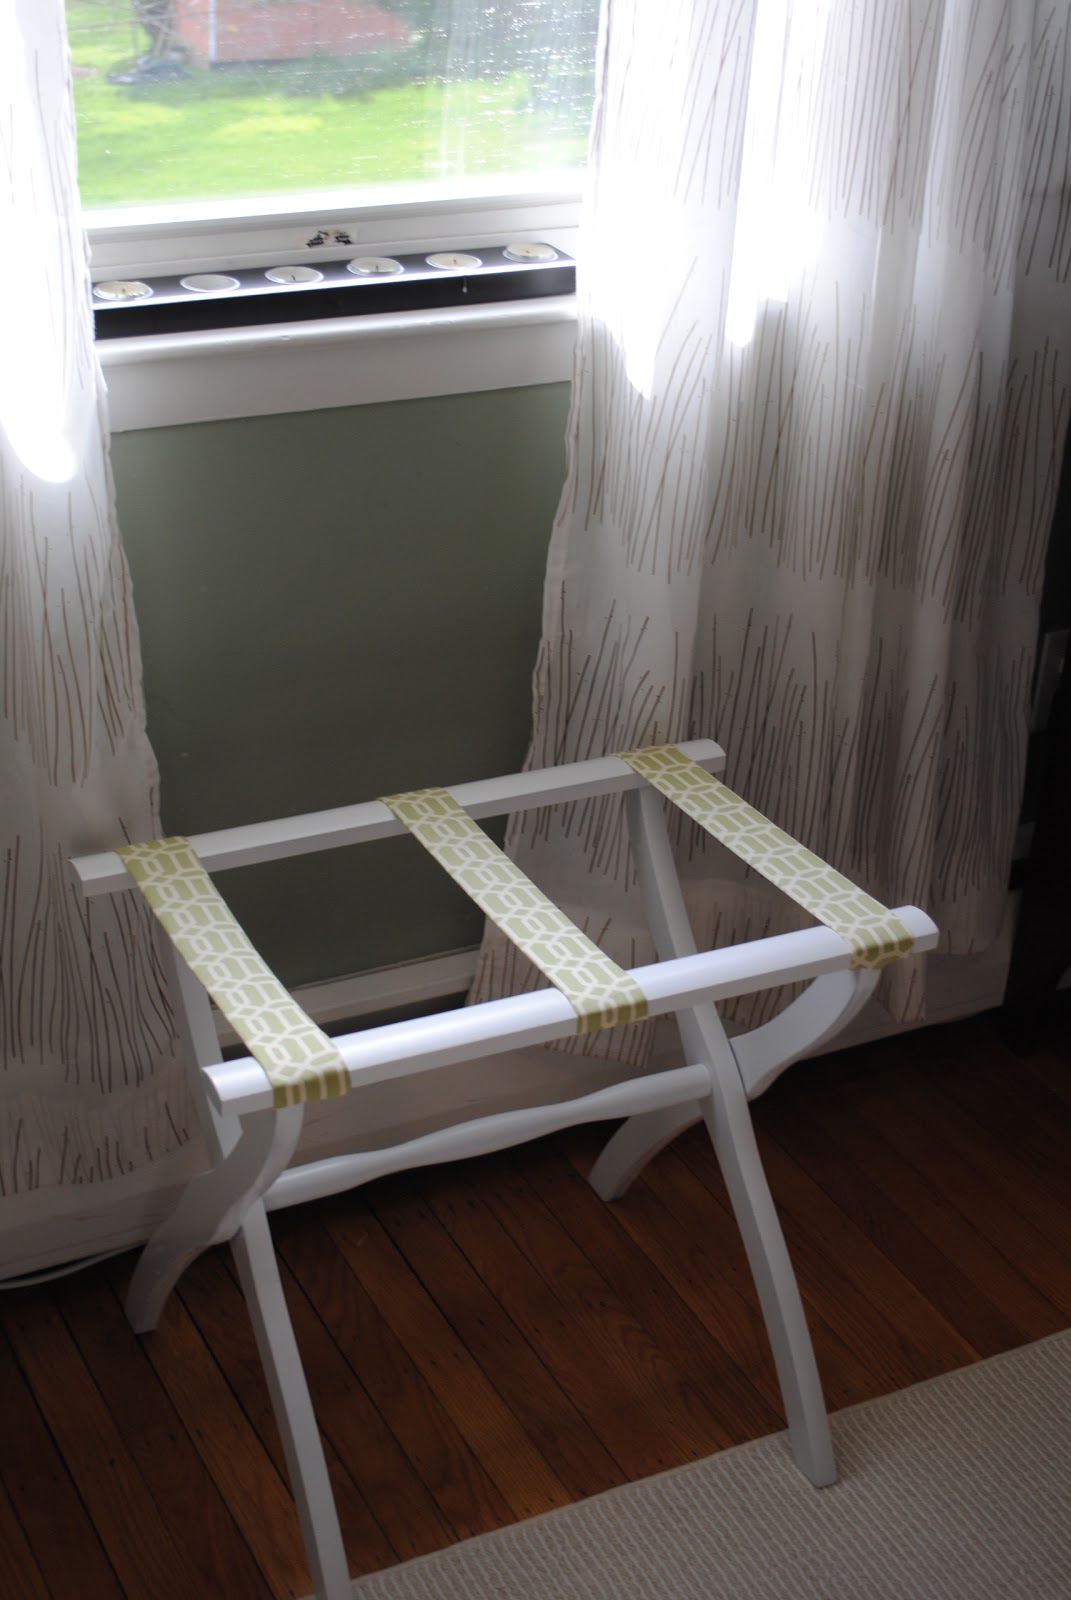
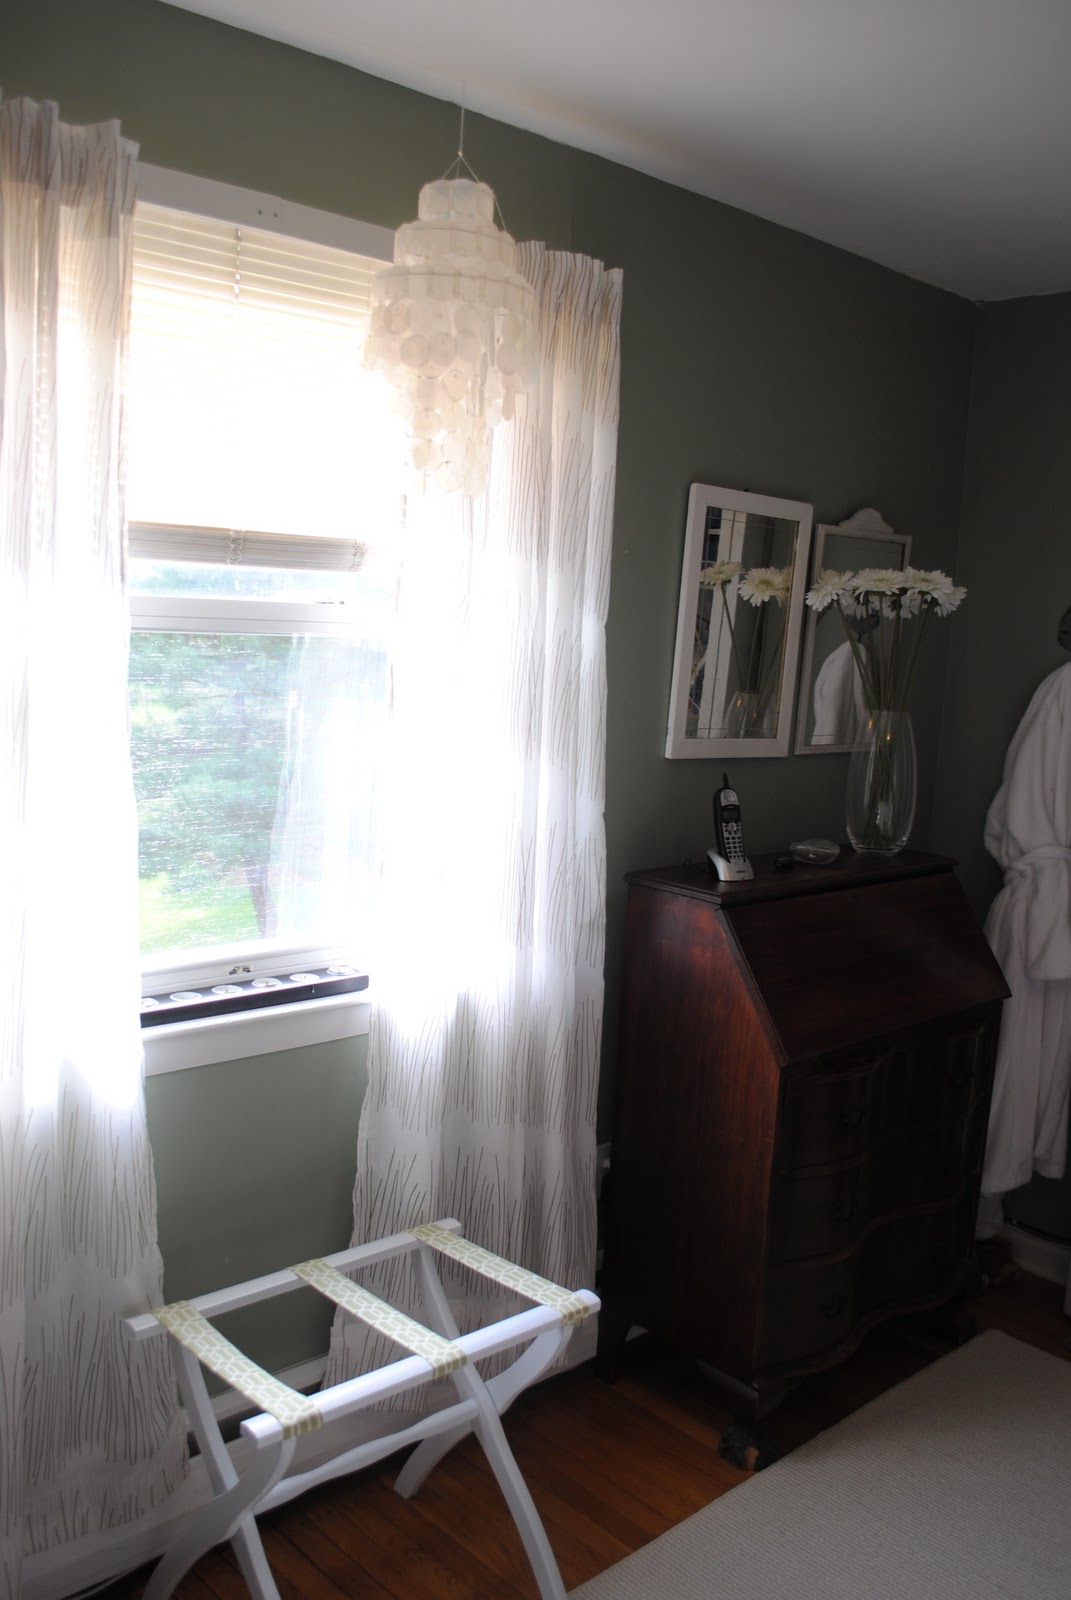
And there you have it, a new and improved luggage rack!
The whole makeover would have taken under an hour if I had done it all at one time. Truth be told it took more like 6 weeks because I had to steal a few minutes here and there to get it done. Now it’s ready for our guests, and when not in use it can be folded and placed in the closet.
For $3 and a can of spray paint, that’s not too shabby!


