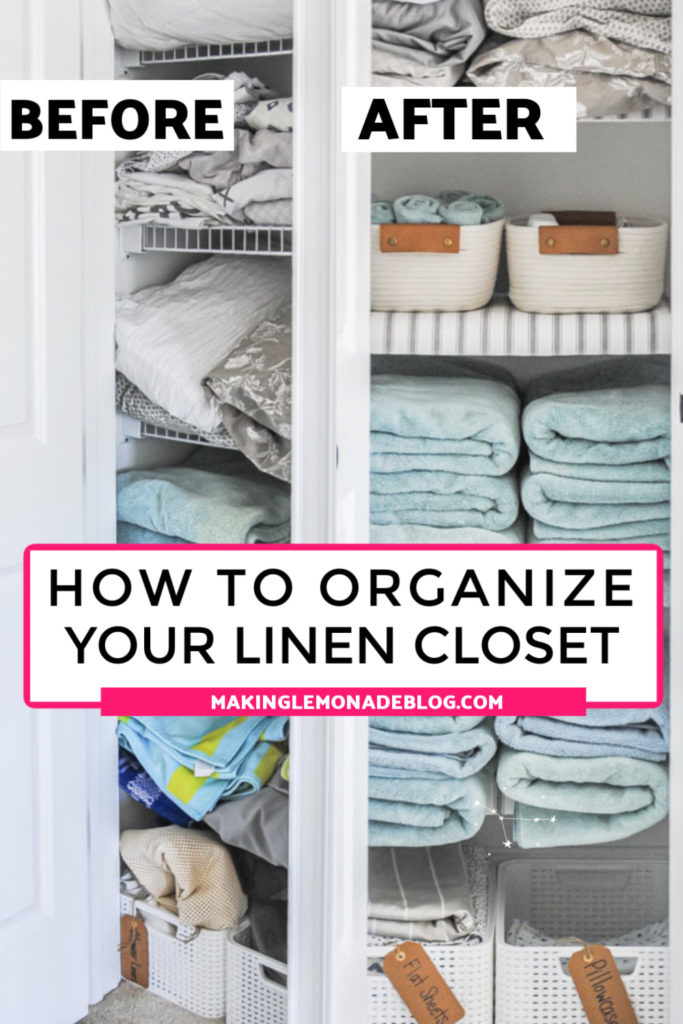
How to Organize Your Linen Closet Beautifully
This post may contain affiliate links for your convenience. Read my full disclosure policy here.
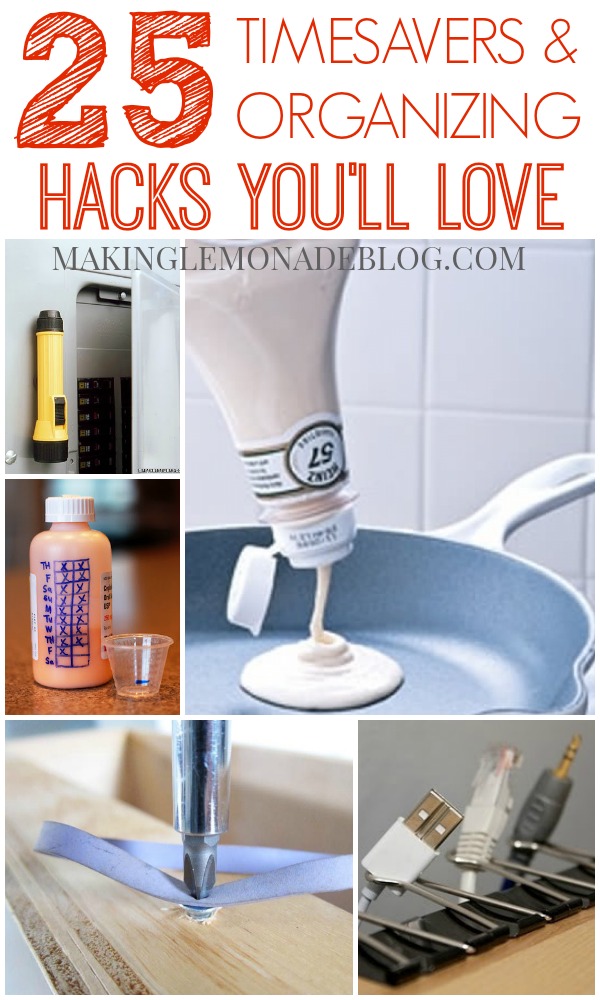
Here’s our best tips for maximizing your linen storage with these linen closet organization ideas for spaces both big and small, including how to make wire shelves look custom made. Plus, tons of organization hacks for storing towels, sheets, blankets and linen closet essentials beautifully and professionally!
Looking for more home organization ideas? Check out how to organize your pantry once and for all and how to organize your garage so you can find everything easily.
One of the quirks of our newly built home is the size of the weirdly narrow linen closet. While most of the closets have adequate storage, the linen closet was clearly an afterthought.
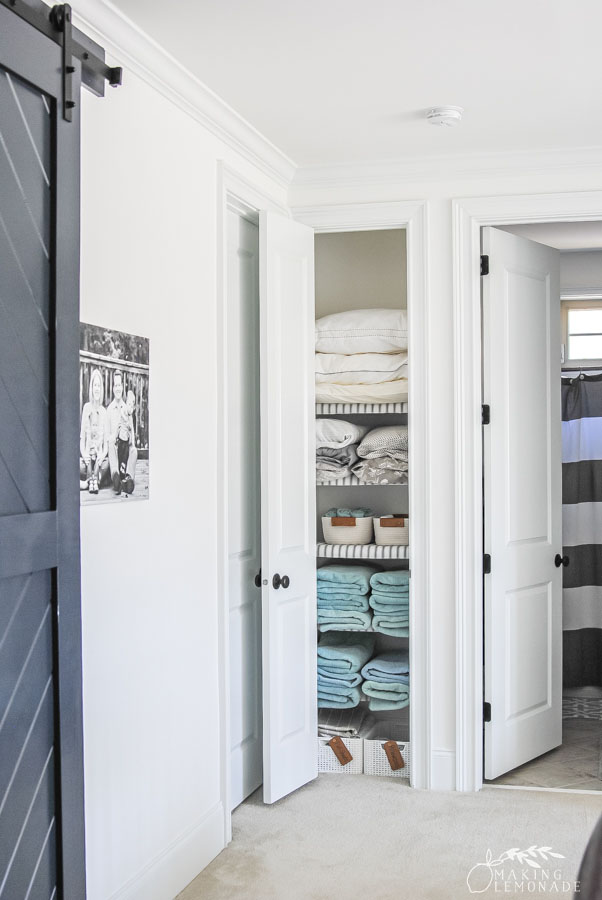
It’s like the designer realized, oooops, we need to add a linen closet so they squeezed it into the only spot possible– a super narrow nook in our upper hallway. Thankfully we have really high ceilings so the vertical storage is great, but that’s not much consolation because most of the shelving is above all our heads. It needs to serve as the central storage area for all our towels, sheets, blankets, extra pillows, washcloths, bathroom products… so having it out of reach is tricky.
Thanks to a sponsored partnership with EasyLiner, I was finally able to tackle this space and maximize the space beautifully. And I realize I nerd out about organization but WOW does this space make me happy now that we can find everything quickly and easily.
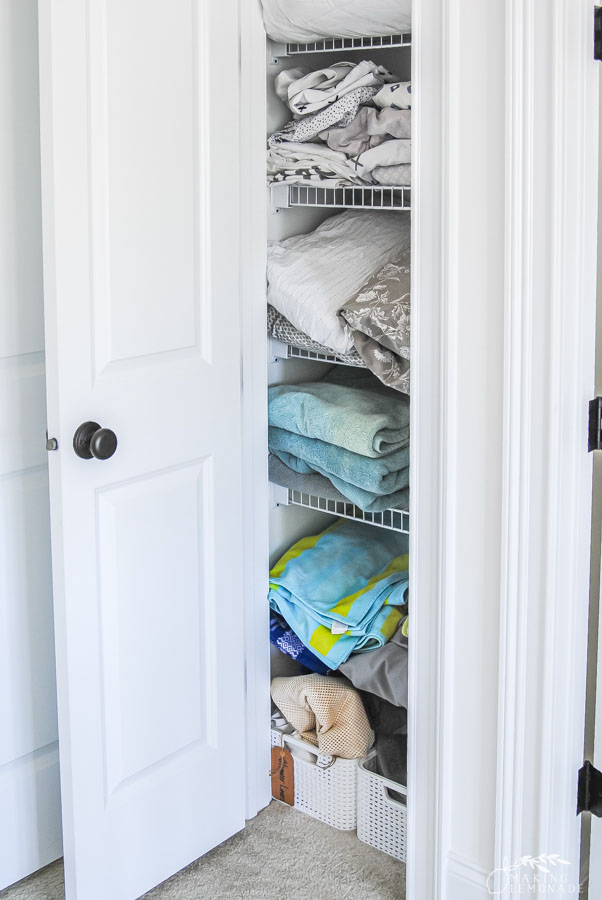
I didn’t want to invest in building shelves in here, but I’m not a fan of the standard wire shelving they installed. When we put products on them, they fall through the wires or tip over. It also leaves bumps on our sheets and towels, which of course isn’t a big problem but I’d rather not have to deal with our linens looking frumpy when it comes to using them with guests.
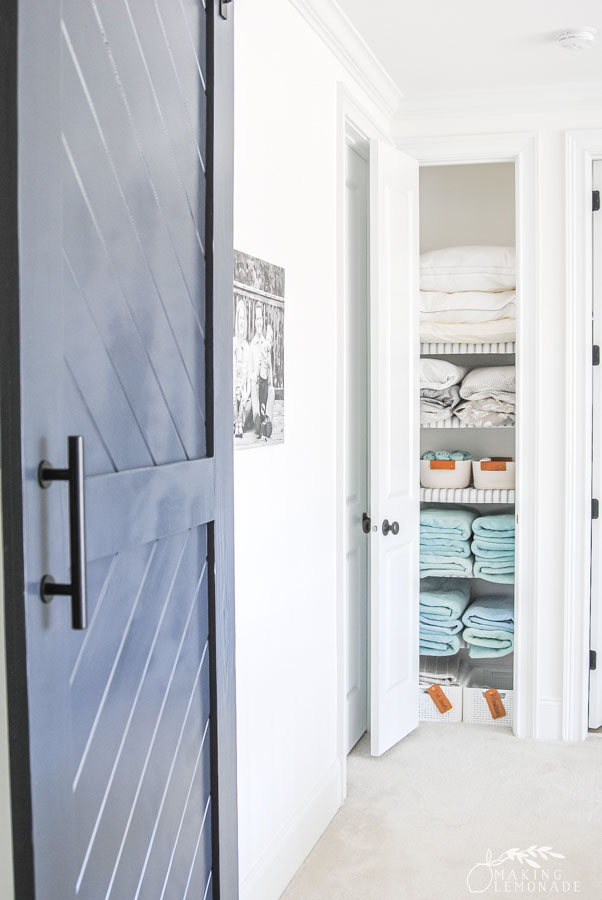
It’s hard to see the scale in the photos, but the linen closet door is half the width of a normal sized door to give you a hint of how narrow it is!
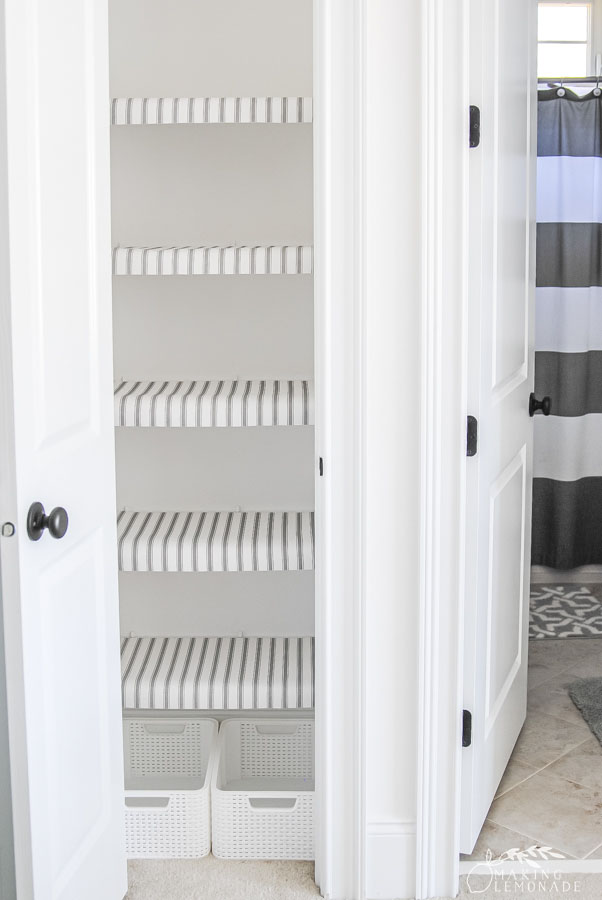
CHECK OUT THE LINEN CLOSET BEFORE:
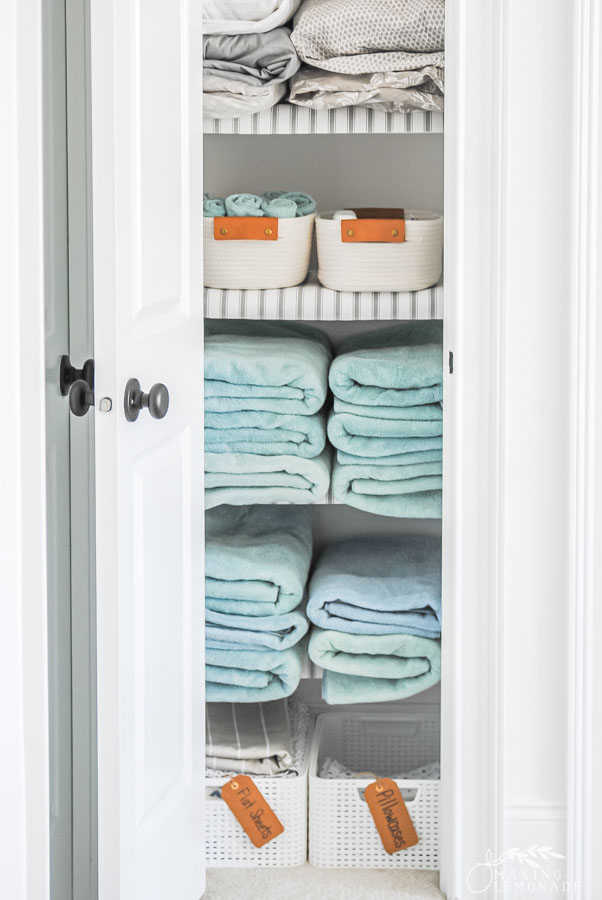
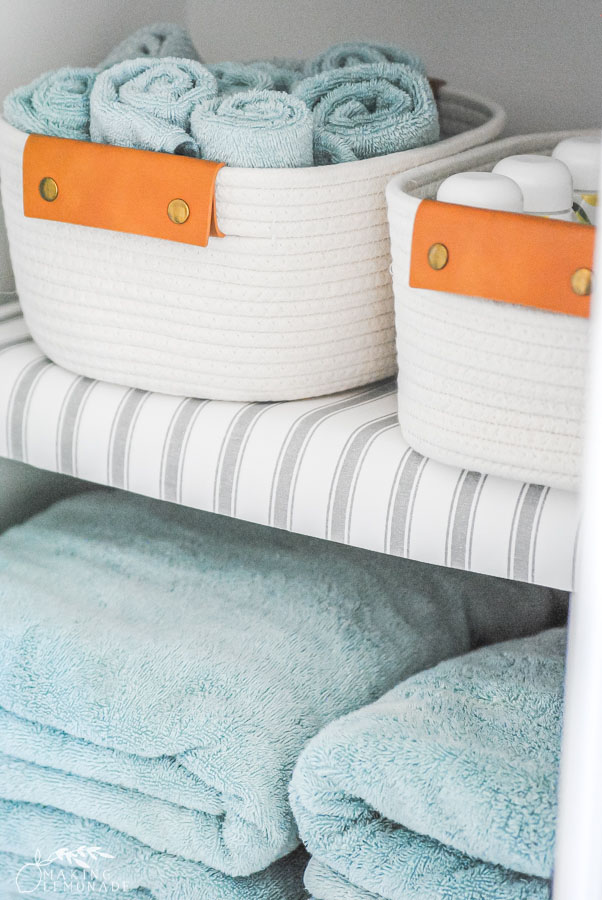
AND THE LINEN CLOSET AFTER!
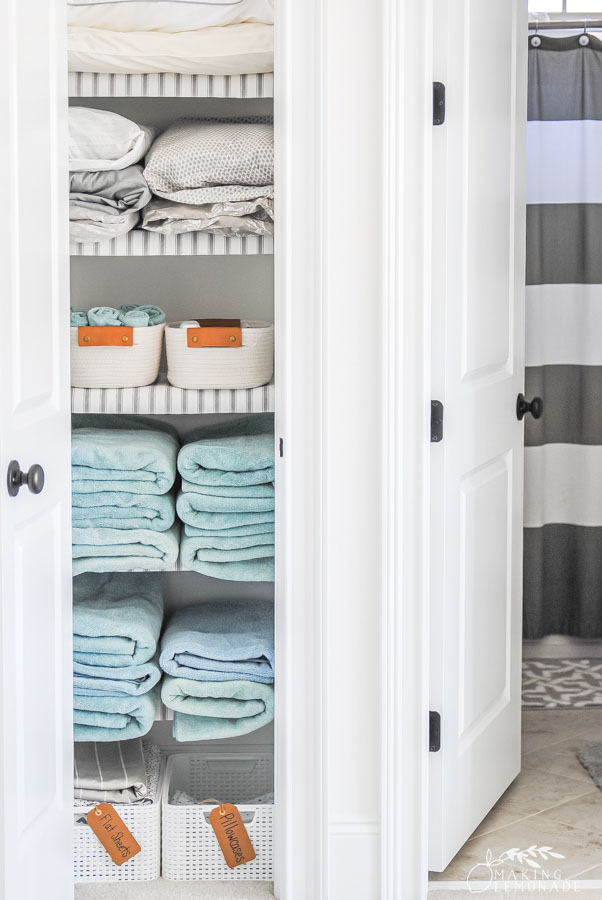
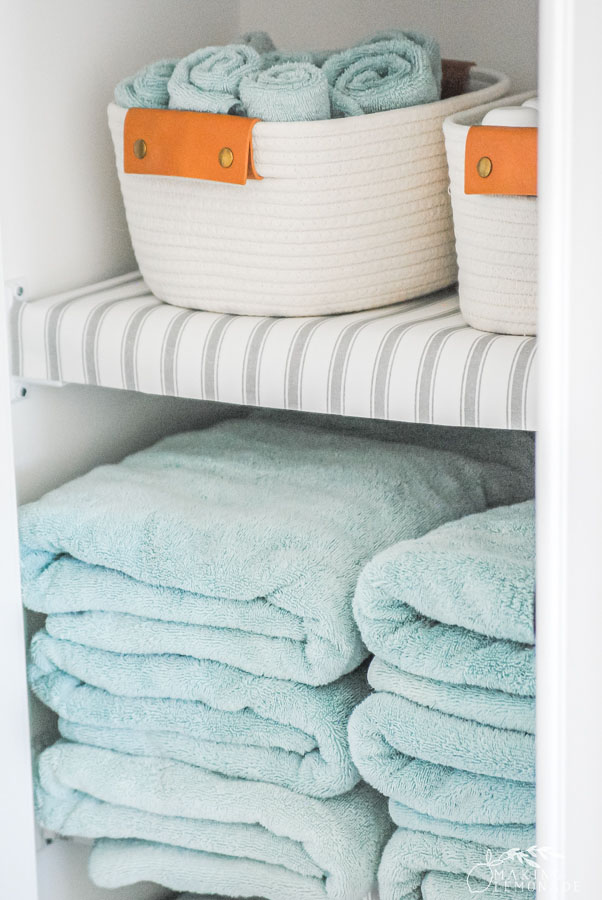
And look, the gray striped liner matches my son’s bathroom shower curtain! I love how it looks.
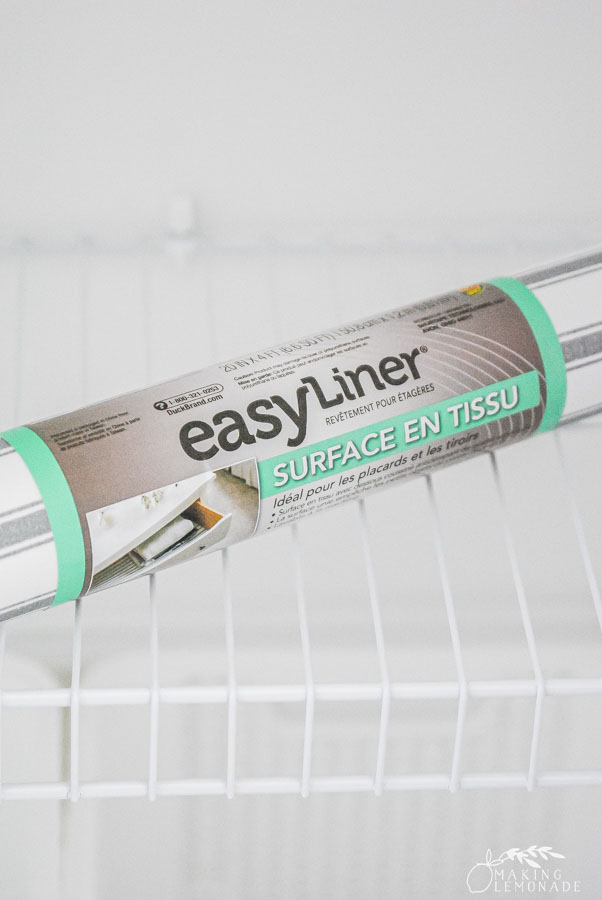
You’re going to love the Smooth Top Shelf Liner from EasyLiner. They have a smooth top with a non-adhesive grip bottom that’s perfect for lining wire shelves (or any shelves, for that matter.) Plus, they are machine washable which is a huge plus for keeping them clean and tidy. You can wash them in cold water and lay them flat to dry or simply wipe them clean for small messes.
Then I got creative with folding and baskets, and soon we had the linen closet of our dreams.
While I went with my typical method for decluttering and organizing this closet, I incorporated several tips and hacks to use every inch of the narrow dimensions and make everything easy to find. Keep reading for how to make the most of the space you have!
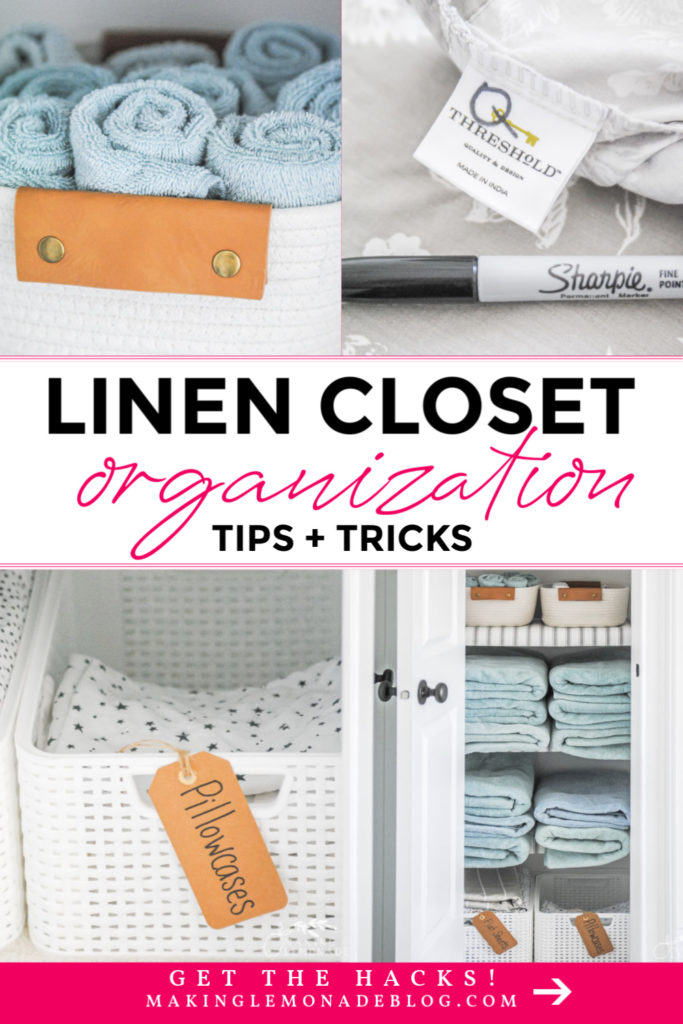
How to Organize Your Linen Closet
Step One: Empty it out completely and clean inside (wipe down shelves and walls, and vacuum floors.) Now you have a beautiful blank canvas to work with.
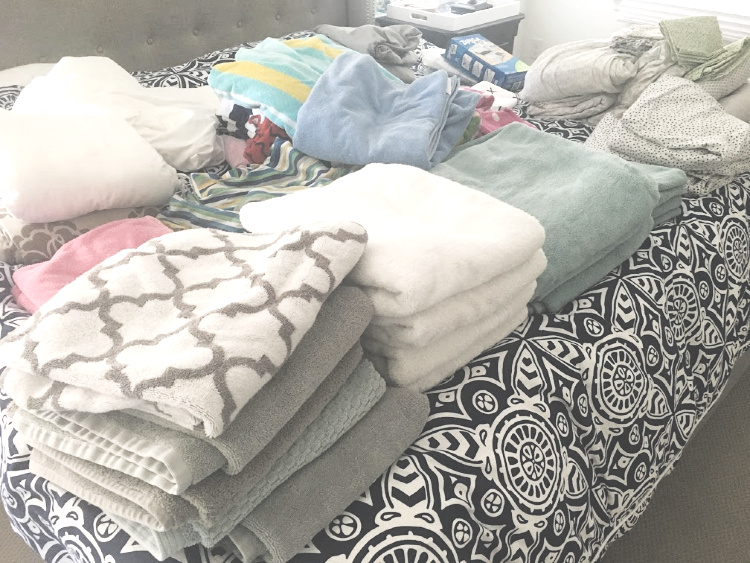
Step Two: Sort. Go through each and every piece inside, sorting as you go. Recycle torn or damaged items and donate anything in good condition you no longer need (dog rescues often welcome donations of sheets and towels.) I find beds the perfect flat surface for sorting.
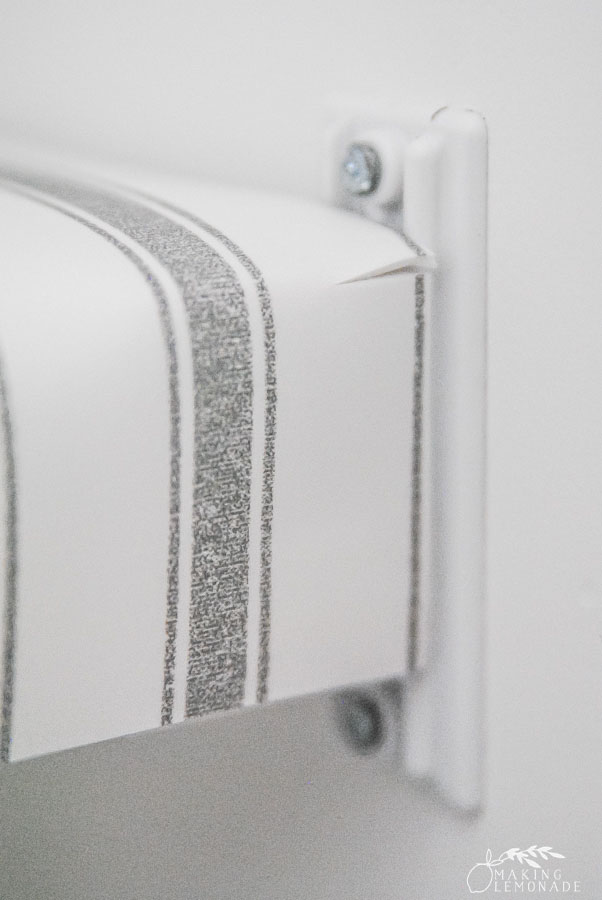
Step Three: Add shelf liner. You don’t need to get fancy when adding the liners, simply cutting them to size and laying on top of the wires will give a great result. However, I wanted that extra ‘ahhhhh’ when I opened this closet so I created ‘faux’ shelving by covering the fronts with the liner as well.
note: the stripes look off due to the angle of the photo. I promise they look normal in real life. 😉
To achieve this, I cut the shelf liner to the correct width of the shelf but added in the height of the front of the wire shelves into the depth measurements.

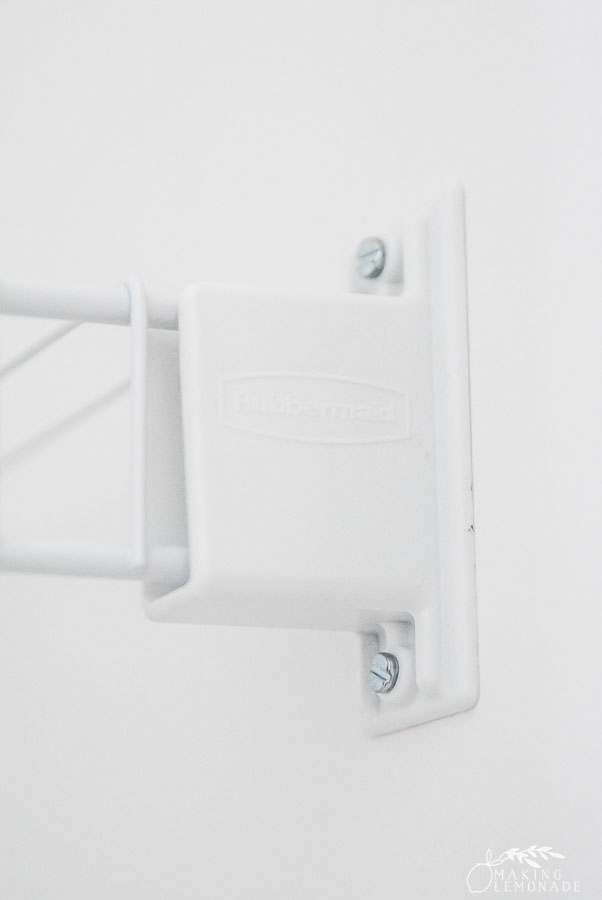
Then, I laid the liner on top of the shelf, and used removable adhesive pads to attach the back of the liner to the front of the bracket that attaches the wire shelves to the wall. I put a tiny snip in the crease to help it fold over, but it’s important to know that this doesn’t create a sharp crease along the front edge. To do that would involve building a shelf cover and attaching the liner to it, but I’m all for easy and beautiful solutions and like to keep it simple so I skipped that step and went for ‘perfectly imperfect.’

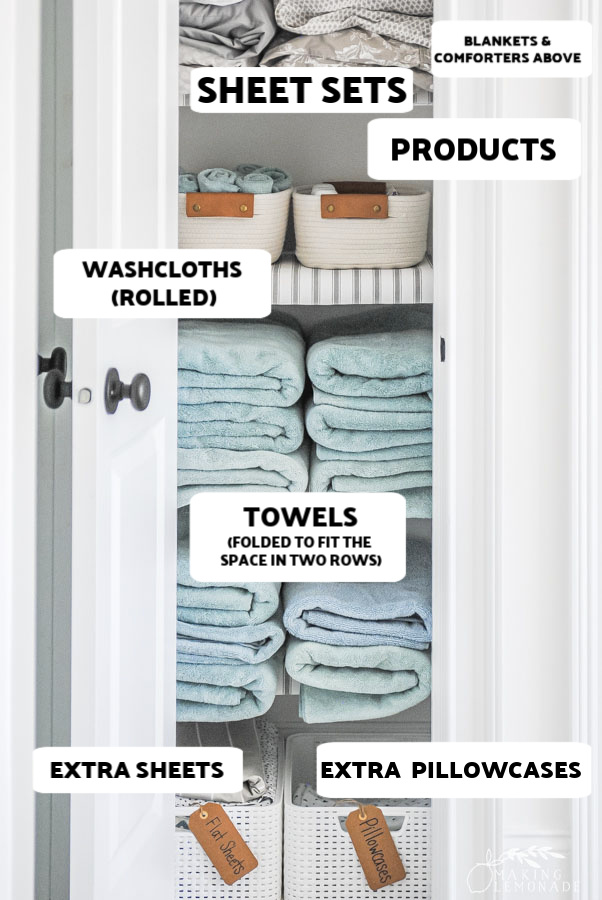
Step Four: Create zones. Now that the shelves are lined, it’s time to load them back up. Place the most used items where it’s easy to reach, putting the less used items at the top and bottom. Your zones may consist of the following common categories:
- towels
- beach towels
- washcloths and hand towels
- sheet sets
- blankets
- pillows
- comforters
- products such as soap, shampoo, first aid and/or medicine
- paper products
- cleaning products
Step Five: Fold, Roll, Tuck, and Store.
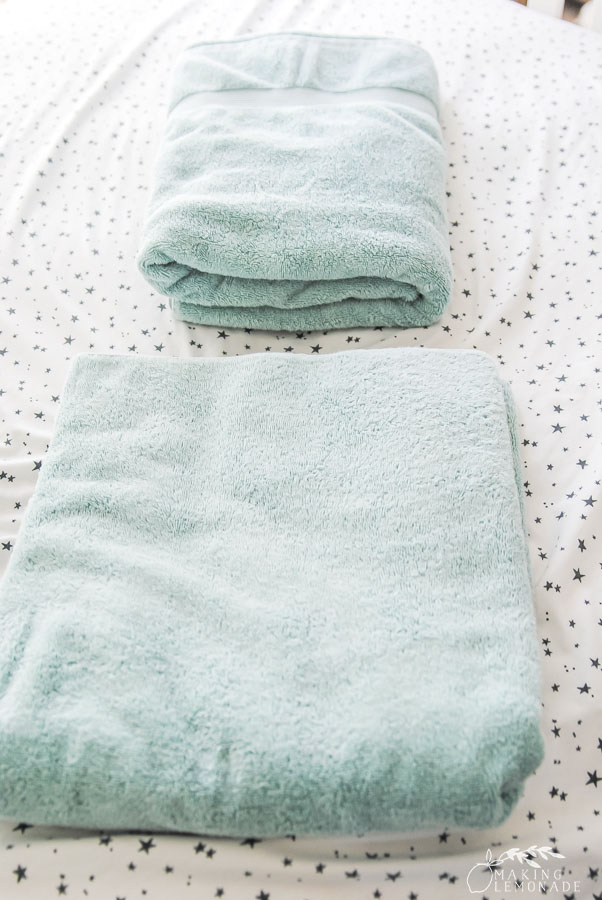
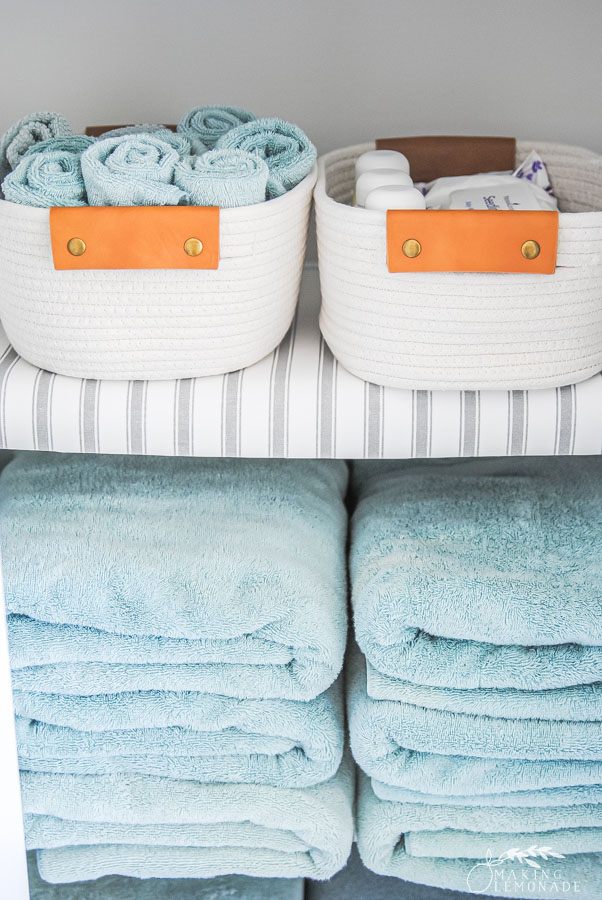
FOLD your towels so they fit neatly. I used the ‘Bed Bath & Beyond’ folding trick to get my towels to fit in two stacks; my traditional towel folding method left space for just one stack of towels so it wasn’t an efficient use of space (see below for the difference!) The BB&B folding method is on top, my old way on the bottom.

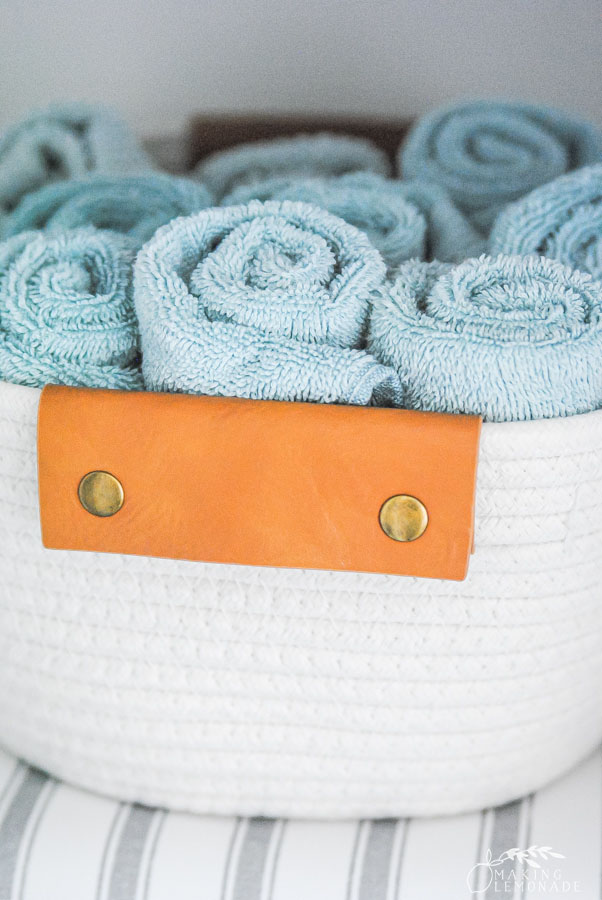
ROLLING towels is another great way to store them, I like to do this with washcloths and hand towels.
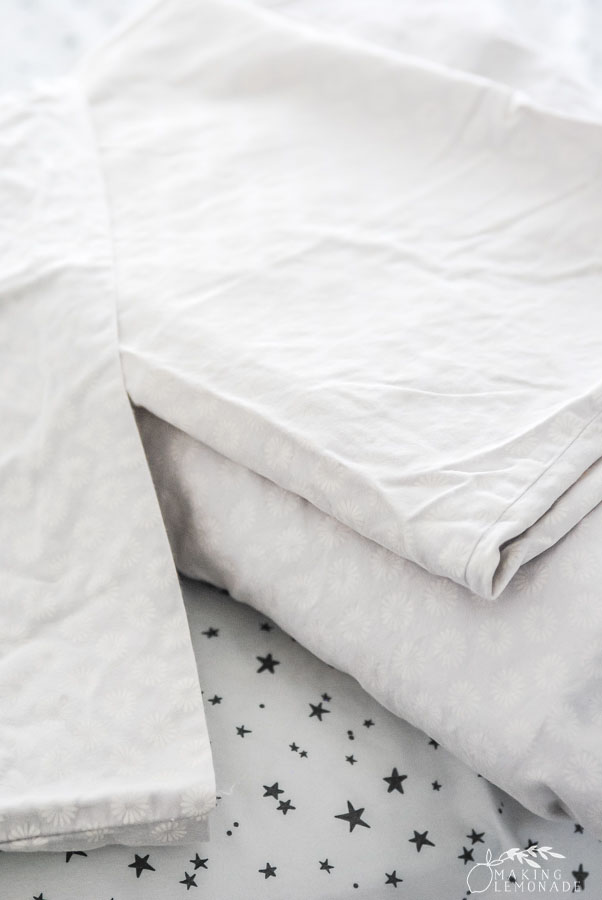
TUCK each sheet set into their matching pillowcase. The fitted sheet and additional pillowcases get folded and placed inside a pillowcase from the set. Then they stack neatly on shelves.
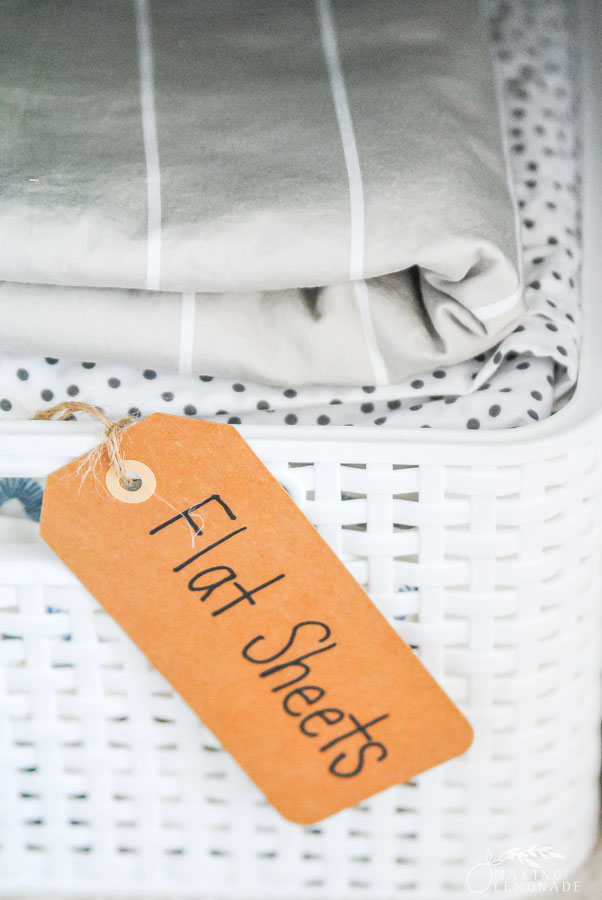
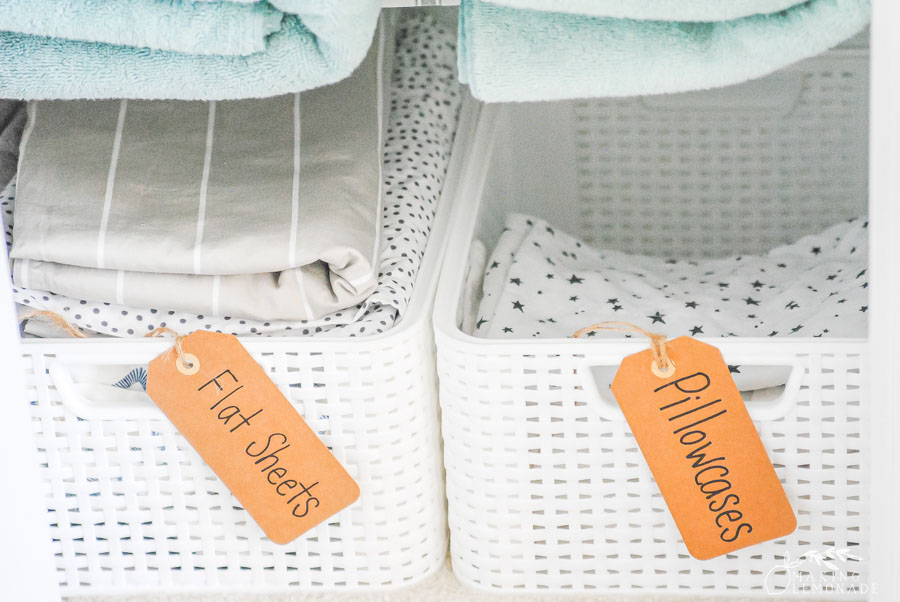
Truthfully, we don’t use flat sheets unless we have guests, so I keep all my flat sheets stored in a basket. Instead, I wash my duvets every few weeks. Making the bed is SO much easier with this method!
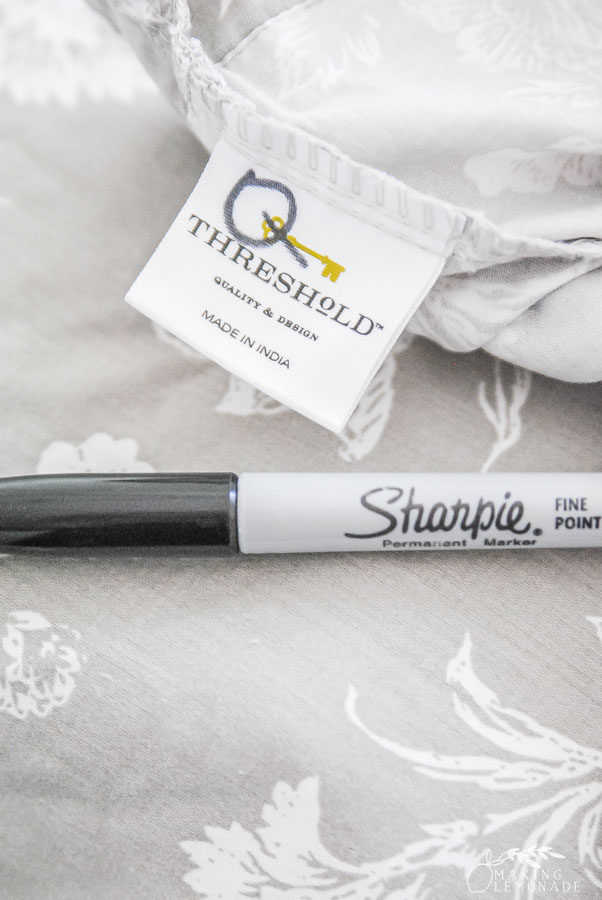
Tip: Not all of our sheets have sizes marked clearly, so I wrote the size on the label with permanent marker. This helps everyone in our family find sheets quickly and easily, especially if we have guests!
STORE products in baskets to keep them corralled. Of course, if you’re using shelf liners you don’t need the baskets because the liners stop the products from tipping over but I do love me a good basket. 😉
Step Six: Label the baskets and zones so everything is easy to find. It occurs to me as I write this that I can label the front of the shelves now that they have liners, so watch for that update!
Now, instead of thinking about my weirdly skinny closet that used to be crazy disorganized I now open it and go ahhhhhhhh with a deep sigh of relief. It’s now functional, organized, and beautiful!
It may seem like a small thing, but being able to find exactly what you need when you need it saves so much time. And knowing any of my kids or guests (or husband, ha!) can open this closet and find what they want feels great as well.
Plus, it’s just. so. pretty!

Buh bye weird skinny closet that looked messy all they time. Hello, gorgeous!
I love when an organizing plan comes together… beautifully.
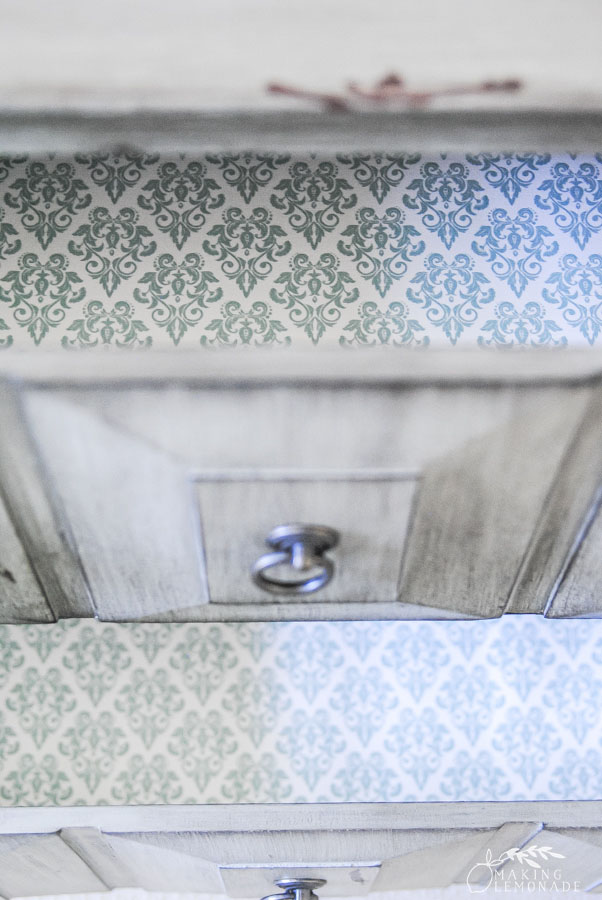
While doing this, I also took time to organize my dresser drawers with the damask shelf liner, another beautiful smooth top option.
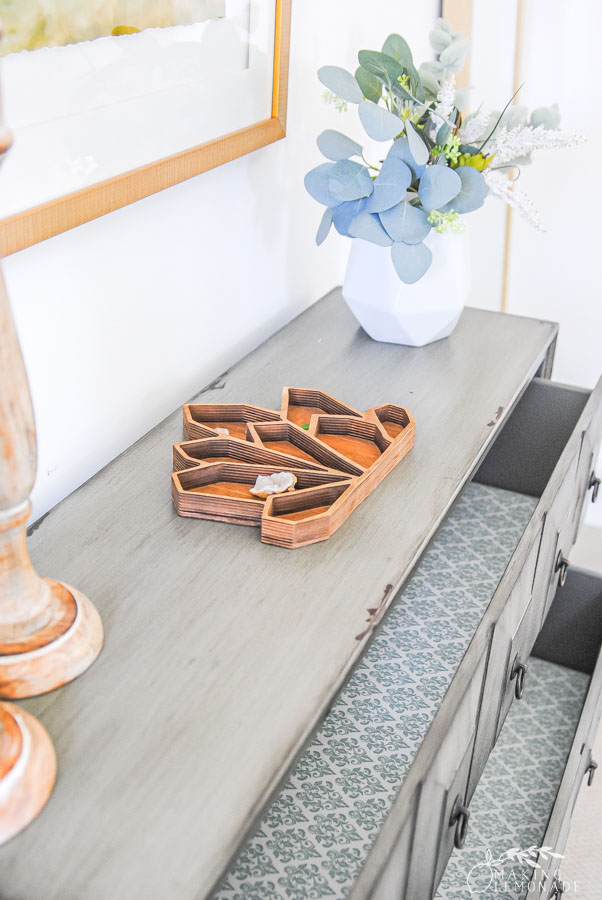
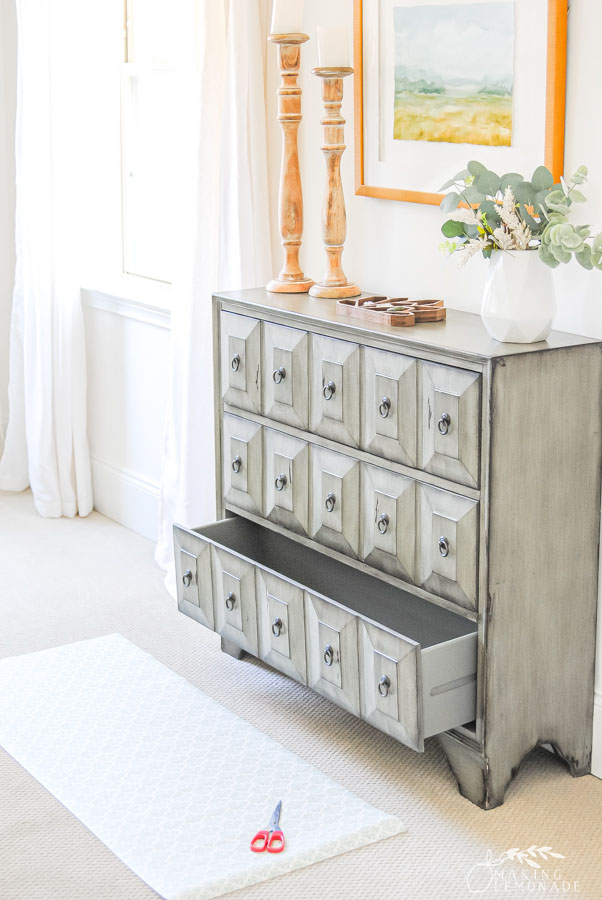
Yes, this is one of those fabulous products I just can’t stop using until I run out of it.
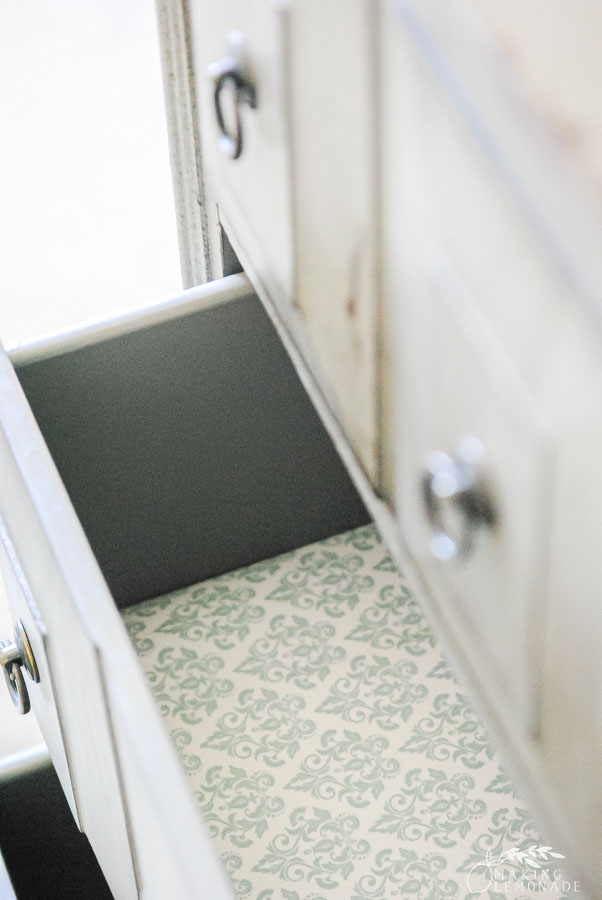
Can you blame me, though? It’s like a little secret treauser hiding inside whenever I open my dresser drawers now!
Hmmmm… which organizing challenge should I tackle next? Wire shelves are no longer safe in this house!
Any favorite linen or dresser organizing hacks to share? Also, do you think my kids will automatically make their beds now that it’s so easy to find sheets? (wink!)
Disclosure: Many thanks to EasyLiner for sponsoring this post. As always, opinions are 100% my own.