No Carve Feather Pumpkins are 80% Ridiculous {Day 29}
This post may contain affiliate links for your convenience. Read my full disclosure policy here.
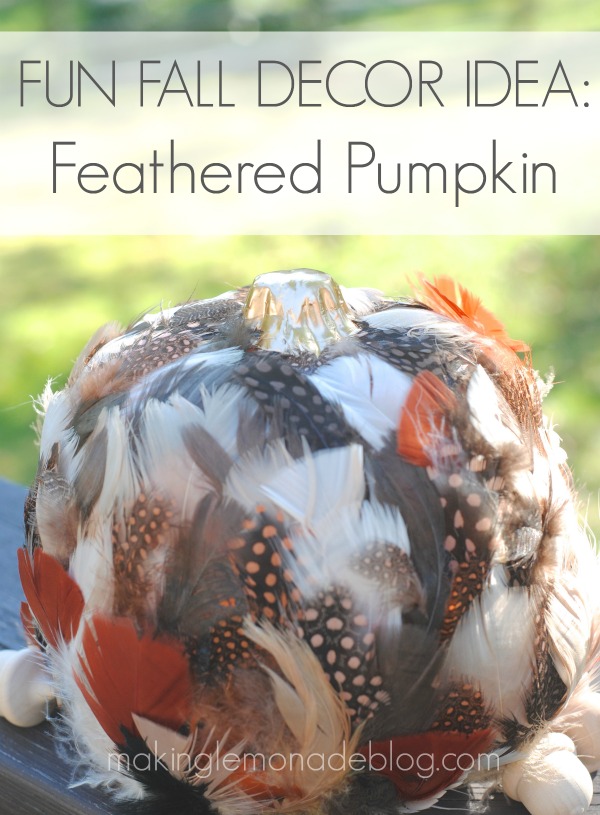
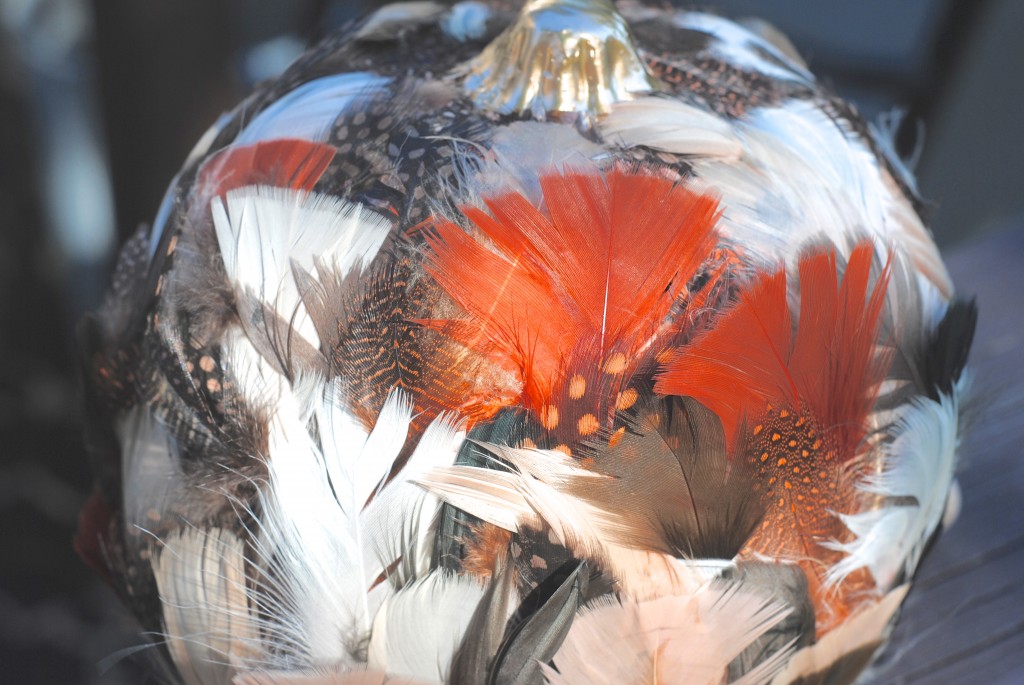
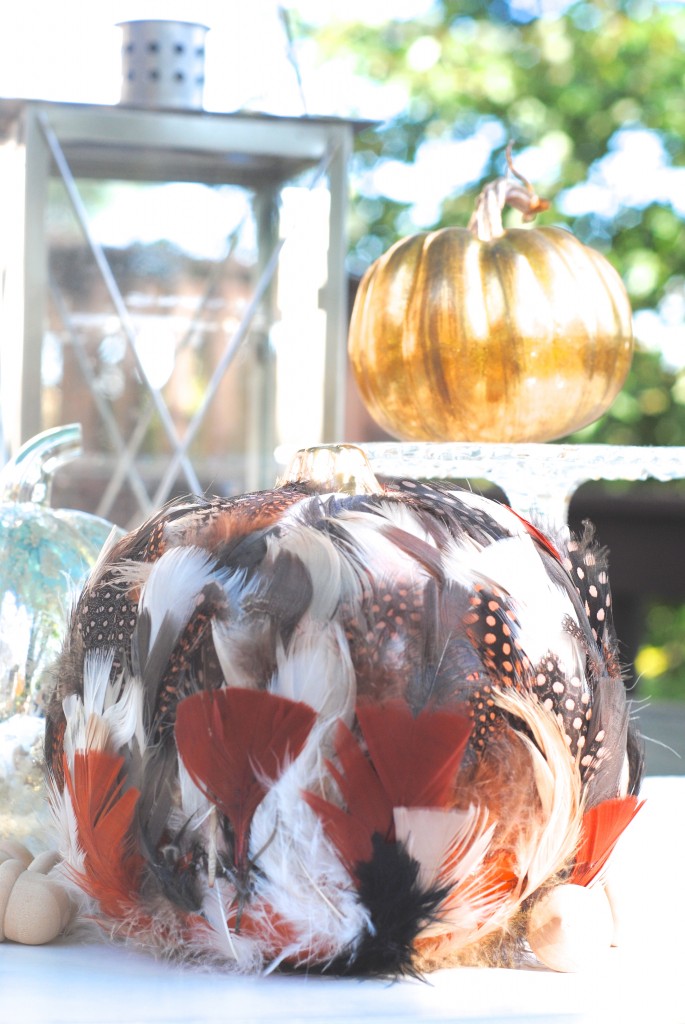
Let me start off by saying that in my heart, I DO realize the no carve pumpkin idea I’m about to share– covering a pumpkin in feathers to create unique fall decor– is totally ridiculous. Okay, not TOTALLY ridiculous but about 80% ridiculous… and 20% awesome.
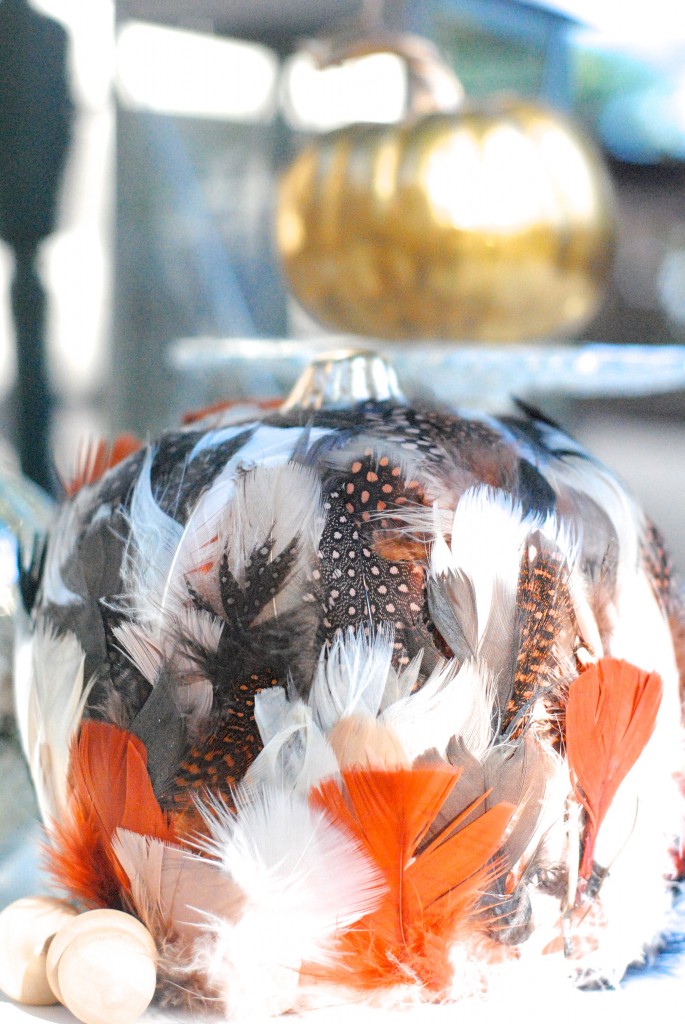
It’s always fun to watch trends take over pumpkins. Chevron pumpkins? Check. Gold pumpkins? Check, check and CHECK. However, I had yet to see feathers make their way onto the pumpkin scene so I took it upon myself to give it a whirl. What better time to try than when I was sharing easy decor ideas all month long? I got out the bags of feathers (on clearance for .99 cents!) and my school glue and went to town.
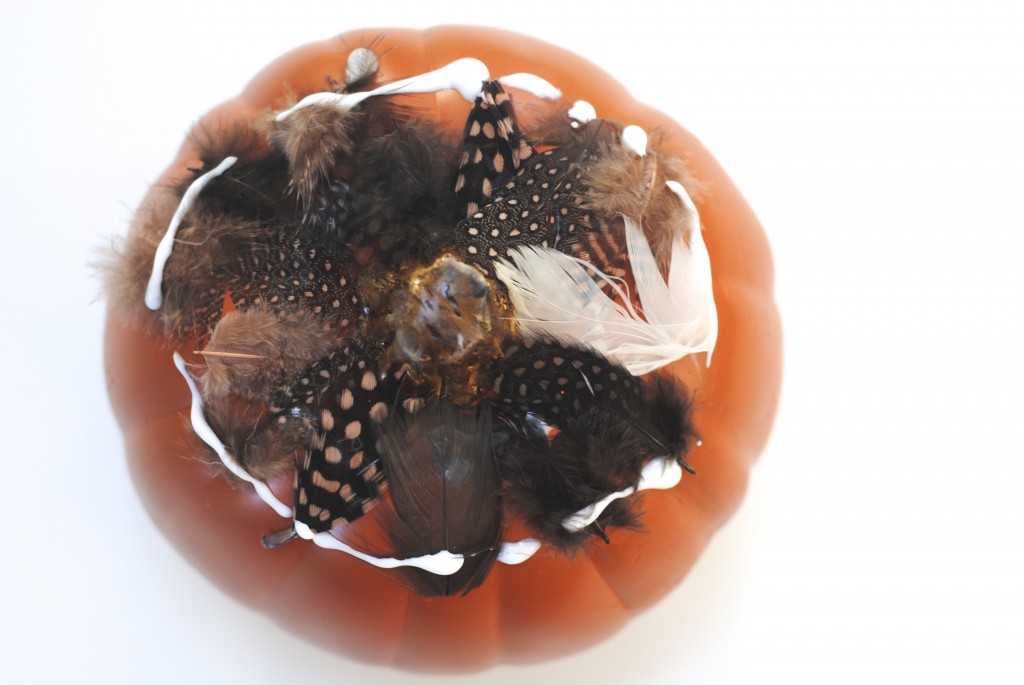
And also? Doesn’t this pumpkin look like it’s in an 80s Glamour Shot session at the mall? COULD THIS PUMPKIN GET ANY MORE AWESOME?
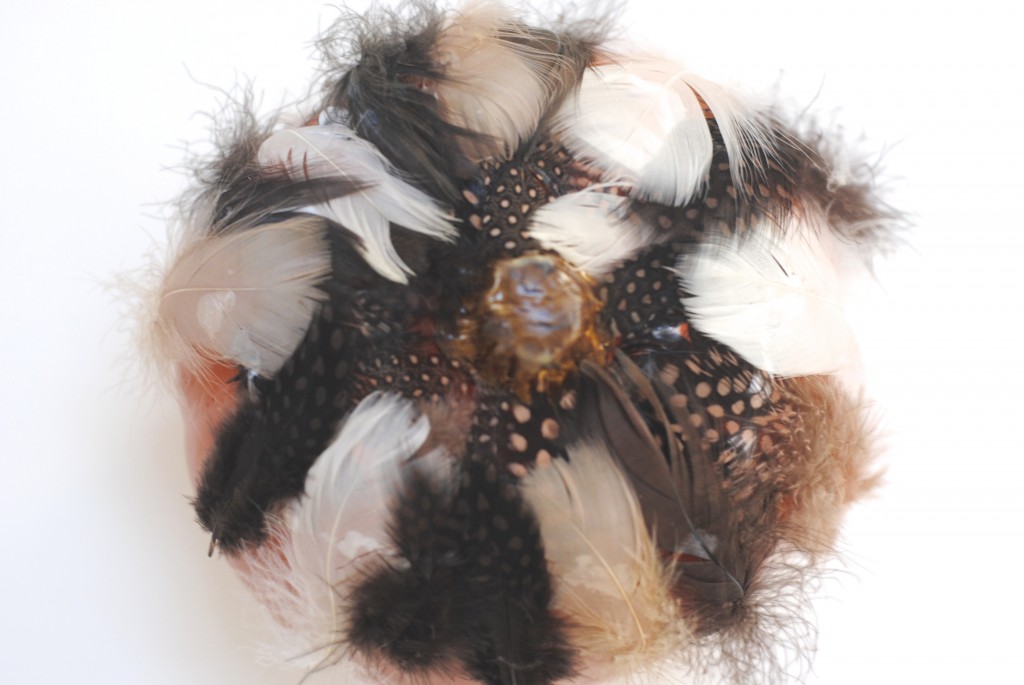
Then, to gild the lily (er, pumpkin) I did something even more RI. DI. CU. LOUS. I added a gilded stem. It’s like a grill on top of a feathered boa. My pumpkin’s new name is Crazy Eyes Pumpkin Trump. Oh yes friends, I just googled a pimp name generator to come up with that bad boy. Anyways, Crazy Eyes is super thrilled to be part of my fall decor!
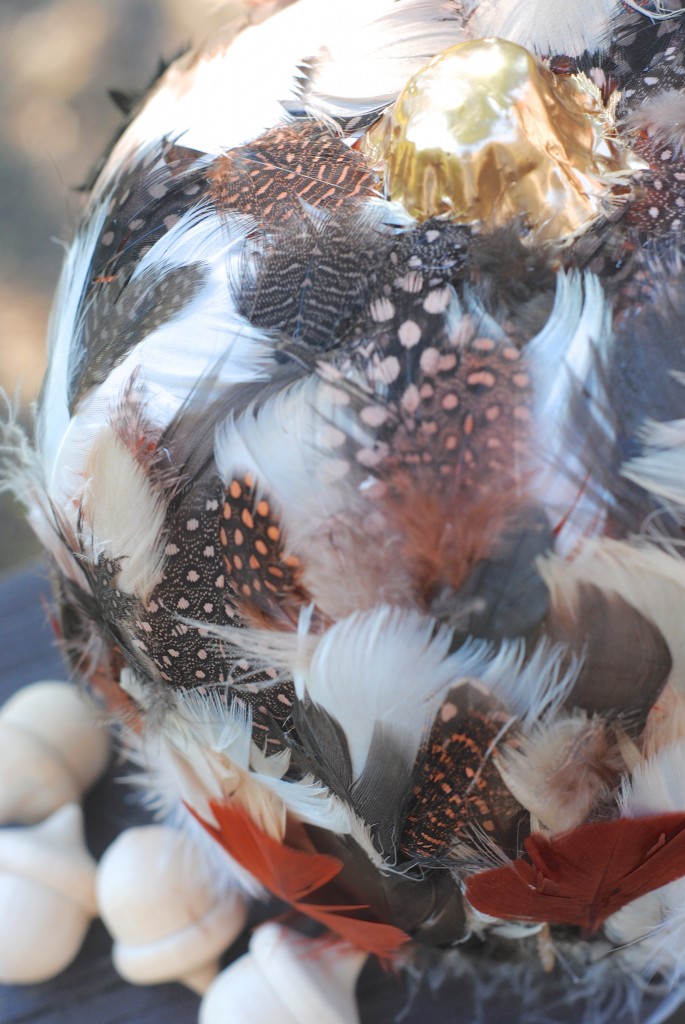
Score one for feathered pumpkins– what’s great is they are perfect for Halloween and on through Thanksgiving, decor-wise. Crazy Eyes Pumpkin Trump’s going to be part of my Thanksgiving table for sure. I simply don’t have time to decorate for each and every holiday separately, so I like to have decor that transitions well from one holiday to another.
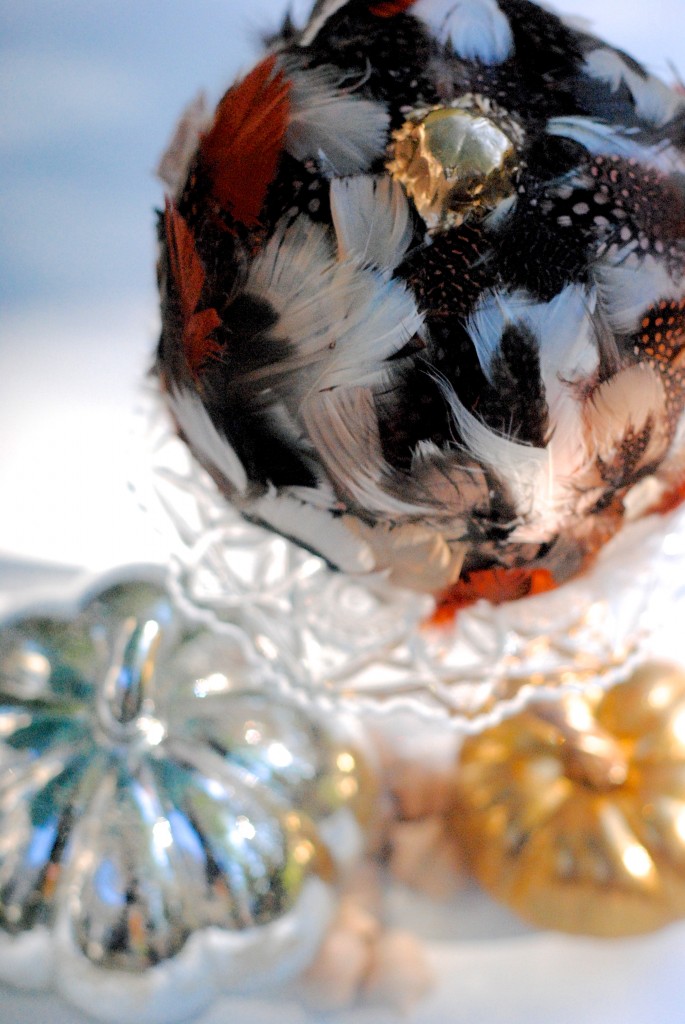
Heck, if I’d used white feathers it may have made it to Christmas!
Materials:
faux pumpkin (from the Dollar Store or craft store)
school glue
scissors
gilding paint (optional)
TIP: I wish I’d used a white pumpkin instead of orange, because the orange comes through on the lighter feathers.
Here’s how to make a feathered pumpkin, if you’re so inclined to add to the feathered pumpkin pimpin’ family:
Step One: Gild the stem if you wish using gilding paint. Which I did LAST instead of first and got gilding paint on my feathers. 🙁
Step Two: Start at the top. Add a circle of glue around the stem. Glue feathers with the tips pointing up and stems downward. If the feather stems are sticking out then trim with scissors.
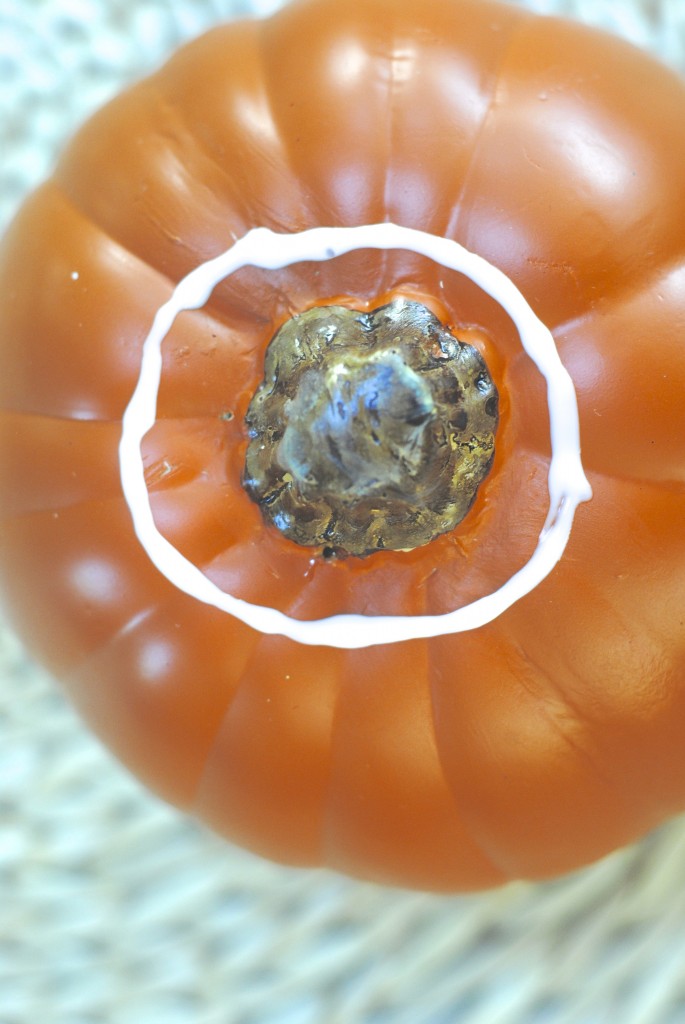
Step Three: Continue to add circles of glue and layers of feathers moving towards the bottom, as demonstrated by my helper.
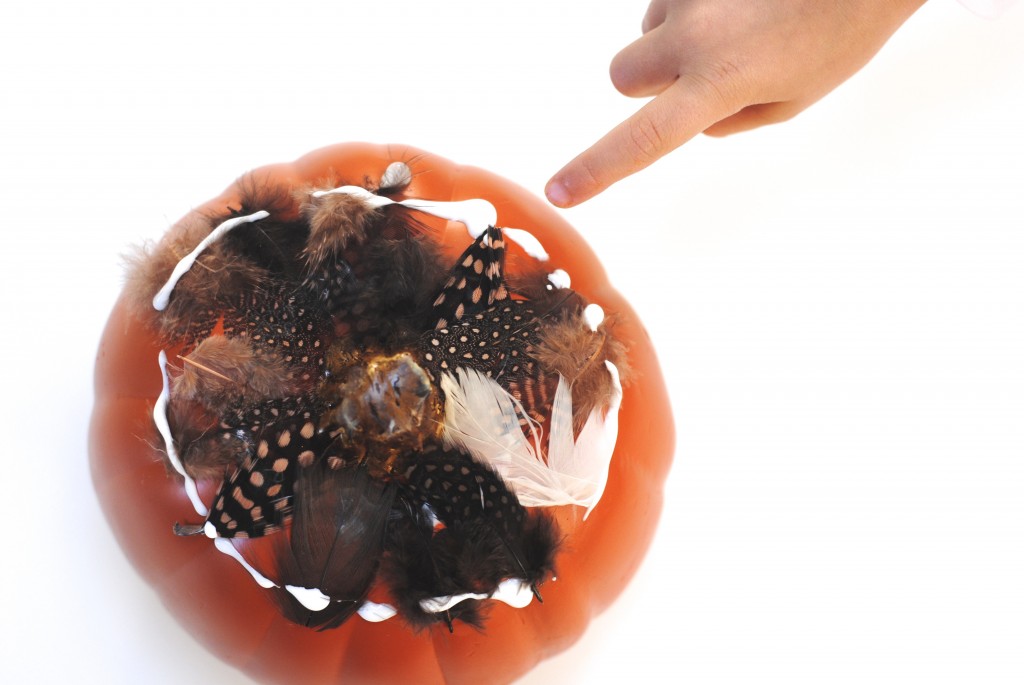
Step Four: At some point, you may need to start gluing them individually.
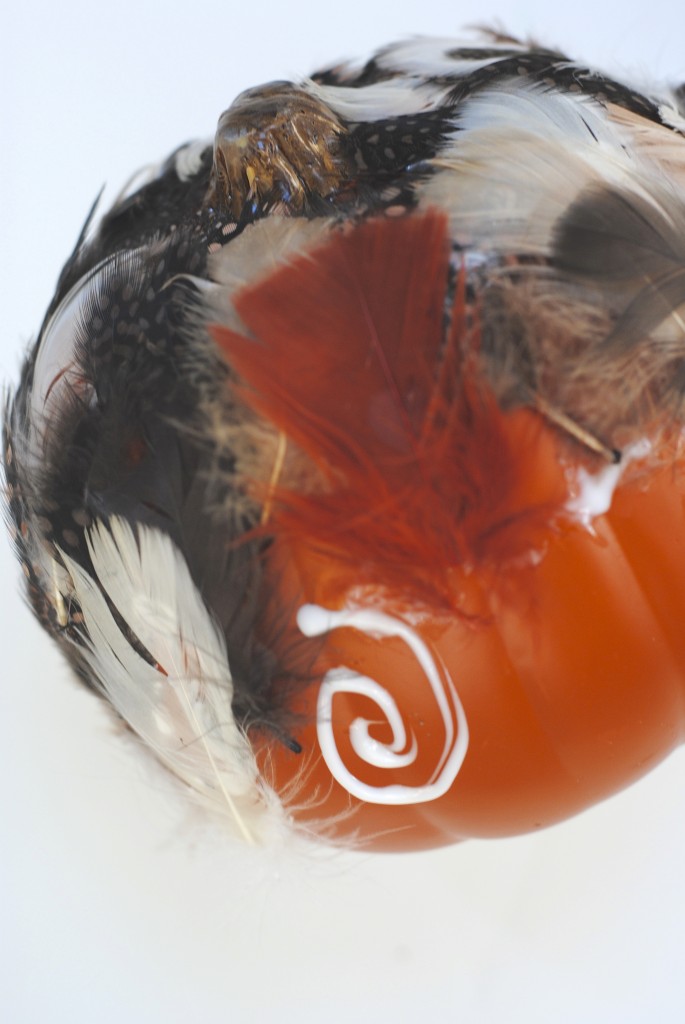
Step Five: As you get toward the bottom, turn pumpkin upside down (so you can see better) on top of a cup to hold it off the table. Continue to glue and trim as usual.
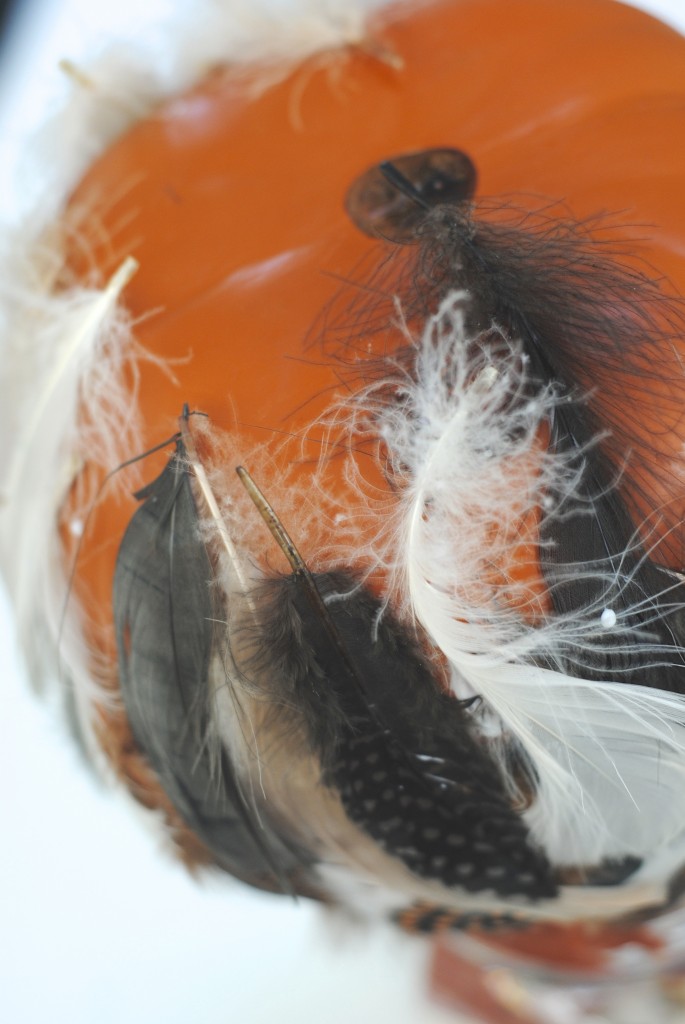
Step Six: Tuck feathers into any bare areas. Let dry. Give your pumpkin a pimp daddy name.
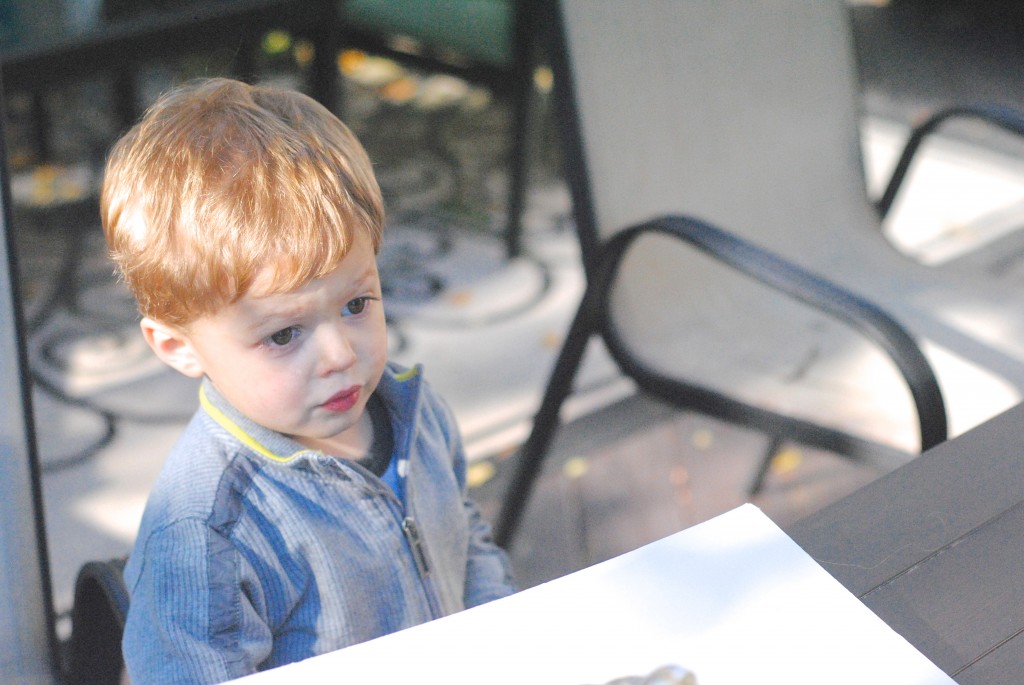
Insert 3-year-old who says, ‘DON’T TAKE MY PICTURE MOMMY!’ and then stands directly in sight of the camera and poses with puppy dog eyes? Totally optional. But highly recommended.
Looking for another no-carve pumpkin idea? Check out my bedazzled rhinestone no carve pumpkins, which can be made three ways!
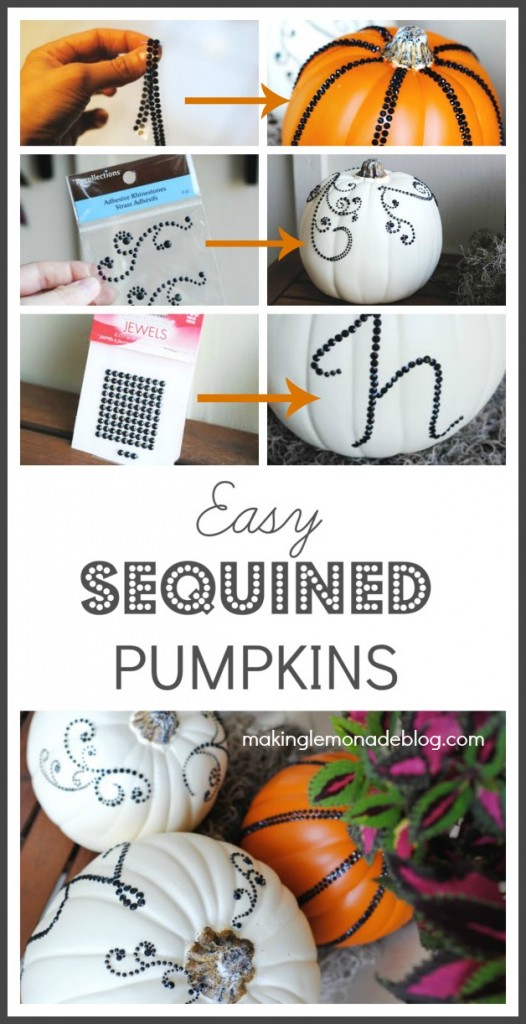
Plus the DIY glowing pumpkin lanterns that take 60 seconds to put together. You’ll want to make those, too.
Feathered pumpkins. 80% ridiculous, but 20% kinda awesome, right?

It’s hard out here for a pimp pumpkin.
No Carve Feathered Pumpkin Ideas is Day 29 in the 31 Days of Easy 15 Minute Decorating Ideas series. Subscribe in the header to get each quick decorating idea delivered to your inbox daily, and find of the rest of the 15 minute decorating ideas series here.
