Simply Organized: Christmas Storage
This post may contain affiliate links for your convenience. Read my full disclosure policy here.
Last week’s tip was a simple one, and this week’s post is a little more in depth. I wanted to share how I organize my holiday items to make for a smooth transition and easy decorating next year, with the hopes you’ll share your ideas, too! I’ve noticed the more time I invest organizing my supplies while putting things away (during the relaxing post-Christmas break), the less time I spend getting it all out next year (during that super-busy mad Christmas rush in December). This system also allows me to take things out in “themes”, so I don’t feel pressure to decorate everything in one day but rather as time allows.
Christmas Lights: I used to spend hours storing and untangling my strings of lights. Then, duh, I got a light holder and how it takes just minutes to pack and unpack them! They roll onto (and out of) wheels, which are then stacked for storage. Genius.
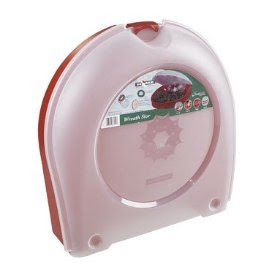
Wreaths: This year I invested in a wreath holder (and by “invested”, I mean I got it on sale at Target). It’s big enough to fit several wreaths (wrapped in white tissue paper) and now they don’t get crushed or dusty. Bonus: it hangs on the wall, freeing up floorspace. {Smart alec comment from my hubby: “Wow, it hangs on the WALL! Just like a WREATH!” He agreed, after some convincing, that yes, the holder would keep them from getting dusty as opposed to just hanging the wreaths on the wall in the attic. Men.}
Wrapping Paper: I have an underbed wrapping paper keeper (the paper gets stored horizontally) but I keep it in my guest room closet and it gets buried under stuff. This year, I’m on the lookout for an upright model and I think that will make it easier to reach stuff year-round.
Ornaments: I’ve seen several models of ornament holders, and I think mine is pretty good but have seen other nice models as well. The plastic ones are hard-sided, ensuring that ornaments don’t get crushed. I bought an additional one this year for the “overflow”. It’s made from cardboard covered in fabric, so we’ll see if it works!
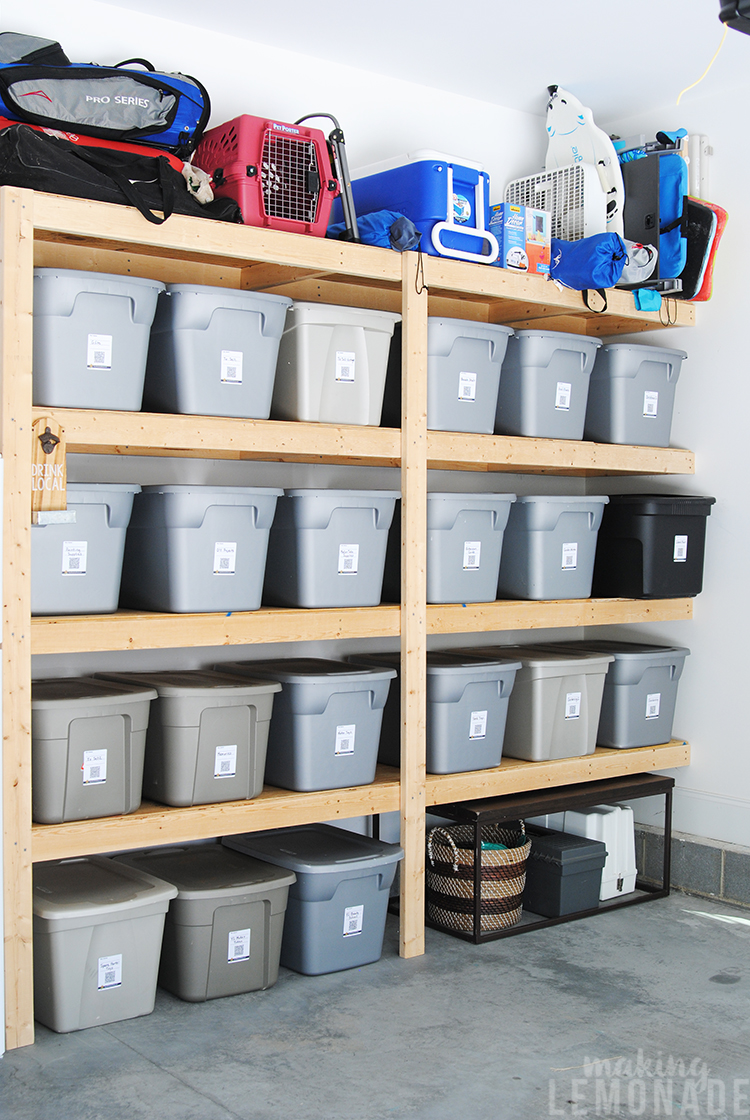
Everything else: I love Rubbermaid and Sterilite tubs. I have tons of them. They are cheap, store well, keep things dry and dust free, and work in both the attic and basement. I sort things by “theme” before storing them in each bin (see step #3).
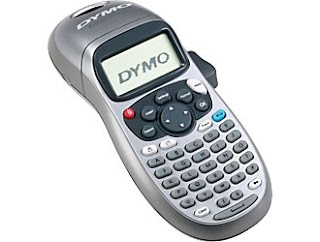
label maker
permanent marker
twist ties/ yarn/ twine/ wire
plastic baggies
scissors
tape
tissue paper
garbage bag
This is the system that works best for me. I prefer to take everything down at once, organize it into piles by “theme”, and then store them in the proper bins. Go around your home after you’ve taken everything down to scout for stragglers. I always leave one free bin, because no matter how much I hunt around the house for leftover decorations there are always a few things I miss (or buy during the year). This “miscellaneous” bin lives in our basement so I can reach it easily whereas all the others are stored in our attic.
Here are the “themes” into which I organize everything:
Tree (garlands, topper, ornament boxes, tree skirt, etc.)
Decorations (stockings, mantle pieces, family banners, window candles…)
Entertaining (cookie plates, Christmas serving pieces, etc.)
Antiques (all my vintage decorations, including figurines and bulbs)
Outdoors (outdoor wreaths and decorations)
Crafts (items that are solely Christmas themed for my many projects, including ribbon and fabric)
Once my items are sorted into piles, I then pack them into bins. I always analyze every item to make sure it’s not broken (if it is and can’t be repaired, it gets tossed) or something that I don’t want anymore (if so, I put it in the “donate” pile). Your “toolbox” of supplies come in handy during this time: fragile pieces get wrapped and taped, some things get labeled, small things get put into baggies or bundled with twine, tags get snipped.
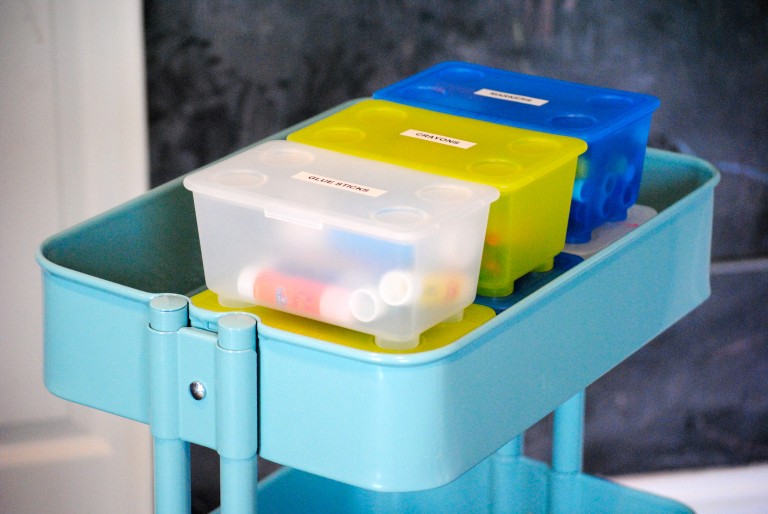
I label each bin on three sides– on the top, a long side, and a short side– so I can always see what’s inside no matter how they are stacked (yes, I’m anal). Most are already labeled, either with an index card taped on or with my handy label maker.
In the end, I have a parade of storage boxes ready for the attic. Next December, I am able to take them out as needed. We might decorate the tree before putting up our other decorations, or I might start my holiday crafts before Thanksgiving; with this system, it’s a breeze to find and reach only what’s needed!

