The Clean Home Companion Binder Resources
Welcome to the resource page for The Clean Home Companion binder, the ULTIMATE easy system for putting your cleaning routine on autopilot… saving you time and money to do more of what you love. This page is for those of you who already have the binder. Need a copy of your own? Check it out here!
Supplies Needed For Your Binder
- printer (we have an older version of this one and Instant Ink is a HUGE money saver for our family)
- 3 ring binder
- 3 hole punch
- plain sticker paper (optional for printing labels, tabs and planner stickers)
- plastic page protectors (optional)
- cardstock (optional)
- binder tabs (optional; we have printable ones on the binder but you can also just buy these and make them yourself)
- 3 ring zippered pouch (optional)
How to Assemble the Cleaning Binder
The binder is super easy to assemble:
Print it out, slide the cover and spines into the plastic on your binder, three hole punch the rest of the pages and add them to the binder. You can add the tabs to the section pages using glue or tape. Super simple, and ready to go!
I recommend doing it this way so you can get to the good part fast: setting up your clean routine and getting started right away.
That being said, if you’d like to print the tabs and labels on label paper and some pages on cardstock for durability, we’ve made that easy as well. Here’s how:
- Print the pages. Below are our suggested printing options, but customize how you see fit.
- print the BINDER PAGES section on regular paper
- print the LABELS section on white sticker paper. You can save money by printing them all on regular sticker paper and cutting apart yourself, or customize the type of paper to the type of label as follows:
- printable cleaning labels on label paper with 6 labels per page
- planner labels on these round dot labels
- tabs for sections on one sheet of sticker paper
- Optional: the Room Cleaning Cards and Laundry and Stain Removal Charts are already included in the BINDER PAGES section, but you can also choose to print these on cardstock from the CARDSTOCK section if you wish to make them stand-alone pieces (see #5)
- Add cover and spine labels to binder.
- 3-Hole Punch the rest of the pages and put in binder.
- Add tabs to section covers by cutting out the tabs, peeling off the label backing, and folding it onto itself over the paper edge. You can see how this is done here.
- If you printed the CARDSTOCK section on cardstock:
- if you wish to create a set of how-to cards for each room, cut the Room Cleaning Cards into four sections, punch a hole in the corner, and attach a binder ring. Store this in your cleaning caddy for quick reference.
- hang the Laundry Symbols and Laundry Stain Guide inside laundry room cabinets, or keep near your laundry supplies.
- Optional: add plastic page protectors to the pages with checklists or blanks to fill in so you mark them with a dry erase marker and can reuse them. Store markers inside the binder pouch if you purchased one.
Printing Tips
You can print the binder in black and white to save ink.
Another ink saving tip: go through the binder digitally and only print the pages you need.
If you don’t have a printer at home, you can print it out at your local copy center (definitely choose black and white if you choose this option as color copies at a copy center are super expensive.) You can also use an online printing service like this one to print and ship to your home.
Use the bundles in your account to easily print different sections (ie, ALL LABELS or CARDSTOCK, see above.)
Cleaning Supplies
- Laundry Baskets
- Caddy with Handle
- Mop and Bucket (I recommend a spin mop with bucket, though to be perfectly honest I personally use this vacuum/wet floor cleaner and it saves TONS of time and works like magic!)
- Vacuum
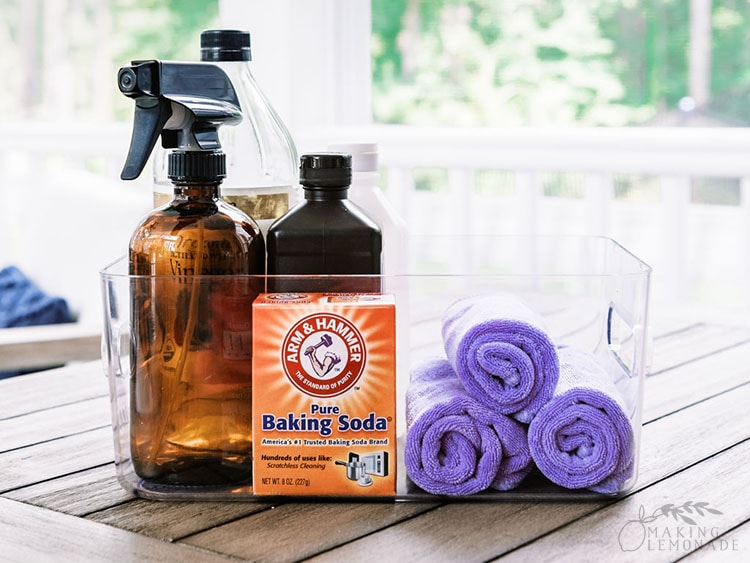
Add the following cleaning tools to your cleaning caddy :
- Microfiber Cloths
- Scrub Brush
- ScrubDaddy Scrubbing Sponge
- Microfiber Duster/ Dusting Gloves
- Cleaning Products (see list below)
Cleaning Solutions (buy or make your own using the DIY recipes in the binder):
- All Purpose Cleaner
- Glass and Mirror Cleaner
- Laundry Stain Spray
- Sink Scrub
- Laundry Detergent
- Floor Cleaner
- Room Spray
- Linen Spray
- Dish Soap
Optional but helpful:
- Razor Blade Scraper
- Toothpicks (for small spaces like bathroom faucets)
- Hand Vacuum
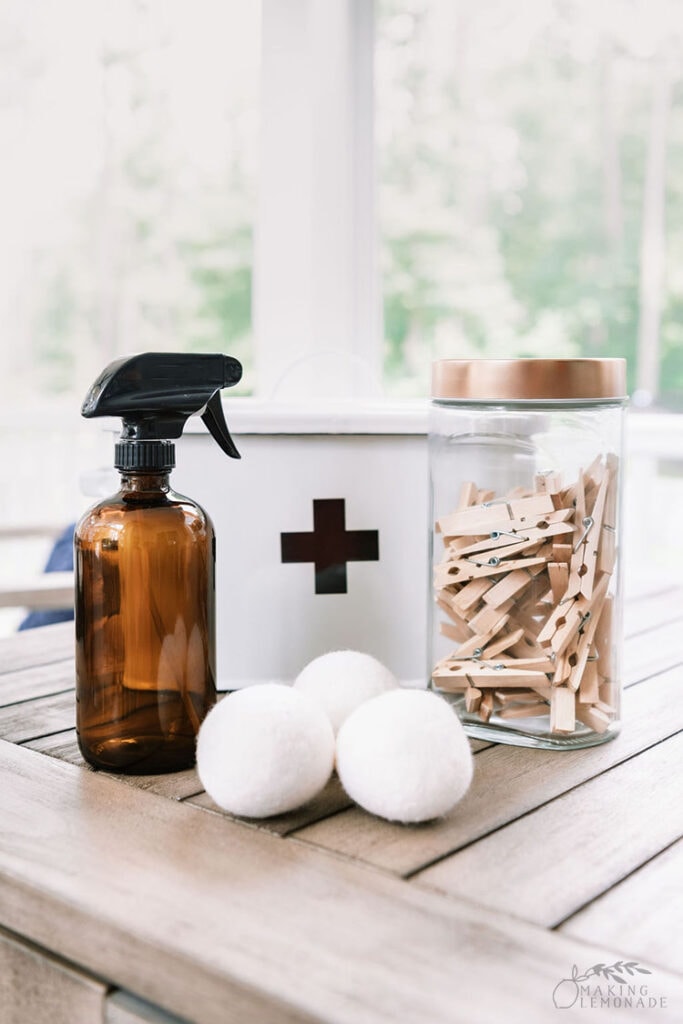
- Wool Dryer Balls
- Squeegies (for glass shower doors and windows)
- Wet-Dry Floor Cleaner (I love the Bissell Crosswave)
- Laundry Sorting Bags
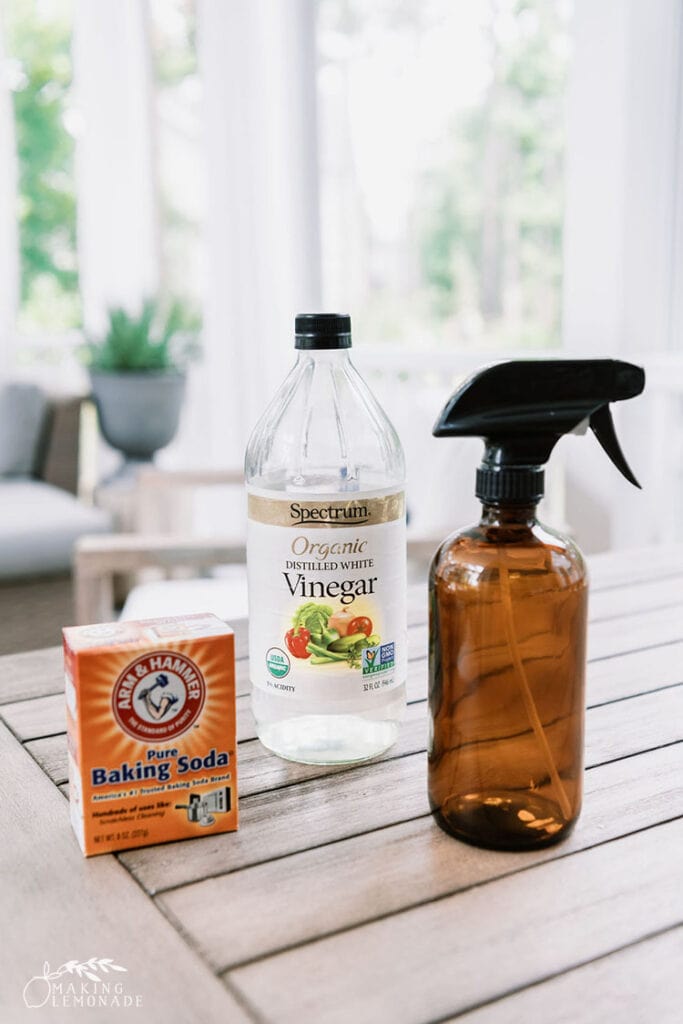
Natural Cleaning Ingredients (mentioned in DIY recipes)
DIY Cleaning Recipes (with Videos)
Toilet Bombs– the easiest way to clean your toilet. Simply drop them in and let them do the work for you.
Carpet Freshener– need to freshen up carpets? This easy formula will neutralize odors in the carpet fibers.
Bling Wash– soak your rings in this Bling Wash while you clean your home and you’ll have sparkly rings when you’re done!
DIY Cleaning Wipes– whip up a batch of these natural cleaning wipes to quickly clean and disinfect spills and high traffic areas.
Best Natural Grout Cleaner– these two ingredients do all the work for you when you want to clean grout the EASY way.
Bathroom Soap Scum Spray– this DIY recipe is simply the best way to deep clean bathrooms.
DIY Odor Eaters– make up a batch of these Fridge Deodorizers and eat up odors naturally (and inexpensively.)

Shop everything you could possibly need for The Clean Home Companion and setting up the most efficient cleaning systems in your home by clicking the products needed below.
