DIY Plate Decorations, 3 Ways {Fall Decor on a Dime!}
This post may contain affiliate links for your convenience. Read my full disclosure policy here.
Ready for another quick idea for fall decor on a dime? Because you could LITERALLY pick these up for a dime at a yard sale or thrift store. Liter.all.y. And if you can’t find them for a dime, you’ll only need to spend 9 more dimes to buy them at the Dollar Store. The only other things you need, depending on the style you go with, are washi tape and a gold sharpie.
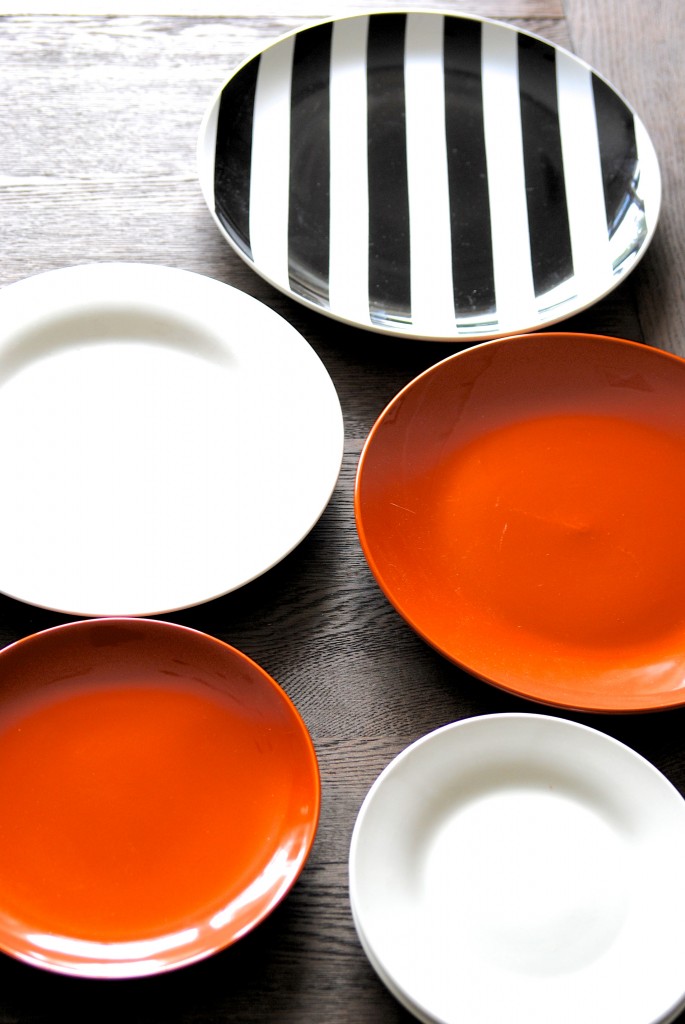
Here’s what I started with:
Now we’re going to decorate them. I’m going to assume you know that these decorated plates are not food safe. So I don’t need to explicitly spell out that these aren’t food safe, right? 😉
DIY Gold Painted Plate:

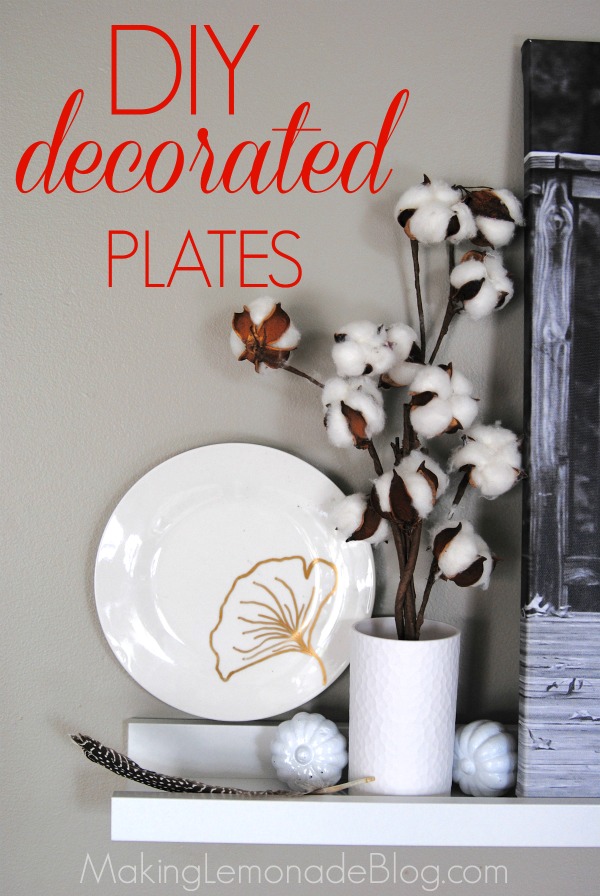
Using the same technique as in my gold polka doted teapot, draw a design onto your plate using a gold sharpie.
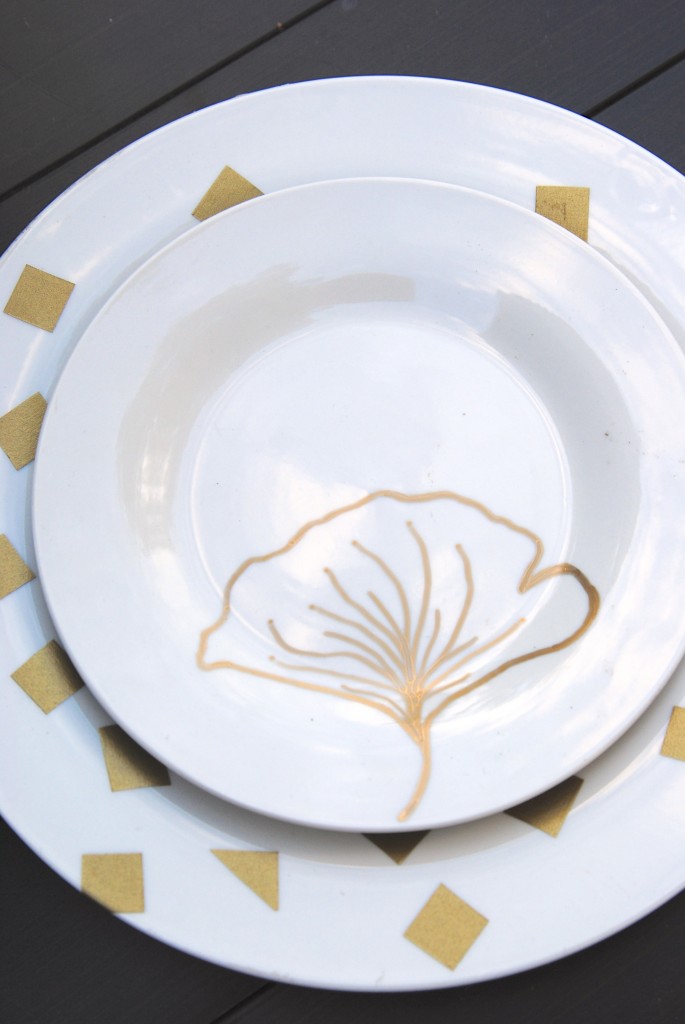
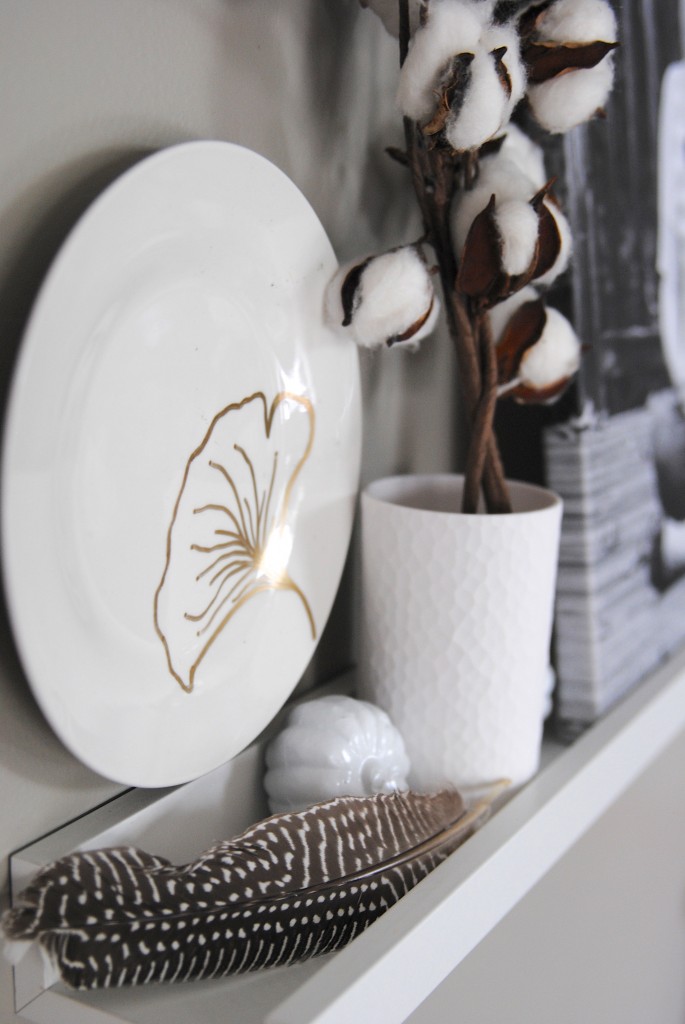
I cut out a ginkgo shape (sorry, I JUST CAN NOT HELP MYSELF!) and traced it onto the plate. It’s very simple, which I like. I thought a tree ring plate would look gorgeous too (it’s next on my list). Other ideas are pumpkins, swirls, leaves, constellations or fun geometric designs.
So simple. So us. 🙂
Washi Tape Plates:
The next two plates were created with washi tape.
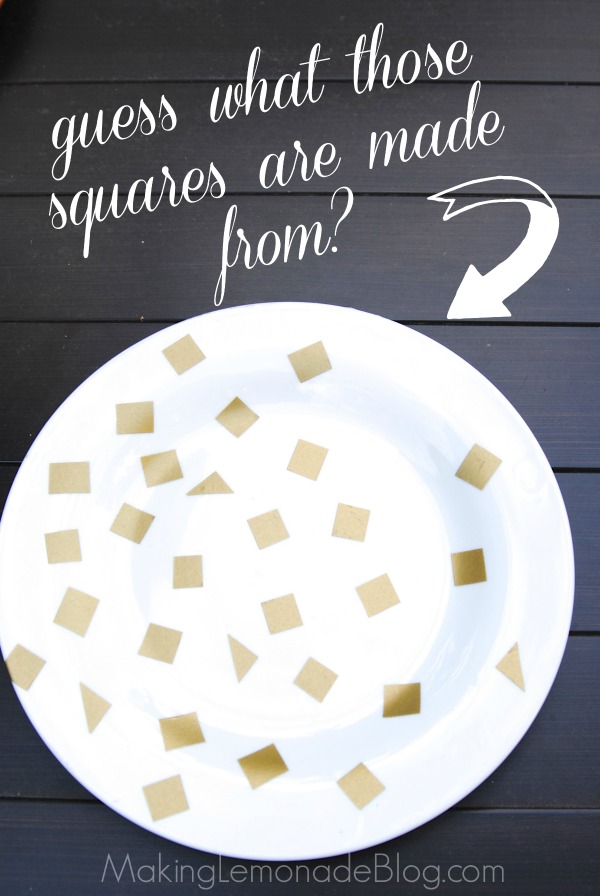
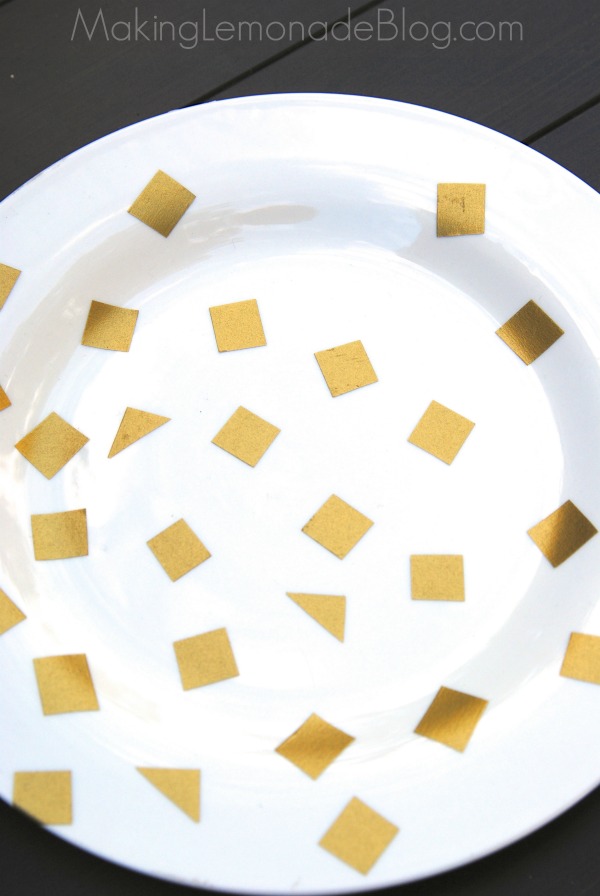
For the first one, I cut out squares and a few triangles from gold washi tape and stuck them all over, with a fading pattern so one side had more than the other (gotta keep people guessing, right?)
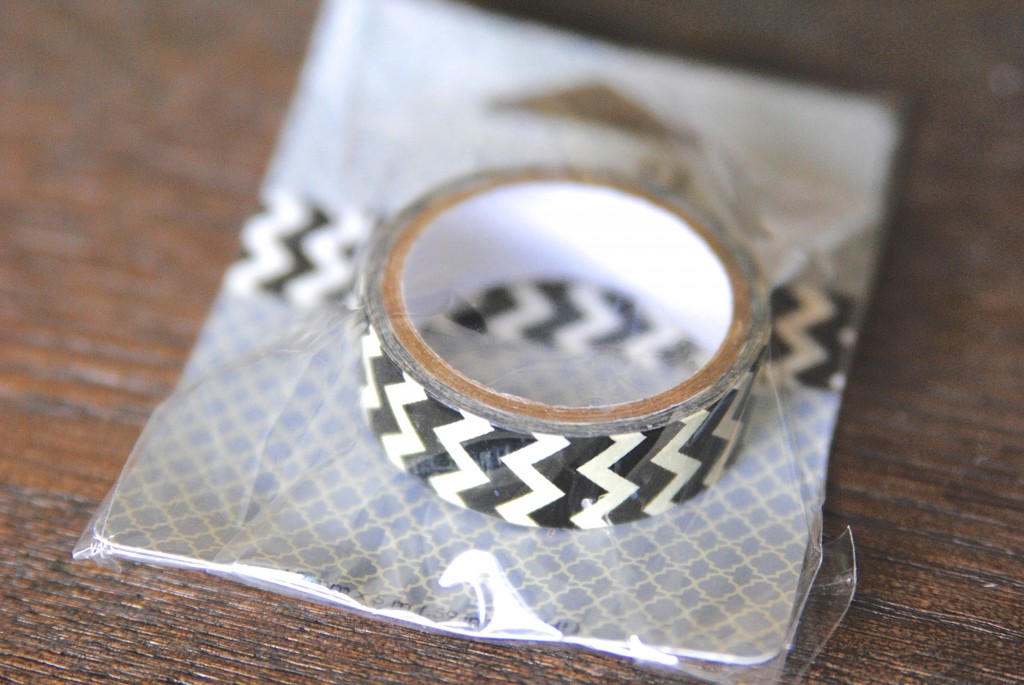
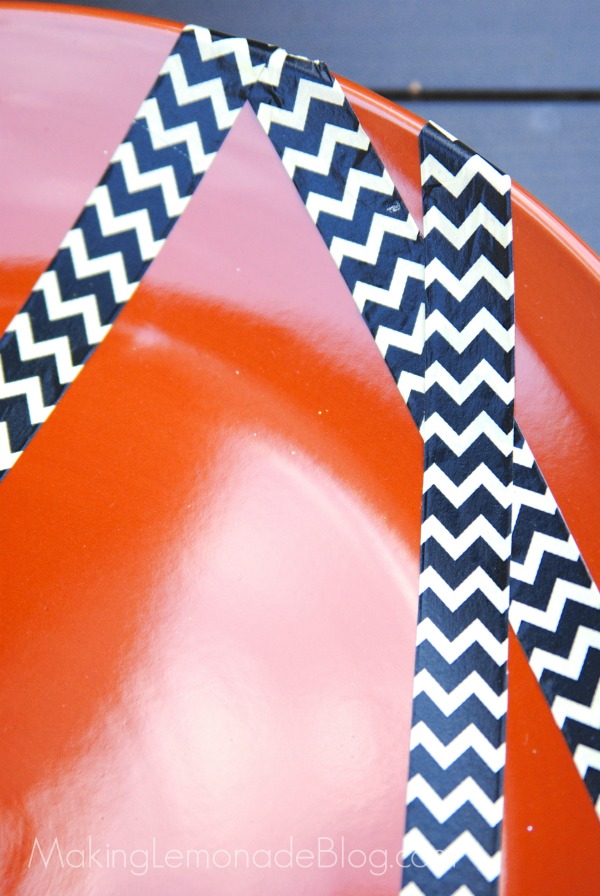
The other one is Halloween inspired. I used black and white chevron tape and applied it on the orange platter.
I overlapped a few pieces and made sure they wrapped around the edges for a cohesive look. My daughter helped me put the washi tape on the plate, can you tell? 😉
There you have it, DIY decorated plates 3 ways. Go grab a dollar plates and get decorating!
What do you think of these Dollar Store fall decorating ideas? Too much? Or just right? Because I’m really on a roll… just want to make sure it’s the right roll.
Are you picking up what I’m putting down? <——- (what does that even mean?)
