The Little Geometric Planter that Could {& Free Printable}
This post may contain affiliate links for your convenience. Read my full disclosure policy here.
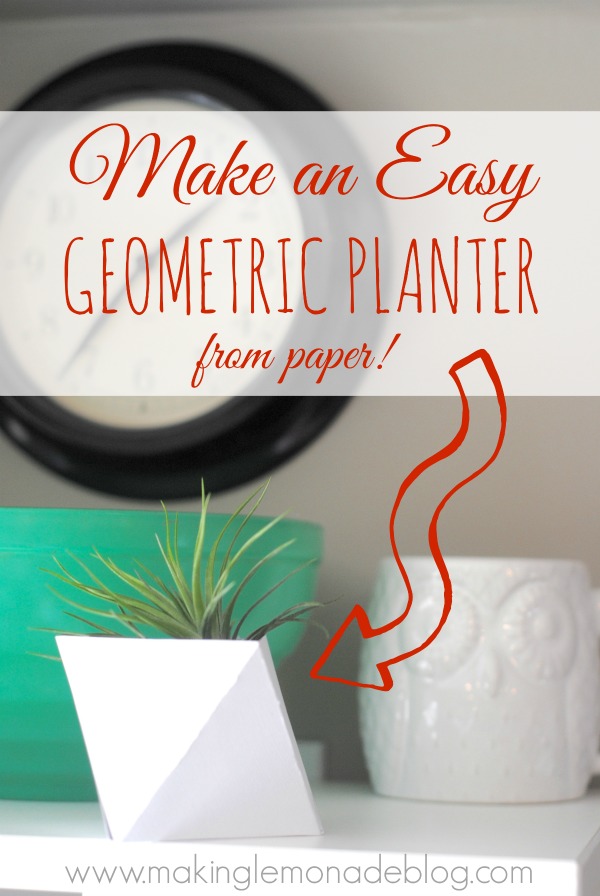

It’s no secret that I love simple and easy crafts with modern appeal– if I’m going to take the time to craft, I want it to be something beautiful and useful, too! That’s why strolling the aisles of my local Jo-Ann Fabric and Crafts Store is a huge stress reliever for me. Something about wandering those aisles and dreaming of projects fills me with happiness, especially when I leave with a bag of goodies and creative ideas. It’s National Craft Month, and what better time to scout out spring craft ideas— made even sweeter with a $5 off of $25 coupon?!
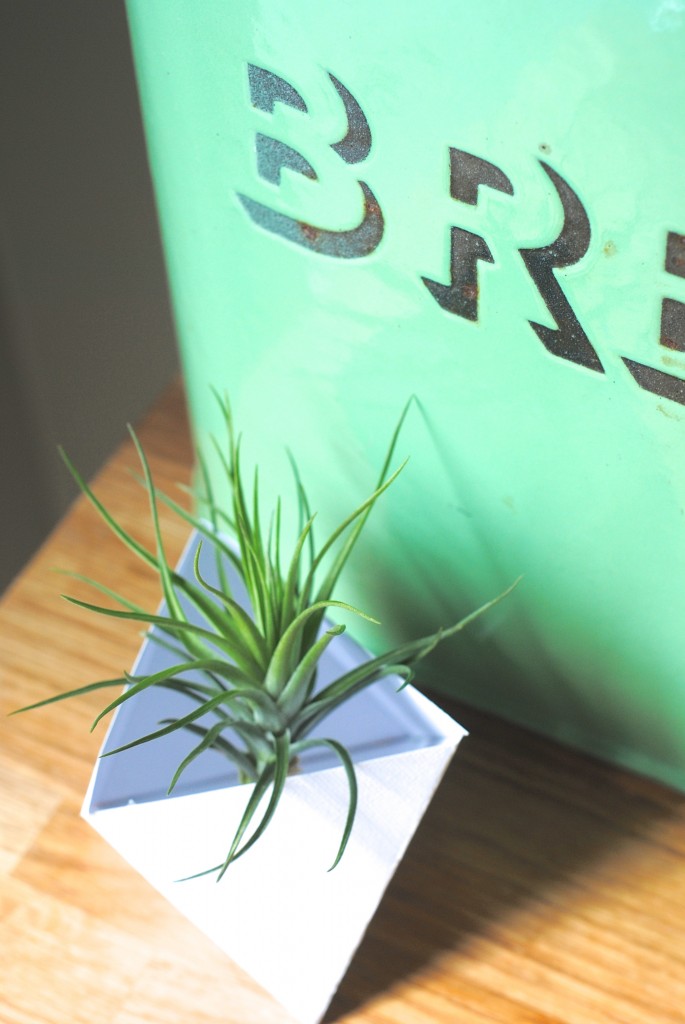
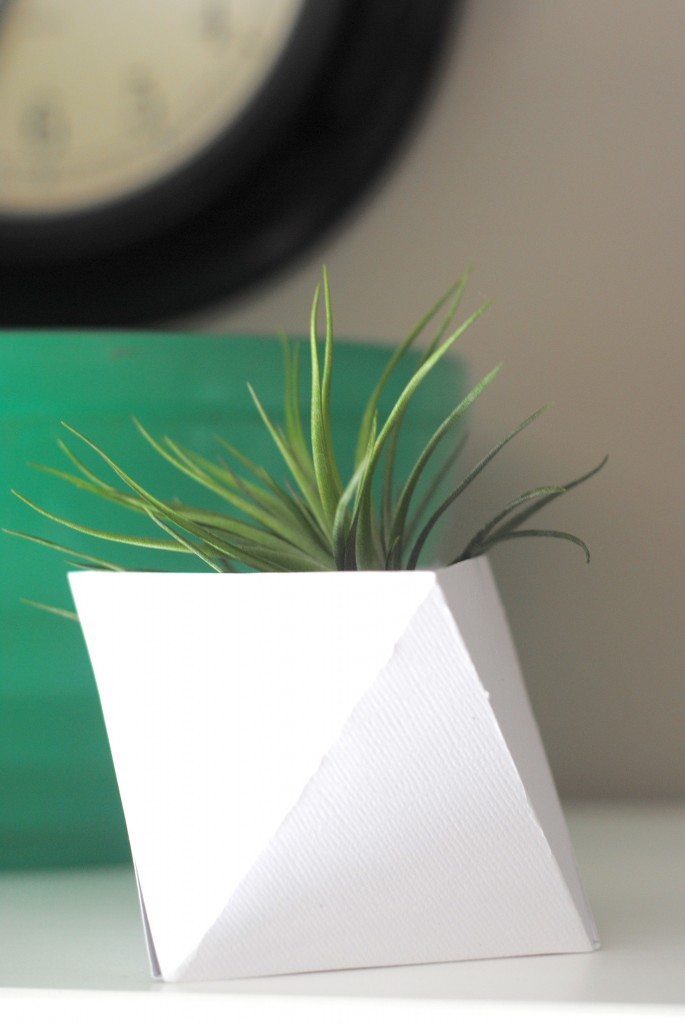
I’ve been seeing geometric terrariums and planters all over the place, and wanted to replicate the idea. But how? Cutting glass and ceramics aren’t my area of expertise, so I needed a much easier way to make one. I’ll admit I attempted by using FIMO and air dry clay, but didn’t have the patience to make it work. That’s when I hit up the scrapbook aisle and grabbed dozens of beautiful patterns and colors to play with. A few minutes later, I had this: a modern little plant pod for the airplants I picked up at the Flower Show.
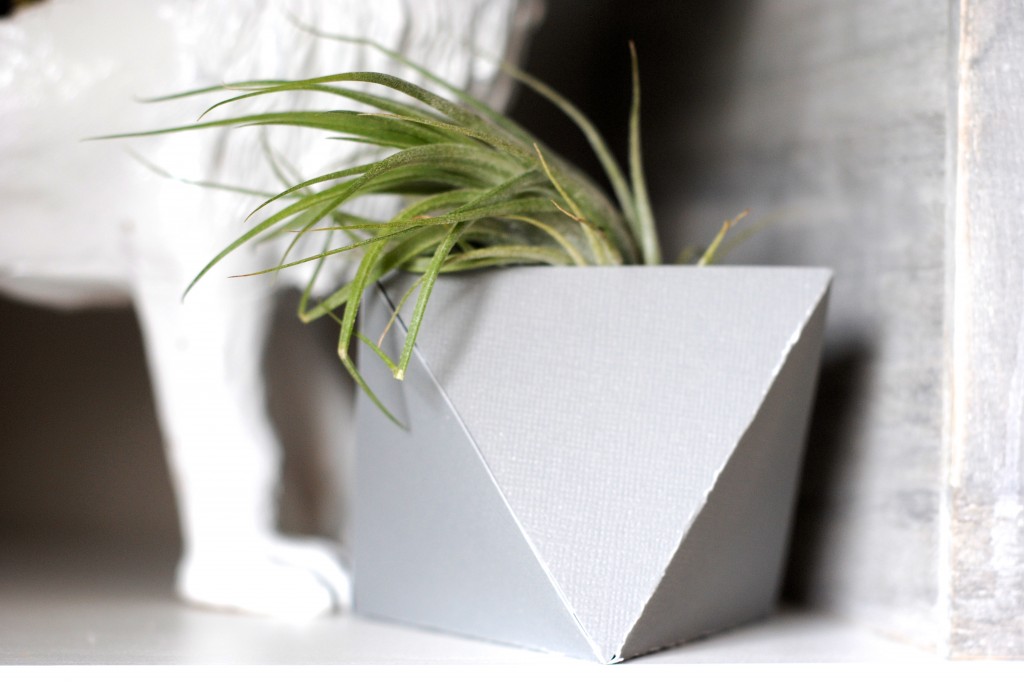
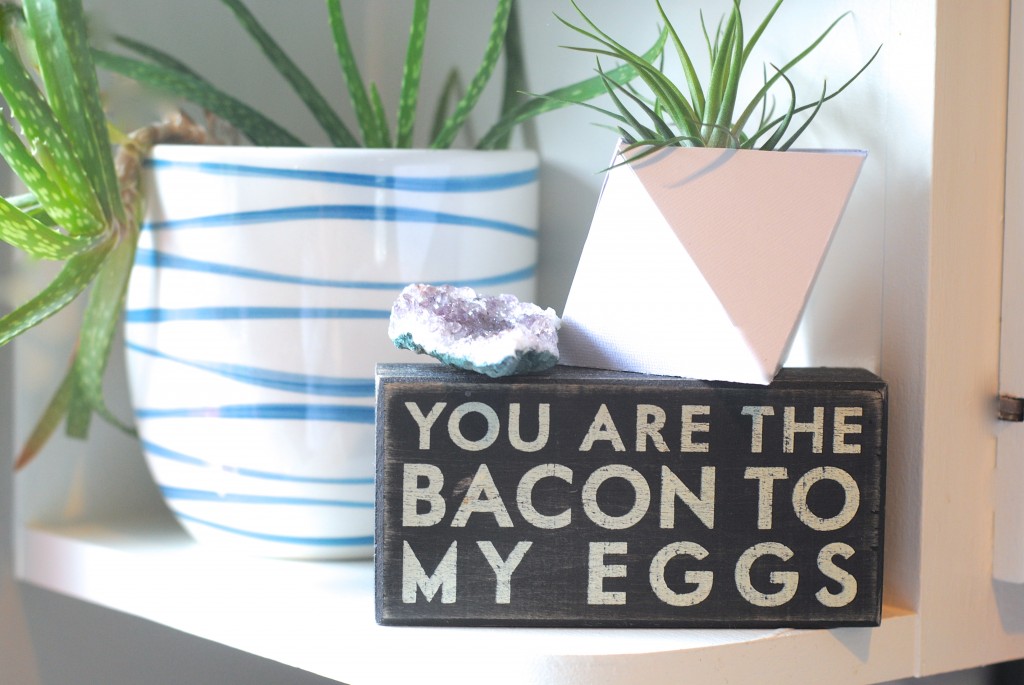
It’s adorable, like a favorite pet. I made a few and placed them all around the house. Then switched them up. HAPPINESS personified.
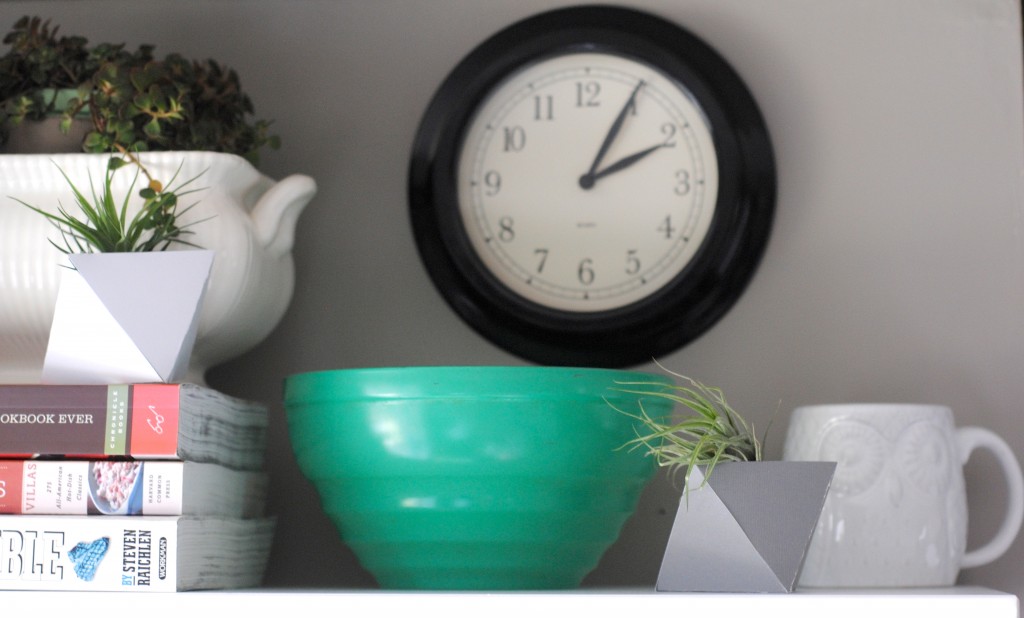
No airplant? No worries! Use a spring bud or faux succulent. Jo-Ann has a nice selection of faux flowers and plants to tuck in there.
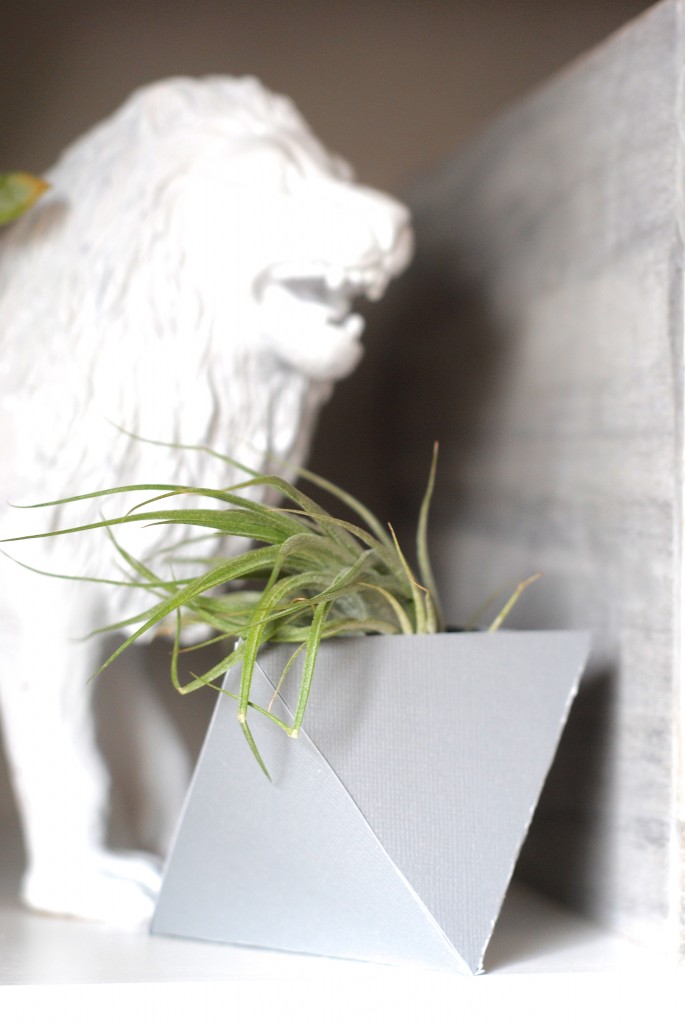
If you aren’t into modern white, I also did a modern gray. 😉
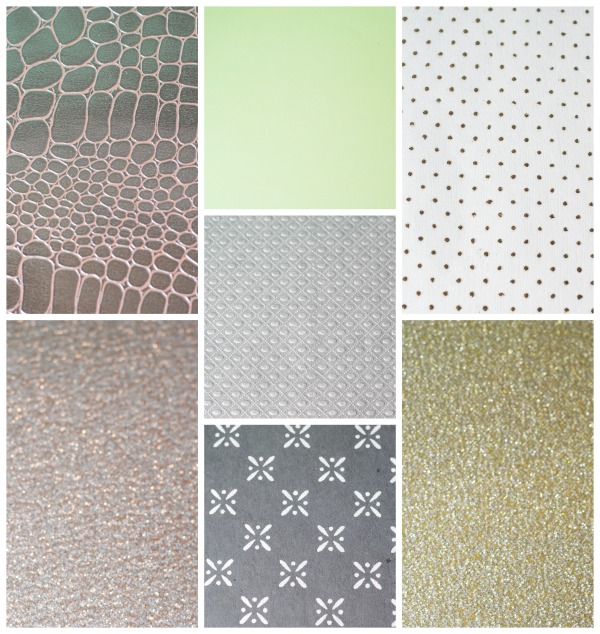
But if color, pattern, or metallics are more your thing, go wild! Here’s a few other papers I picked up for the project:
Here’s the easy tutorial for making this sweet spring craft!
Materials:
printable
bone folder
scissors
scrapbook paper
1. Print out the free printable. Cut out the shape along the outside edges only so it stays in one piece.
preview of the printable:
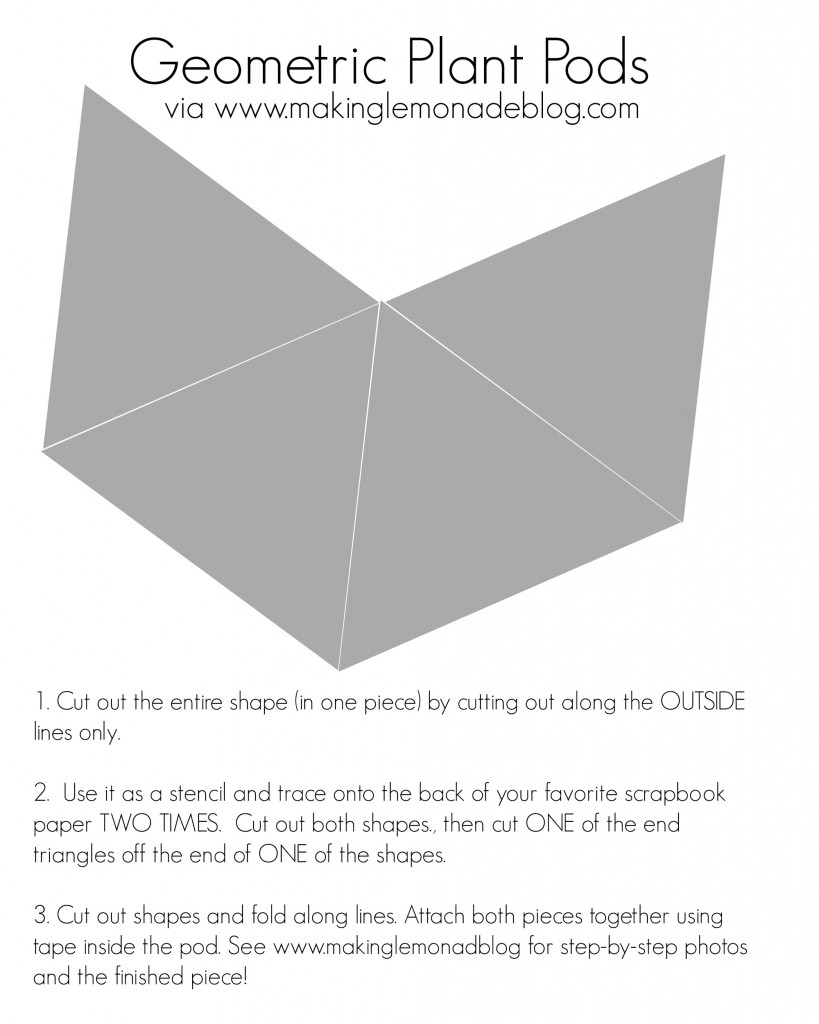
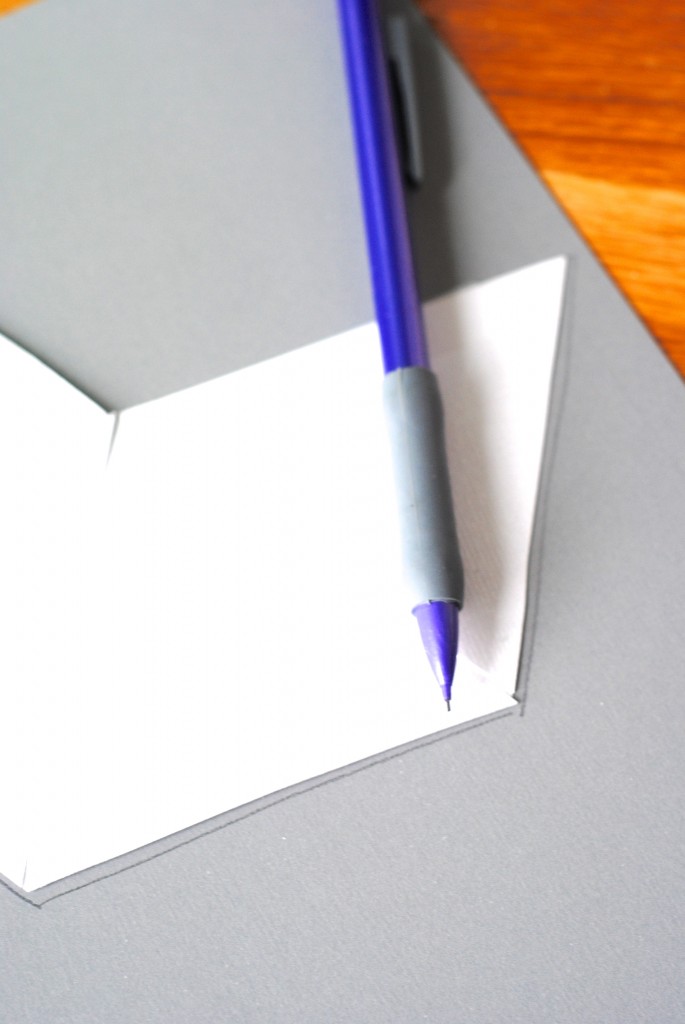
2. Place on the back of the scrapbook paper, trace around the shape. Do this twice, you’ll need two pieces.
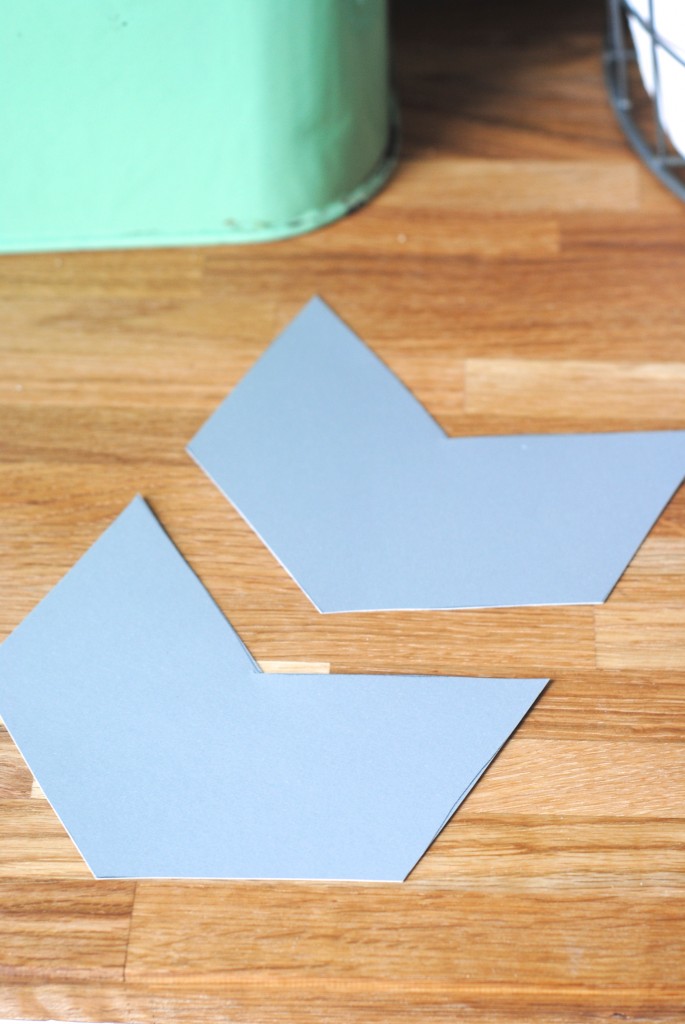
3. Fold the triangles. Using a straight edge like a ruler helps, as does a bone folder to make sharp creases. Do this to both pieces.
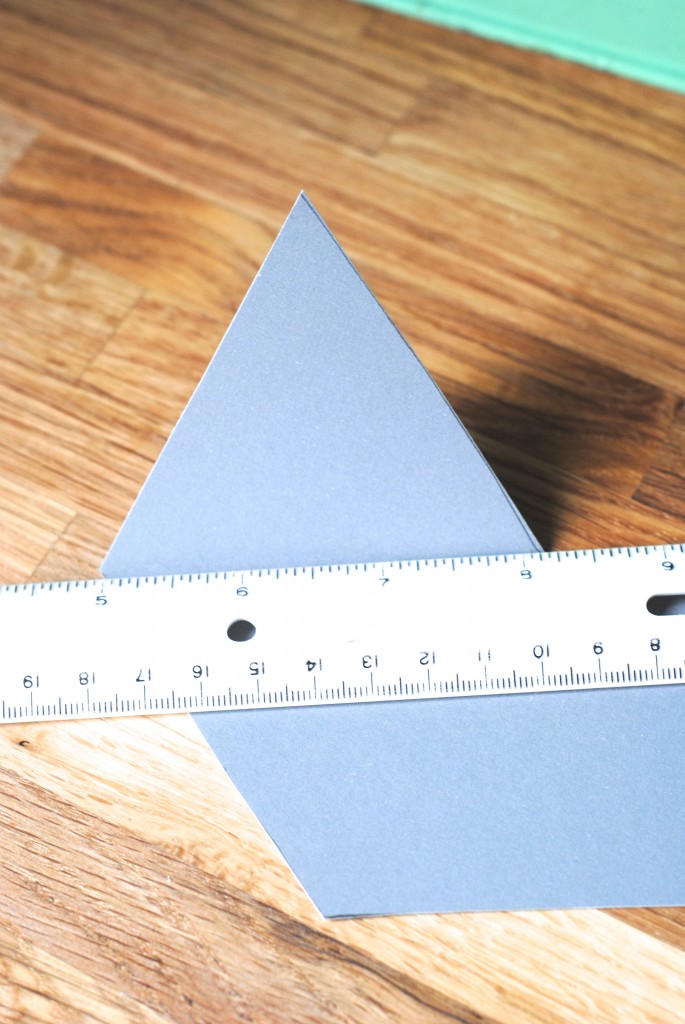
4. Cut ONE of the triangles off the end of ONE of the pieces. That’s where your plant will go.
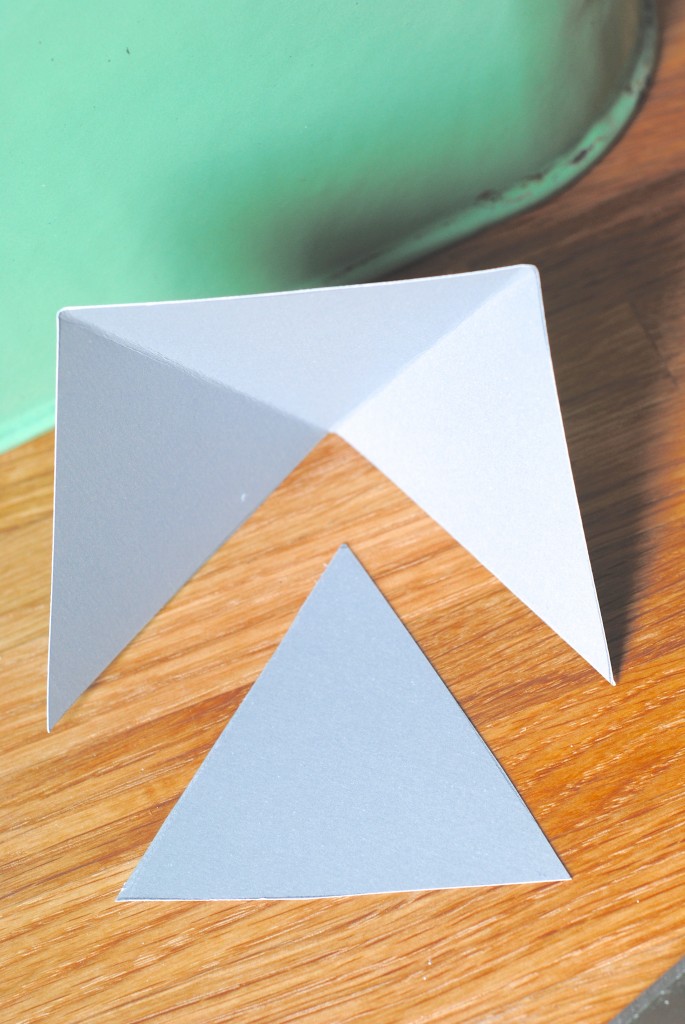
5. Take the piece with the four triangles still attached, and tape the two edges closed. I used clear tape inside, and was able to make a neat edge by attaching the tape to one side of the paper, folding it in half, and then taping it closed.
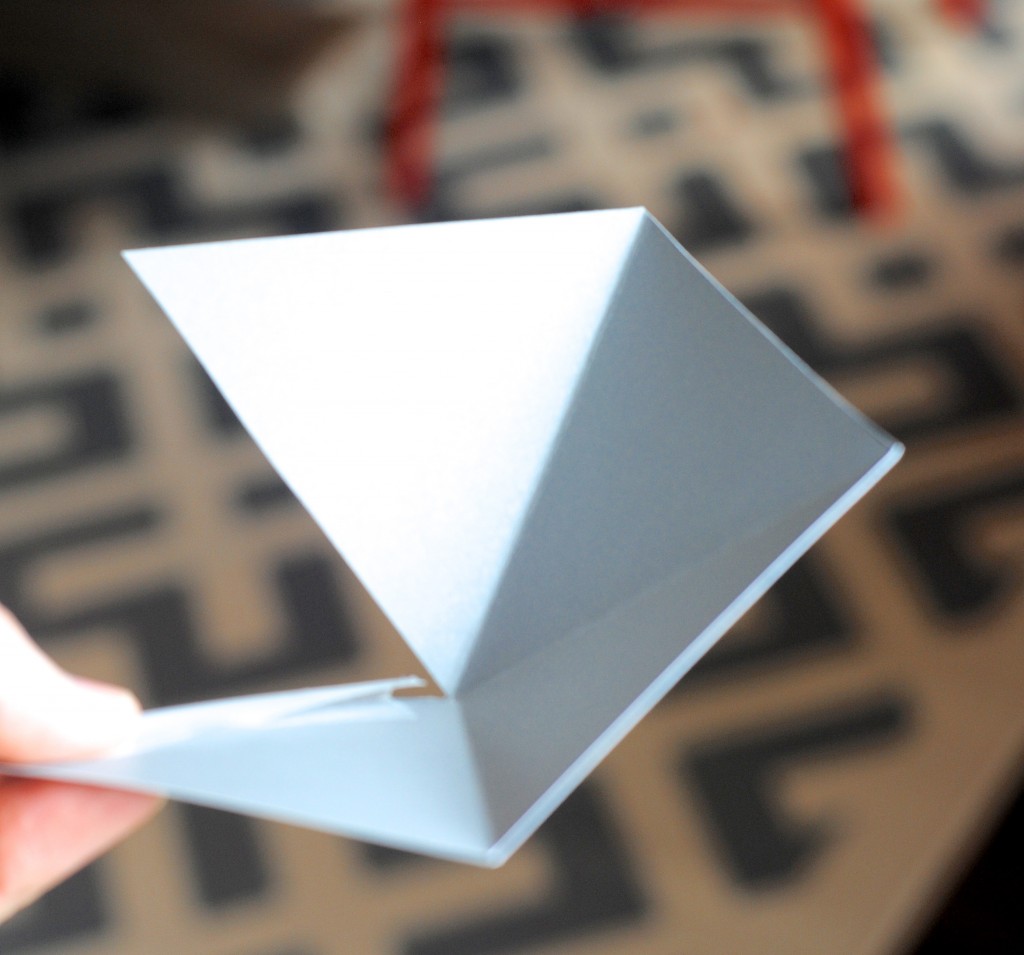
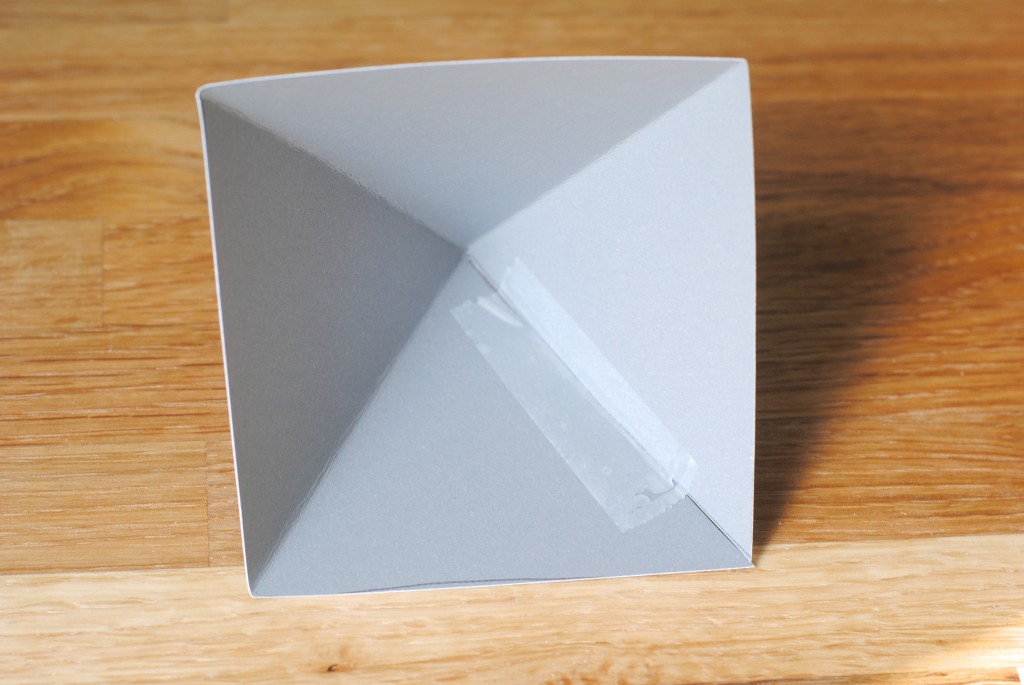
6. Now you’ll use the same secret tape method to attach that folded piece to the bottom piece to make a diamond. Remember, there will be a triangle shaped gap where the plant will go.
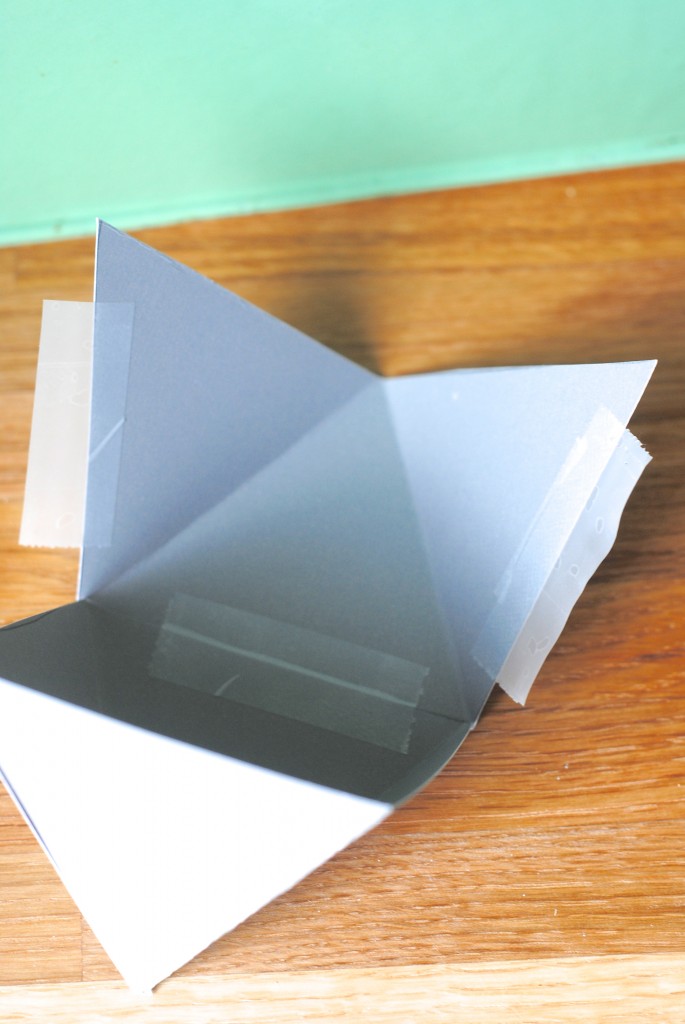
Add in your plant, and HOLLA! An sweet little airplant pod made from paper to welcome spring.
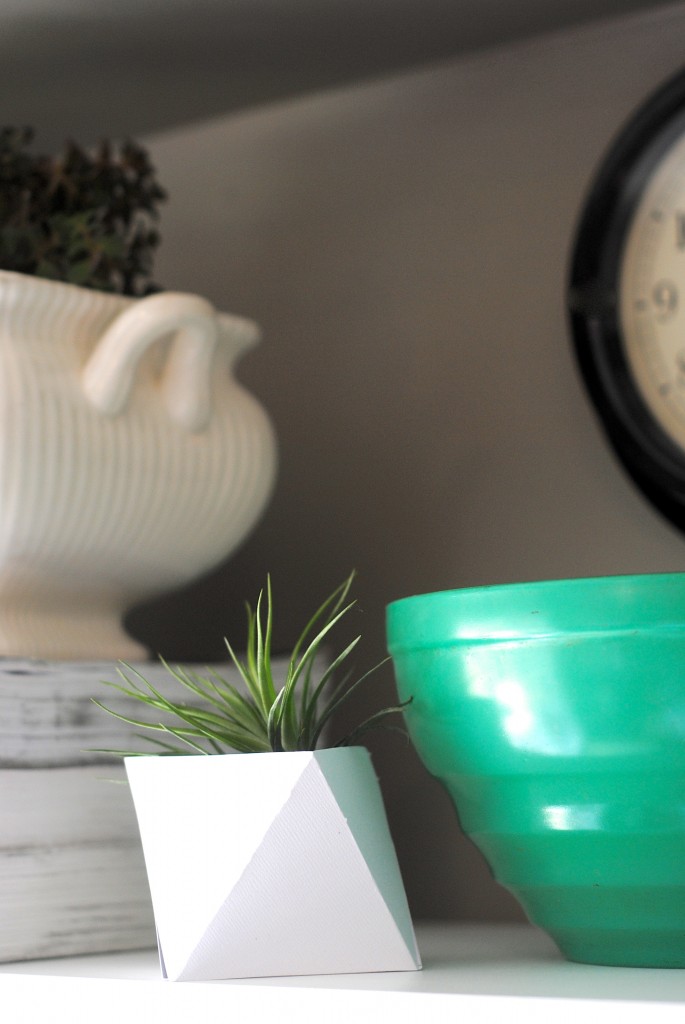
Now you have a little spot to tuck in spring blooms, succulents, you name it.
Sometimes the simplest projects make me the happiest. And an easy geometric planter to celebrate spring and National Craft Month makes me think spring just might be almost here… as soon as the snow melts. 😉
What are you going to get with your $5 off $25 coupon? Any spring crafts you’ve been waiting to tackle?
{if you like it, please pin it!}

