31 Clever & Easy Spring Cleaning Tips & Tricks
This post may contain affiliate links for your convenience. Read my full disclosure policy here.

As previously promised, I’ve rounded up 31 of the BEST spring cleaning tips to go along with the free printable spring cleaning calendar. It hasn’t felt too much like spring around these parts, but I just know it’s around the corner somewhere. Hopefully not TOO far around the corner, am I right? As soon as the spring air DOES hit, you’ll be ready with your calendar and these 31 tips in hand!

Just a reminder, the calendar works ‘top-down’, so it starts at the top of your rooms and goes to the bottom. That being said, you can do the tasks in any order that works for you. I’ve organized the tips to go along with each day, so these tips are ‘top-down’ as well. Just don’t clean with YOUR top down. Or, hey, I’m not going to judge if that’s what works for you. As long as your house gets clean, it’s all good.
Print out the calendar, get your cleaning bucket ready, and let’s tackle this thing for 15 minutes a day. Here you go, 31 Days of EASY Spring Cleaning Tips and Strategies!
Day 1: Dust Ceiling Fans and Light Fixtures
Real Simple shares how to clean the ceiling fans without getting dust everywhere. Slide an old pillowcase over the fan blade and simply wipe the dust into the pillowcase! You’ll protect your floors (and yourself) from falling dust, and when finished simply shake the dust into the trash or outdoors and wash the pillowcase for next time you need to clean the fan blades.

Day 2: Clean the Blinds
Start by dusting or vacuuming each slat thoroughly to remove loose particles, then clean with your DIY solution enhanced by my secret ingredient—a touch of liquid fabric softener that helps repel future dust buildup. For detailed instructions and more expert tips, check out How to Clean Your Blinds Like a Pro.

Day 3: Wash, Dust or Steam Clean Curtains
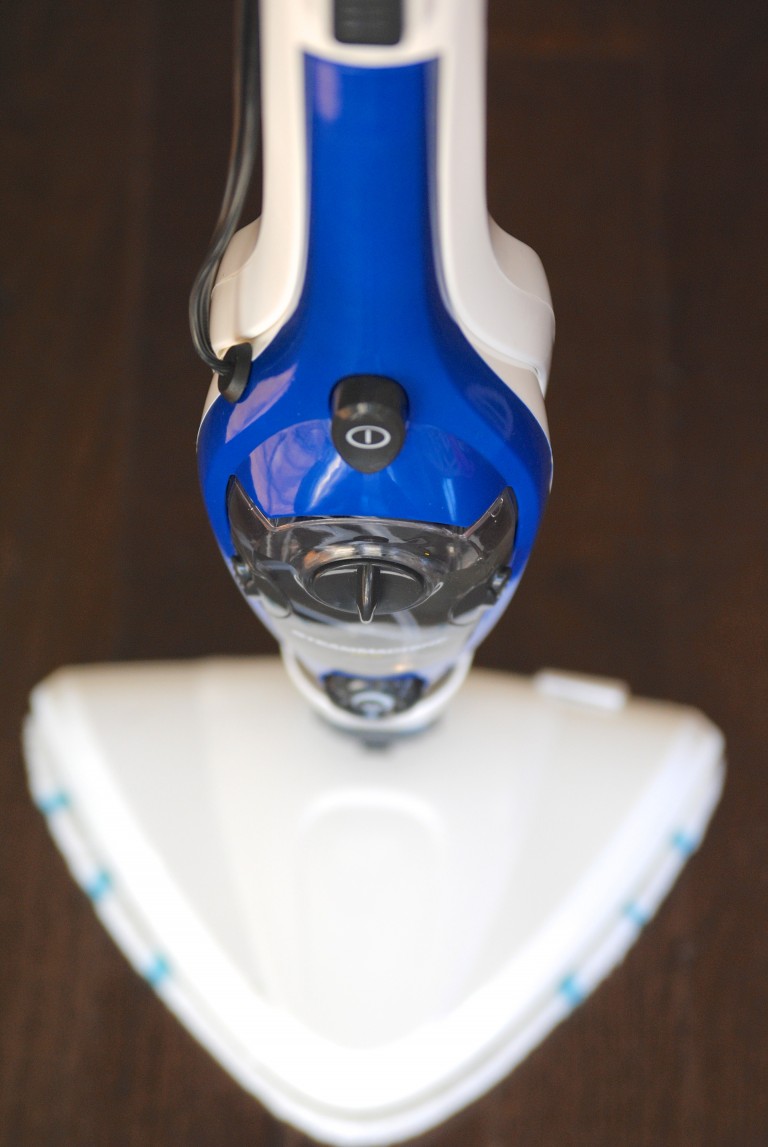
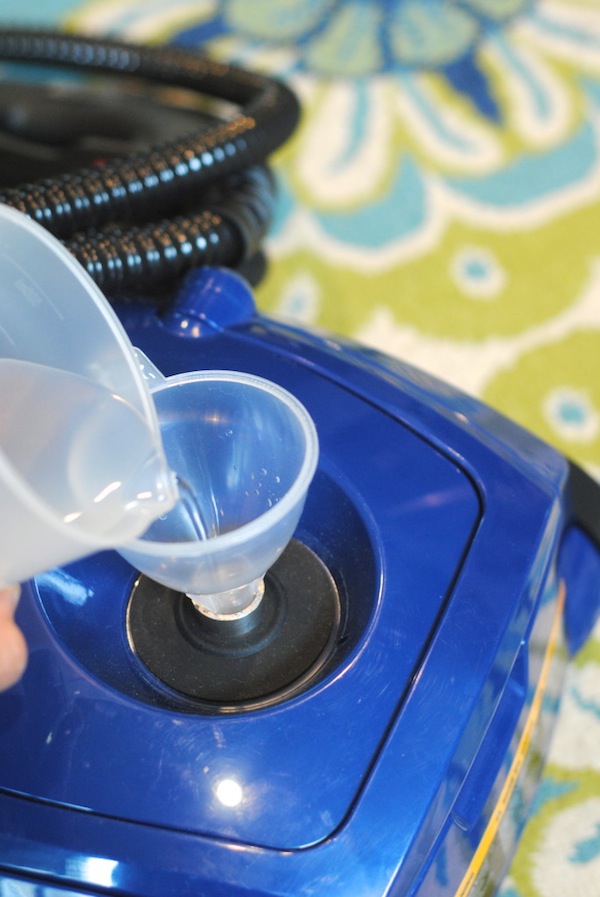
Use your steam cleaner to steam clean your curtains. If you’d rather machine wash or hand wash your curtains, The Spruce has a handy tutorial to get you started.
Day 4: Dust Picture Frames
To keep picture frames dust-free, use a microfiber cloth or a soft brush to gently wipe away dust, paying extra attention to corners and crevices. For glass-covered frames, follow up with a spritz of vinegar and water solution on a cloth (not directly on the glass) to remove smudges without streaks.
Day 5: Wash Mirrors
For a streak-free shine, mix 2 parts vinegar with 1 part water in a spray bottle—this natural solution cuts through grime and leaves mirrors crystal clear. Simply spray the mixture onto the glass and wipe with a microfiber cloth for a flawless finish. For stubborn spots, let the solution sit for a few seconds before wiping, ensuring a spotless reflection every time.
Day 6: Wash Windows
Time to tackle your windows and let that sunshine inside. This Grandma is Fun can teach you how to make your own window cleaner for a streak-free shine. Using a squeegee also helps get your windows perfectly streak-free and clean!

Day 7: Clean Window Sills and Sashes
Now that your windows are clean, get in and clean those sills. Tools like Q-tips really help get into the cracks and crevices (Ask Anna has a great tutorial). Now you can have your windows open without the dirt that built up over winter blowing everywhere!

Day 8: Sanitize Kitchen Counters and Faucet
For stone countertops like granite and marble, avoid acidic cleaners like vinegar or lemon, as they can etch the surface over time. Instead, mix a gentle solution of warm water and a few drops of mild dish soap in a spray bottle. Wipe with a soft microfiber cloth, then dry with a clean towel to prevent streaks. For disinfecting, a mix of equal parts rubbing alcohol and water is a safe, non-damaging option.
Day 9: Wipe Down Kitchen Cabinets
Start by dusting off any loose debris with a microfiber cloth. Next, prepare a gentle cleaning solution using warm water and a few drops of dish soap. Dampen a soft cloth in the solution and carefully wipe down the cabinet fronts, paying special attention to areas around handles and crevices where grease can accumulate. Finally, follow up with a dry cloth to remove any excess moisture and prevent streaks, ensuring your cabinets look clean and well-maintained without damaging their finish.
Day 10: Clean Inside Fridge and Freezer
One of my favorite cleaners for the fridge is good ol’ fashioned baking soda because it’s gritty but soft and non-toxic. You really don’t want chemical vapors trapped in your fridge, so this is one place I really like to use natural cleaners. When finished, add a DIY Fridge Natural Deoderizer to keep your fridge smelling fresh!


Day 11: Clean Under and Behind Fridge
To safely pull the fridge away from the wall, place cardboard or an old towel under the front feet to protect your floors, then gently rock it side to side while pulling it forward. Once moved, use a vacuum with a hose attachment to remove dust and debris from the floor and the fridge coils for better performance.
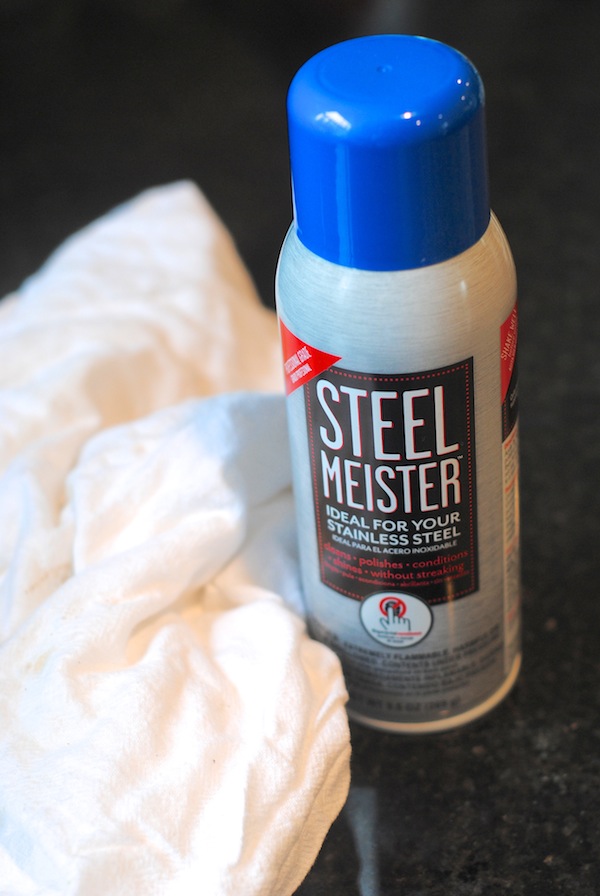
Day 12: Wipe Down and Clean Appliances
Give the outside of all your appliances, big or small, a good once-over. If you have stainless steel, you can read my review of SteelMeister here. It works really well and protects against future fingerprints. Make sure to clean coffee-makers, toasters, and other countertop appliances too!
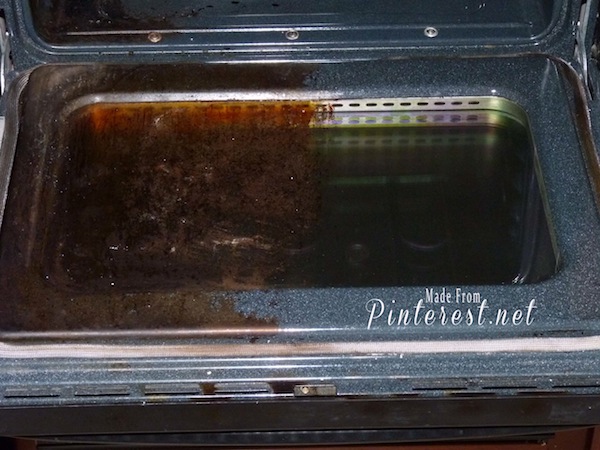
Day 13: Clean Oven (Inside)
Oh, the dreaded oven cleaning! Here’s something I first heard from the salesman who sold us our oven, and then several times since: using the autoclean function on your oven is actually VERY damaging and can reduce the lifespan of the appliance. Apparently the high heat really does a number on your oven. With that in mind, I manually clean my oven. This Grandma Is Fun shares her tips for cleaning an oven, and Budget Savvy Diva shares how to clean your oven racks.

Day 14: Clean Stovetop
This job isn’t super fun, especially if you have grime built-up on the stovetop, but can be tackled. Useful tips can be found by clicking the link below the photo. You can also use a steam cleaner to help— it really gets off old grease and grime!

Day 15: Wash and Sanitize Doorknobs
Did anyone in your home get sick this winter? Then you’ve probably already done this, but it’s always good to do it again and start fresh. Did you know you can make your own cleaning wipes? Here’s the tutorial for how to make homemade wipes. Now go zap all those little germies– and while your at it, hit up your phone and the remote control too. Talk about harboring germs– yuck!
Day 16: Wash Blankets and Throws
Time to wash the blankets! Check out these tips for getting rid of stinky smells and softening laundry naturally. If it’s warm enough, you can store them until fall. Space Bags are an excellent solution for keeping blankets fresh while maximizing storage space until they’re needed.

Day 17: Scrub Trash Cans and Litter Boxes
Start by emptying the contents and rinsing out loose debris with warm water. Then, mix a natural cleaning solution using water, a few squirts of dish soap, and a splash of vinegar to help break down grease and disinfect surfaces. Use a brush or microfiber cloth to scrub the inside and outside of the trash cans, focusing on corners and crevices where grime tends to accumulate. For smaller boxes, a damp cloth with the same solution works well to wipe away any sticky residue and odors. Rinse thoroughly and let dry completely before using them again.
Day 18: Vacuum Under Couch Cushions
Begin by removing the cushions to access the hidden areas where dust, crumbs, and pet hair tend to accumulate. Use your vacuum’s hose attachment to reach into the crevices, paying special attention to seams and corners. For any stubborn debris, a quick brush with a soft attachment can help loosen particles before vacuuming again.
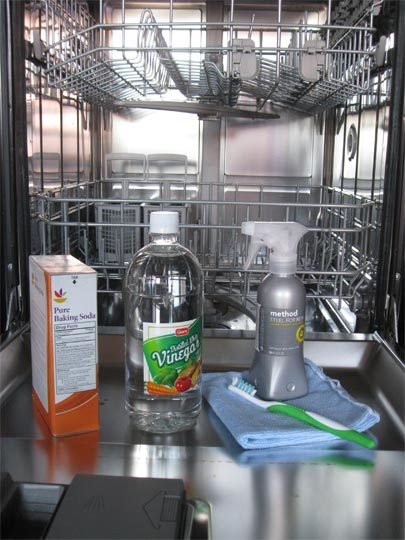
Day 19: Clean Seals and Filter in Dishwasher
I have a Bosch dishwasher and it works GREAT except I do need to clean the filter every few weeks. Not a big deal at all, I just need to remember to do it. You’ll also want to clean the inside your dishwasher and the seals too; Apartment Therapy shows you how.
Day 20: Clean Lint from Dryer
This could possibly be the most important tip here, because it can keep you safe from an accidental fire. YOU MUST clean the lint from your dyer! This simple tool works wonders for cleaning lint out of your dryer and you can use it to clean out your fridge as well. I keep it next to my dryer and clean out the lint every few weeks.
Day 21: Clean Washer and Dryer
Keeping your washer and dryer clean ensures they run efficiently and keep your clothes fresh. For the washer, run an empty cycle with hot water, 1 cup of white vinegar, and ½ cup of baking soda to break down residue and odors. Wipe down the drum, detergent dispenser, and rubber seal with a microfiber cloth. For the dryer, remove lint from the trap, vacuum around the vent, and wipe the drum with a damp cloth to clear any buildup. Regular maintenance prevents mold, improves performance, and extends the life of your appliances.

Day 22: Wipe Down Bathroom Vanities
When wiping down bathroom vanities, start by mixing equal parts distilled white vinegar and water in a spray bottle, adding a few drops of your favorite essential oil like lavender for a soothing scent. Spray the solution liberally over the surface and let it sit for a few minutes to naturally break down soap scum and grime. For an extra boost on stubborn spots, sprinkle a little baking soda onto a damp microfiber cloth and gently scrub in a circular motion, taking care not to damage the finish. This natural, eco-friendly approach not only leaves your vanity sparkling clean but also ensures a fresh, chemical-free environment in your bathroom.
Day 23: Sanitize Bathroom Fixtures
The best way to make sure your fixtures are sanitized is to use a steam cleaner like the one mentioned above. You can also use this natural soft scrubbing cleaner recipe to tackle the dirt and grime around the edges of your fixtures.

Day 24: Wash Bath Toys/Tub Mats
My favorite way to clean bath toys is to put them in a lingerie bag and throw them in the washing machine with a cup of vinegar. Vinegar sanitizes safely, and the washing machine gets the soap scum off of them.
Day 25: Scrub Tub and Toilets
If you’re going to scrub your tub, use this amazing homemade tub cleaner! And How Does She shares the best way to clean toilets naturally.
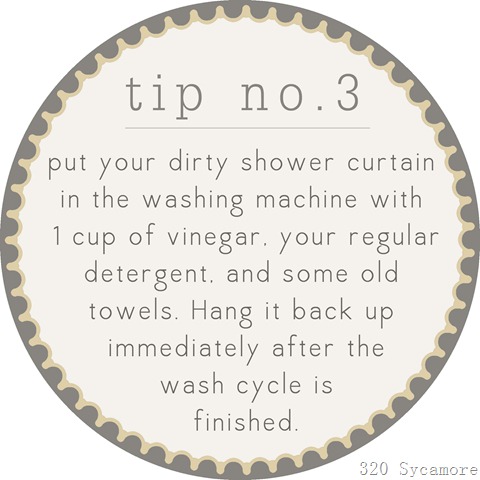
Day 26: Wash Shower Curtains and Shower Doors
Love the tip below from 320 Sycamore! Head over there for more cleaning tips and ideas. If your shower curtain or liner are in really bad shape, replace them– it only costs a few dollars but makes SUCH a difference.
Day 27: Clean Grout and Reseal
Yes, you really CAN get your grout that clean NATURALLY and with very little effort. Here’s how to clean grout using two secret ingredients.

Days 28-31: Baseboards, Rugs, and Carpets
The rest of the calendar is pretty self explanatory. If you have a lot of carpets to wash, you might want to call in the pros or rent a rug cleaner. Throw rugs can usually go right in the washing machine unless they’re a fussy material– check the label to be sure.
There you have it– 31 days of cleaning tips to help MAXIMIZE the cleaning and MINIMIZE your time and effort– from the top of your home to the bottom. Do you have any cleaning tips to share? Cleaning tasks you dread, or ones you don’t mind as much? Please share!

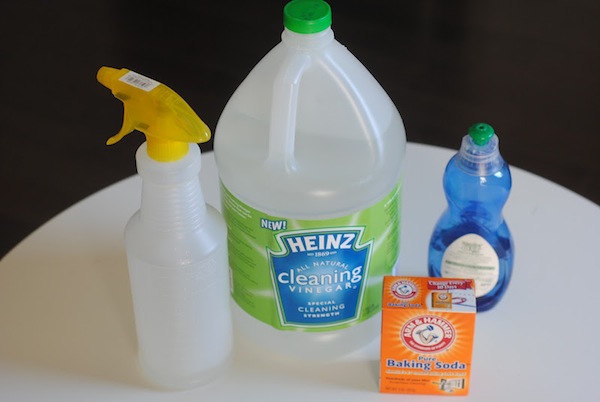
And if you’re ready to try more natural cleaning ingredients, click the image below to get a free e-book for cleaning your home with vinegar.