How to Easily Clean Grout Without Harsh Chemicals
This post may contain affiliate links for your convenience. Read my full disclosure policy here.
Want to learn the easiest way to clean grout? This DIY natural grout cleaner uses simple, non-toxic ingredients to easily lift stains and grime!
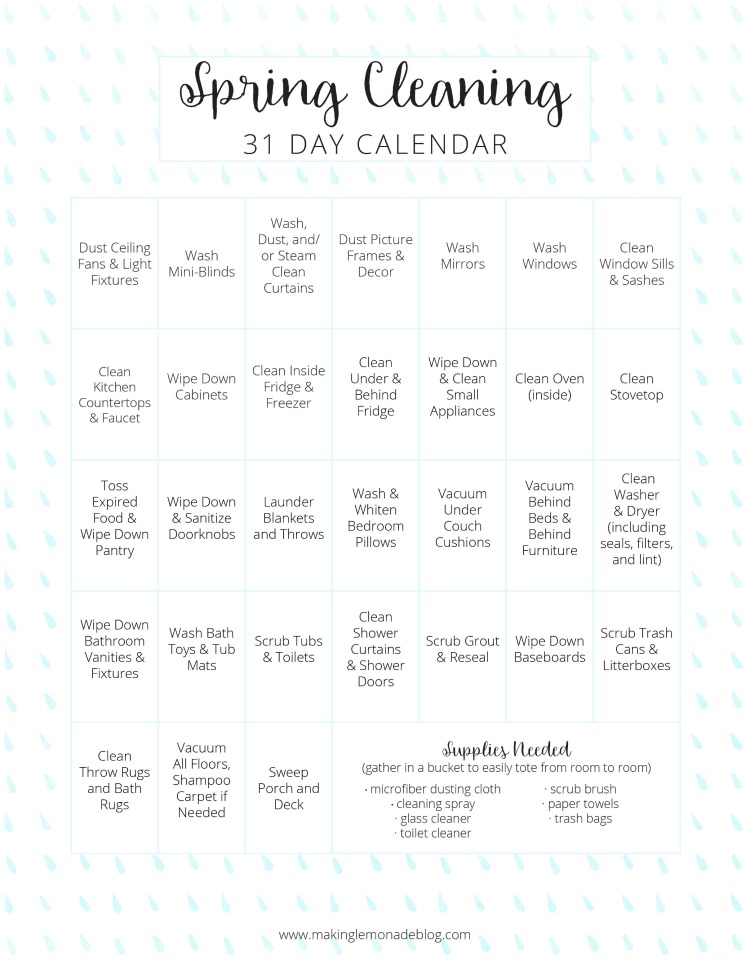
Make cleaning as easy as possible with these 9 Must-Have Spring Cleaning Tools and these 15 Homemade Cleaners that Really Work!

You know that moment when you finally face a home project you’ve been putting off for way too long? That was me with my tile floors—specifically, the tile grout lines. We moved into this house a couple years ago and it’s just gotten pushed to the bottom of the project list too many times. At some point, I had to admit I wasn’t even sure what color the grout was supposed to be anymore. All I could see were dark grey lines of built-up dirt and grime. I debated whether it was a lost cause, but eventually, I decided to tackle the challenge and see if I could bring my grout back to life.
Let me warn you, though: once you start this project, you’ll need to see it through. The sharp contrast between the clean grout and dirty grout will haunt you if you stop halfway. Don’t start this project before company comes the next day. Or maybe do so you’re forced to finish it. Either way- you’ve been warned!
So, if you’re ready to tackle your dirty grout and restore your tile floors to their former glory, here’s the best homemade grout cleaning process to get the job done.
Why Use a Natural Grout Cleaner?
Using a natural grout cleaner is not only better for your health and the environment but also incredibly effective at tackling tough stains and grime. Many commercial cleaners contain harsh chemicals like bleach or ammonia, which can be irritating to your skin, eyes, and lungs, and harmful to pets and children. Natural ingredients like baking soda and vinegar offer a non-toxic way to clean, and are just as powerful at breaking down dirt, stains, and buildup. Plus, this natural cleaner is eco-friendly, helping to minimize your carbon footprint.
How It Works So Well
This natural grout cleaner works so well because of the combination of two powerhouse ingredients: baking soda and vinegar. Baking soda is a mild abrasive that gently scrubs away dirt and grime, while vinegar acts as a natural disinfectant and breaks down tough stains. Together, they create a powerful mixture that tackles dirty grout without the need for harsh chemicals like bleach.

Supplies You’ll Need
Before diving into the process, gather your supplies. Luckily, you probably already have most of these at home. Here’s what you’ll need:
- Baking soda – This is a must-have for tackling dirt and stains in grout lines.
- White Vinegar – The fizzing action when it mixes with baking soda helps to break up grime and stubborn stains.
- A grout cleaning brush or old toothbrush – You’ll need a sturdy scrub brush to work the cleaning solution into the grout. I used a toothbrush because I had it on hand, but a grout cleaning brush with stiffer bristles would have made the job easier.
- A glass spray bottle – Perfect for spritzing the vinegar mixture onto the grout.
- Rags or paper towels – To wipe up the grime after scrubbing.
- Plastic condiment bottle – Trust me, this is a game changer! The squeeze bottle allows you to apply the baking soda more precisely, making your job much easier.
- Rubber Gloves– If you have sensitive skin like mine, you might want to throw on some hand protection.
The Grout Cleaning Process
Now that you have your supplies ready, let’s jump into the cleaning process. It’s simple, but it will take a bit of elbow grease. And don’t worry—your efforts will definitely pay off in the end.


Step 1: Prep Your Floor
Start by vacuuming the area around the grout lines to remove any loose dirt or debris. This is a crucial first step to ensure you’re working with a clean surface. If you skip this, you could risk pushing dirt around instead of really cleaning the grout.
Step 2: Apply Baking Soda to the Grout Line
Take your plastic condiment bottle and fill it with baking soda. Then, squeeze a line of baking soda directly along the grout line. Apply this generously—this is the base of your cleaner, so don’t be shy with it.
Step 3: Spray the Vinegar
Next, grab your glass spray bottle filled with vinegar and generously spritz the grout lines. You’ll want to spray enough vinegar to create a fizzing reaction when it contacts the baking soda, but be careful not to overdo it. You don’t want vinegar puddles on the floor—just a light spray that makes the mixture fizz and bubble. The fizzing action helps to loosen up any grime and stains stuck in the grout.
Let the mixture sit for about 1-2 minutes. This gives it enough time to work its magic while you can start prepping for the next section.
Step 4: Scrub the Grout
Once the fizzing slows down, grab your brush and start scrubbing the grout lines. Use a firm, back-and-forth scrubbing motion to work the mixture into the grout. You’ll notice the dirt starting to lift and loosen—this is where the magic happens!
If you’re working on a large area, it’s a good idea to work in small sections, focusing on a few grout lines at a time. This ensures you won’t leave any grout half-cleaned.
Step 5: Wipe Away the Grime
After scrubbing, grab your rag or paper towels and start wiping up the mixture. You’ll be surprised at how much dirt and grime is lifted off during this step. Use the rag to wipe away any remaining baking soda residue and grime, leaving your grout looking fresh and clean.
Repeat these steps as needed, focusing on especially dirty grout lines. You might find that certain areas take a bit more scrubbing, especially if you’ve got stubborn stains. You can also leave your vinegar and baking soda on a couple minutes longer to lift hard stains.

Step 6: Vacuum and Mop the Floor
After cleaning the grout lines, it’s time to tidy up the rest of the floor. First, vacuum up any excess baking soda residue. This step is important to ensure the floor is free of leftover product, which could leave a dusty or gritty feeling behind. Once the floor is free from baking soda, finish the job by mopping the entire area. Mopping will remove any remaining dirt or grime that may have come loose during the scrubbing process, and it will give your floors a fresh, shiny finish.

Tips for Success
- Small sections are key. Trying to clean an entire floor at once can be overwhelming. Work in small sections to make sure you scrub and clean grout thoroughly.
- Consistency is important. Regular cleaning of your grout will prevent it from becoming as dirty as it was before. Try to keep up with light scrubbing to avoid the need for heavy-duty cleaning.
- Use a grout sealer. Once you’ve cleaned the grout, consider applying a grout sealer to protect your hard work and keep the grout looking clean for longer.

Final Thoughts
Getting clean grout doesn’t have to be a daunting task. With just a few simple, natural ingredients, you can make your floors look like new again with minimal scrubbing. The combination of baking soda and vinegar is a tried-and-true method that lifts dirt, fights stains, and refreshes your grout lines without the need for harsh chemicals. With a little time and effort, you’ll have sparkling grout that makes your entire space feel refreshed and well-cared-for!
Love cleaning with natural ingredients? Download the Free Cleaning with Vinegar E-book!
Grab your FREE Brilliant Cleaning Hacks Using Vinegar eBook Now

10 DIY Recipes to Get Your Home Sparkling Clean, Naturally!
Once you enter your name in the form above, the free eBook will be delivered right to your inbox. It’s packed with tips for cleaning naturally using this powerhouse product.