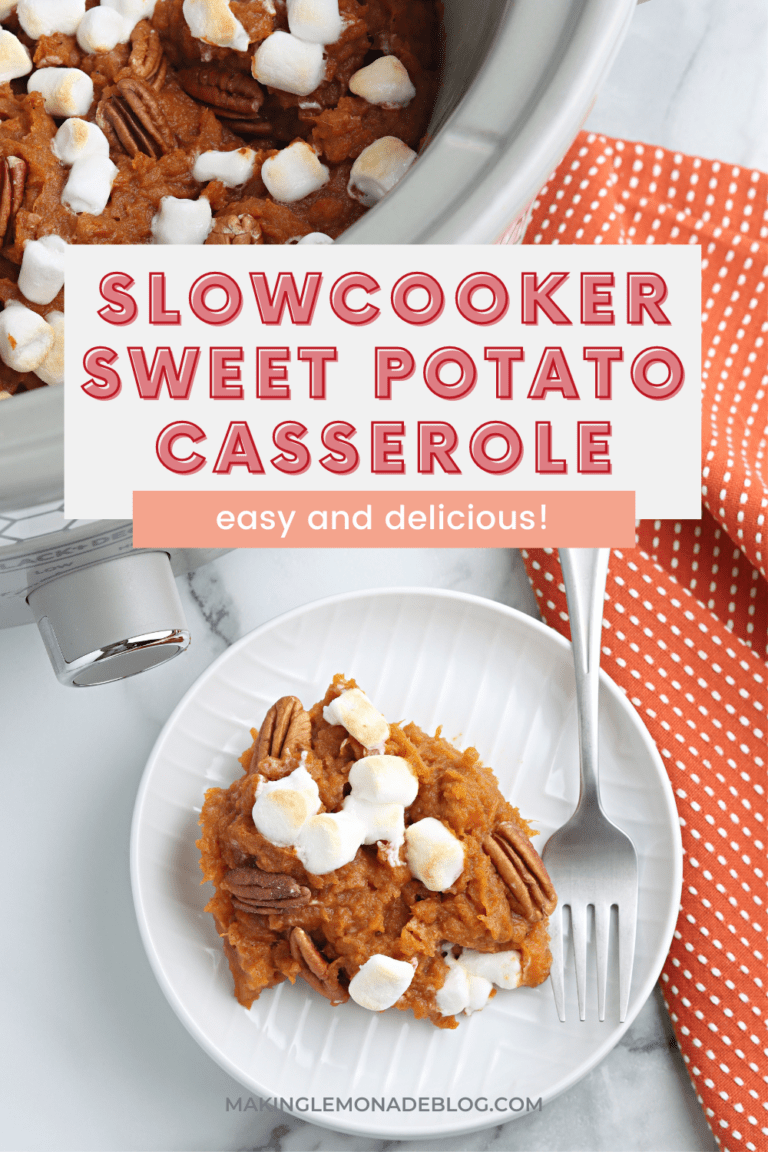
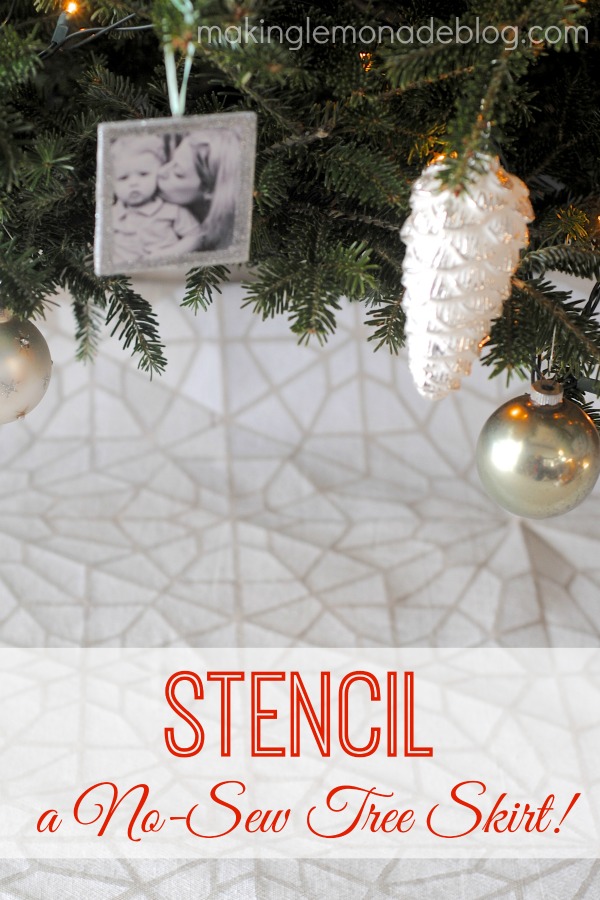
Handmade Stenciled Christmas Tree Skirt (No-Sew!)
This post may contain affiliate links for your convenience. Read my full disclosure policy here.
Once I get an idea into my head, it takes hold and just won’t stop– which is what happened when I decided to stencil a large dropcloth as a handmade no-sew tree skirt this year. And I’m so glad I persevered, because I’m totally in love with the result even if it took a little while to do all that stenciling! Now our tree skirt is like a large fluffy snowflake– protecting the floor from pine needles, allowing the colorful gifts to really pop, and acting as the perfect spot for my son’s train set.

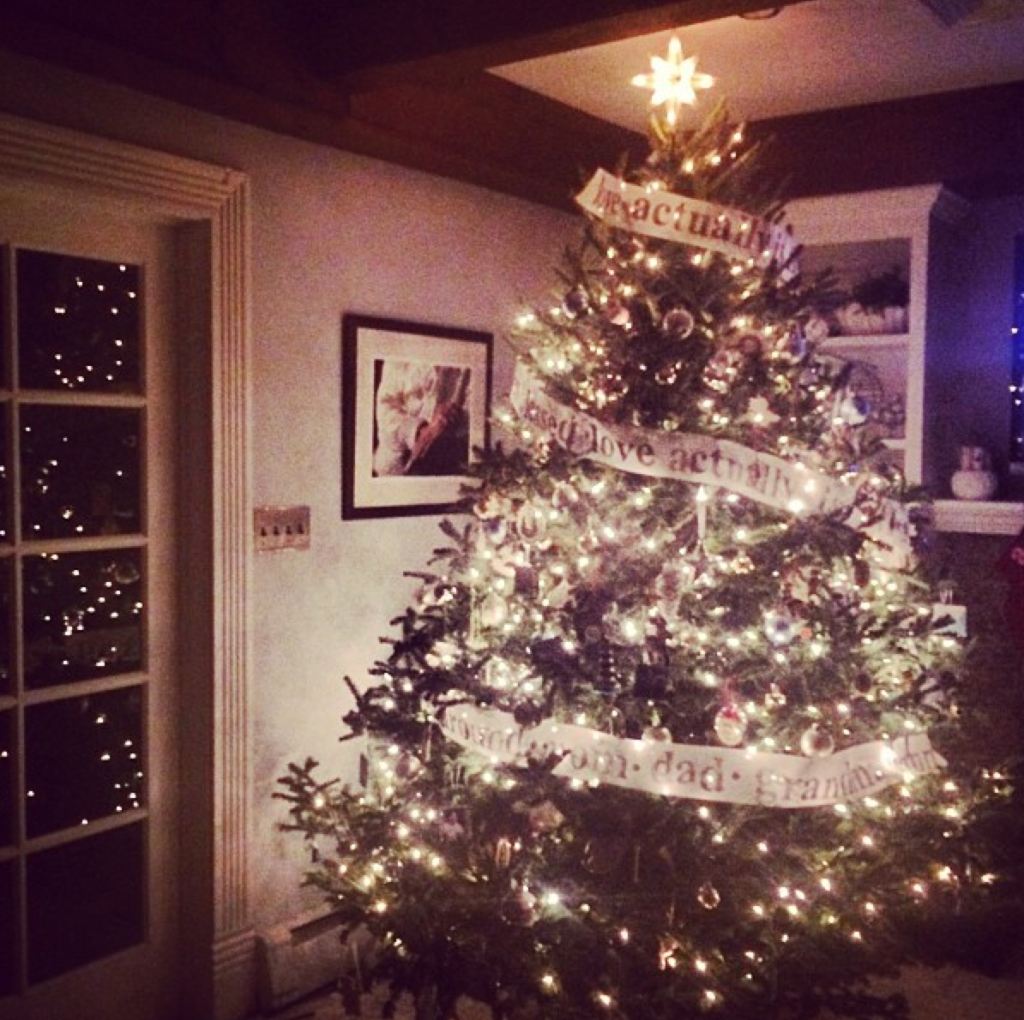
My husband insisted on a large tree this year, and I agreed to go along on one conidtion: no cussing when he had to drag the tree into our living room and set it up. He completed his end of the bargain so huge tree it is! Which means the need for an even larger tree skirt. Thankfully dropcloths are in the $5- $10 range which saves tons of money on all that fabric I would’ve purchased had I made it from scratch.
BEFORE:
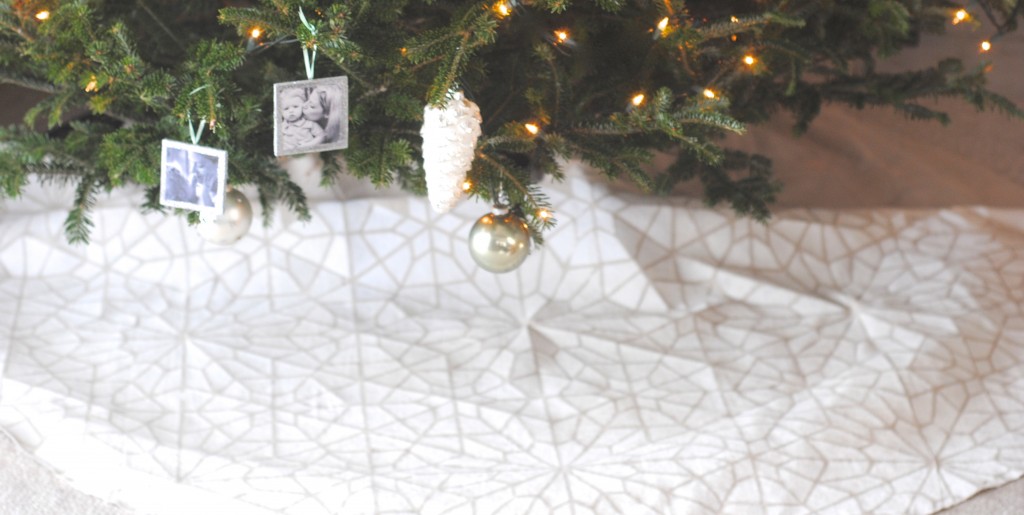
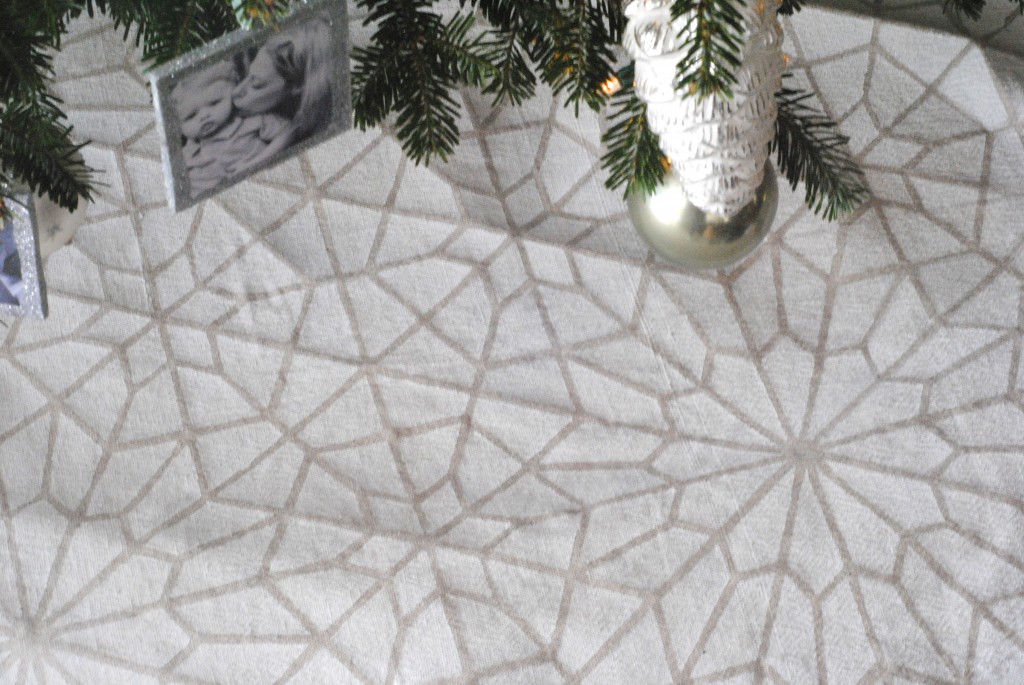
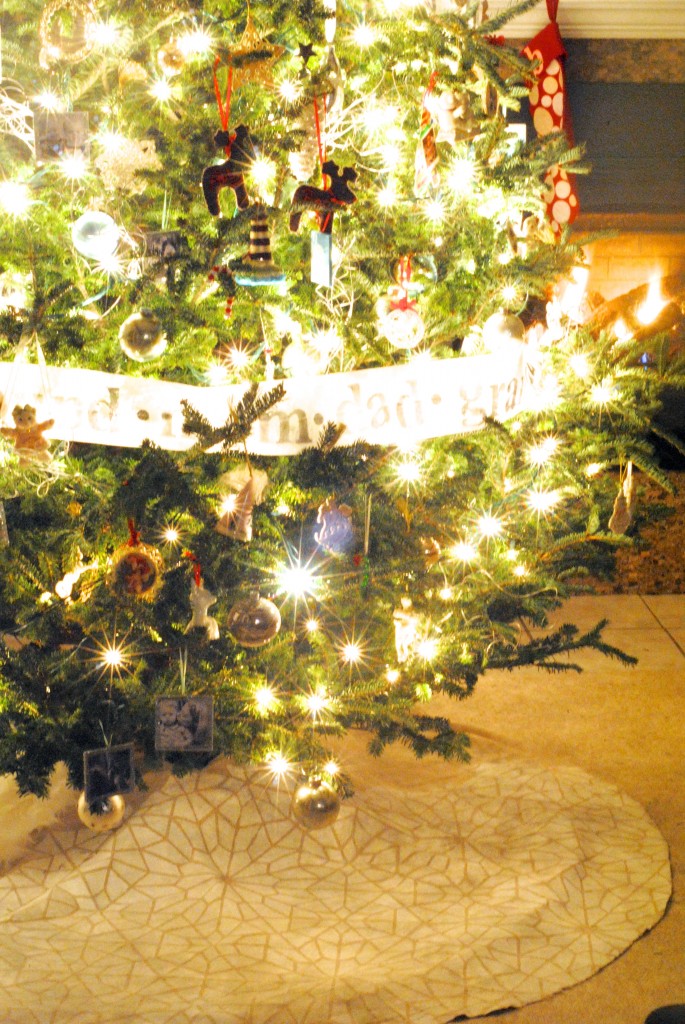
AFTER:
How to Make a Stenciled Tree Skirt Tutorial
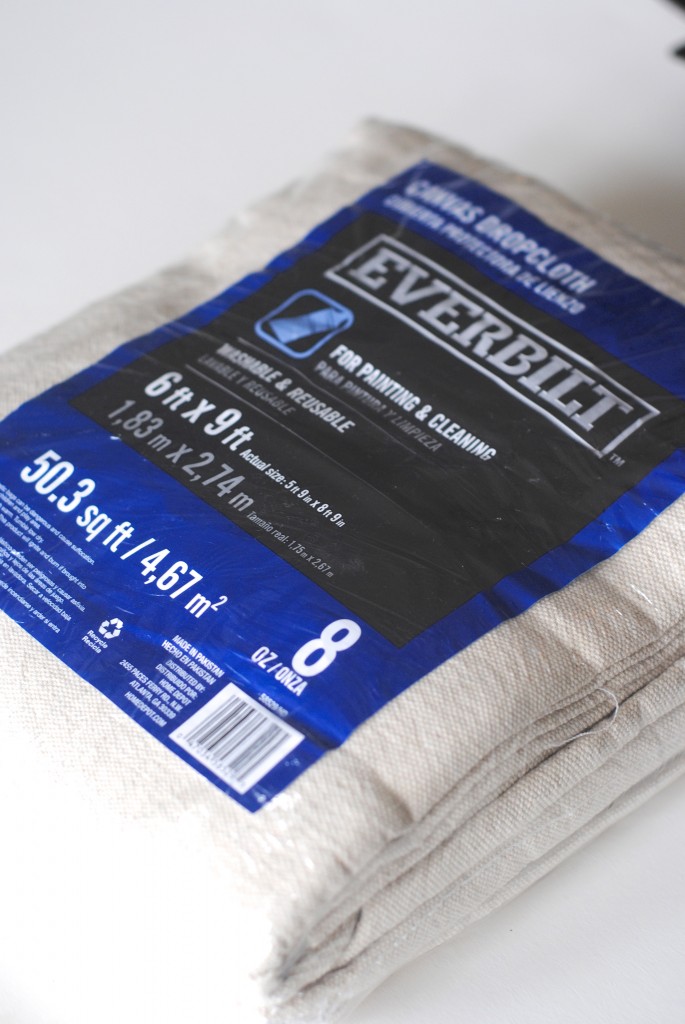
Materials:
canvas drop cloth
stencil brush
large stencil
craft paint
painter’s tape + tape measure + scissors
I measured the circumference I’d need for my tree skirt, and cut off the extra fabric to create one large square.
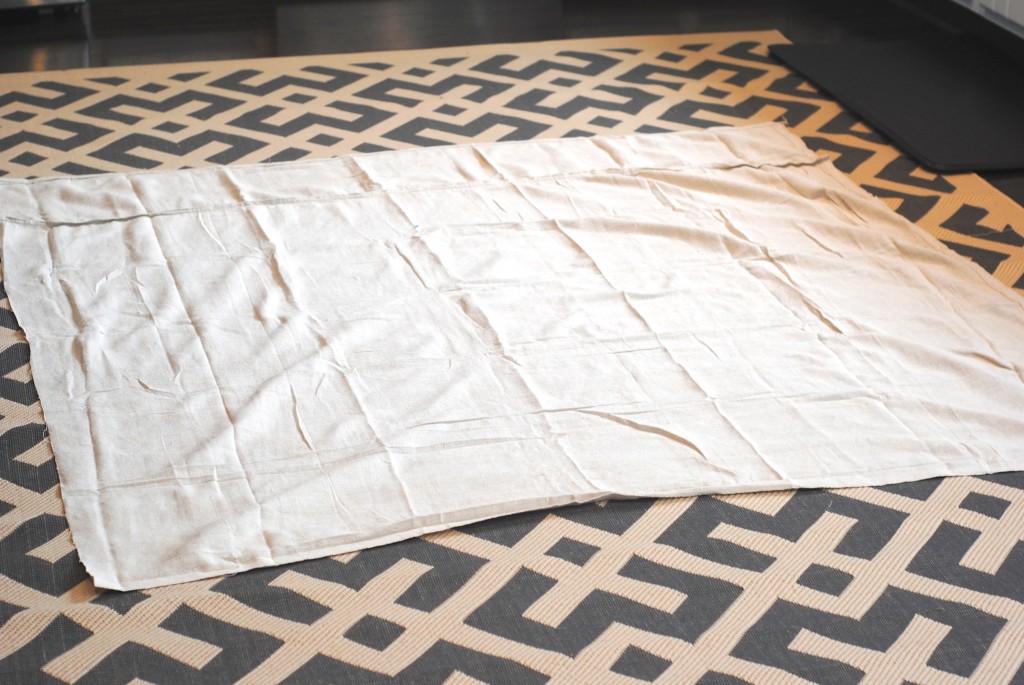
Which I ironed while staring at the snow. Hey, if you’re going to iron it might as well be while snowing. I folded the square in half to make cutting easier. If you are a perfectionist, you may want to leave it unfolded so your lines will be, well, perfect.

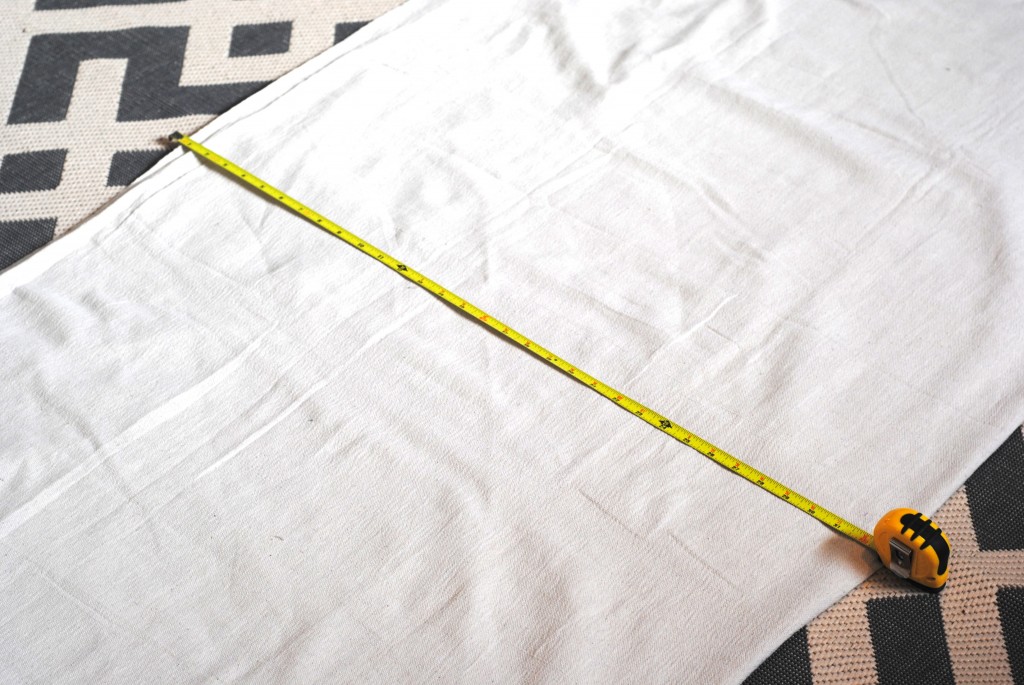
Then, I very mathematically (not really) used a tape measure to mark the proper distance from the middle in a circular shape (I think it was 33″ inches, if this photo is to be believed):
Here’s a closer look:
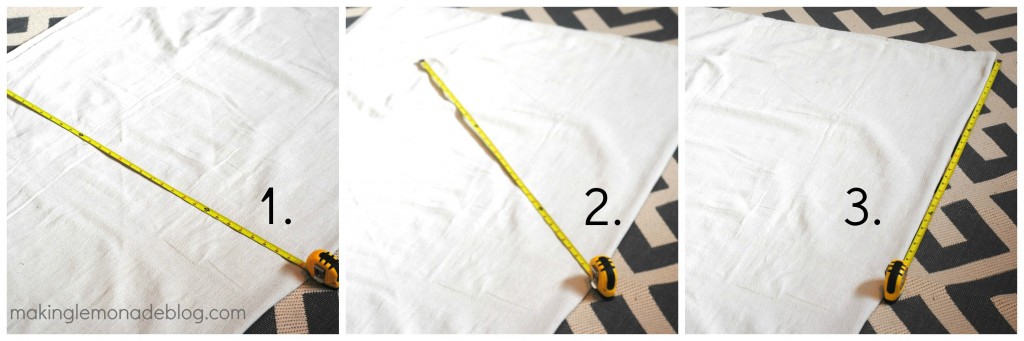
Once marked, I cut through both layers to make a big sassy circle.
Time to stencil! Not surprisingly, the drop cloth sucks up paint. It took two 8 ounce bottles of craft paint plus two smaller 2 oz bottles (20 ounces, see, I CAN add!) so be sure to get enough. I used white so it would really pop against the tan canvas, but if you like color you could use a bright red or pink or really any color you love.
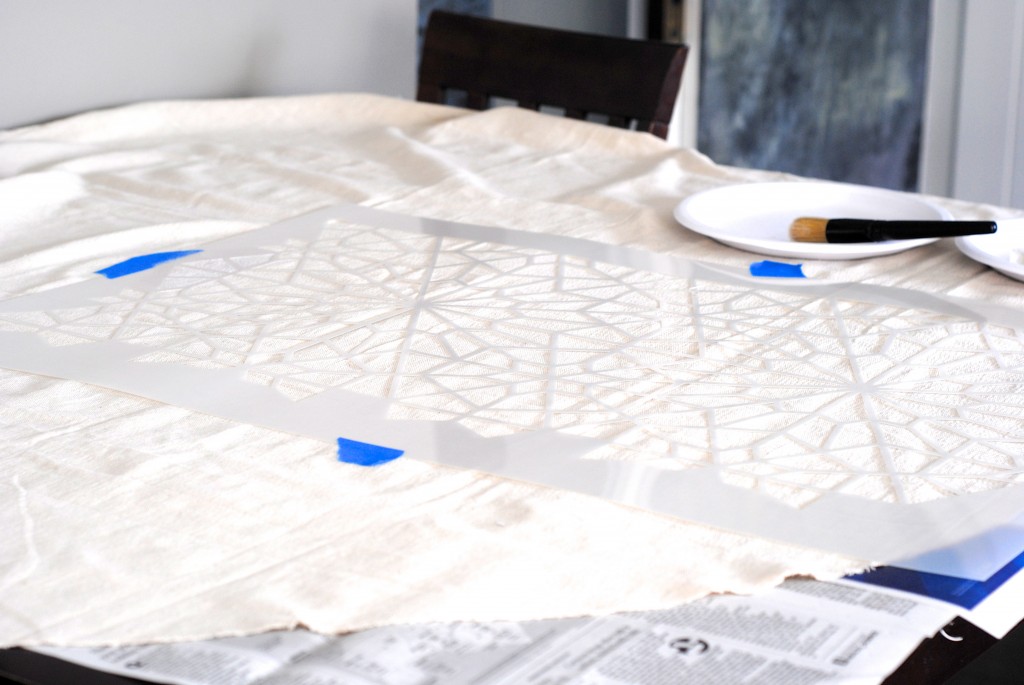
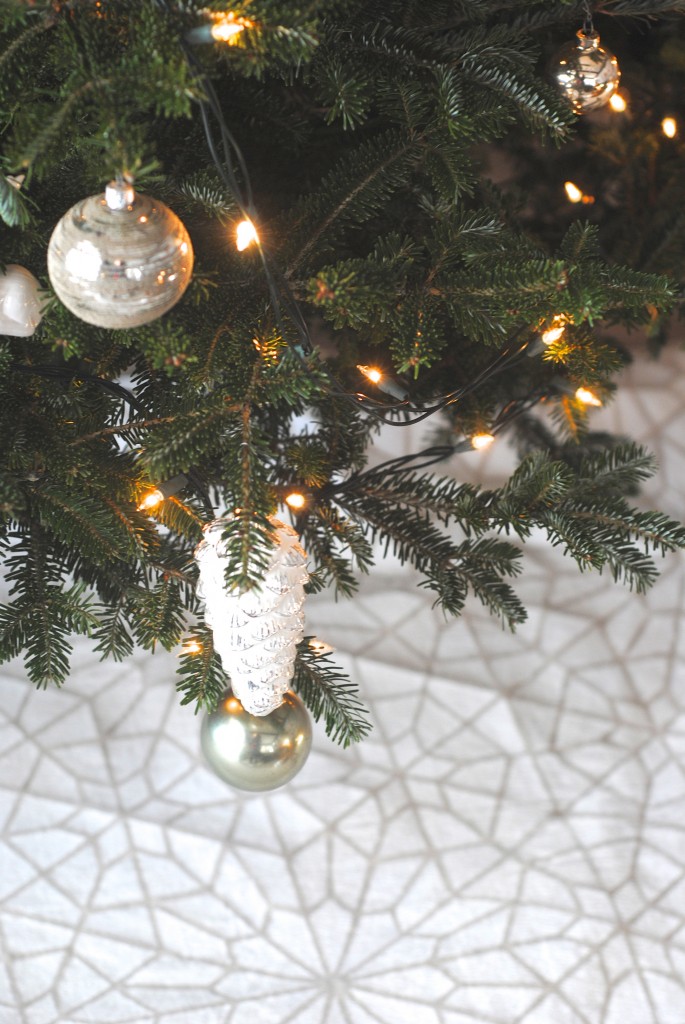
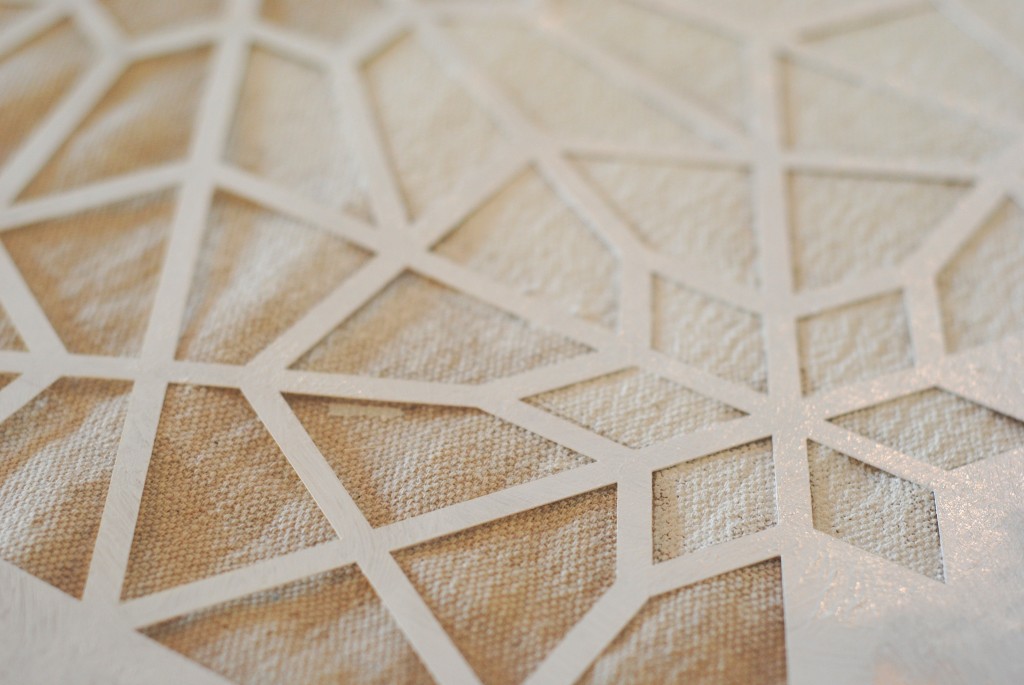
First, cover your workspace with several layers of newspaper. Then align the stencil on the dropcloth. I had mine go over the edge so the pattern would appear to continue. I used painter’s tape to affix it to the dropcloth. The stencil I used was perfect, I fell in love with the design and Royal Design Studio was kind enough to provide it free of charge. It’s called Starry Morrocan Night, and it reminds me of a modern lace. I have feeling this isn’t the last time you’ll be seeing me use it in my home.
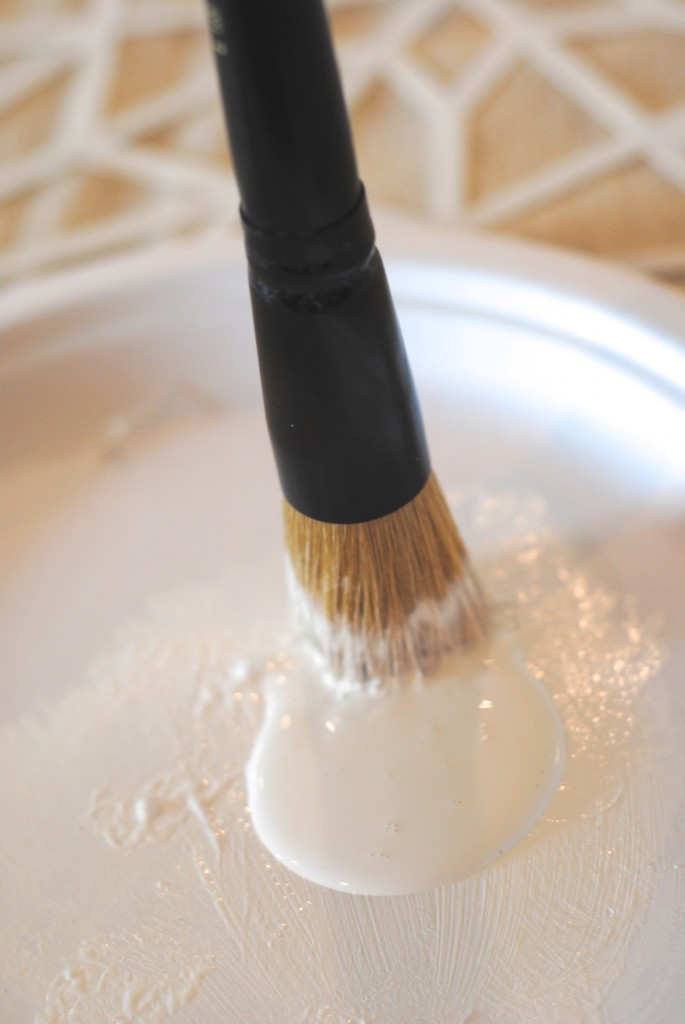
Get a really great stenciling brush, because you’ll be doing this for awhile. I used the Royal Design Studio 1 1/2 brush. It worked beautifully. Load it up with the craft paint (I used a disposable plate), and then UNload some of the paint onto a paper towel so you don’t use too much. It might take awhile to figure out how much paint to use, but my biggest advice is to do a light layer of paint, check it, and if you want more then go over it again. With fabric, if you make a mistake and use too much it’s hard to correct so better to go light and add more then go too heavy and have it seep through!
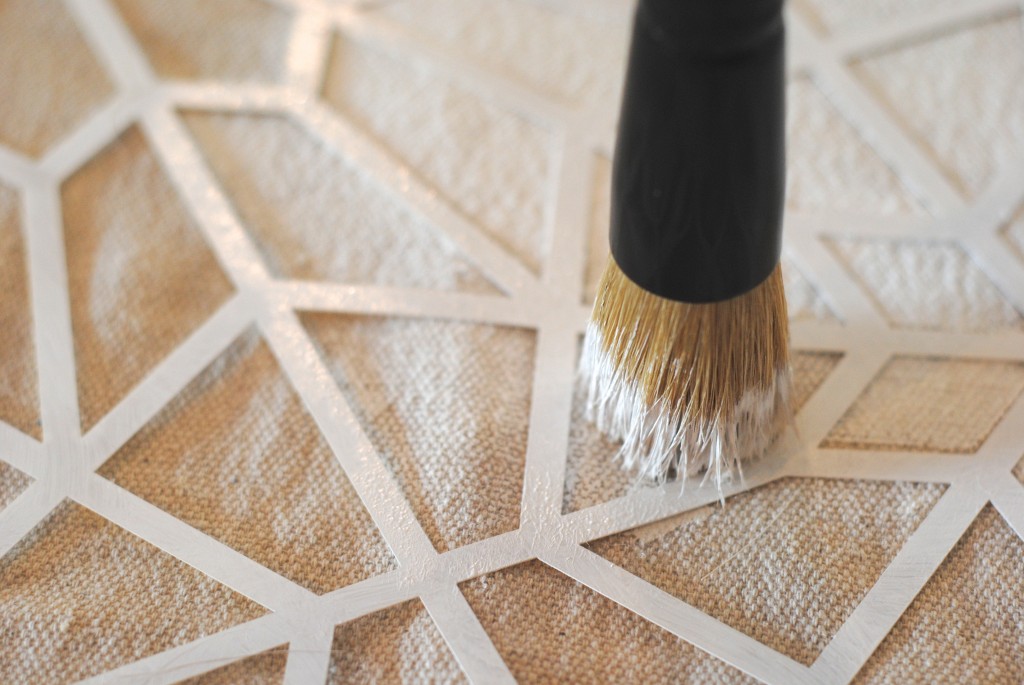
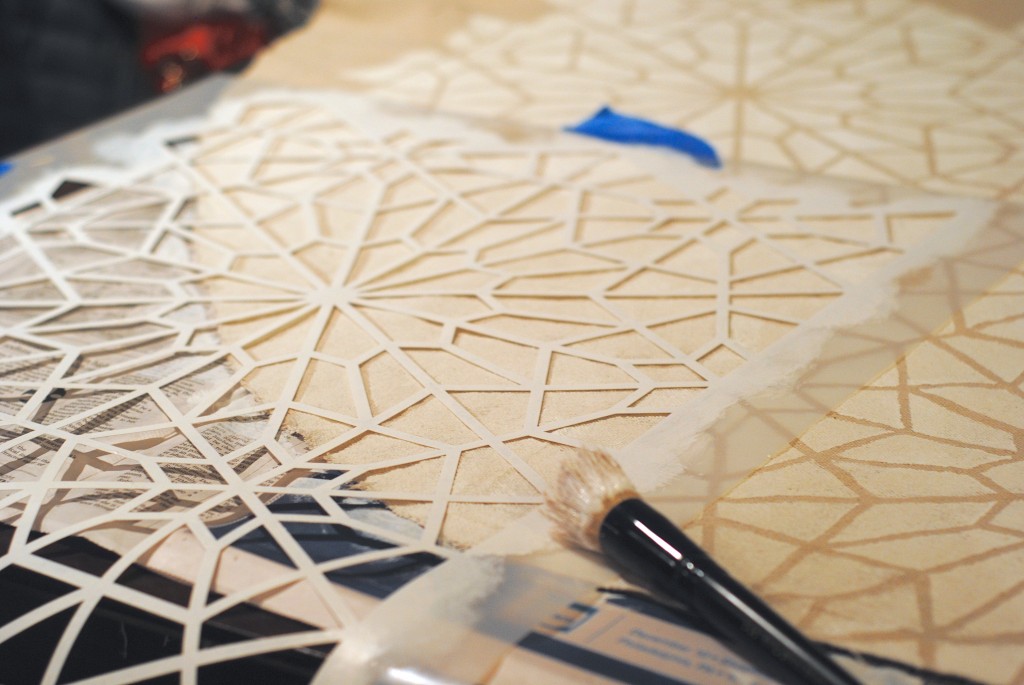
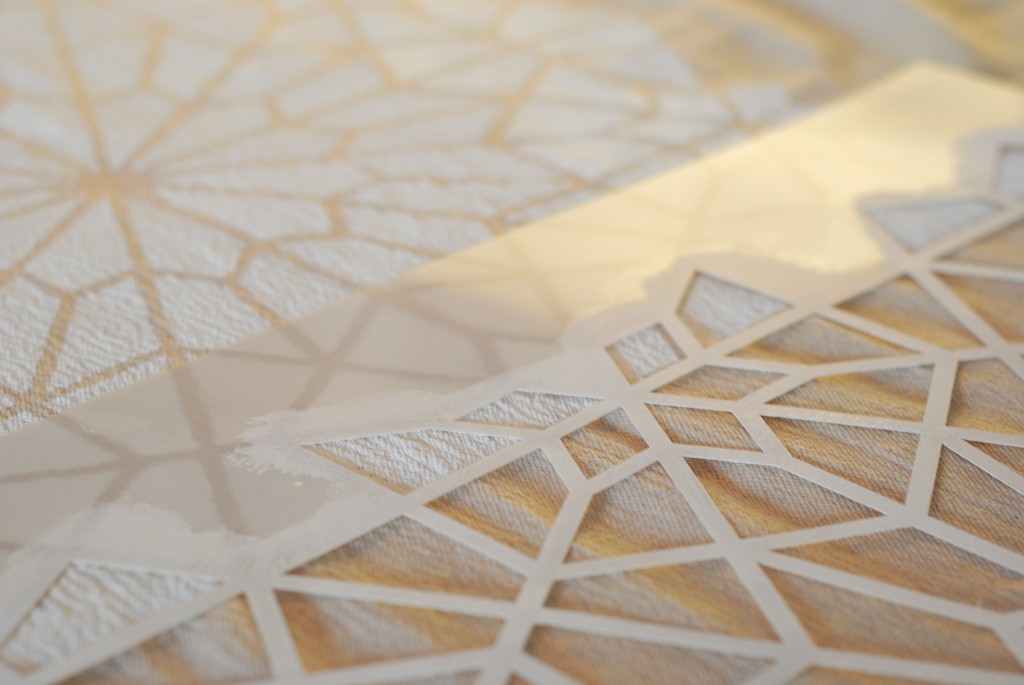
I applied the paint first my dabbing it onto the dropcloth, and then worked it in small circles to fill the paint in. Do what works best for you and your particular paint. Remember, usually there’s a ‘backside’ to a tree so if you mess up you can hide that part. 😉 You can see the first light layer here, to which I then immediately added another light layer:
Then, continue to stencil. Once you finish a section, use the sidelines to line it up and keep going.
STILL STENCILING!
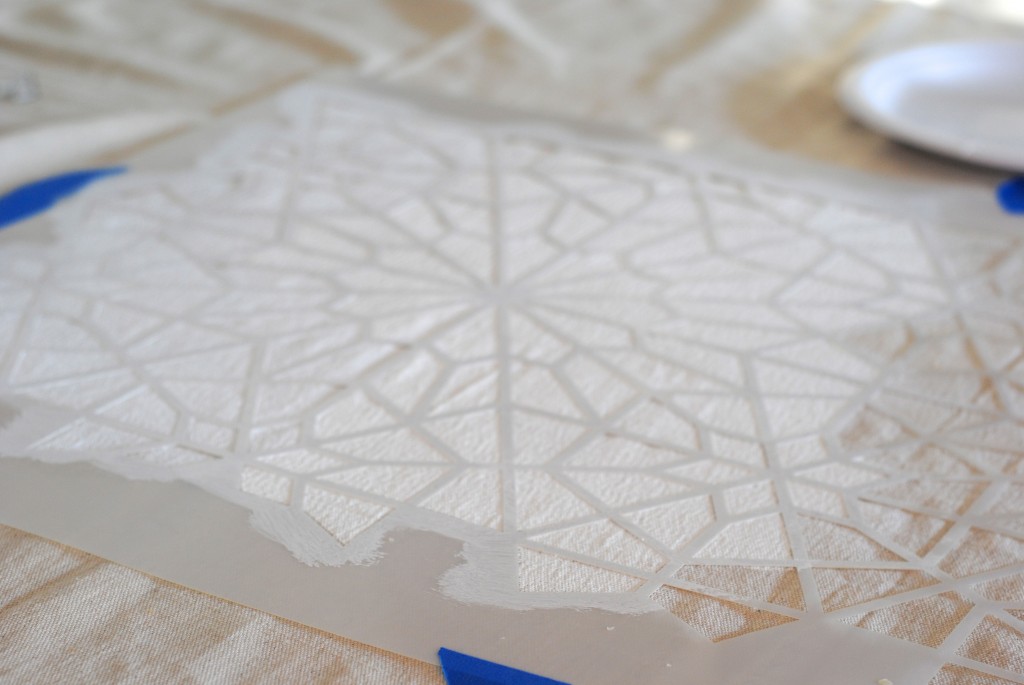
Notice it’s now nighttime? Stenciling correctly takes awhile, but it’s pretty cathartic and relaxing too.
Let it dry, then cut it halfway through to the center to create your slit for fitting it around the tree. You can add ties to it if you wish, but I was tired from stenciling so I skipped that step this year. I can add them later.
I also purchased a ruffled trim which I planned to hot glue around the edge to make it more finished. However, I realized I liked it better WITHOUT that particular trim! I’m keeping the edge unfinished for now but will add the perfect trim when I find it– maybe in March, maybe in August, but I will find it.

Isn’t it kinda pretty?
I realized there’s only a few days until Christmas, but this is one of those projects that doesn’t require any Christmas specific materials so you can make it all year long. The time between Christmas and New Years is often downtime for many people and also when I get a lot of my ‘next year’ holiday crafts finished.

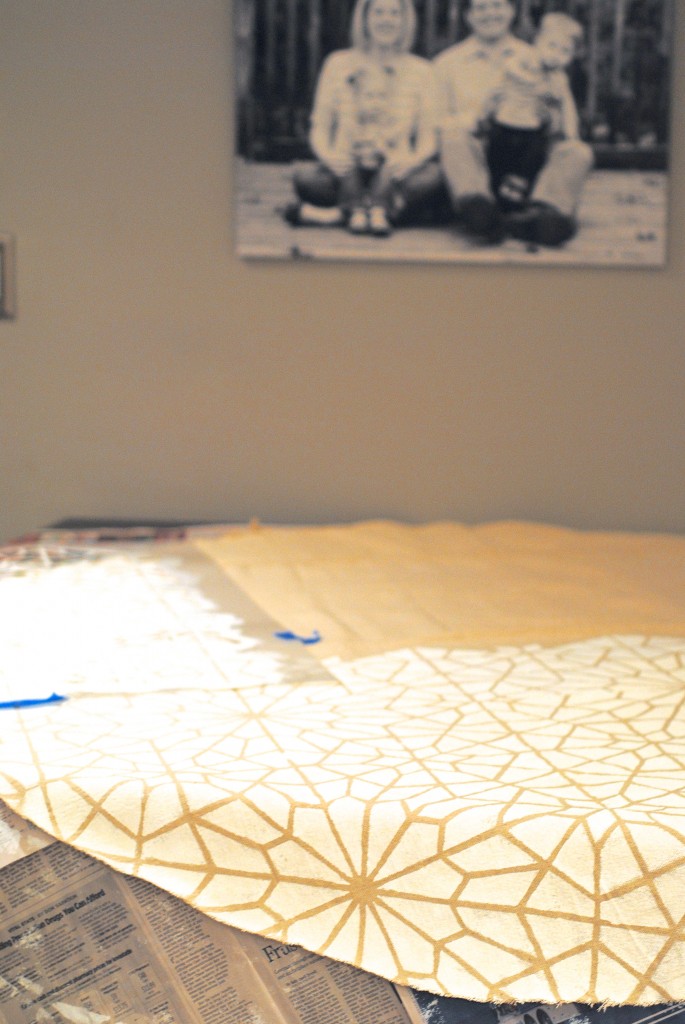
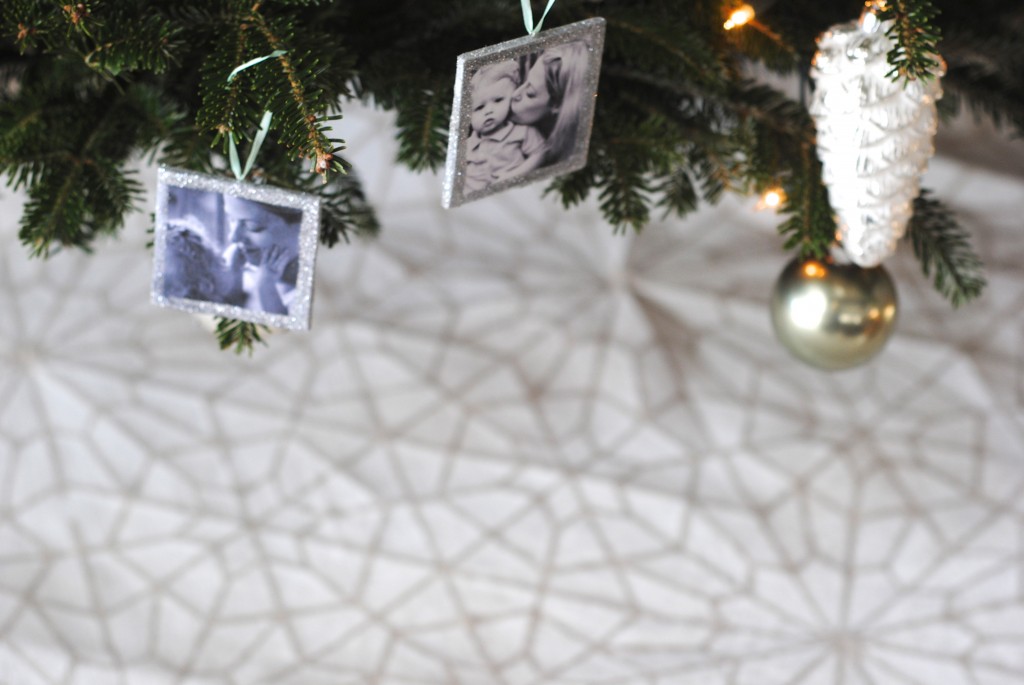
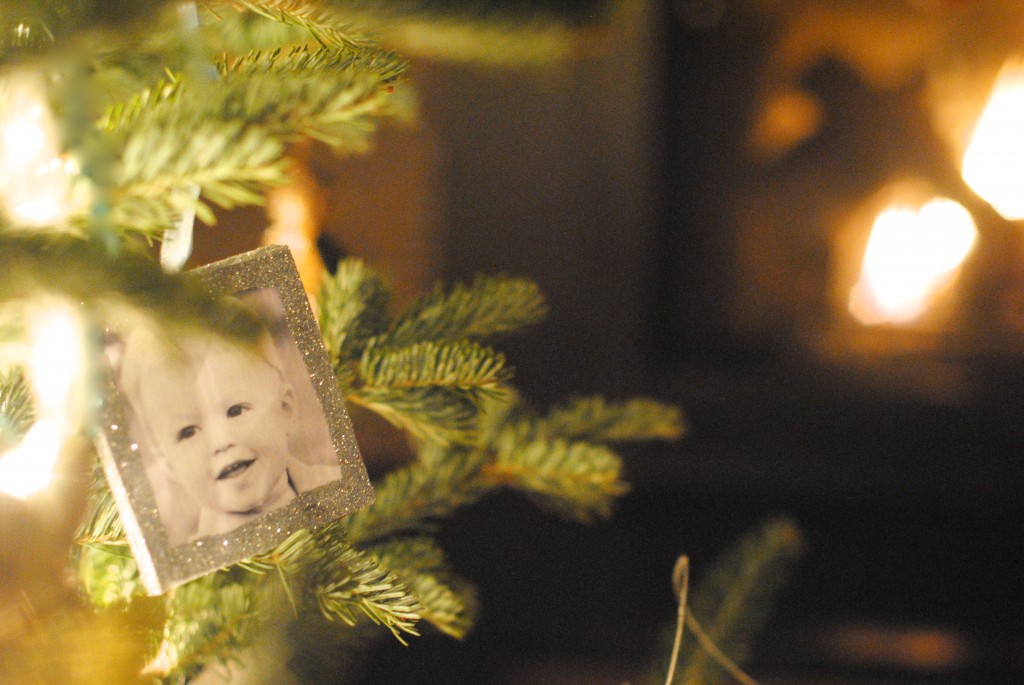
It fits our tree perfectly. Our family tree, filled with handmade photo ornaments of those we love.
Many thanks to Royal Design Studio for sending over the Starry Moroccan Night stencil and brush. I’m on a stenciling binge now, watch out, I’m totally hooked. I adore working with fabric but loathe sewing so stenciling and fabric printing might be my next artistic endeavor. You know, in my free time. Bwahahahahahahaha!
Now, to wrap all those presents to go under the tree. Anyone want to help a sister out? 🙂 What’s your tree skirt design? Who’s in the mood to stencil their own gigantic snowflake tree skirt too?
{if you like it, pin it for later!}