A Christmas Tradition: Family Banner Tutorial
This post may contain affiliate links for your convenience. Read my full disclosure policy here.
I stole this idea. From my mom.
And by “stole”, I mean borrowed and ran with it.
I don’t think she’ll mind. She’s so sweet like that.
Each childhood Christmas we’d hang the family banners my mom created. She only made a few, ‘1983’ sticking in my mind as being one of the years. But the few she made we treasure. They show a snapshot of that year, in circa-1983 fabric and felt.
They are so precious, I vowed to do the same for my family– no matter how busy we were.
In fact, I specifically remember making my first banner on the living room floor while our night nurse cared for Noodle during the weeks leading up to her first Christmas.
{for those that are new to the blog, we had an actual certified nurse because of Noodle’s health issues including tube feeding. Didn’t want you getting all jealous on me thinking I had a fancy nanny that we called a “nurse”}
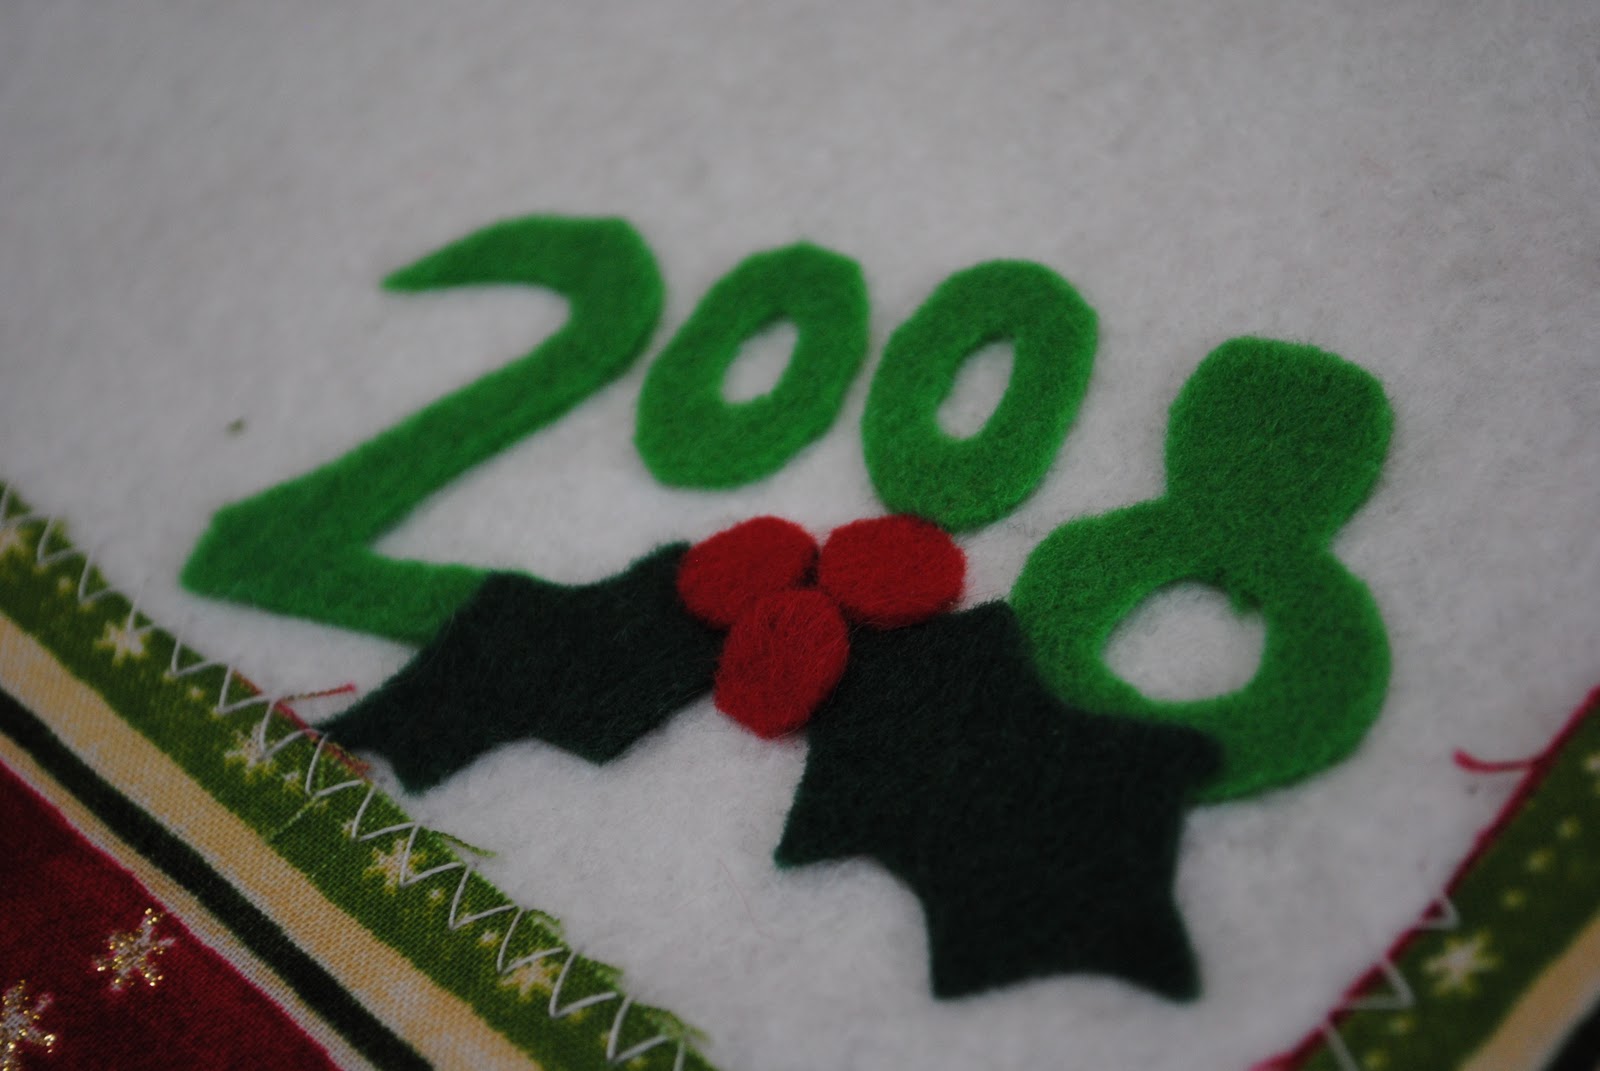
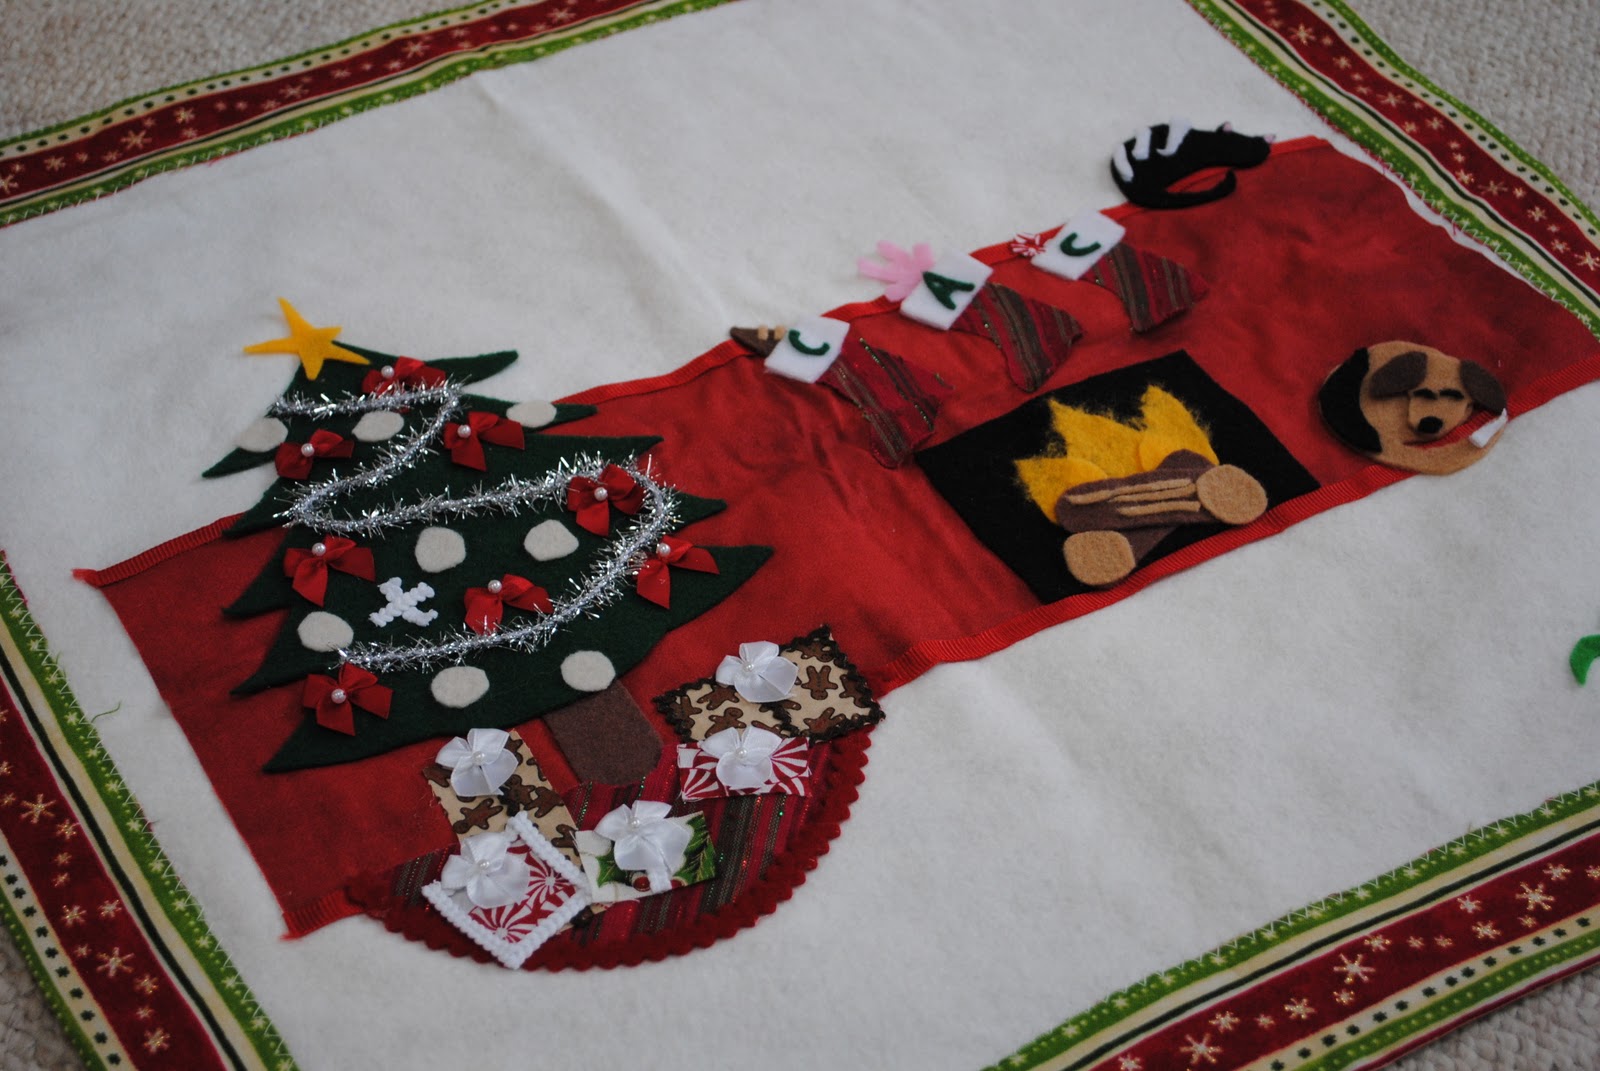
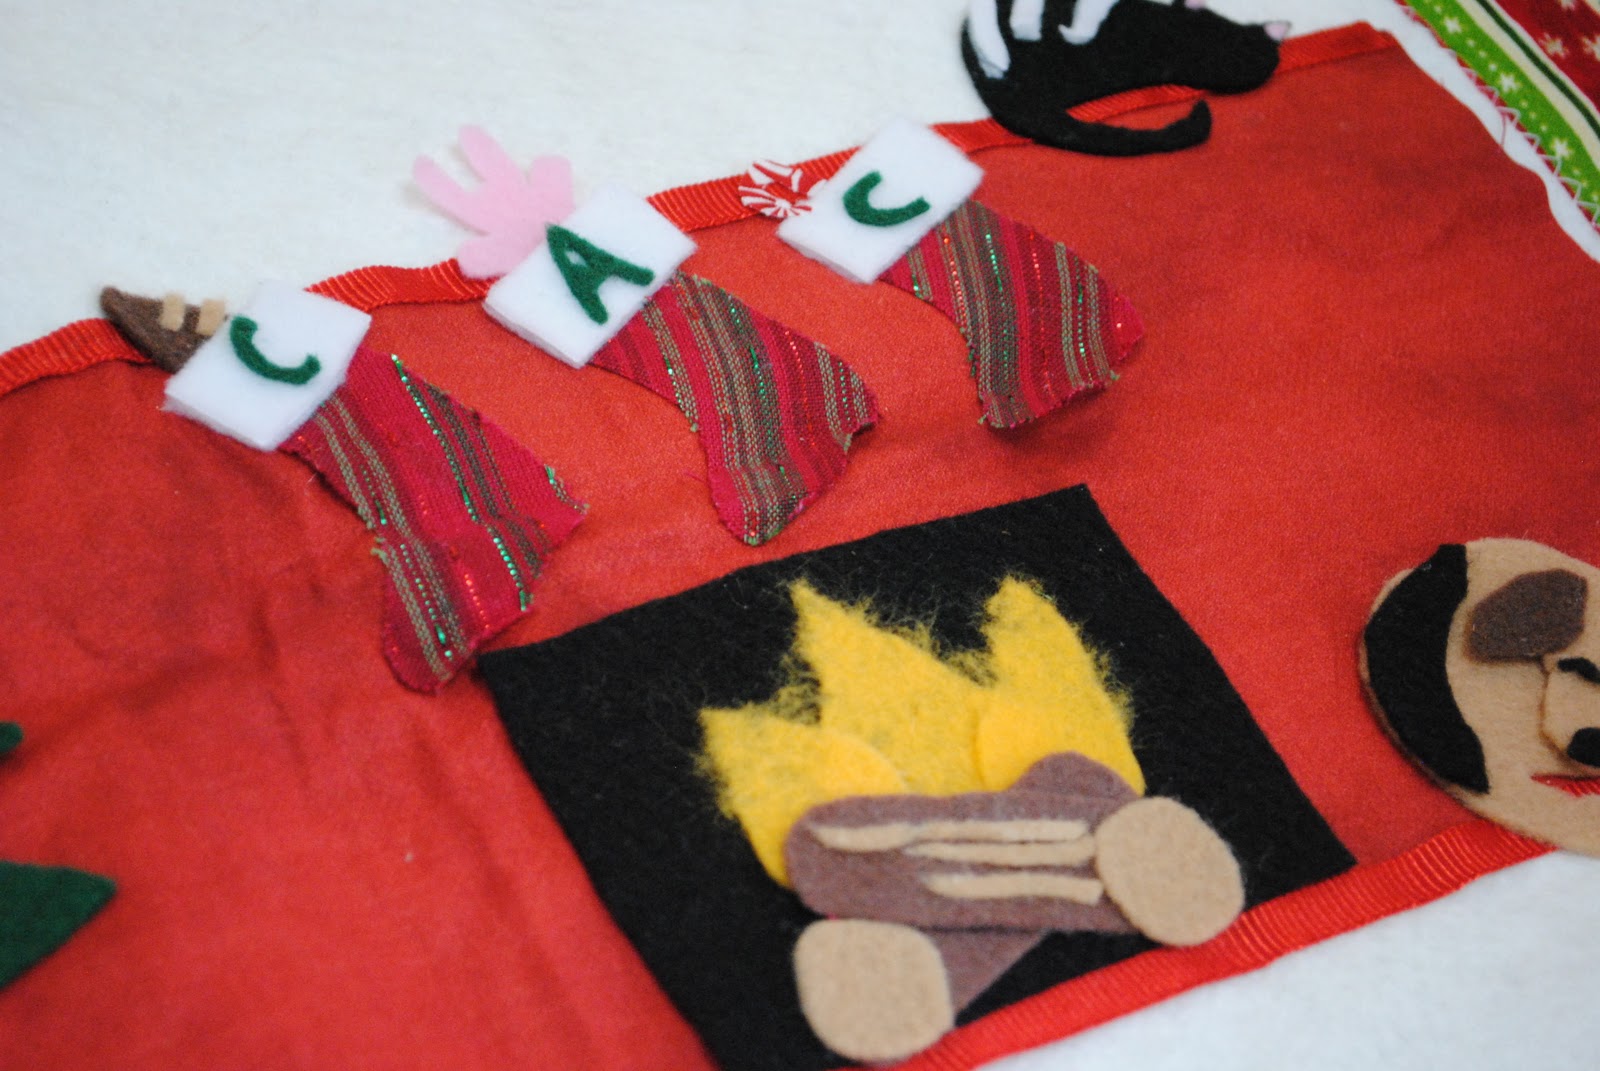
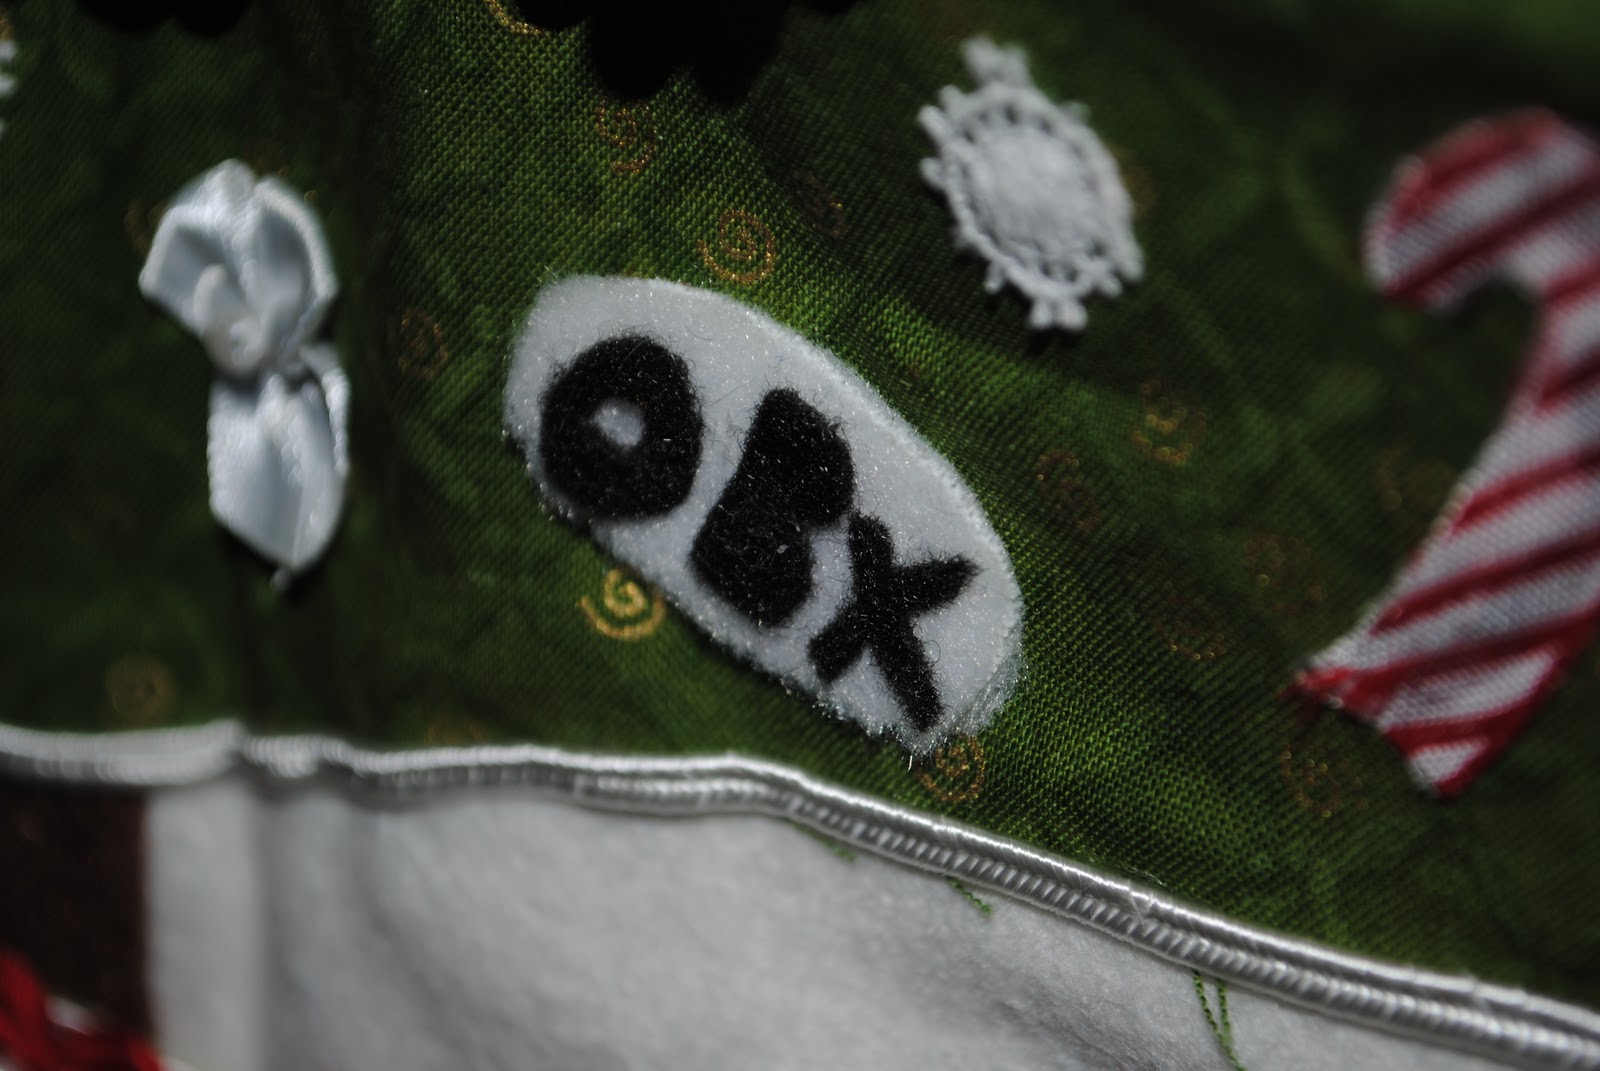
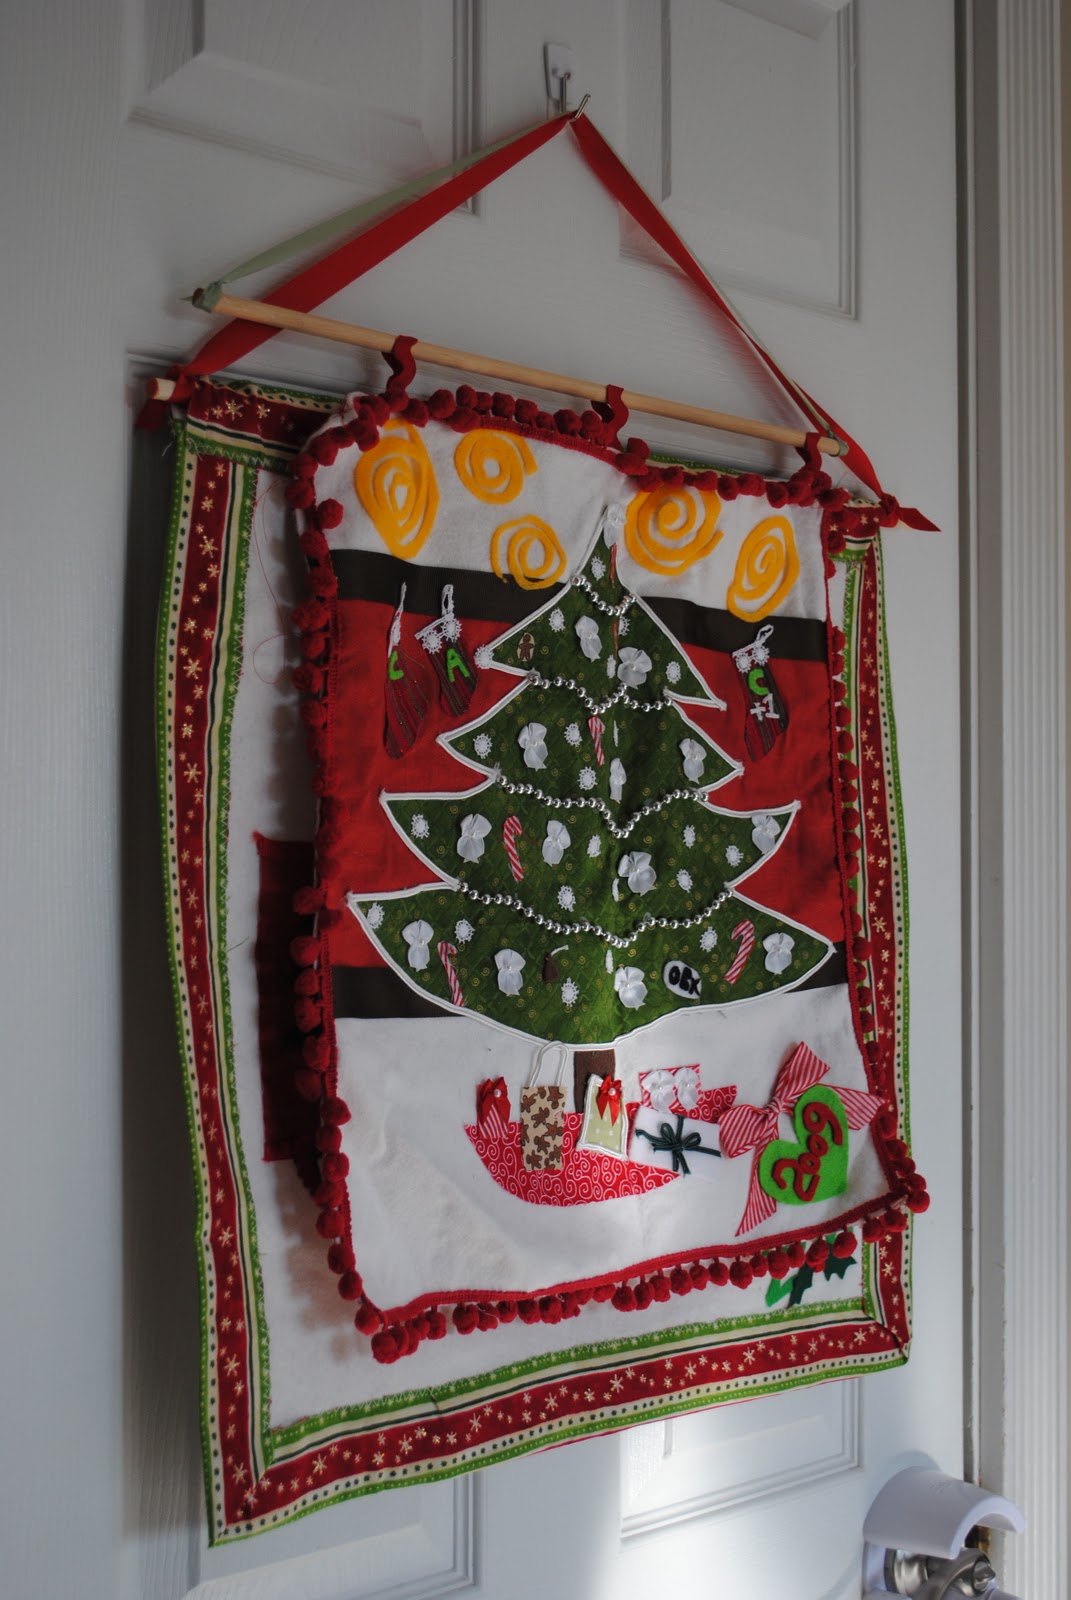
Back on track. Here’s our banner from 2008, showing with icons that represent special things for our family– even the toys in each stocking have meaning!

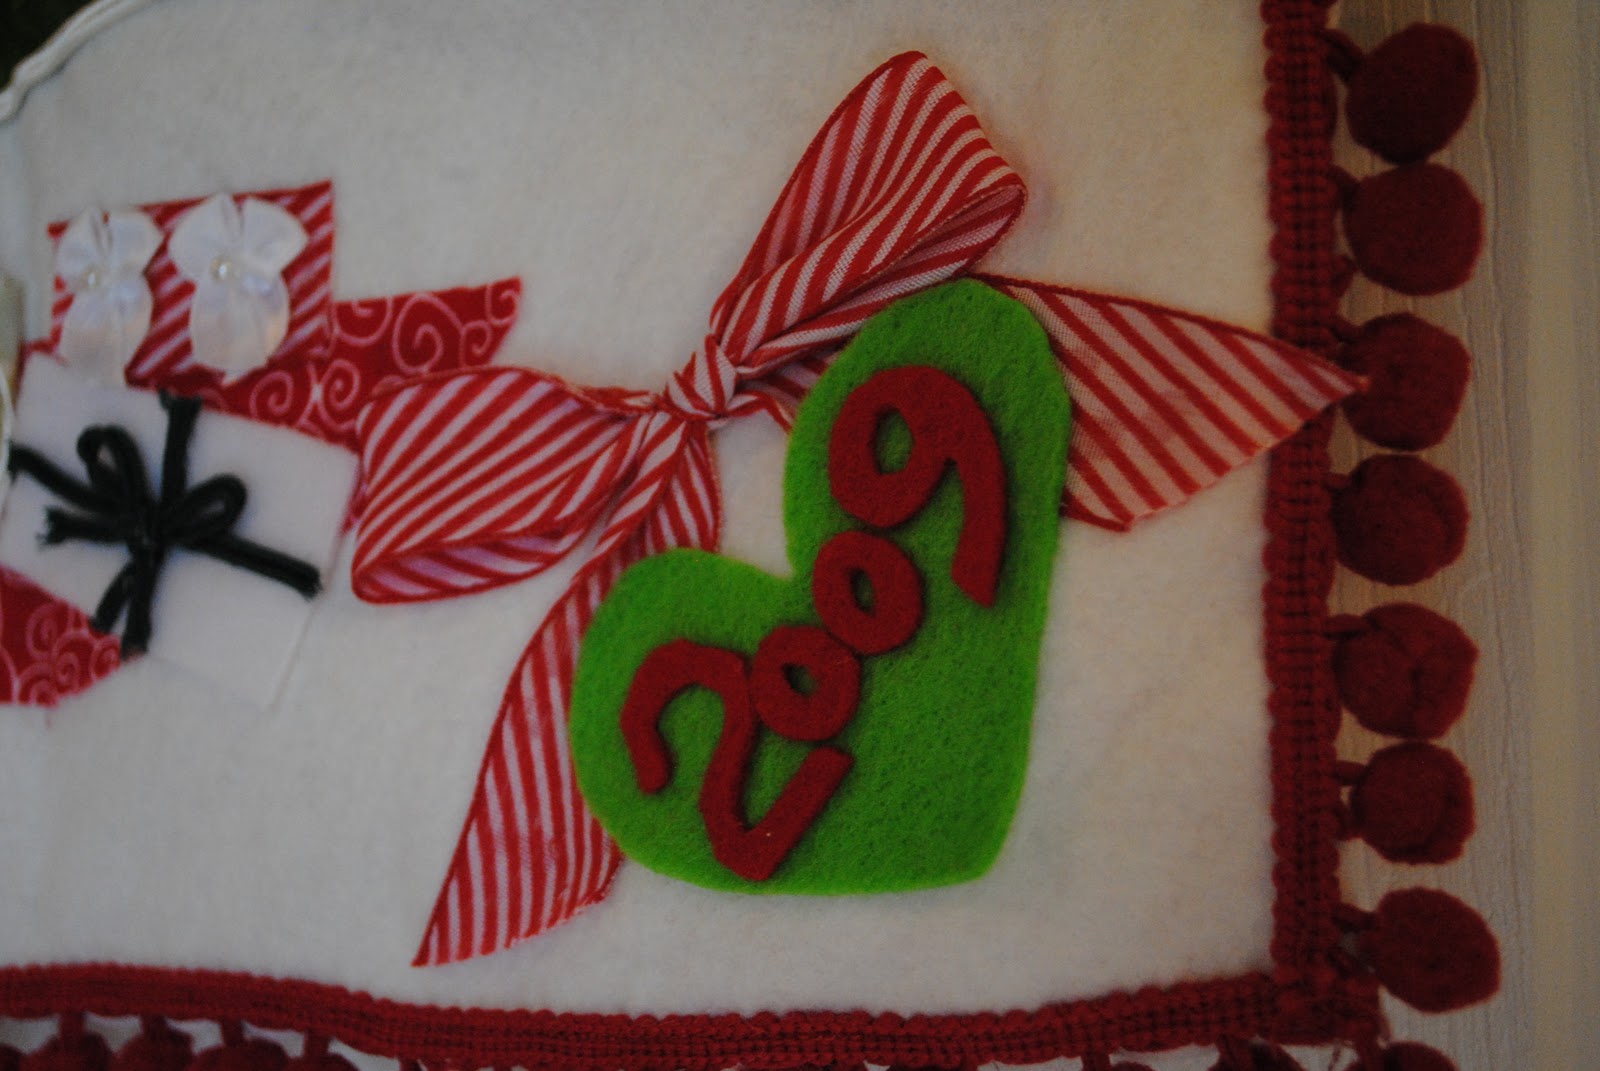
In 2009, our family of three is about to grow plus one:
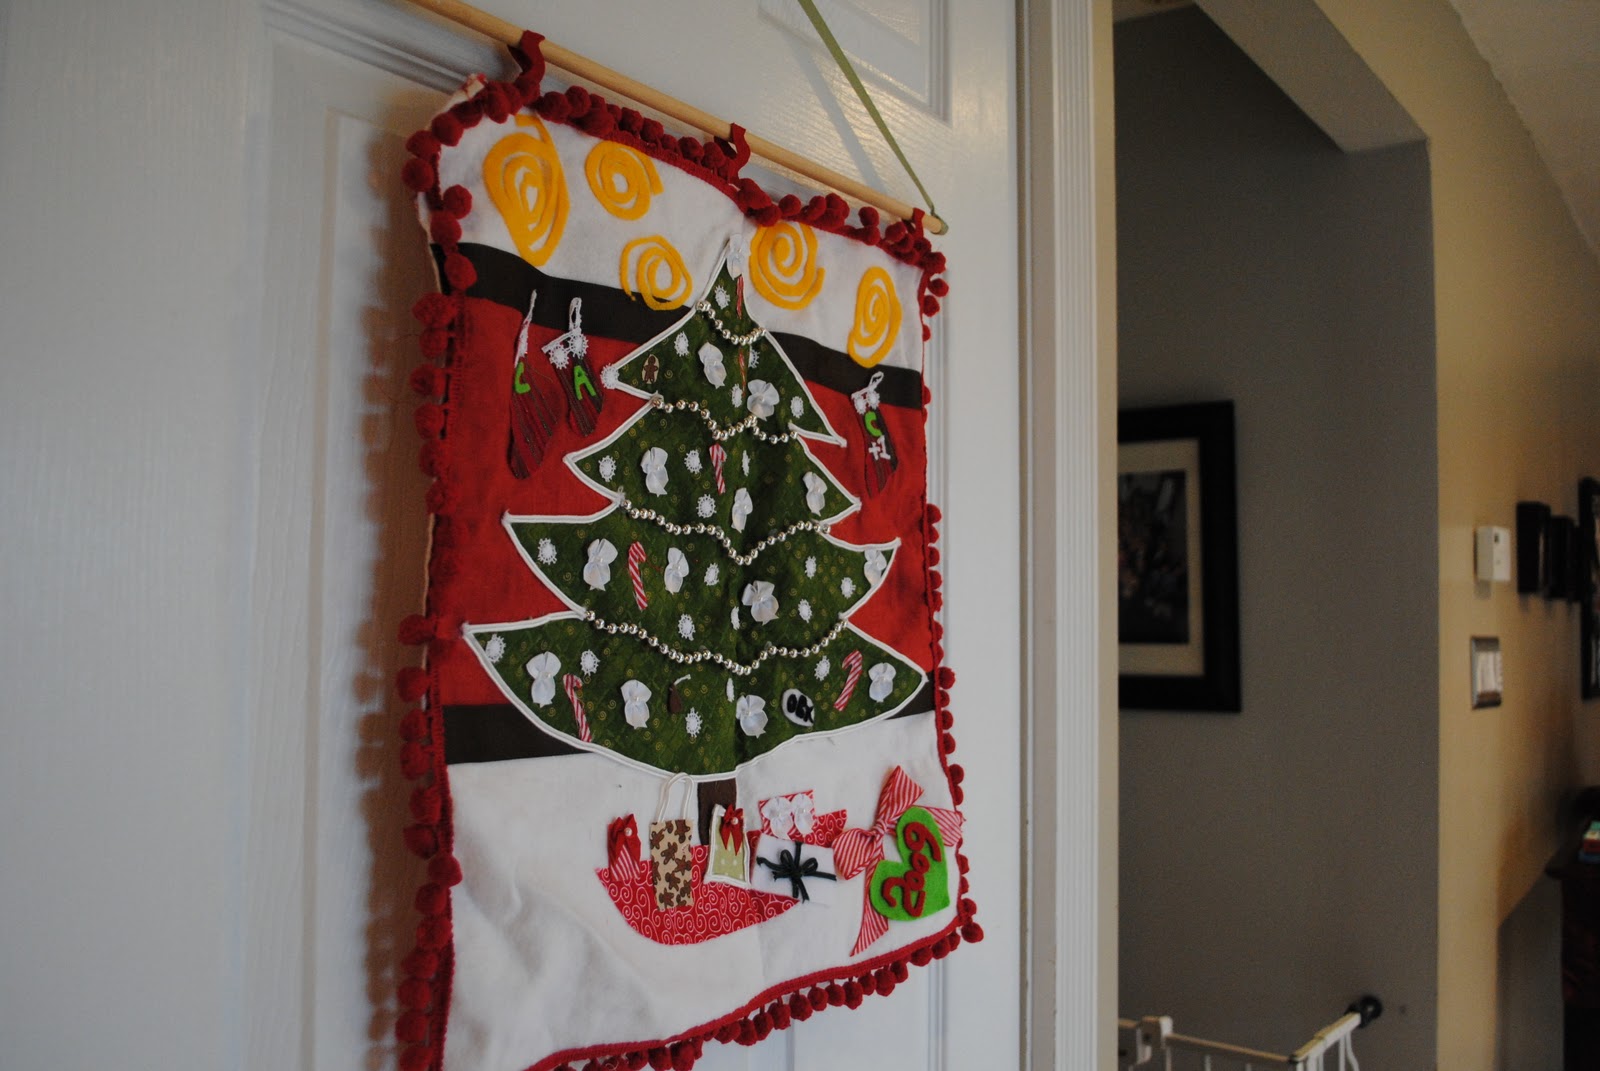
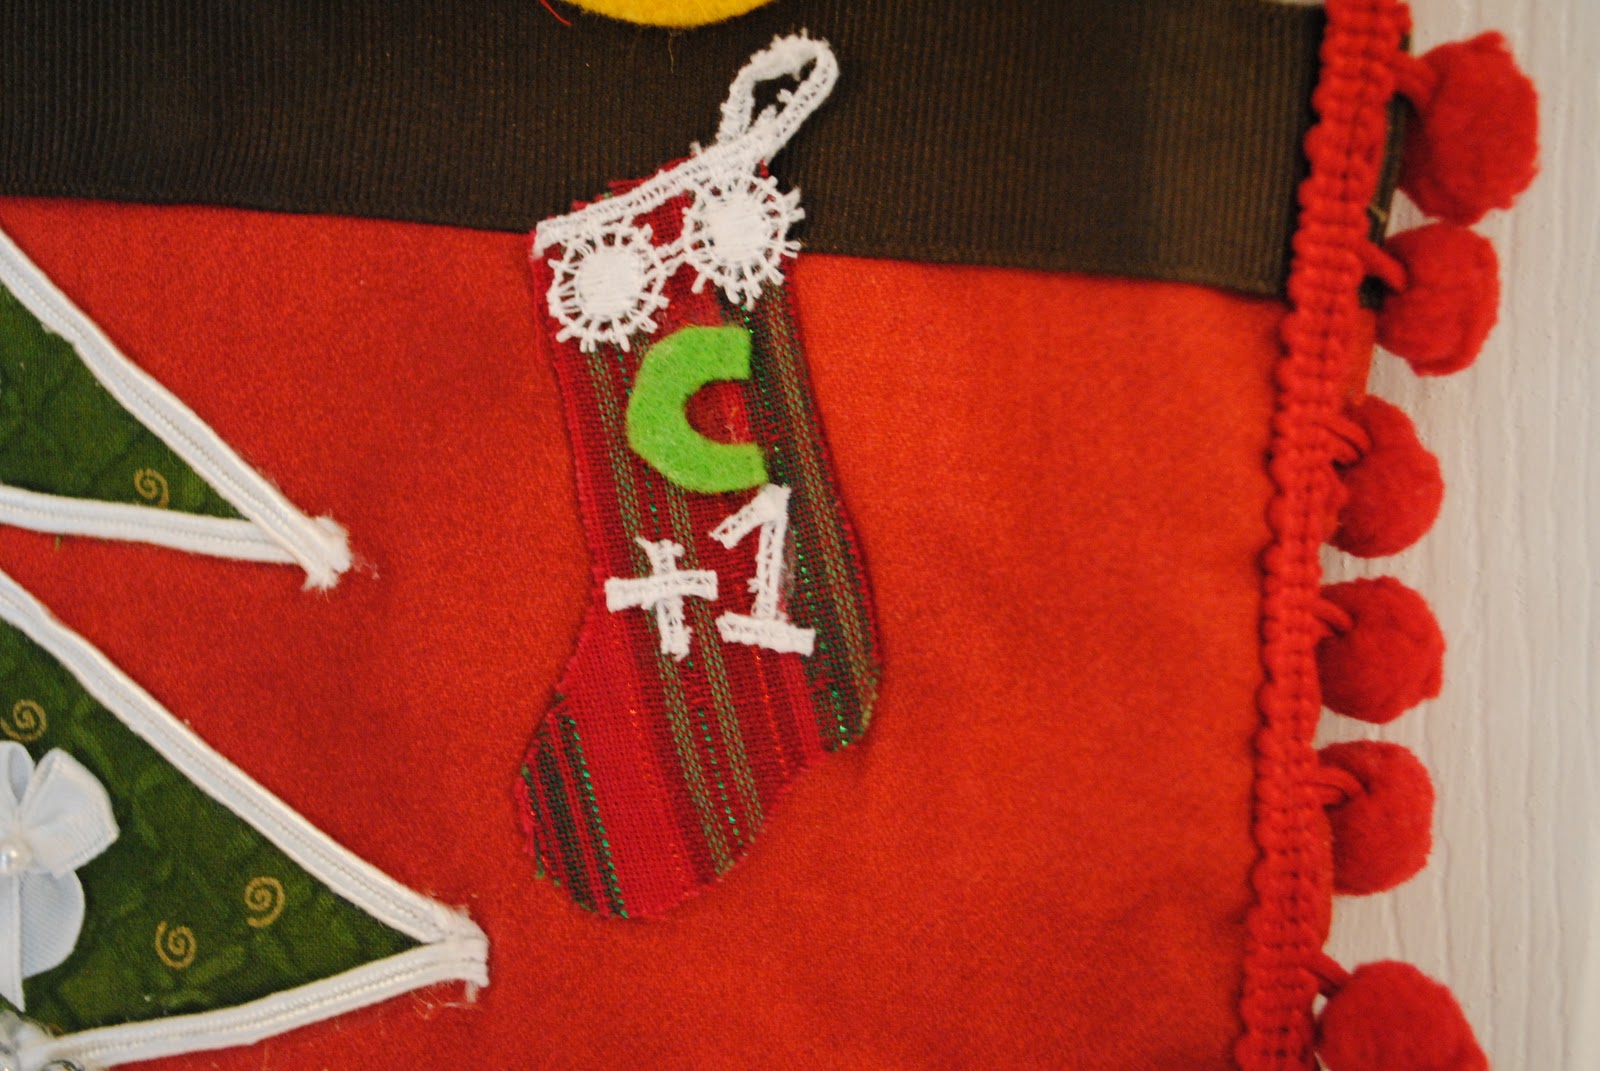
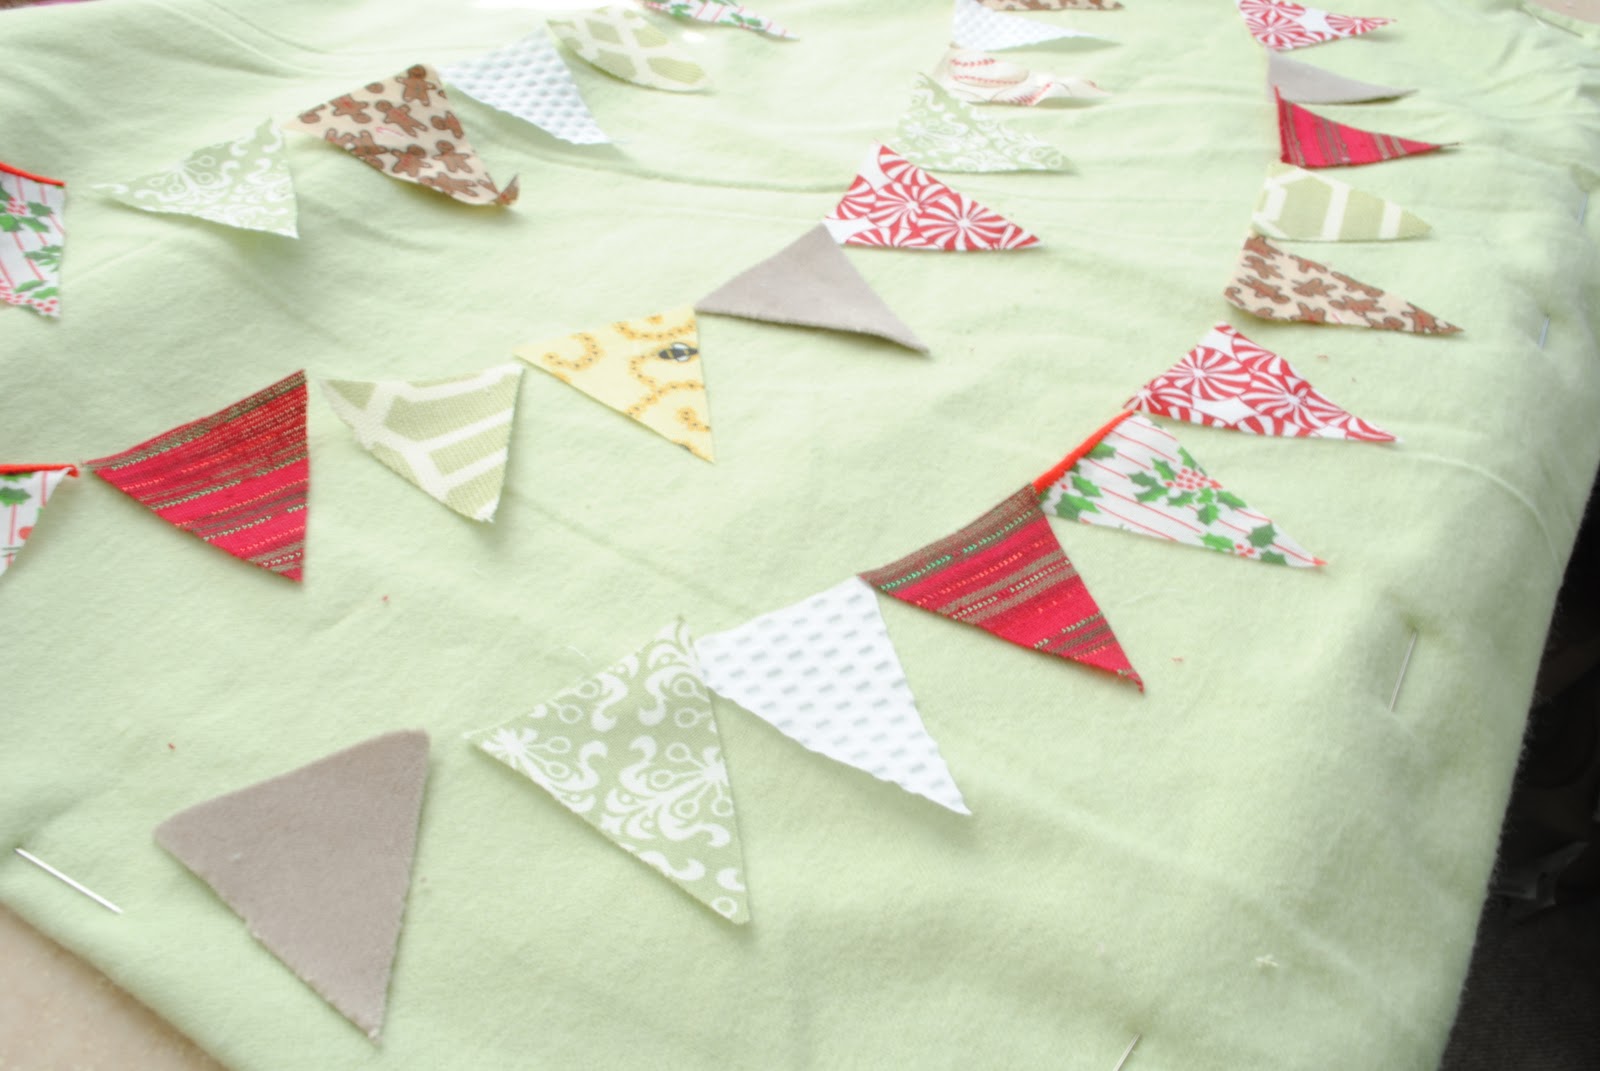
And finally, I finished 2010’s banner just in time to ring in the new year:
Simpler than the others, it might just be my favorite yet.
As for a tutorial, here’s my best shot!
Materials:
large piece of fabric for the main piece (felt or flannel work well)
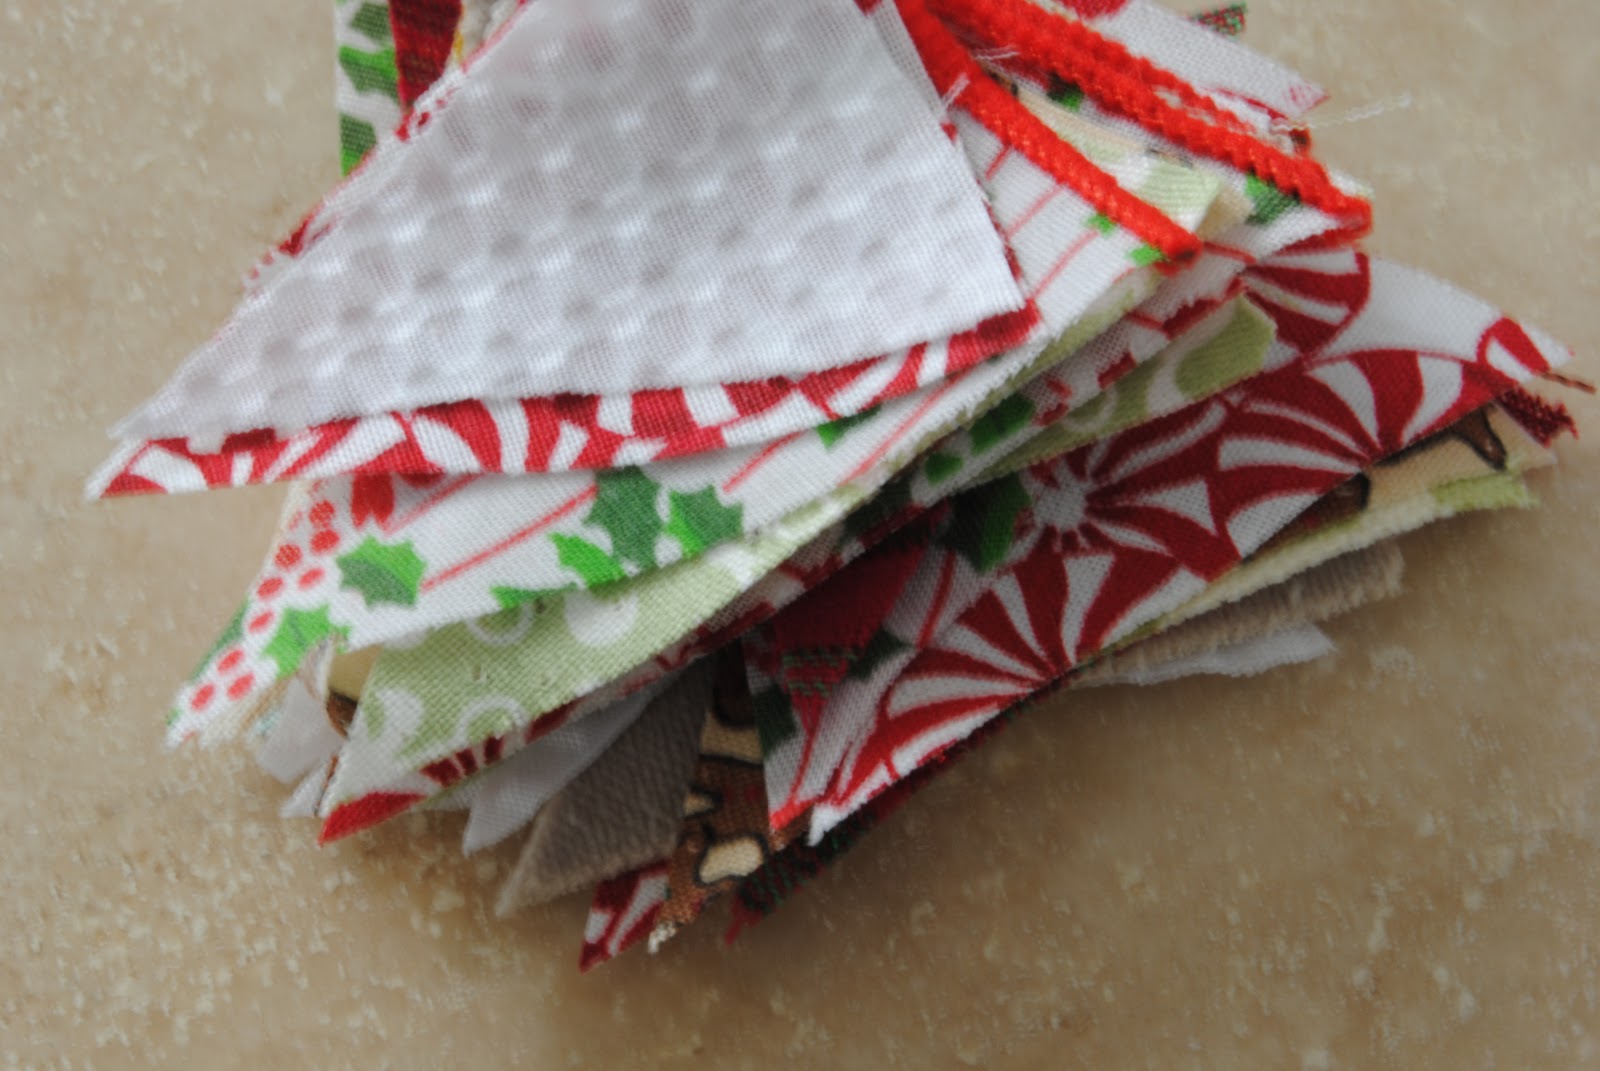
smaller fabric scraps and embellishments
fabric and/or felt glue
dowel and saw to cut dowel
scissors
ribbon or trim for the edge (optional)
1. Decide how you will finish off the edges of your main piece. The easiest is just a straight cut with scissors. My favorite is simply to hem three sides, with the fourth being a pocket for the dowel.
Other edges I’ve done are pom-pom trim and a fabric binding I made myself. Both were fairly messy because I’m terrible at sewing. You pros could do it so. much. better.
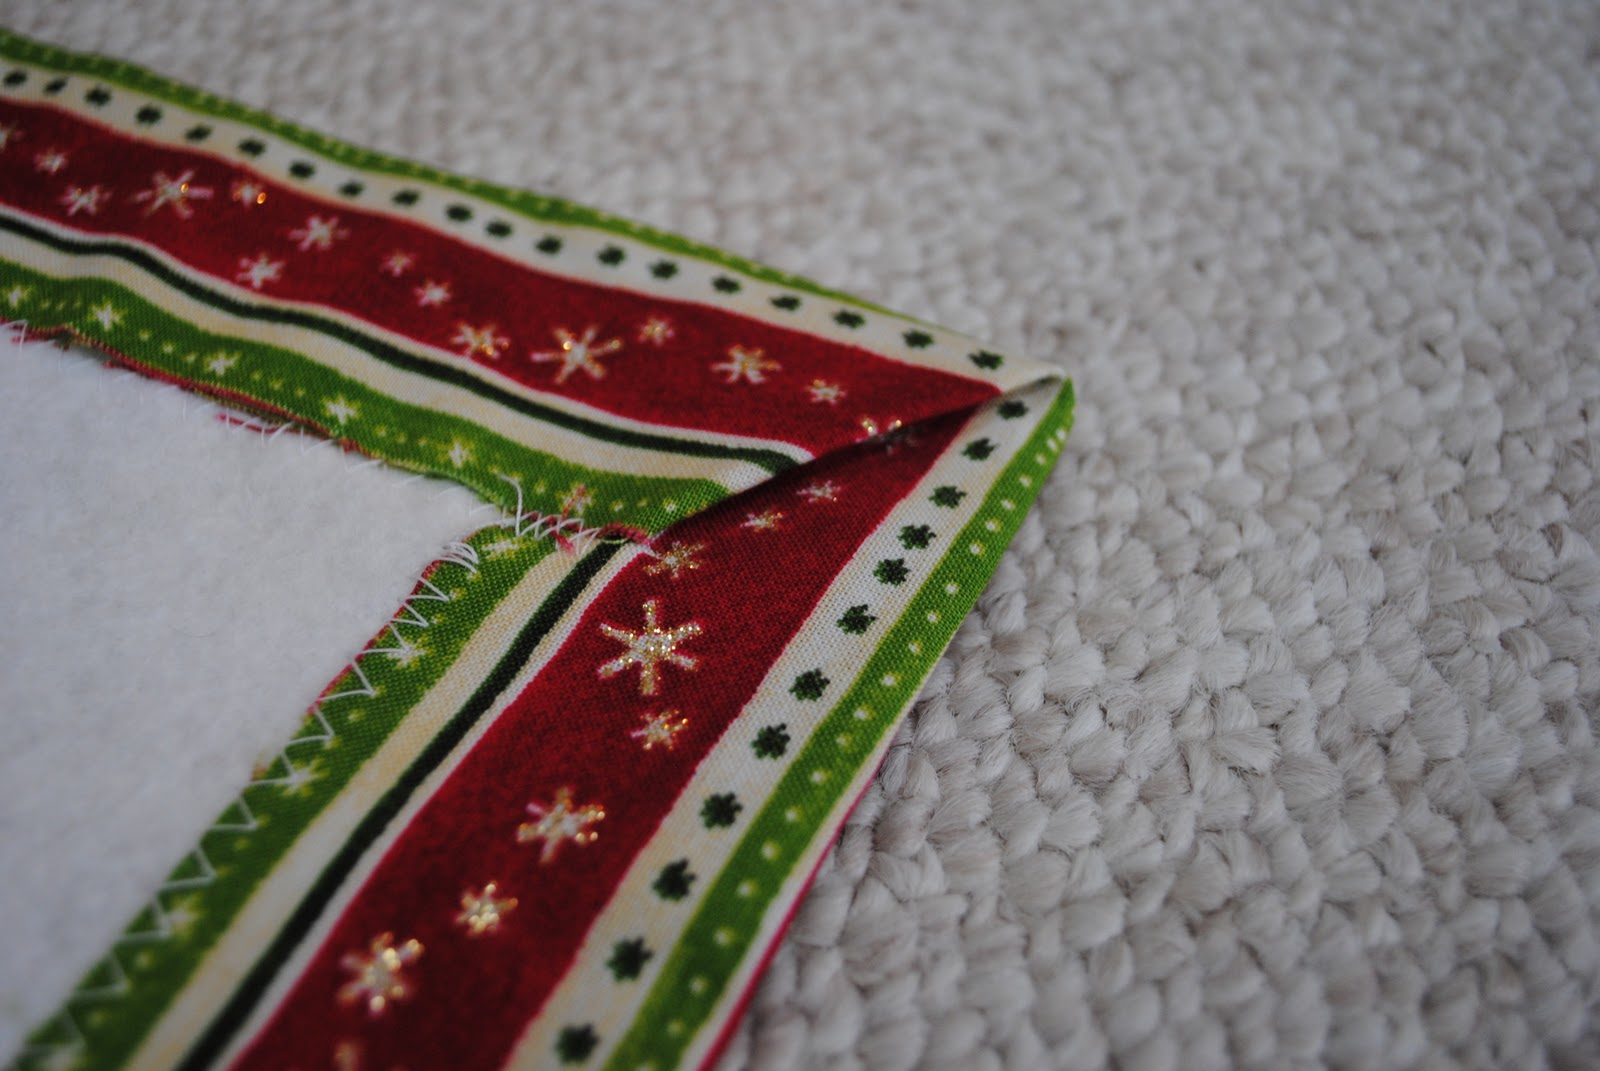
2. Pin and sew the edges (doing this first makes sure you don’t go accidentally glue things into the area that will become your border). I sew the hems first and then fold over the last edge to become the pocket.
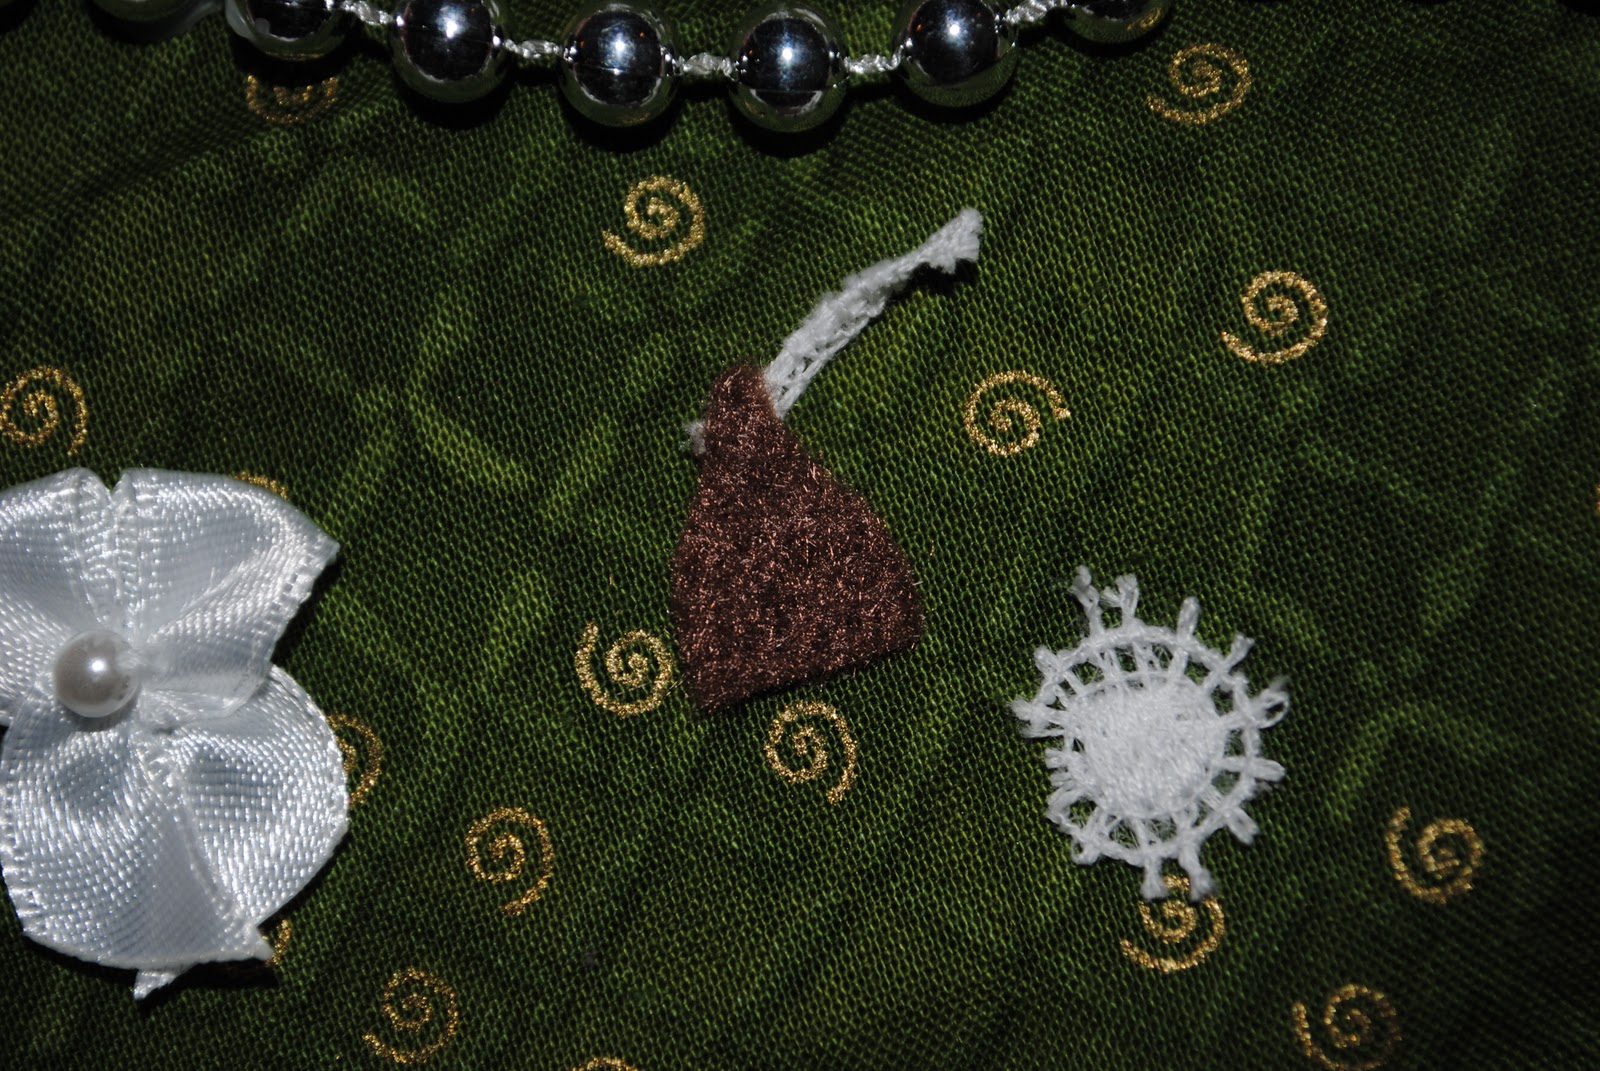
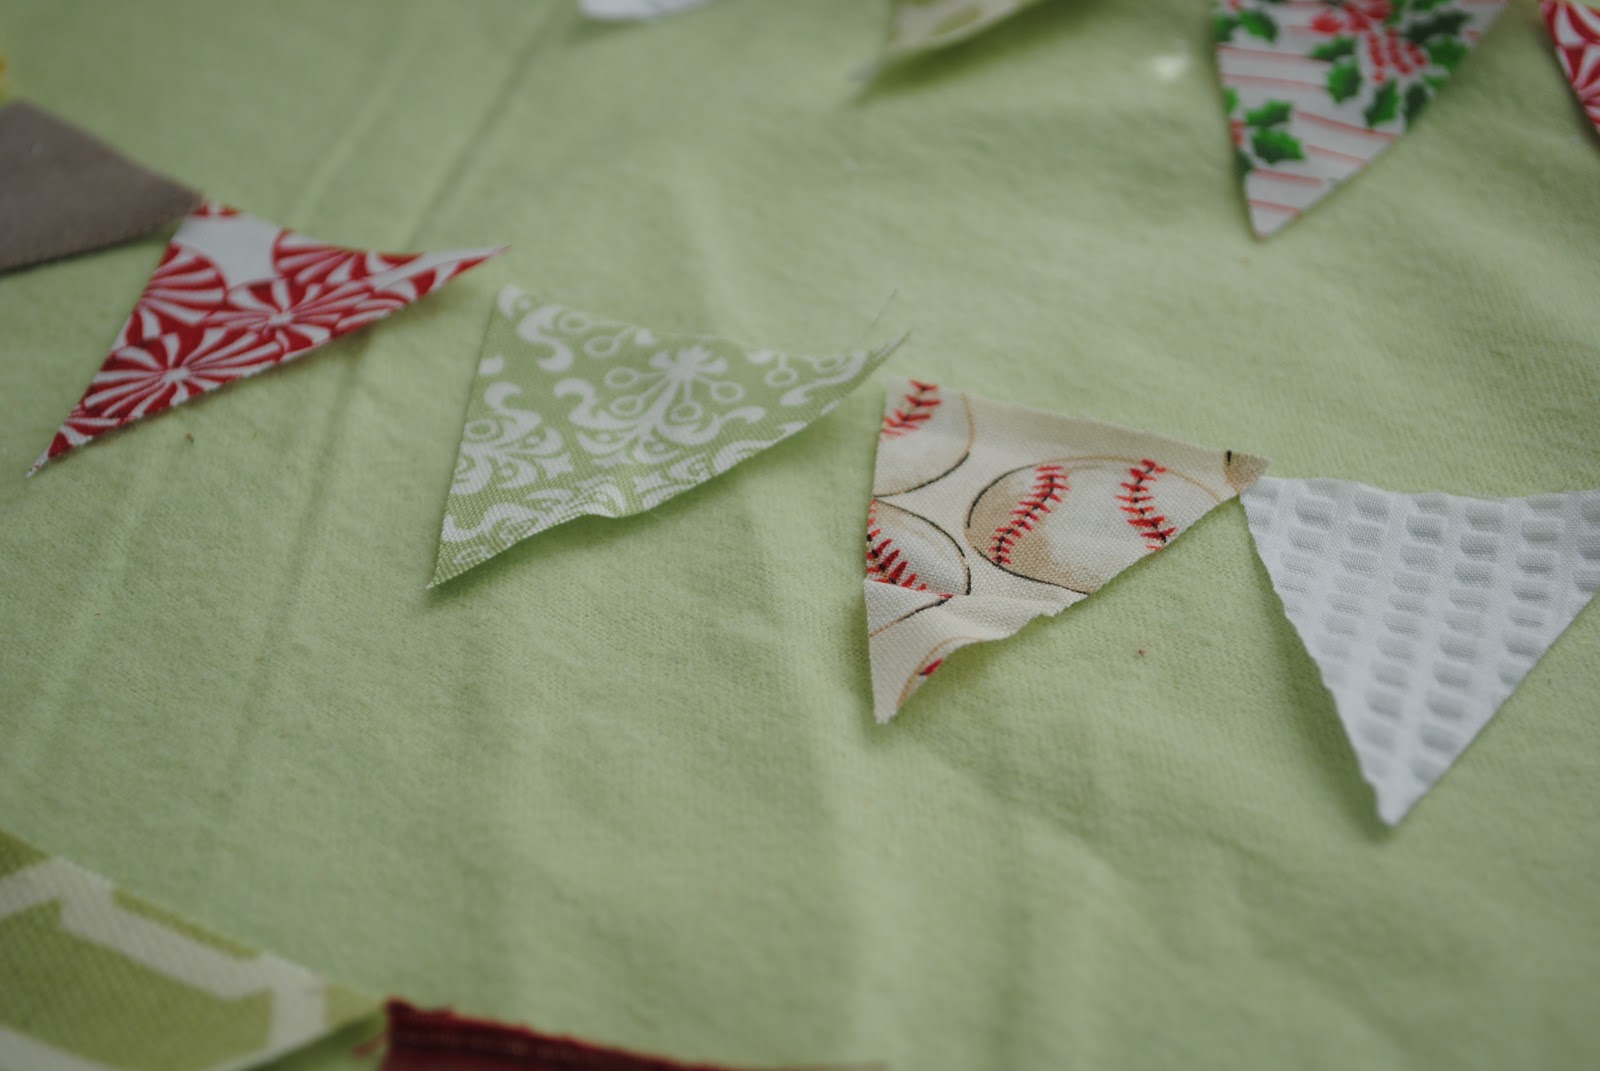
3. Now get creative! Using your fabric scraps and embellishments, show what your family has been up to that year. Favorite things, people, places, accomplishments, new additions and remembering those that passed… all have been represented on our banners. Lay them out first without gluing until you have it all in place.
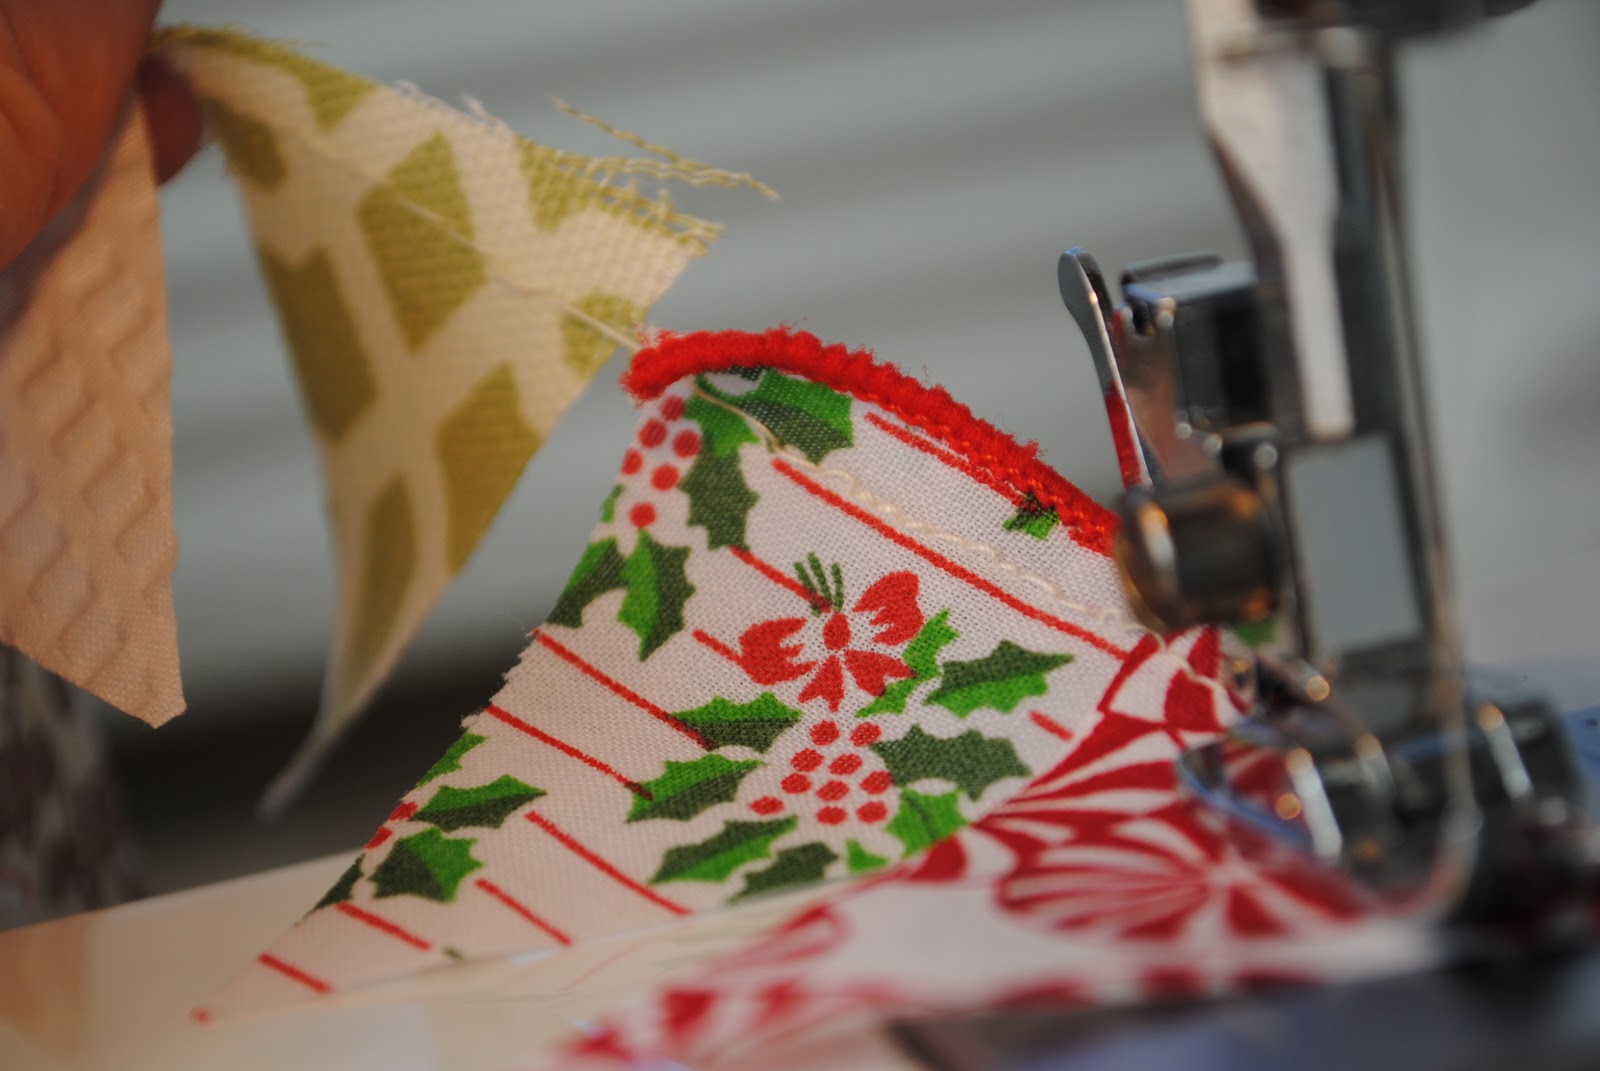
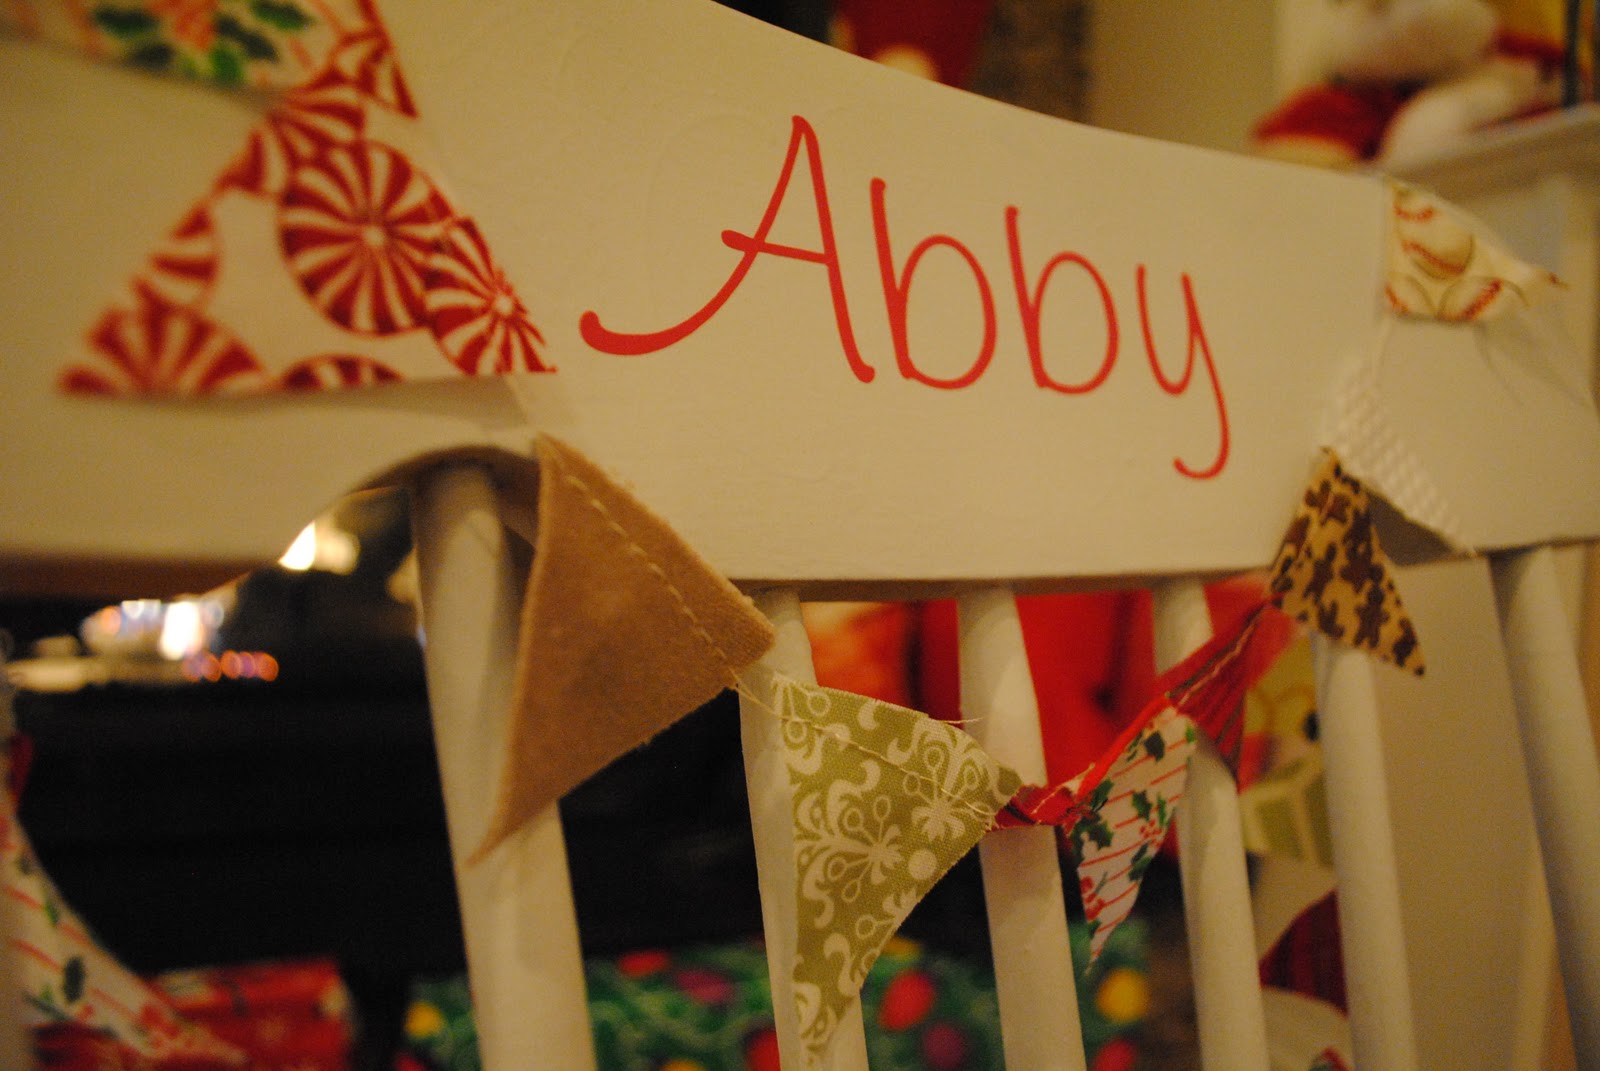
4. Read, set, GLUE. Using felt or fabric glue, carefully glue down all your pieces. Or sew them, you master sew-ers! (if I spell that as master sewers, it could be misinterpreted…) For my bunting banner, I glued the tops of each flag, then sewed in a line across the tops, and then added some ribbon piping to finish it off.
5. Cut your dowel to the correct size and thread through the pocket. Hang. Admire. Love. Enjoy!
A precious heirloom, in just a few hours time. Priceless.